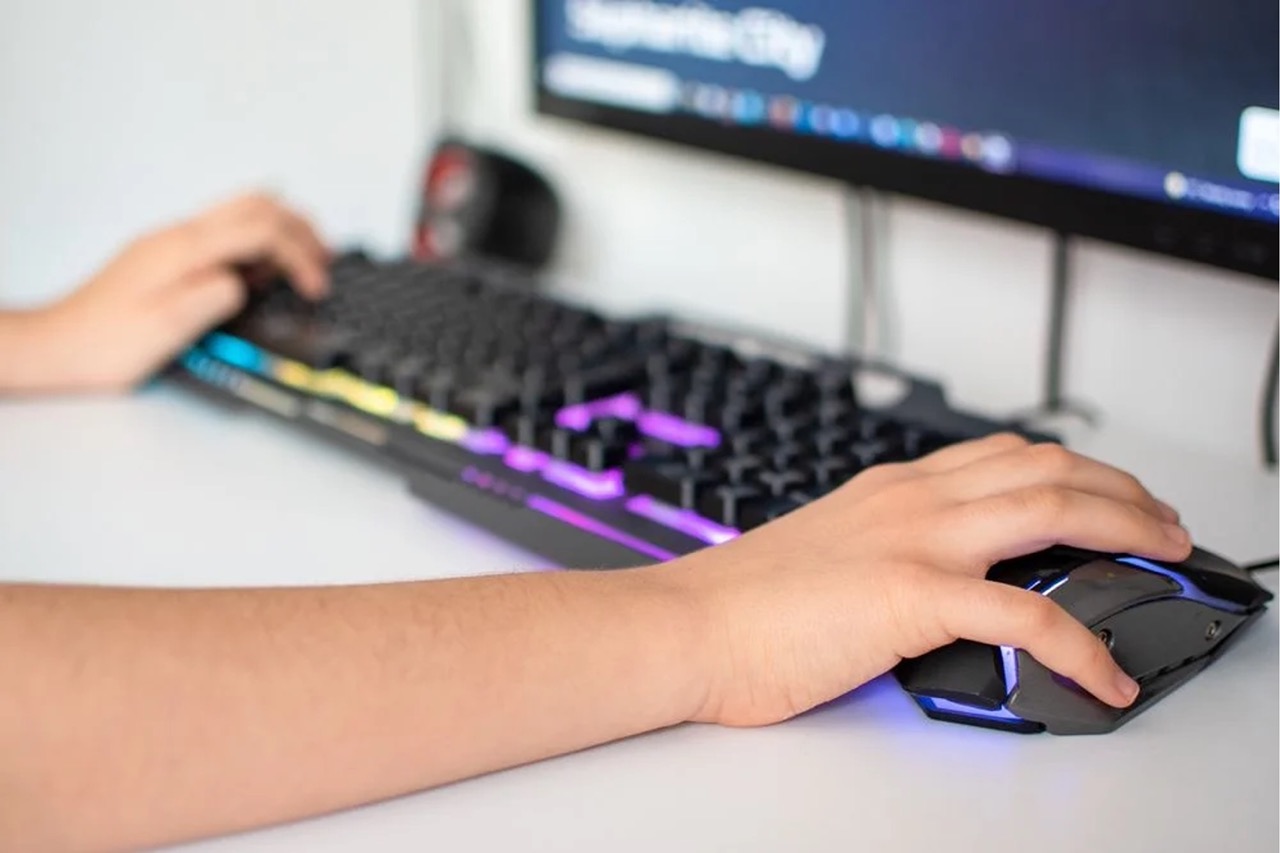
Introduction
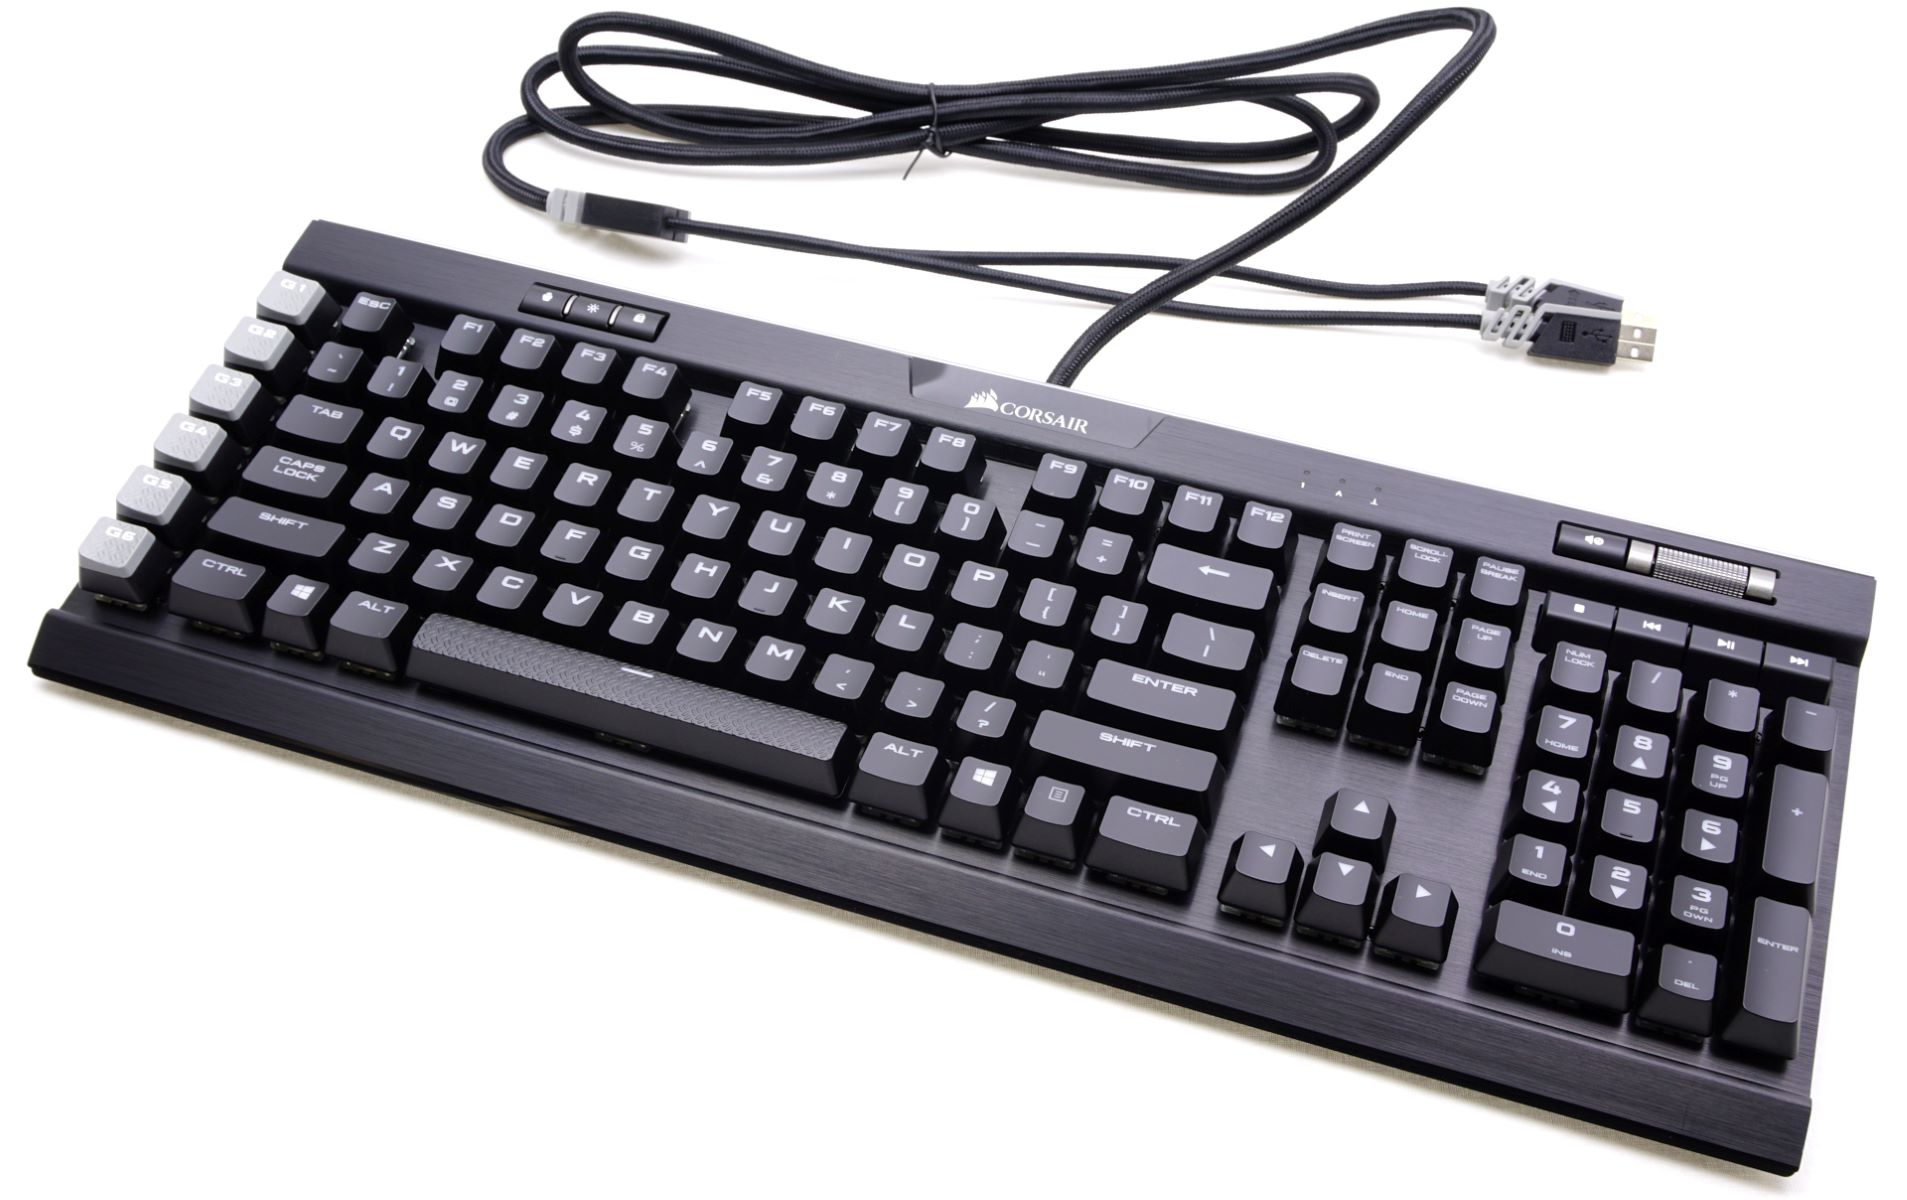
When it comes to gaming keyboards, the Corsair brand is renowned for its high-quality construction and exceptional performance. However, even the most reliable keyboards can encounter issues over time, and one common problem that gamers may face is a malfunctioning spacebar. A faulty spacebar can significantly hinder the gaming experience, causing frustration and impacting gameplay. Fortunately, addressing this issue is often straightforward and can be done at home with the right tools and a little know-how. In this guide, we’ll walk through the steps to fix the spacebar on a Corsair gaming keyboard, helping you restore smooth and responsive functionality to this crucial key.
By following the steps outlined in this guide, you can save time and money by avoiding the need for professional repairs or a keyboard replacement. With a few simple tools and a bit of patience, you can get your Corsair gaming keyboard back in top condition, ensuring that your gaming sessions are free from the annoyance of a sticky or unresponsive spacebar. Let’s dive into the process of resolving this common keyboard issue and get you back to enjoying seamless gaming experiences with your Corsair keyboard.
Tools Needed
Before you begin the process of fixing the spacebar on your Corsair gaming keyboard, it’s essential to gather the necessary tools to ensure a smooth and effective repair. Here’s a list of the tools you’ll need:
- Flathead screwdriver or keycap puller: This tool is crucial for safely removing the spacebar keycap without causing damage to the keyboard or the keycap itself. A flathead screwdriver or a specialized keycap puller can provide the leverage needed to detach the keycap from its housing.
- Cotton swabs or soft brush: To effectively clean the spacebar mechanism and surrounding areas, you’ll need cotton swabs or a soft brush to remove any debris or buildup that may be causing the spacebar to malfunction. These tools are gentle enough to use on delicate keyboard components while still providing thorough cleaning.
- Isopropyl alcohol: A small amount of isopropyl alcohol, commonly known as rubbing alcohol, is ideal for cleaning the spacebar mechanism and keycap. It helps dissolve grime and sticky residues, allowing for a more thorough cleaning process.
- Clean cloth: Having a clean, lint-free cloth on hand is essential for wiping down the keyboard and ensuring that no moisture or debris remains after cleaning and reassembly.
By having these tools readily available, you’ll be well-equipped to tackle the spacebar repair process with confidence and precision. With the right tools at your disposal, you can efficiently address the issue and restore your Corsair gaming keyboard to its optimal functionality.
Removing the Spacebar Keycap
To begin the repair process, you’ll need to carefully remove the spacebar keycap from your Corsair gaming keyboard. Follow these steps to safely detach the keycap without causing any damage to the keyboard or the keycap itself:
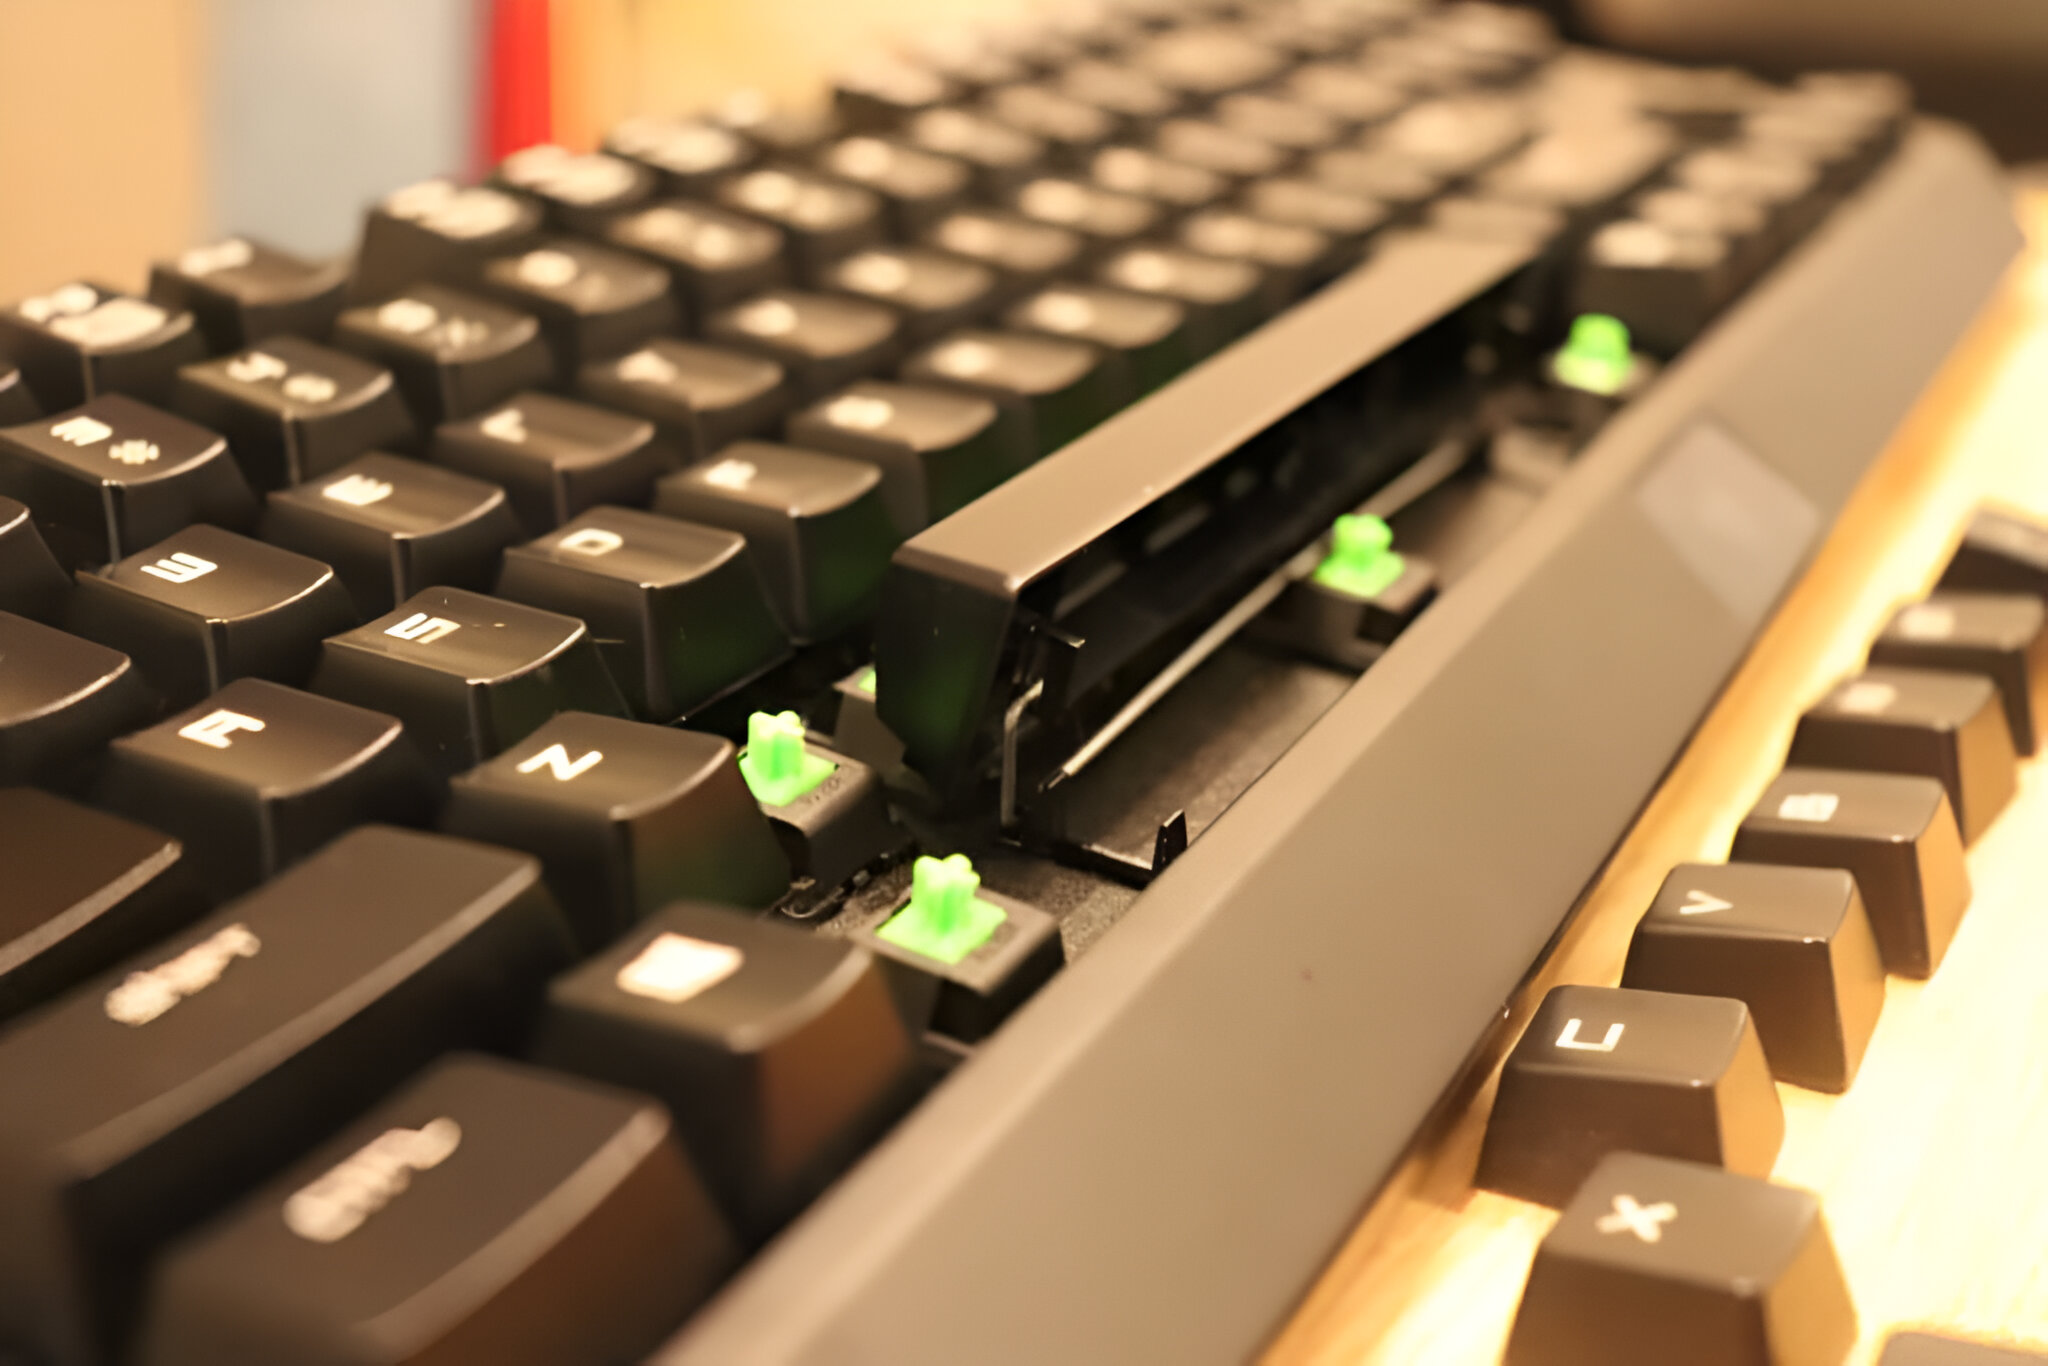
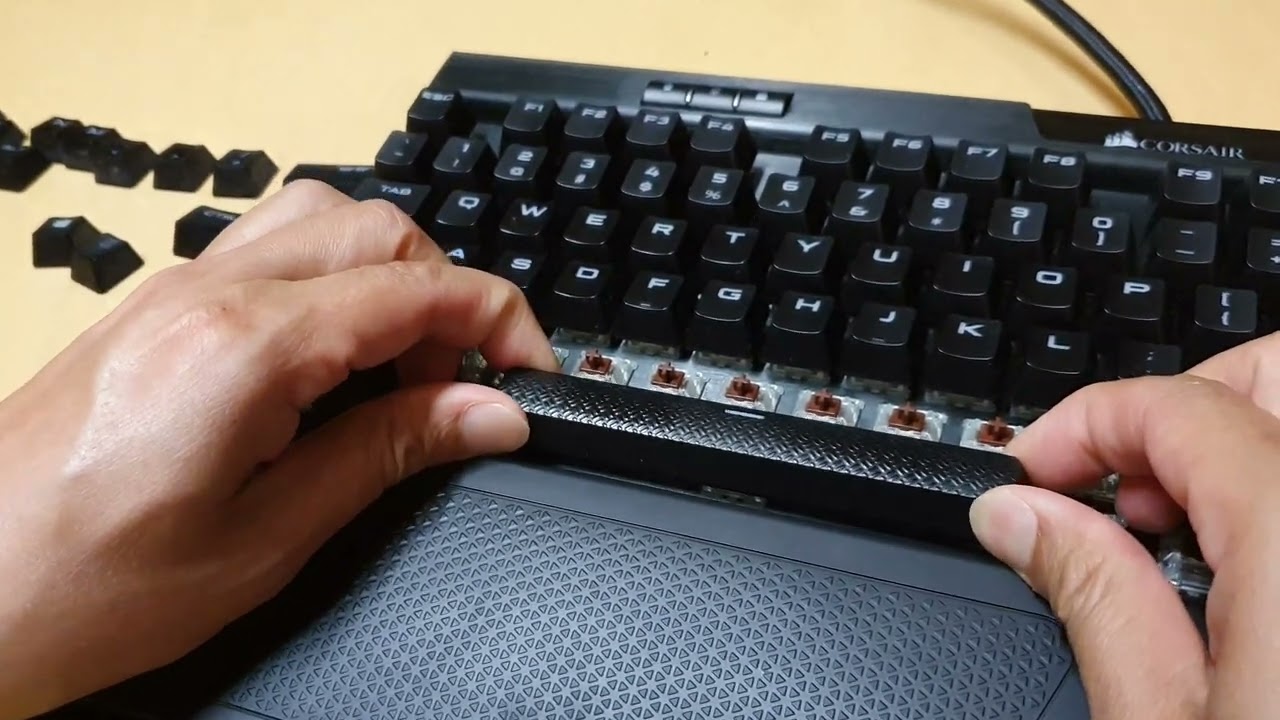
- Locate the Stabilizer Bars: Look for the stabilizer bars on the underside of the spacebar. These are the components that help maintain the key’s stability and ensure consistent performance. Take note of their position and orientation to facilitate reassembly later.
- Use a Flathead Screwdriver or Keycap Puller: Gently insert a flathead screwdriver or use a keycap puller to pry the spacebar keycap from its housing. Apply even pressure on both ends of the keycap to avoid bending or damaging the stabilizer bars.
- Work Carefully: Slowly and steadily lift the keycap, ensuring that the stabilizer bars remain aligned and undamaged during the removal process. Take your time to prevent any unnecessary force that could lead to breakage.
- Set Aside the Keycap: Once the keycap is removed, set it aside in a safe place where it won’t get lost or damaged. This step is crucial for easy access to the spacebar mechanism for cleaning and inspection.
By following these steps, you can safely detach the spacebar keycap from your Corsair gaming keyboard, providing access to the underlying mechanism for thorough cleaning and maintenance. With the keycap removed, you can proceed to address any issues affecting the spacebar’s functionality and restore it to optimal performance.
Cleaning the Spacebar Mechanism
Once the spacebar keycap is removed, it’s time to focus on cleaning the mechanism beneath it to address any issues causing the spacebar to malfunction. Follow these steps to effectively clean the spacebar mechanism on your Corsair gaming keyboard:
- Inspect for Debris: Take a close look at the area beneath the spacebar keycap and the stabilizer bars. Check for any visible debris, dust, or residue that may be interfering with the key’s movement or causing it to stick.
- Use Isopropyl Alcohol: Moisten a cotton swab with isopropyl alcohol and gently clean the surfaces around the stabilizer bars and the spacebar mechanism. Ensure that the alcohol is applied sparingly to avoid excess moisture entering the keyboard.
- Thorough Cleaning: Carefully wipe away any grime or buildup, paying attention to the areas where the stabilizer bars make contact with the keyboard housing. Use a soft brush to dislodge stubborn debris without causing damage to the components.
- Drying Time: Allow the cleaned areas to air dry for a few minutes to ensure that any residual moisture from the alcohol evaporates completely. This step is essential before reattaching the spacebar keycap.
By diligently cleaning the spacebar mechanism, you can eliminate the factors contributing to its malfunction and restore smooth, responsive operation to the key. Thorough cleaning helps remove any hindrances to the spacebar’s movement, ensuring that it functions optimally once reassembled.
Reattaching the Spacebar Keycap
After cleaning the spacebar mechanism, it’s time to reattach the keycap to your Corsair gaming keyboard. Follow these steps to ensure a secure and proper reassembly of the spacebar keycap:
- Align the Keycap: Position the spacebar keycap over the spacebar switch and align it carefully to ensure that the stabilizer bars fit into their respective slots. Take note of the orientation of the keycap to match it with the switch housing.
- Apply Even Pressure: Gently press down on the keycap, applying even pressure on both ends to secure it in place. Ensure that the stabilizer bars are properly engaged and that the keycap sits flush with the surrounding keys.
- Confirm Stability: Press the spacebar a few times to verify that it depresses and rebounds smoothly, indicating that it is securely attached and functioning as intended. This step helps ensure that the keycap is properly seated and aligned.
By reattaching the spacebar keycap with precision and care, you can restore full functionality to the key, allowing for seamless and responsive performance during your gaming sessions. A securely reattached keycap ensures that the spacebar operates as intended, contributing to an enhanced gaming experience with your Corsair keyboard.
Testing the Spacebar
With the spacebar keycap securely reattached, it’s crucial to perform a thorough test to ensure that the key functions optimally and without any issues. Follow these steps to test the spacebar on your Corsair gaming keyboard:
- Keypress Verification: Press the spacebar multiple times to verify that it depresses and rebounds smoothly with each keystroke. Pay attention to any unusual resistance or sticking that may indicate lingering issues.
- Observe Key Response: Test the spacebar in conjunction with your gaming or typing activities to gauge its responsiveness and consistency. Ensure that it registers keystrokes accurately and without delays.
- Check for Abnormal Noises: Listen for any unusual sounds or creaking that may accompany spacebar presses. An effectively repaired spacebar should operate quietly and without any distracting noises.
By conducting a comprehensive test of the spacebar, you can confirm that the repair process has been successful and that the key now operates as intended, free from the issues that prompted the repair. A properly functioning spacebar enhances your overall keyboard experience and contributes to smoother, more enjoyable gaming and typing sessions with your Corsair keyboard.
Conclusion
Repairing a malfunctioning spacebar on your Corsair gaming keyboard is a rewarding endeavor that can restore seamless functionality to this essential key. By following the steps outlined in this guide, you’ve learned how to address common spacebar issues and perform the necessary maintenance to ensure optimal performance. From removing and cleaning the spacebar mechanism to reattaching the keycap and conducting thorough testing, each step plays a crucial role in the repair process.
With the right tools and a methodical approach, you can effectively resolve spacebar issues without the need for professional assistance, saving time and resources while extending the lifespan of your beloved Corsair gaming keyboard. The satisfaction of successfully restoring the spacebar to its full functionality adds to the overall enjoyment of using your keyboard for gaming, productivity, and various other activities.
Remember that regular maintenance and cleaning can help prevent future issues with the spacebar and other keys, ensuring that your Corsair gaming keyboard continues to deliver a superior user experience over the long term. By staying proactive and addressing any signs of key malfunction early on, you can maintain the performance and reliability of your keyboard for years to come.
Armed with the knowledge and skills gained from this guide, you can confidently tackle spacebar issues and keep your Corsair gaming keyboard in top condition, ready to elevate your gaming and typing experiences with its smooth and responsive keys.