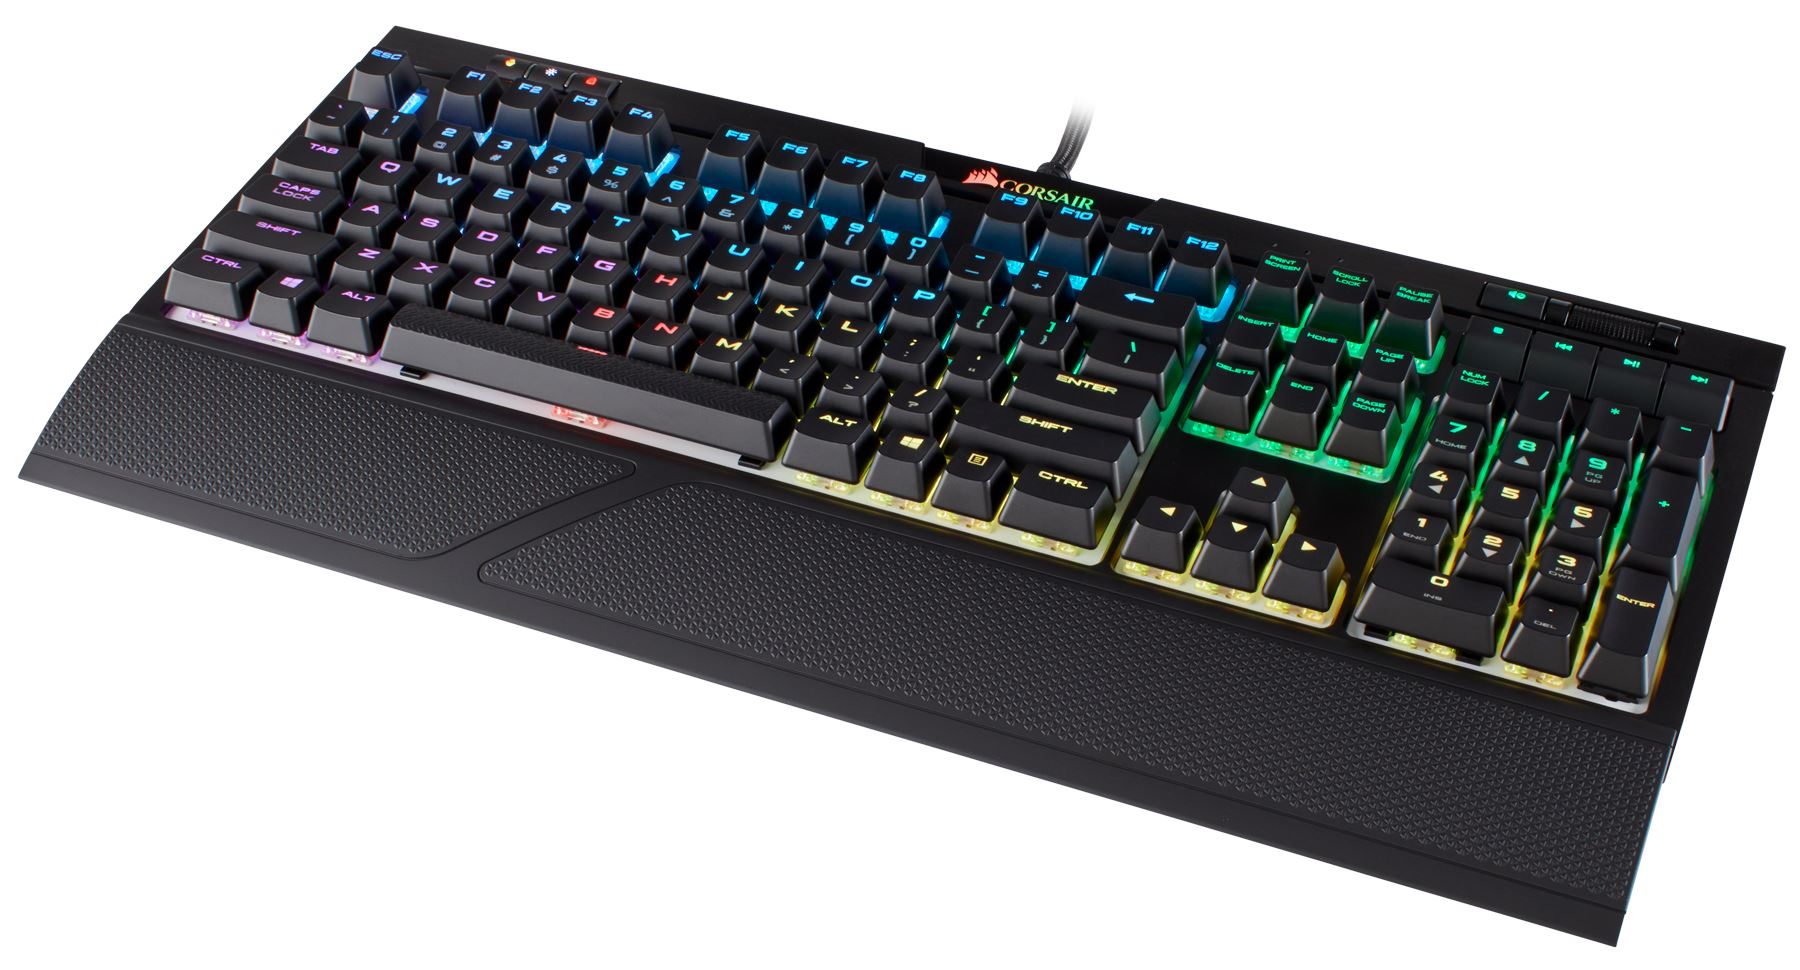
Introduction
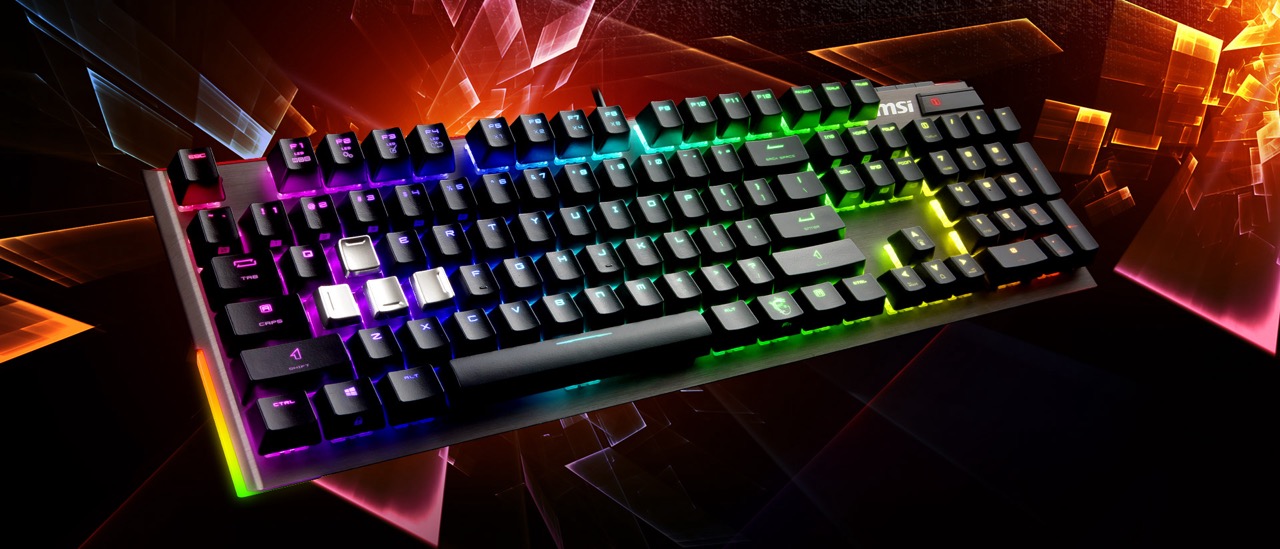
Cleaning a Corsair gaming keyboard is an essential maintenance task that can prolong its lifespan and ensure optimal performance. Over time, keyboards can accumulate dust, debris, and grime, leading to sticky keys and diminished responsiveness. By following a few simple steps, you can effectively clean your Corsair gaming keyboard, restoring its functionality and appearance.
A well-maintained keyboard not only enhances your gaming experience but also improves your overall productivity. Whether you're a casual gamer or a dedicated professional, a clean keyboard is essential for seamless and enjoyable computing. Moreover, regular cleaning can prevent the buildup of harmful bacteria and germs, promoting a hygienic and healthy computing environment.
In this comprehensive guide, you will learn the step-by-step process for cleaning your Corsair gaming keyboard. From gathering the necessary supplies to reassembling the keyboard, each stage is crucial for achieving a thorough and effective cleaning. By following these instructions, you can maintain your keyboard in peak condition, ensuring a satisfying and reliable user experience.
Proper keyboard maintenance is often overlooked, but it is a simple and rewarding task that can significantly impact the longevity and performance of your Corsair gaming keyboard. With the right tools and techniques, you can keep your keyboard looking and feeling like new, allowing you to fully immerse yourself in your favorite games or work with unparalleled comfort and precision.
Now, let's dive into the step-by-step process of cleaning your Corsair gaming keyboard, starting with gathering the necessary supplies.
Step 1: Gather Your Supplies
Before embarking on the keyboard cleaning process, it’s essential to gather the necessary supplies to ensure a thorough and effective cleaning session. Here’s a list of items you’ll need:
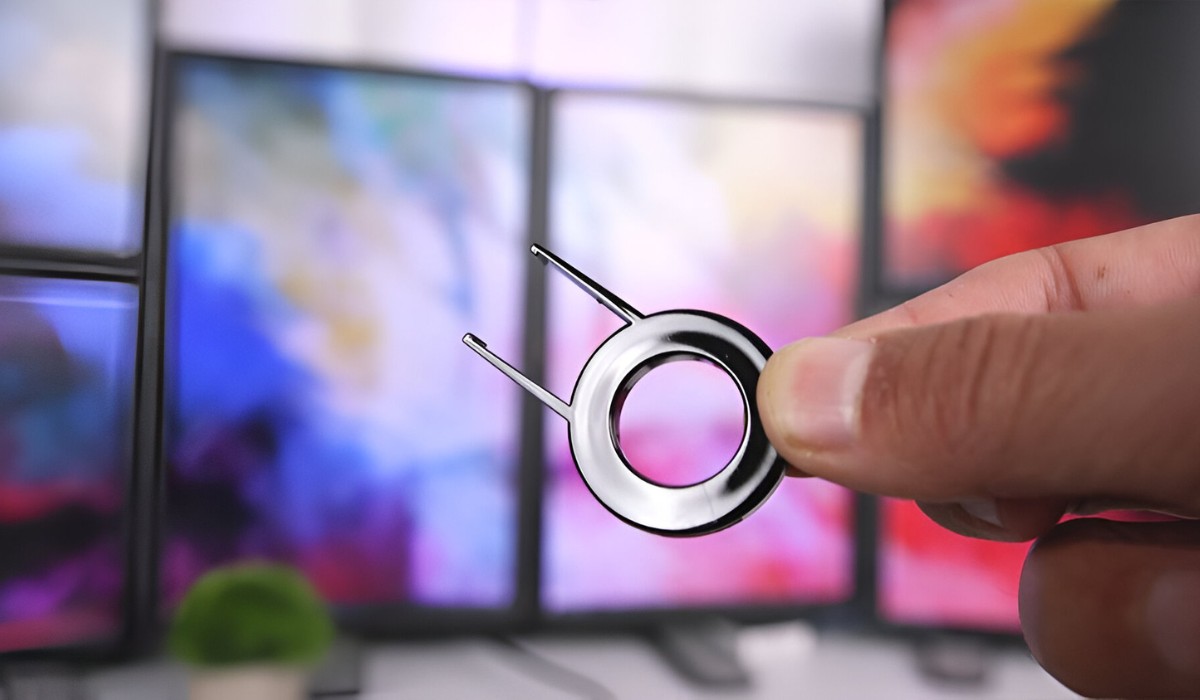
- Keycap puller: This tool is essential for safely removing the keycaps without causing damage to the keyboard.
- Microfiber cloth: A soft, lint-free cloth is ideal for wiping down the keycaps and keyboard base, ensuring a streak-free finish.
- Isopropyl alcohol: This cleaning solution is effective for removing grime, oil, and other residues from the keycaps and keyboard base.
- Cotton swabs: These are useful for reaching tight spaces and crevices on the keyboard, allowing for detailed cleaning.
- Compressed air: Using compressed air can help dislodge and remove dust and debris from the keyboard’s nooks and crannies.
- Flat, clean surface: Having a clear and stable workspace to disassemble and clean the keyboard will facilitate the process.
By ensuring you have these supplies on hand, you can streamline the cleaning process and achieve optimal results. The keycap puller is particularly important for removing the keycaps without causing any damage, while the microfiber cloth and isopropyl alcohol will help in achieving a pristine finish. Additionally, the use of cotton swabs and compressed air allows for detailed and thorough cleaning, ensuring that every part of the keyboard is free from dust and grime.
With the supplies gathered and ready for use, you’re now prepared to move on to the next step: removing the keycaps from your Corsair gaming keyboard.
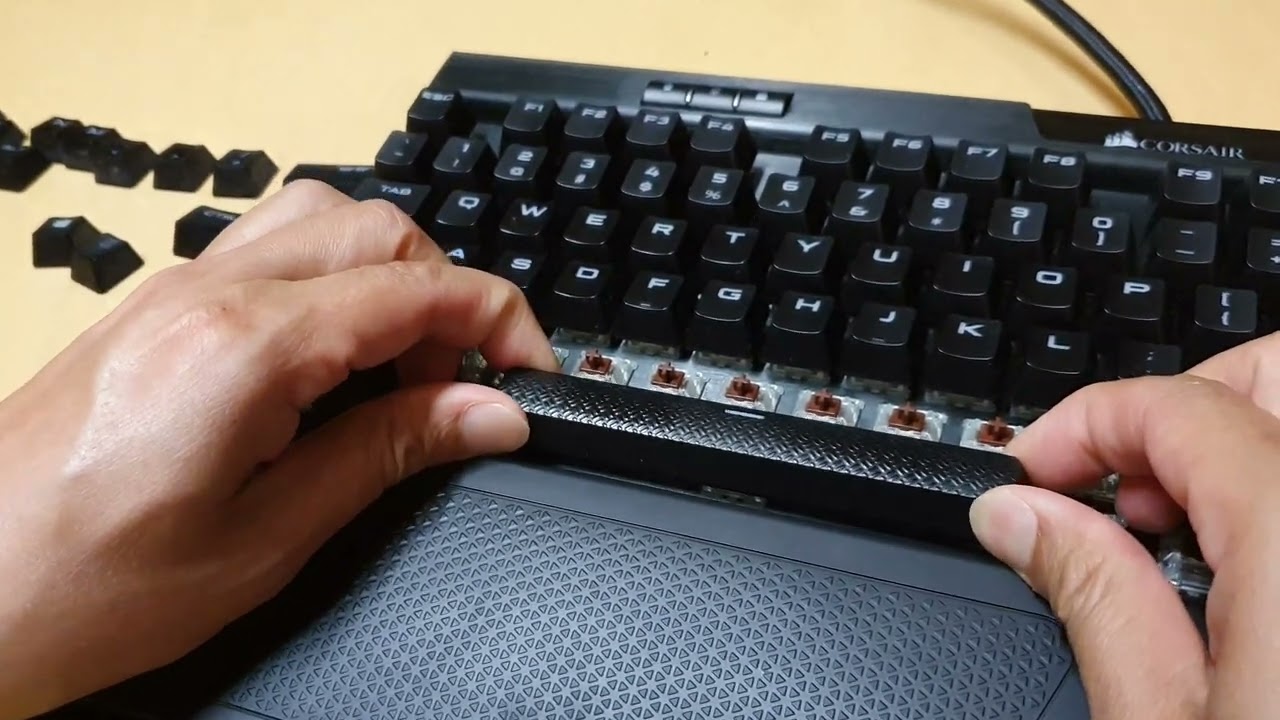
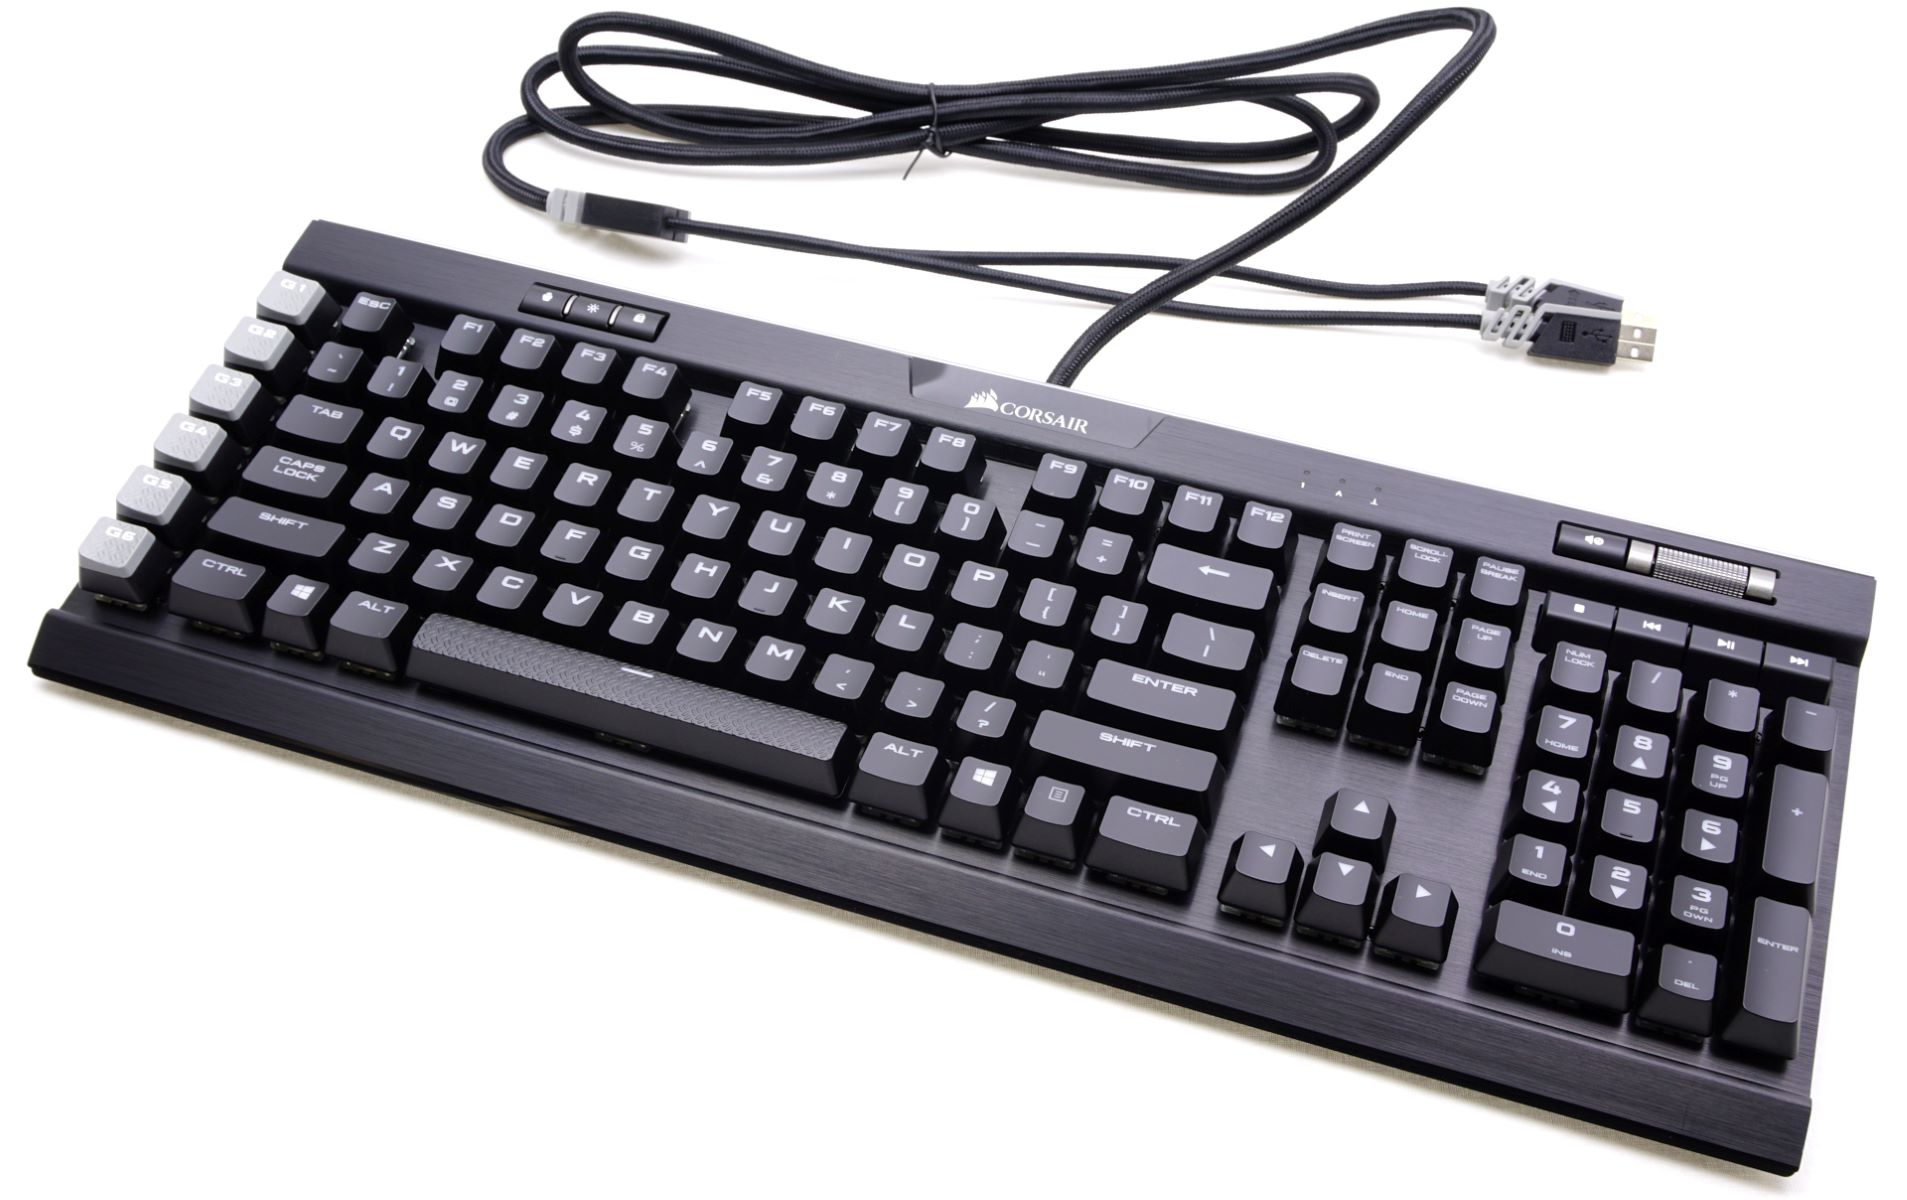
Step 2: Removing Keycaps
Removing the keycaps from your Corsair gaming keyboard is a crucial step in the cleaning process, allowing for thorough access to the underlying switches and keyboard base. Here’s a detailed guide on how to safely remove the keycaps:
- Prepare the Workspace: Find a well-lit and spacious area to work on, ensuring that you have ample room to lay out the keycaps and maintain visibility of the keyboard’s layout.
- Use the Keycap Puller: Gently position the keycap puller around a keycap, ensuring that it grasps the keycap securely. Apply even pressure and pull upwards to release the keycap from the switch. Repeat this process for all the keycaps, organizing them systematically for easy reassembly.
- Handle with Care: It’s important to handle the keycaps delicately to avoid damaging the switches or the keycap stems. Avoid using excessive force when pulling the keycaps, as this can lead to breakage.
- Inspect and Clean: As you remove the keycaps, take the opportunity to inspect each one for accumulated dirt, debris, or signs of wear. Set them aside for cleaning in the next step.
By following these steps, you can safely and efficiently remove the keycaps from your Corsair gaming keyboard, setting the stage for thorough cleaning and maintenance. Taking care to handle the keycaps gently will help prevent any damage to the switches or keycap stems, ensuring that the reassembly process is smooth and trouble-free.
With the keycaps successfully removed, it’s time to proceed to the next stage: cleaning the keycaps to restore them to their pristine condition.
Step 3: Cleaning the Keycaps
Once the keycaps are removed from your Corsair gaming keyboard, it’s essential to thoroughly clean them to eliminate accumulated dirt, grime, and oils. Here’s a systematic approach to cleaning the keycaps effectively:
- Prepare a Cleaning Solution: Create a cleaning solution by mixing isopropyl alcohol with water in a 1:1 ratio. This solution is gentle yet effective for removing oils and grime from the keycaps.
- Submerge the Keycaps: Place the keycaps in a container filled with the prepared cleaning solution. Ensure that the keycaps are fully submerged, allowing the solution to penetrate and loosen any accumulated debris.
- Gentle Agitation: Gently agitate the keycaps in the cleaning solution, allowing the mixture to reach all surfaces and crevices. This helps dislodge stubborn dirt and ensures comprehensive cleaning.
- Rinse and Dry: After thorough agitation, remove the keycaps from the cleaning solution and rinse them under running water. Once rinsed, lay the keycaps on a clean, dry towel to air-dry completely.
- Inspect and Reassemble: Once dry, inspect each keycap for cleanliness and ensure that they are completely dry before reassembling them onto the keyboard. Take care to match each keycap to its corresponding switch.
By following these steps, you can effectively clean the keycaps of your Corsair gaming keyboard, restoring them to a pristine state and ensuring a hygienic and visually appealing keyboard. The gentle cleaning solution, coupled with thorough agitation and careful drying, helps eliminate dirt and grime without causing damage to the keycaps.
With the keycaps now clean and ready for reassembly, it’s time to move on to the next critical step: cleaning the keyboard base to remove dust, debris, and other contaminants.
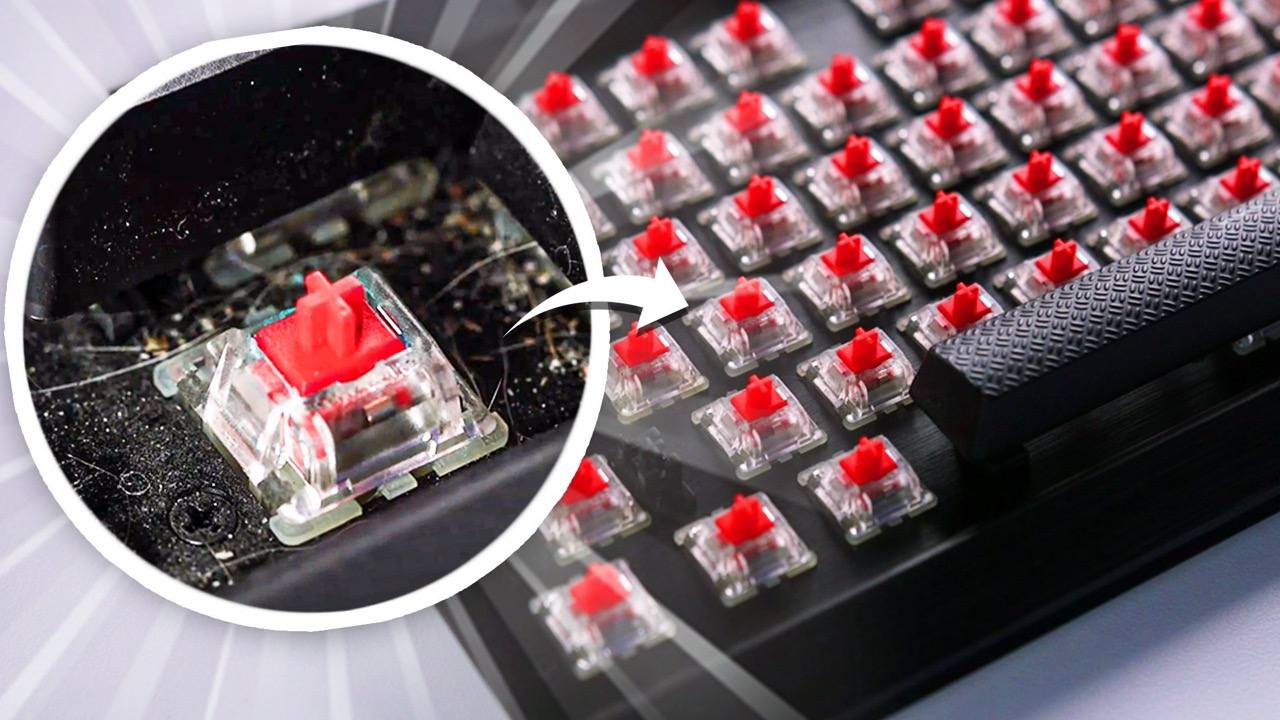
Step 4: Cleaning the Keyboard Base
After the keycaps have been removed and cleaned, the next important step in maintaining your Corsair gaming keyboard is to clean the keyboard base. The keyboard base, or the area beneath the keycaps, can accumulate dust, debris, and other contaminants over time. Here’s a detailed guide on how to effectively clean the keyboard base:
- Use Compressed Air: Begin by using compressed air to blow away loose dust and debris from the keyboard base. Hold the keyboard at a slight angle and use short bursts of compressed air to dislodge and remove particles from the crevices and gaps.
- Inspect for Stubborn Debris: After using compressed air, carefully inspect the keyboard base for any stubborn debris or residue that may require further attention. Use a soft brush or a clean, dry cotton swab to gently dislodge and remove any remaining contaminants.
- Clean with Isopropyl Alcohol: Dampen a microfiber cloth with isopropyl alcohol and gently wipe down the keyboard base, ensuring thorough coverage. Pay special attention to areas around the switches and stabilizers, as these areas can harbor dirt and grime.
- Dry Thoroughly: After cleaning with isopropyl alcohol, allow the keyboard base to air-dry completely before proceeding to the reassembly stage. Ensure that no moisture remains, as this can affect the performance of the keyboard.
By following these steps, you can effectively clean the keyboard base of your Corsair gaming keyboard, ensuring that it remains free from dust, debris, and other contaminants. The use of compressed air, coupled with meticulous inspection and gentle cleaning, helps maintain the keyboard base in optimal condition, contributing to the overall performance and longevity of the keyboard.
With the keyboard base now thoroughly cleaned and dried, it’s time to proceed to the final step: reassembling the keyboard to restore it to its fully functional state.
Step 5: Reassembling the Keyboard
After completing the cleaning process for the keycaps and keyboard base, the final step involves reassembling your Corsair gaming keyboard. Proper reassembly is crucial to ensure that the keyboard functions optimally and that the keycaps are securely attached. Here’s a step-by-step guide to reassembling your keyboard:
- Organize the Clean Keycaps: Arrange the cleaned keycaps in a logical order, matching them to their respective positions on the keyboard layout. This organization will streamline the reassembly process and prevent confusion.
- Position the Keycaps: Starting from one end of the keyboard, begin placing the keycaps back onto the switches. Gently press down on each keycap until it snaps into place, ensuring that it is seated securely and evenly.
- Verify Alignment and Stability: As you reattach the keycaps, periodically check for proper alignment and stability. Ensure that each keycap sits flush with the keyboard surface and that there is uniformity in their positioning.
- Test the Keys: Once all the keycaps are reattached, perform a quick test of the keys to ensure that they register keystrokes accurately and consistently. This test helps confirm that the keycaps are securely and functionally reinstalled.
By following these steps, you can effectively reassemble your Corsair gaming keyboard, ensuring that the keycaps are securely attached and that the keyboard functions as expected. Proper alignment and stability of the keycaps are essential for a satisfying and reliable typing or gaming experience.
With the keyboard successfully reassembled, you have completed the comprehensive cleaning process for your Corsair gaming keyboard. Regular maintenance and cleaning will help preserve the performance and aesthetics of your keyboard, allowing you to enjoy seamless and comfortable usage for an extended period.
Conclusion
Cleaning your Corsair gaming keyboard is a fundamental aspect of its maintenance, ensuring that it remains in optimal condition for extended periods. By following the step-by-step process outlined in this guide, you have acquired the knowledge and techniques necessary to maintain your keyboard effectively. From gathering the essential supplies to reassembling the keyboard, each stage is vital for achieving a thorough and successful cleaning session.
Regular cleaning not only enhances the visual appeal of your keyboard but also contributes to a hygienic and pleasant computing environment. Removing accumulated dust, debris, and grime from the keycaps and keyboard base can prevent operational issues and maintain the tactile responsiveness of the keys, enhancing your overall gaming and typing experience.
Furthermore, a clean keyboard is more than just a functional device; it is a reflection of your commitment to maintaining a clean and organized workspace. The pride of using a well-maintained keyboard can positively impact your productivity and enjoyment while using your computer.
By incorporating keyboard cleaning into your routine maintenance schedule, you can prolong the lifespan of your Corsair gaming keyboard and ensure consistent performance. Additionally, the satisfaction of typing or gaming on a pristine keyboard is a rewarding experience that motivates you to prioritize its care and maintenance.
With the knowledge and skills gained from this guide, you are well-equipped to keep your Corsair gaming keyboard in peak condition, allowing you to fully immerse yourself in your favorite games or work with unparalleled comfort and precision. Remember, a clean keyboard is not only a functional tool but also a reflection of your dedication to maintaining a clean and enjoyable computing environment.