Introduction
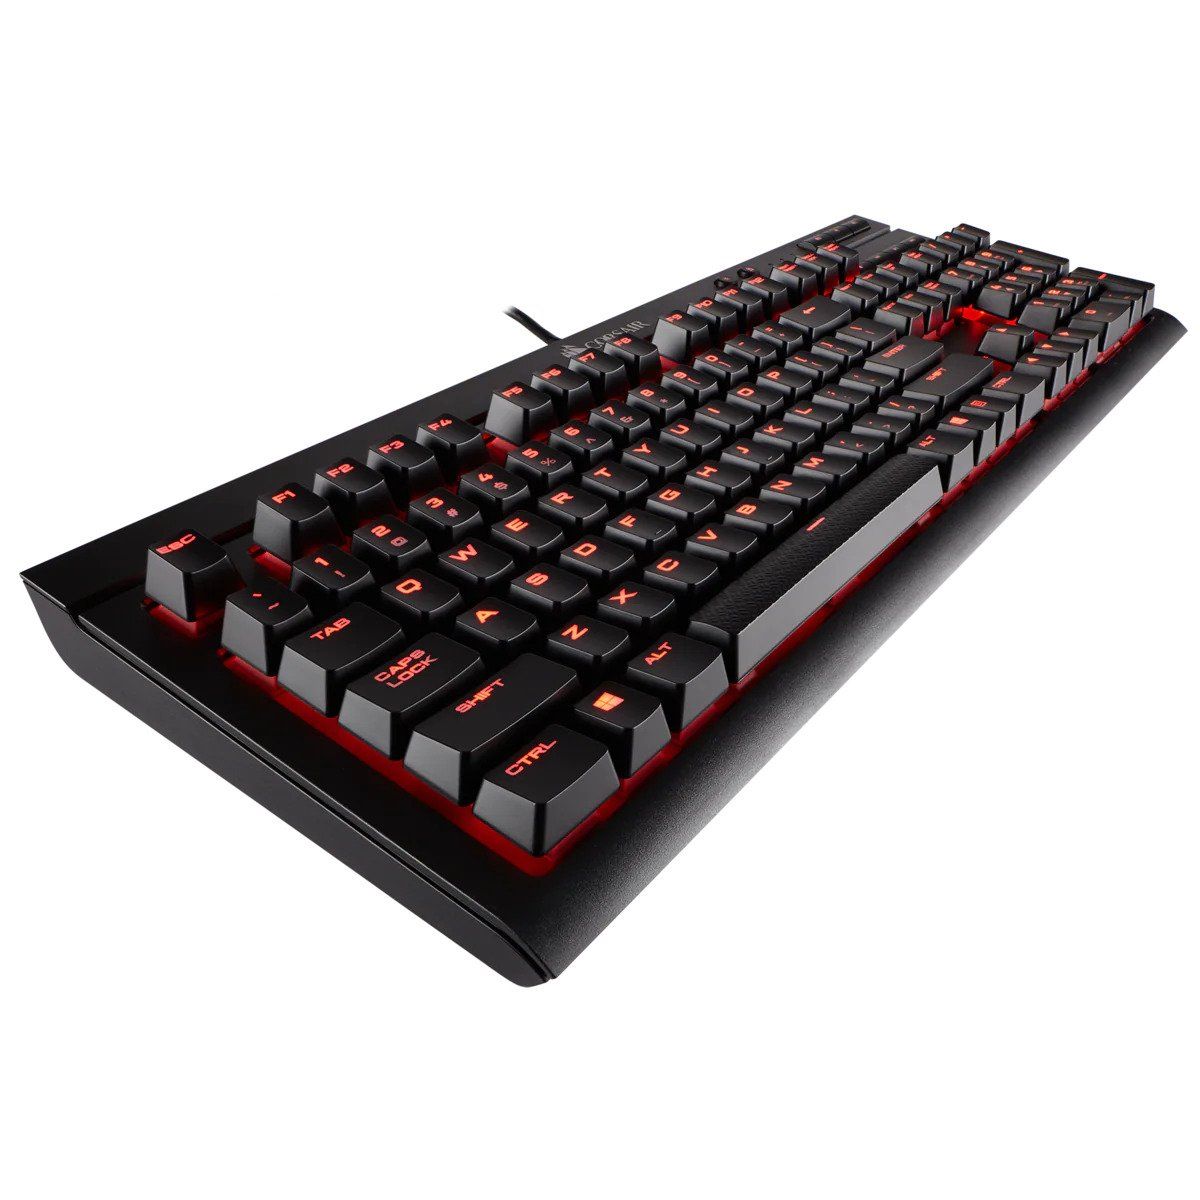
Welcome to the comprehensive guide on how to clean a mechanical keyboard, specifically the Corsair model. Mechanical keyboards are a favorite among gamers, programmers, and typists for their tactile feedback and durability. However, over time, dust, crumbs, and other debris can accumulate between the keys, affecting the keyboard's performance and overall cleanliness. By following the steps outlined in this guide, you'll be able to maintain your Corsair mechanical keyboard in optimal condition, ensuring a satisfying typing experience and prolonging its lifespan.
Cleaning a mechanical keyboard is a straightforward process that can be completed with basic household supplies. Whether you're a novice or a seasoned tech enthusiast, this step-by-step guide will equip you with the knowledge and techniques to effectively clean your Corsair mechanical keyboard without causing any damage.
As we delve into the cleaning process, it's important to note that regular maintenance not only keeps your keyboard looking pristine but also prevents mechanical issues and ensures that every keystroke is as responsive as the first. So, let's roll up our sleeves and embark on this cleaning journey to revitalize your Corsair mechanical keyboard.
Step 1: Gather Your Supplies
Before diving into the cleaning process, it’s essential to gather the necessary supplies. Having the right tools at your disposal will streamline the cleaning procedure and ensure that you can effectively remove dirt and grime from your Corsair mechanical keyboard. Here’s what you’ll need:
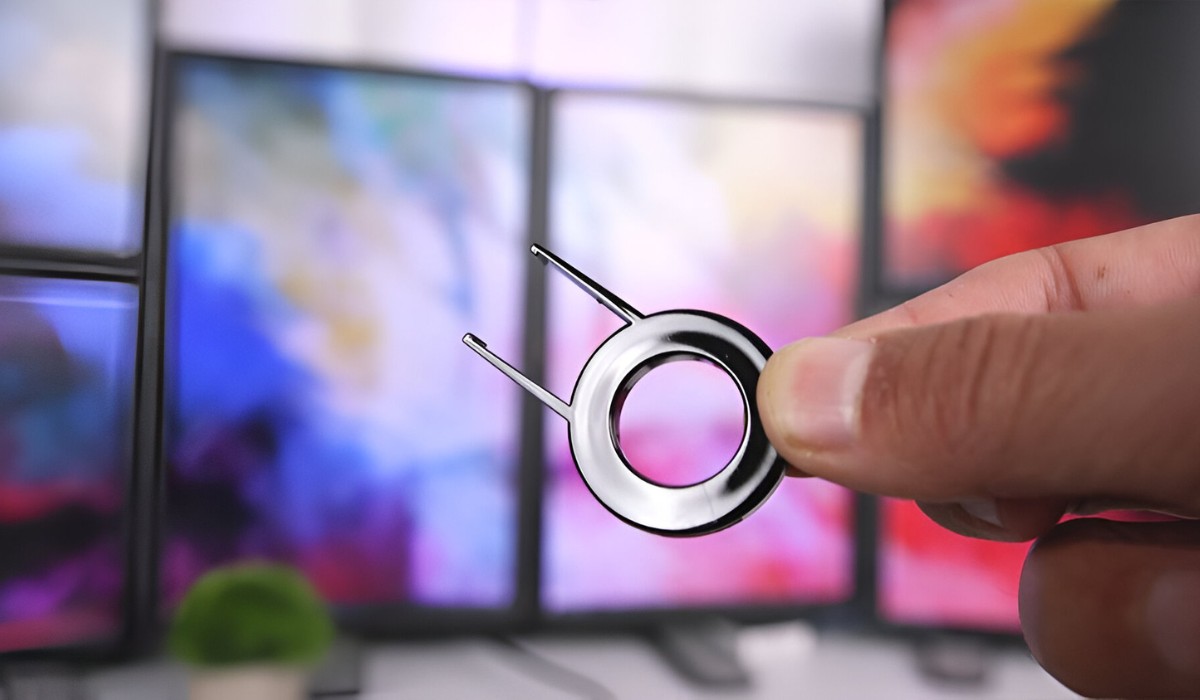
- Keycap Puller: A keycap puller is an indispensable tool for safely removing the keycaps from your mechanical keyboard. It minimizes the risk of damaging the keycaps or the switches while disassembling the keyboard.
- Microfiber Cloth: A soft, lint-free microfiber cloth is ideal for wiping down the keyboard surface and removing dust and fingerprints without leaving behind any residue.
- Cotton Swabs: These are useful for reaching tight spaces between the keys and applying cleaning solutions precisely.
- Isopropyl Alcohol: Isopropyl alcohol, commonly known as rubbing alcohol, is an effective solvent for removing grime, grease, and disinfecting the keyboard without causing damage.
- Compressed Air: A can of compressed air is perfect for blowing out debris and dust from the keyboard’s nooks and crannies, especially from areas that are hard to reach with other tools.
- Plastic Bowl or Container: Use a plastic bowl or container to create a cleaning solution by diluting isopropyl alcohol with water. This will be used for cleaning the keycaps.
- Dish Soap: Mild dish soap can be used to clean the keycaps, removing any accumulated oils and grime.
By ensuring that you have these supplies on hand, you’ll be well-prepared to embark on the keyboard cleaning process, making it a seamless and efficient endeavor. With these tools at your disposal, you’ll be able to restore your Corsair mechanical keyboard to its pristine condition, free from debris and grime that may hinder its performance.
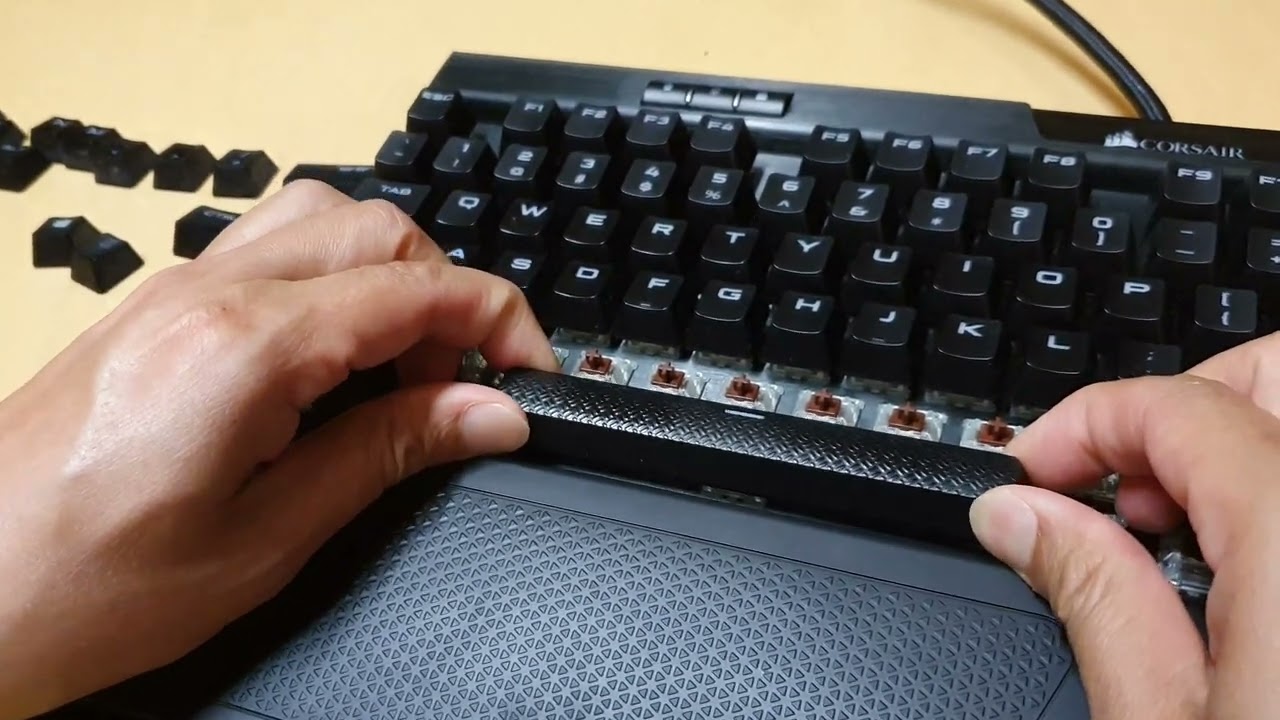
Step 2: Remove Keycaps
With your supplies at the ready, it’s time to begin the cleaning process by removing the keycaps from your Corsair mechanical keyboard. This step is crucial to access the underlying switches and thoroughly clean the keyboard’s surface. Here’s a systematic approach to safely remove the keycaps:
- Prepare Your Workspace: Find a clean, well-lit area to work on your keyboard. Having ample space to lay out the keycaps will make the reassembly process much more manageable.
- Use the Keycap Puller: Gently position the keycap puller over a keycap, ensuring that the prongs are evenly placed on both sides of the keycap. Apply even pressure and pull upwards to detach the keycap from the switch. Repeat this process for each keycap, placing them in a safe and organized manner to prevent misplacement.
- Exercise Caution: When using the keycap puller, take care to apply gentle and consistent pressure to avoid damaging the keycaps or the switches. If a keycap feels resistant, double-check the positioning of the keycap puller before attempting to remove it.
- Inspect and Clean: As you remove the keycaps, take note of any debris or dust that may have accumulated on the switches or the keyboard’s surface. This visual inspection will guide your cleaning efforts in the subsequent steps.
By following these steps, you’ll successfully remove the keycaps from your Corsair mechanical keyboard, laying the groundwork for a thorough cleaning of both the keycaps and the underlying keyboard surface. With the keycaps removed, you’ll have clear access to the areas that require attention, ensuring that your keyboard is revitalized and free from any obstructions that may compromise its performance.
Step 3: Clean the Keycaps
Now that the keycaps are removed, it’s time to focus on cleaning them to restore their pristine condition. Keycaps are prone to accumulating dirt, oils, and grime from regular use, and a thorough cleaning will not only enhance their appearance but also contribute to a more hygienic typing experience. Follow these steps to effectively clean the keycaps of your Corsair mechanical keyboard:
- Create a Cleaning Solution: In a plastic bowl or container, mix a small amount of mild dish soap with warm water to create a gentle cleaning solution. This solution will help break down oils and grime that have adhered to the keycaps.
- Submerge the Keycaps: Place the keycaps in the cleaning solution, ensuring that they are fully submerged. Allow them to soak for a few minutes to loosen any accumulated dirt and oils.
- Gently Agitate the Keycaps: Using your fingers or a soft-bristled brush, gently agitate the keycaps in the cleaning solution to dislodge any stubborn debris. Take care to avoid using excessive force, especially on keycaps with stabilizers, to prevent damage.
- Rinse and Dry: After agitating the keycaps, remove them from the cleaning solution and rinse them thoroughly under running water. Once rinsed, place the keycaps on a clean, dry microfiber cloth and allow them to air dry completely. Avoid using heat to expedite the drying process, as excessive heat can warp or damage the keycaps.
- Inspect for Residue: Once the keycaps are dry, inspect them for any remaining residue or grime. If necessary, use a cotton swab dampened with isopropyl alcohol to gently remove any persistent residue from the keycap surfaces.
By meticulously cleaning the keycaps using these steps, you’ll effectively eliminate accumulated dirt and oils, restoring the keycaps to their original luster. With the keycaps thoroughly cleaned, your Corsair mechanical keyboard will not only look rejuvenated but also provide a more pleasant and hygienic typing experience.
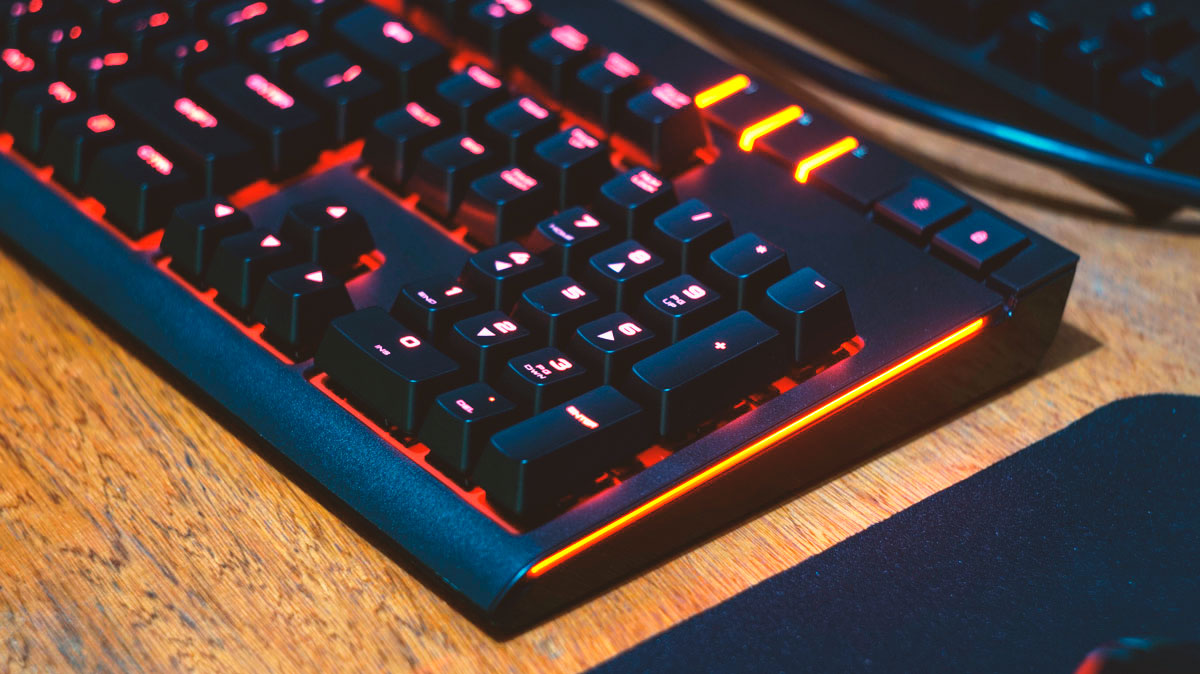
Step 4: Clean the Keyboard Surface
With the keycaps safely set aside for cleaning, it’s time to focus on rejuvenating the surface of your Corsair mechanical keyboard. Over time, dust, crumbs, and oils can accumulate on the keyboard’s surface, potentially affecting its performance and overall cleanliness. Follow these steps to effectively clean the keyboard surface and ensure that it remains free from debris:
- Use Compressed Air: Begin by using a can of compressed air to blow out any loose debris and dust from between the switches and along the edges of the keyboard. Hold the keyboard at a slight angle to allow the dislodged debris to fall away from the keyboard.
- Spot Cleaning with Isopropyl Alcohol: Dampen a corner of a microfiber cloth with isopropyl alcohol and gently spot clean the areas around the switches and on the keyboard’s surface. Focus on areas where grime or oils may have accumulated, taking care not to saturate the cloth with excessive alcohol.
- Addressing Stubborn Stains: For stubborn stains or residues, lightly dampen a cotton swab with isopropyl alcohol and carefully target the affected areas. Exercise caution to avoid excessive moisture, especially near the switches and electronic components.
- Thorough Wipe-Down: Using a clean, dry microfiber cloth, thoroughly wipe down the entire keyboard surface, ensuring that all traces of moisture and cleaning solution are removed. This step will leave the keyboard with a clean and polished appearance.
- Allow for Drying Time: After cleaning, allow the keyboard to air dry for a few minutes to ensure that any residual moisture evaporates before reassembling the keycaps.
By following these steps, you’ll effectively remove debris, dust, and grime from the surface of your Corsair mechanical keyboard, contributing to a hygienic and visually appealing typing experience. With the keyboard surface revitalized, you can proceed with confidence, knowing that your keyboard is primed for reassembly and renewed functionality.
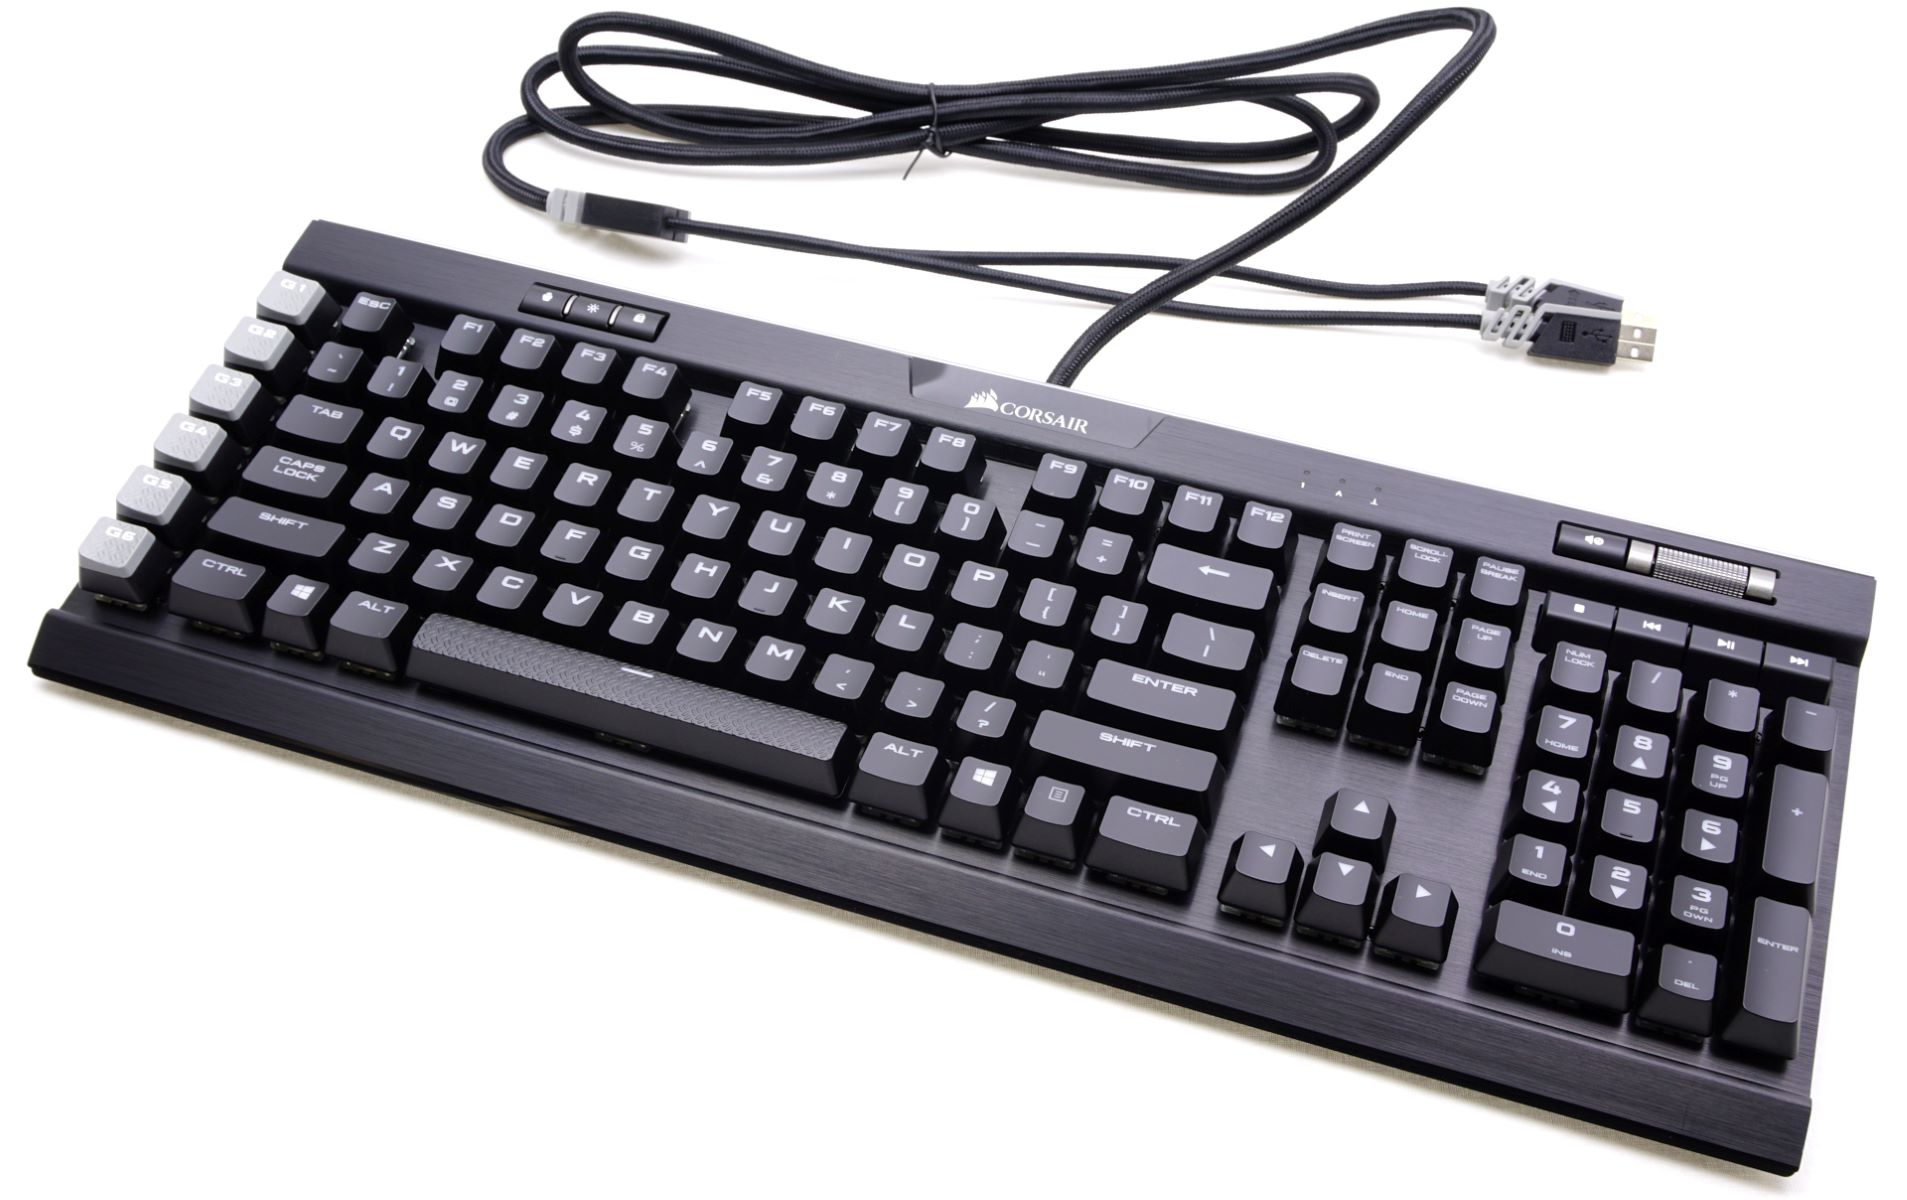
Step 5: Reassemble the Keyboard
With the keycaps and keyboard surface meticulously cleaned, it’s time to reassemble your Corsair mechanical keyboard. The reassembly process requires care and attention to ensure that each keycap is properly seated, allowing for smooth and responsive keystrokes. Follow these steps to reassemble your keyboard with precision:
- Organize the Keycaps: Lay out the cleaned keycaps in a logical arrangement, making it easier to identify and place them back onto the corresponding switches. Organizing the keycaps will streamline the reassembly process and minimize the risk of misplacement.
- Position the Keycaps: Starting from one end of the keyboard, begin placing the keycaps back onto their respective switches. Press down firmly but gently, ensuring that each keycap is securely seated without using excessive force. Take care to align the keycaps properly to maintain a uniform and visually appealing layout.
- Check for Stability: After placing the keycaps, perform a visual inspection to ensure that each keycap is stable and properly seated. Press each key to verify that it registers keystrokes accurately and returns to its original position without sticking.
- Test the Keyboard: Once all the keycaps are reassembled, test the keyboard by typing a few sentences or running a keystroke test. This will allow you to verify that each key is functioning as expected and that the reassembly process was successful.
By following these steps, you’ll successfully reassemble your Corsair mechanical keyboard, restoring it to a fully functional and aesthetically pleasing state. The meticulous reassembly process ensures that each keycap is securely seated, allowing for a satisfying typing experience without any disruptions or inconsistencies.
Conclusion
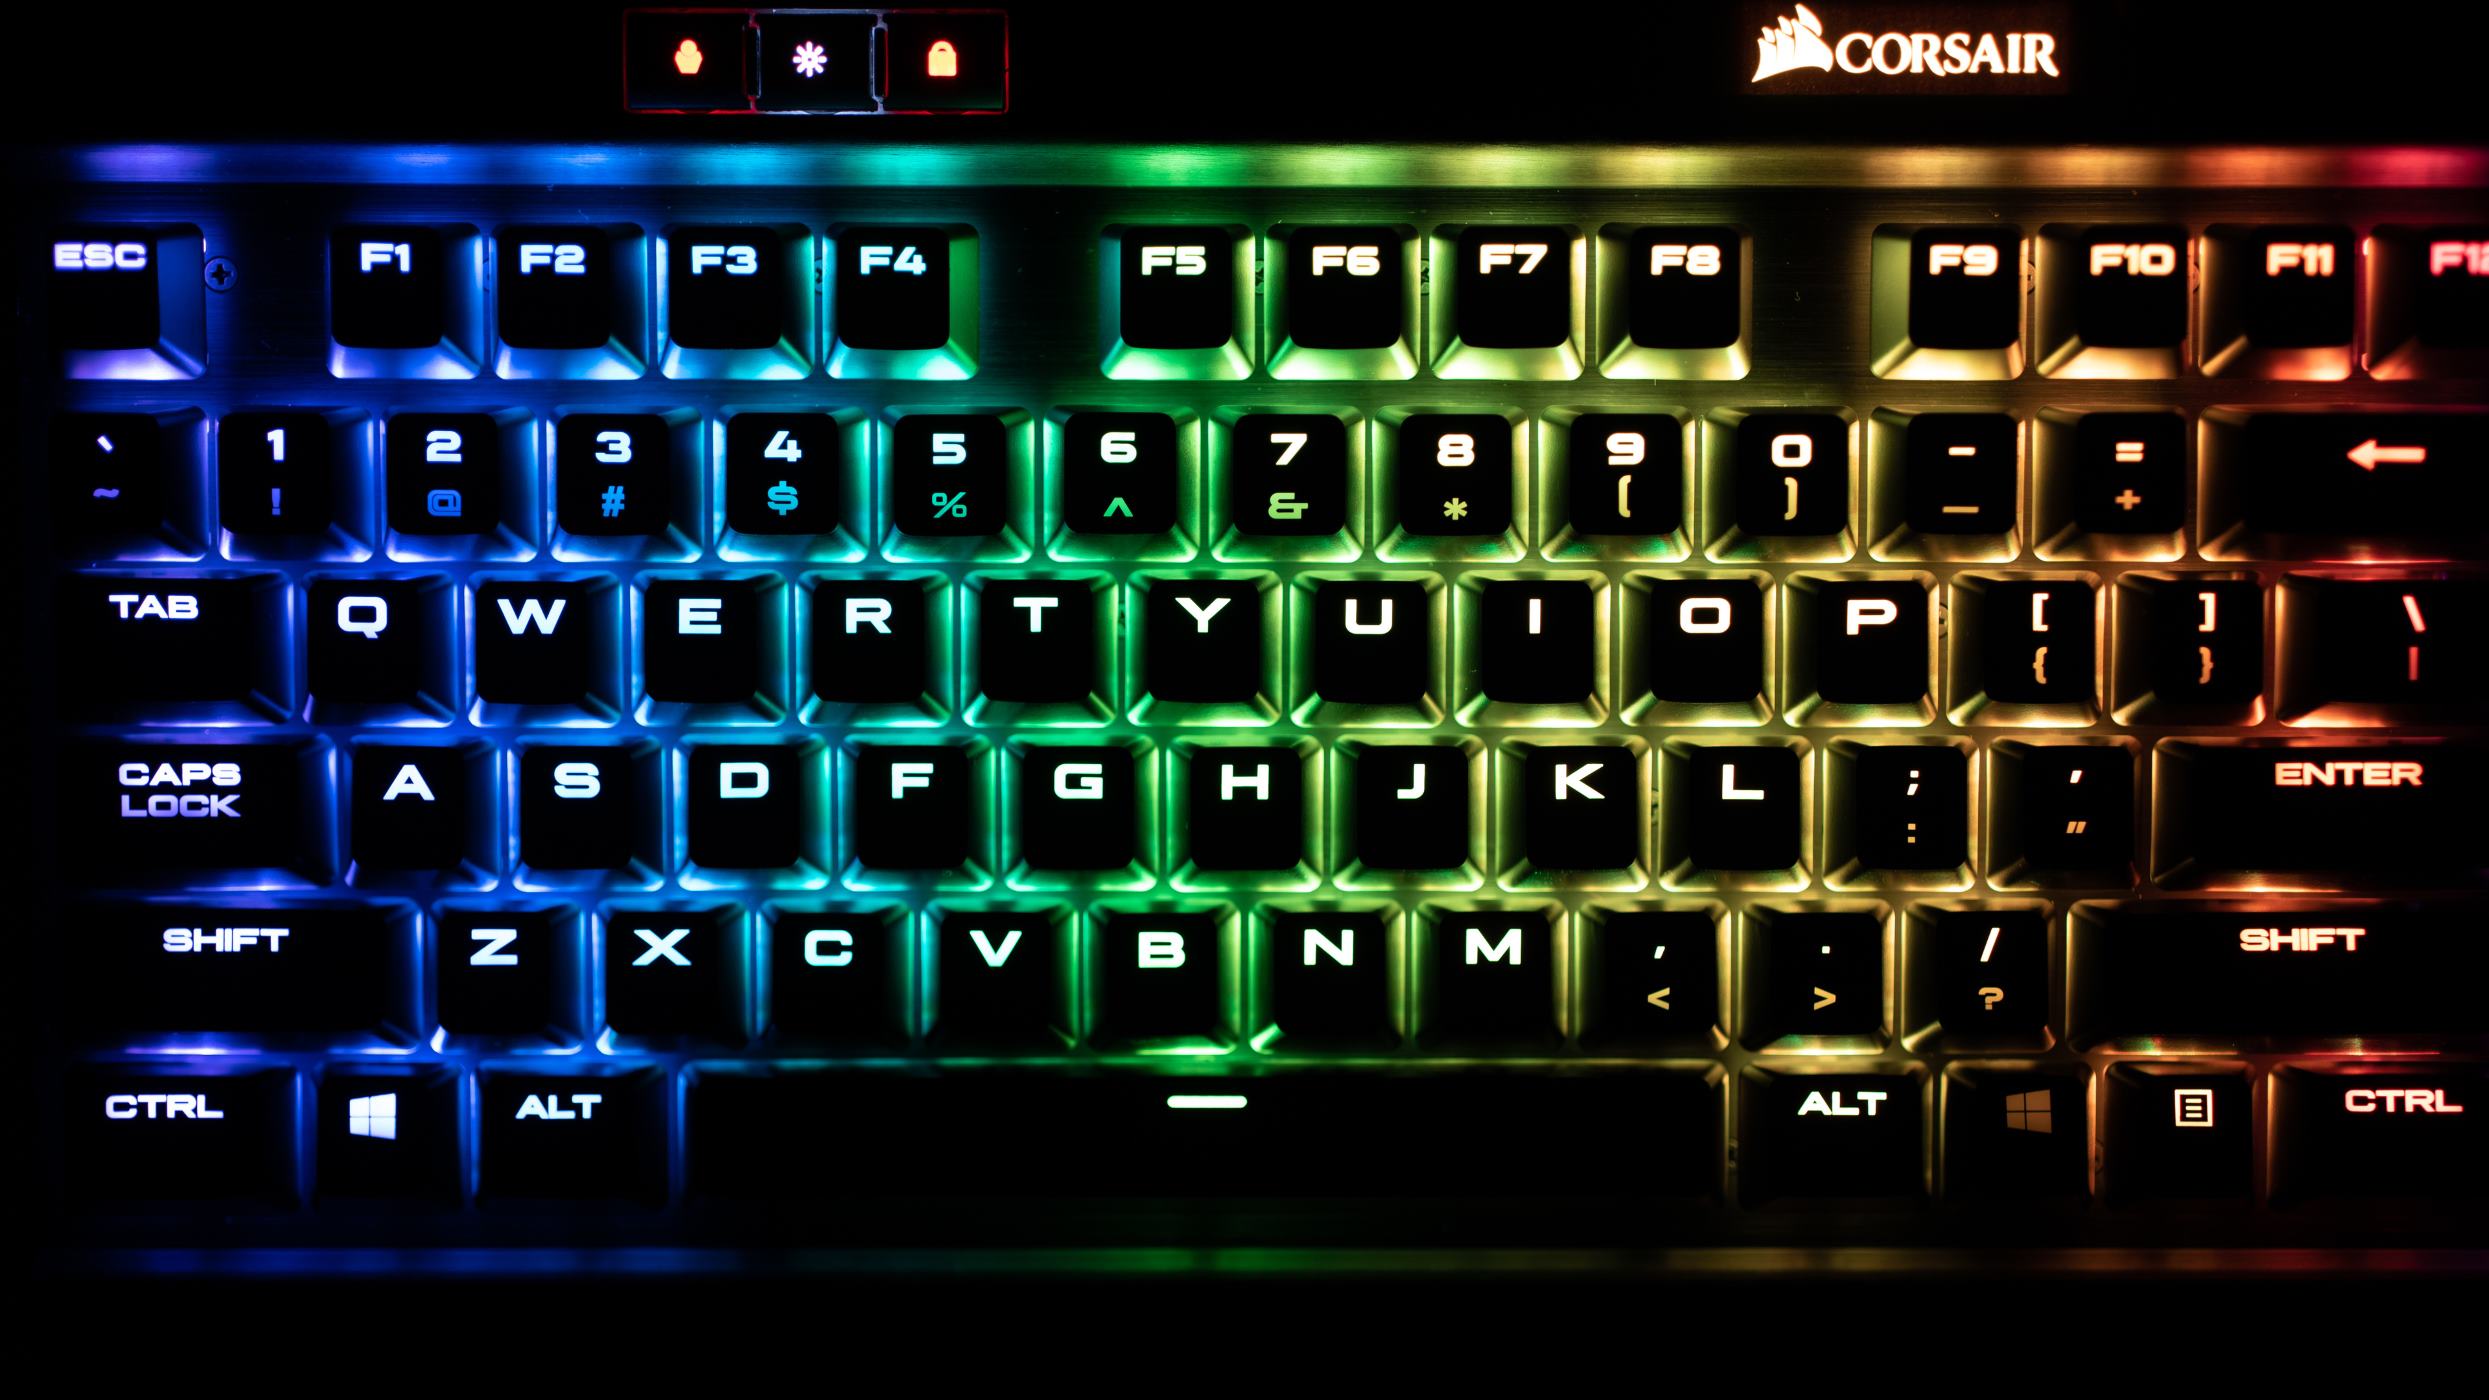
Congratulations on successfully completing the comprehensive cleaning process for your Corsair mechanical keyboard. By following the step-by-step guide outlined in this article, you’ve not only revitalized the appearance of your keyboard but also optimized its performance and longevity. Regular maintenance and cleaning are essential for preserving the functionality and aesthetics of your mechanical keyboard, ensuring that it remains a reliable tool for your daily tasks, gaming sessions, or programming endeavors.
By gathering the necessary supplies, removing and cleaning the keycaps, addressing the keyboard surface, and meticulously reassembling the keyboard, you’ve demonstrated a commitment to maintaining your Corsair mechanical keyboard in optimal condition. The attention to detail and care invested in the cleaning process will undoubtedly contribute to a more hygienic and enjoyable typing experience, free from the distractions of debris or grime.
As you continue to use your newly rejuvenated keyboard, consider incorporating regular cleaning and maintenance into your routine to preserve its pristine condition. By doing so, you’ll not only extend the lifespan of your keyboard but also ensure that it remains a reliable and visually appealing companion for your computing endeavors.
Thank you for embarking on this cleaning journey with your Corsair mechanical keyboard. May your freshly cleaned keyboard continue to serve as a dependable and satisfying tool for your digital adventures and professional pursuits.