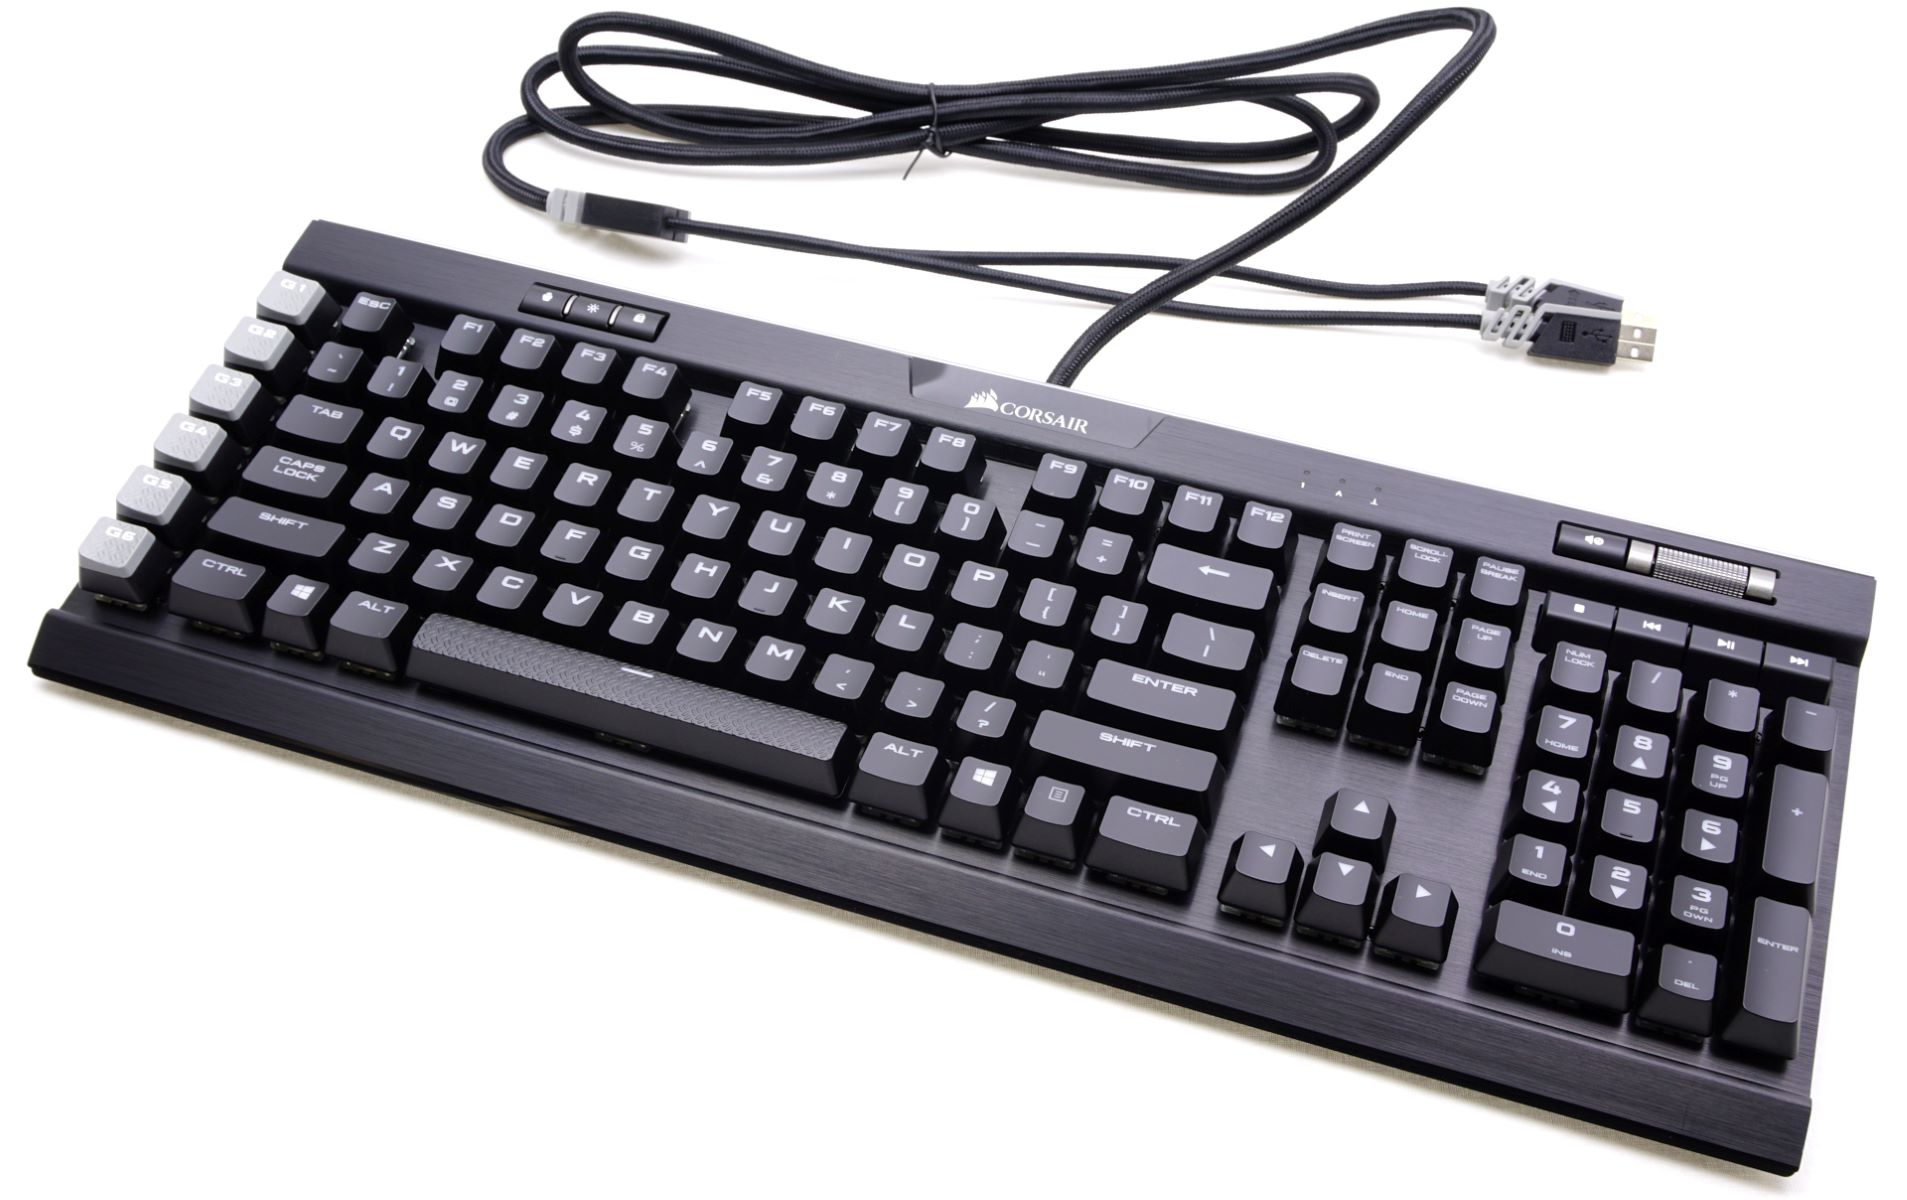
Introduction
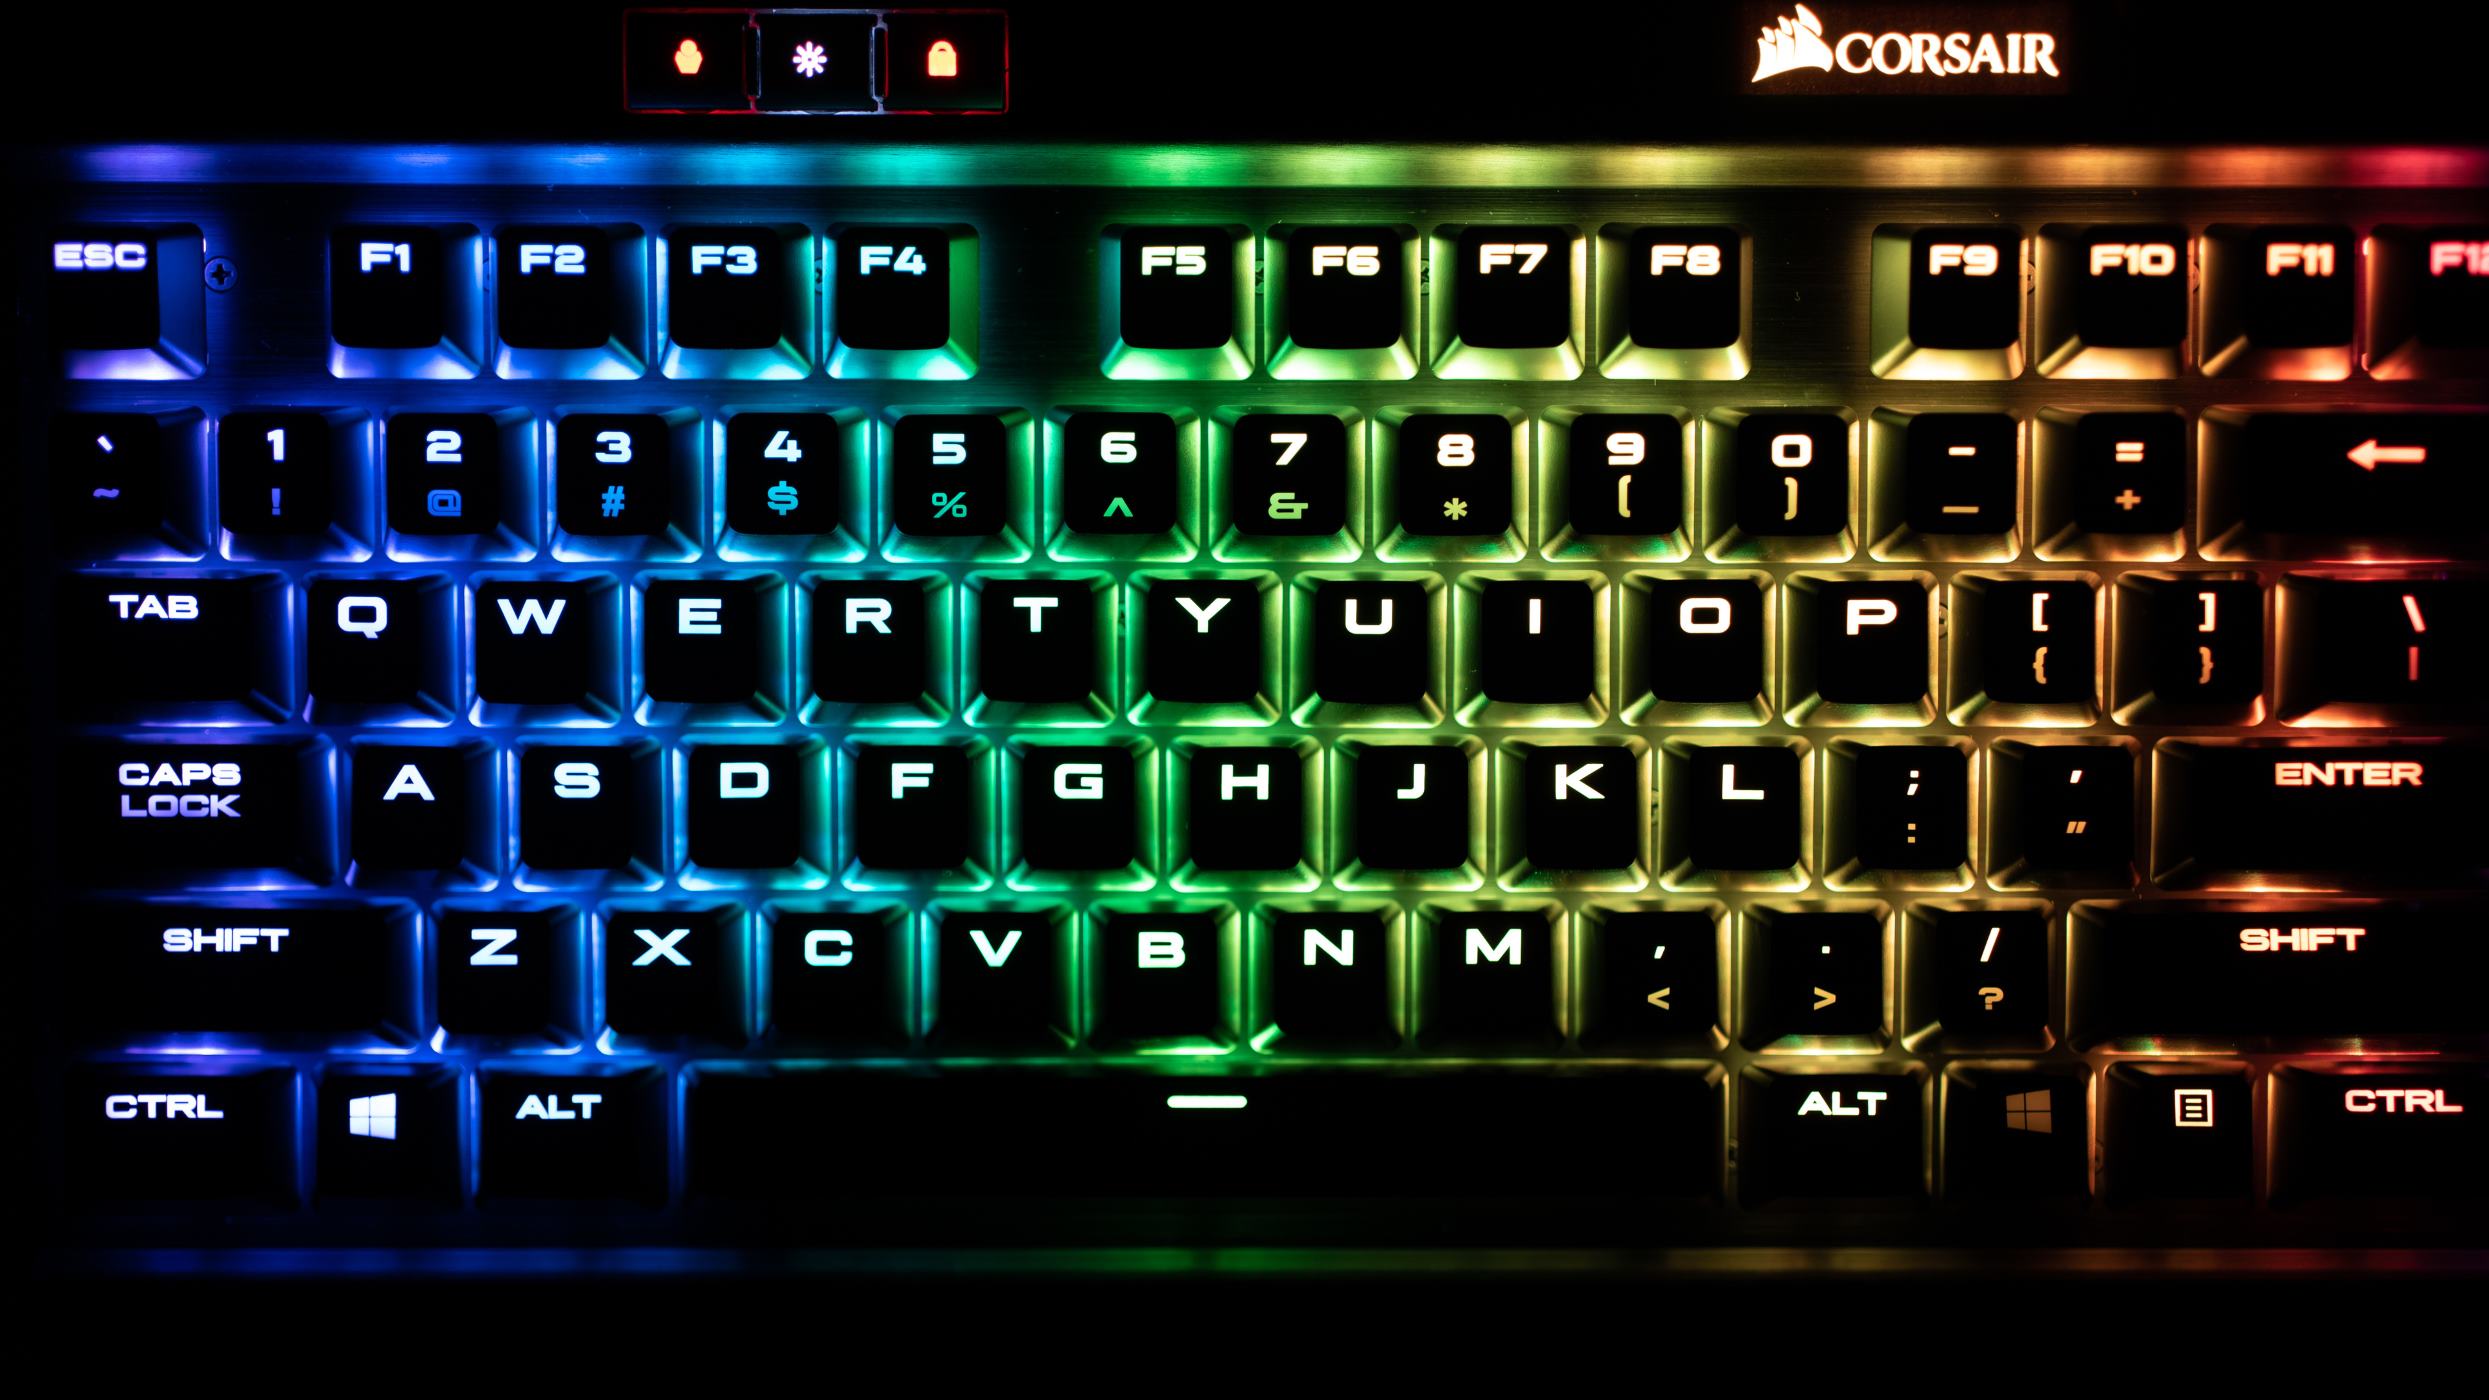
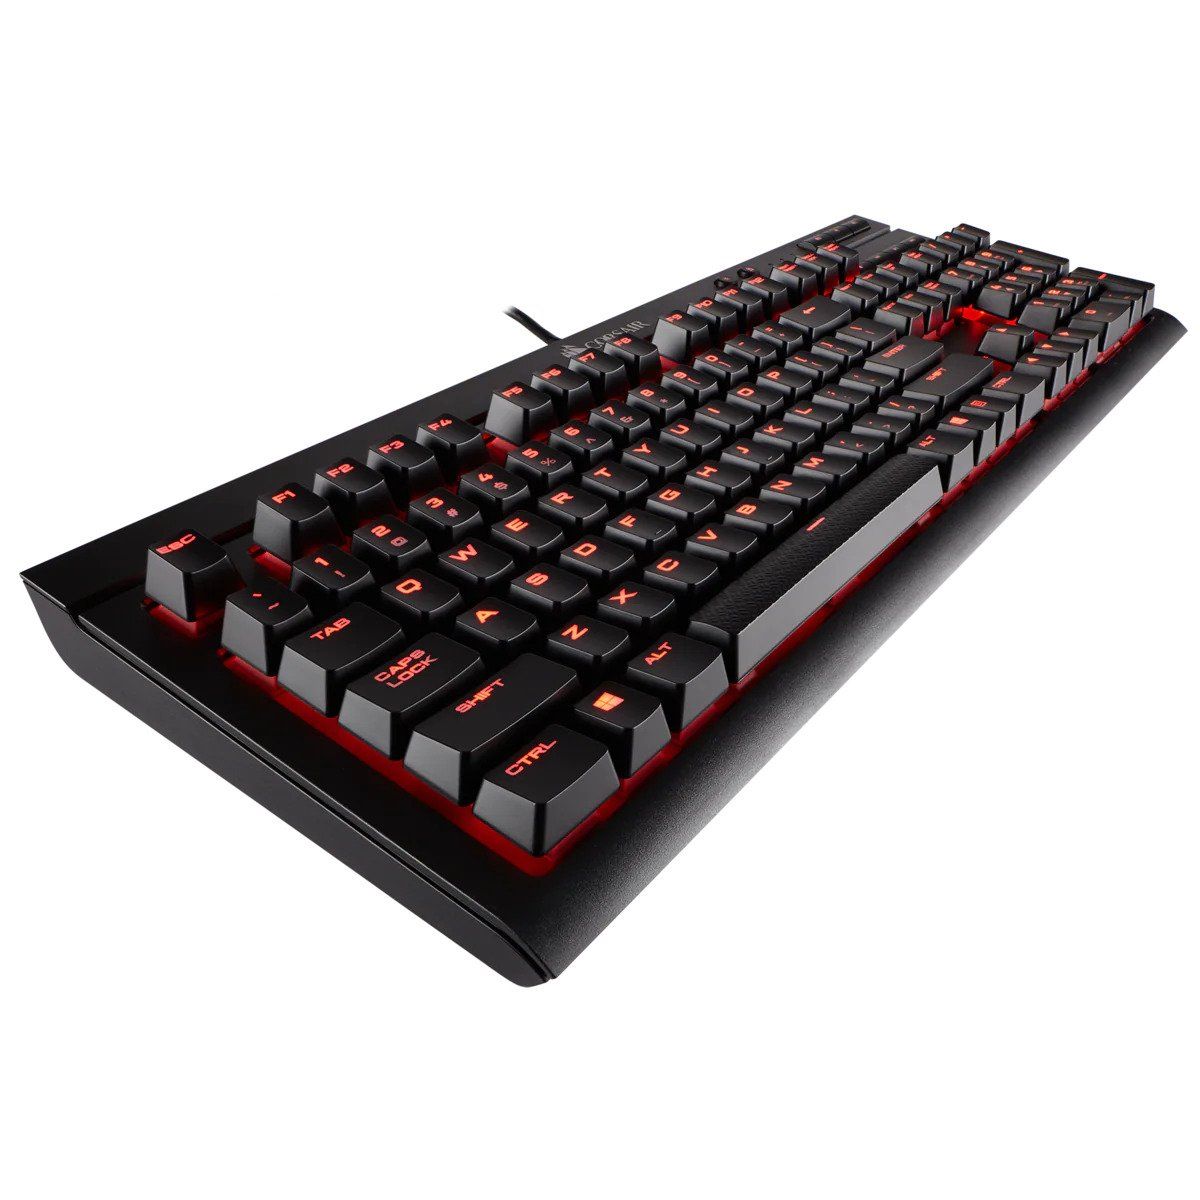
Are you looking to customize your Corsair K70 gaming keyboard or simply need to clean it? The wrist rest can be removed for various reasons, such as cleaning, replacing, or just for a change of style. Fortunately, removing the wrist rest from your Corsair K70 keyboard is a straightforward process that can be accomplished with a few simple tools and a little know-how. In this guide, we will walk you through the step-by-step process to remove the wrist rest from your Corsair K70 gaming keyboard. Whether you are a gaming enthusiast, a tech-savvy individual, or someone who simply wants to maintain their equipment, this guide will equip you with the knowledge and confidence to carry out this task with ease.
Removing the wrist rest from your Corsair K70 keyboard is a great way to maintain the cleanliness and functionality of your gaming setup. It also allows you to customize your keyboard to suit your preferences, whether by replacing the wrist rest with a new one or opting for a sleeker look without it. Before we dive into the process, let's gather the necessary tools to ensure a smooth and hassle-free experience.
Tools Needed
Before you begin the process of removing the wrist rest from your Corsair K70 gaming keyboard, it’s essential to have the right tools at your disposal. Here’s what you’ll need:
- Phillips Head Screwdriver: This tool will be used to unscrew the fasteners holding the wrist rest in place.
- Clean Cloth: Having a clean, lint-free cloth on hand will be helpful for wiping down the keyboard and wrist rest.
- Flat, Stable Surface: To ensure stability and prevent any accidental damage to the keyboard, choose a flat and stable surface to work on.
With these tools ready, you’ll be well-prepared to proceed with the removal of the wrist rest from your Corsair K70 gaming keyboard. Now that we have the necessary tools in place, let’s move on to the step-by-step process of removing the wrist rest.
Step 1: Unplug the Keyboard
Before starting the process of removing the wrist rest from your Corsair K70 gaming keyboard, it’s crucial to unplug the keyboard from your computer. This step is essential for safety and to prevent any potential damage to the keyboard or your computer during the removal process.
To unplug the keyboard, follow these simple steps:
- Save Your Work: If you have any ongoing work or unsaved documents on your computer, it’s a good practice to save them before proceeding.
- Locate the USB Cable: Identify the USB cable that connects your Corsair K70 keyboard to your computer. The cable is typically located at the back of the keyboard.
- Unplug the USB Cable: Gently unplug the USB cable from your computer’s USB port. Ensure that you grasp the connector firmly and avoid pulling on the cable itself to prevent any damage.
By unplugging the keyboard, you create a safe environment to work on the removal of the wrist rest without the risk of any electrical mishaps. With the keyboard unplugged and your work saved, you’re ready to proceed to the next step of the process.
Step 2: Turn the Keyboard Over
With the keyboard unplugged, the next step in removing the wrist rest from your Corsair K70 gaming keyboard is to turn the keyboard over. This simple maneuver will provide access to the underside of the keyboard, where the screws holding the wrist rest in place are located.
Follow these steps to turn the keyboard over safely:
- Choose a Stable Surface: Select a stable and secure surface to place the keyboard on. This will ensure that the keyboard remains steady and does not wobble during the process.
- Gently Flip the Keyboard: Carefully turn the keyboard over so that the keys are facing downward, allowing the underside of the keyboard to be exposed.
- Ensure Stability: Once the keyboard is flipped over, ensure that it is positioned securely on the surface to prevent any accidental movement.
By turning the keyboard over, you set the stage for the next steps in the process, which involve accessing and removing the screws that secure the wrist rest. With the keyboard now in the proper position, you’re ready to move on to the next step of removing the wrist rest from your Corsair K70 gaming keyboard.
Step 3: Locate the Screws
After turning the keyboard over, the next step is to locate the screws that secure the wrist rest to the Corsair K70 gaming keyboard. These screws are essential to keep the wrist rest firmly in place and will need to be removed to detach the wrist rest from the keyboard.
Here’s how to locate the screws:
- Inspect the Underside: Take a close look at the underside of the keyboard, focusing on the area where the wrist rest is attached. The screws are typically located in this vicinity.
- Identify the Screw Holes: Look for the small, recessed holes that indicate the placement of the screws. These holes are designed to house the screws and keep them flush with the surface of the keyboard.
- Count the Screws: Depending on the model of the Corsair K70 keyboard, there may be multiple screws holding the wrist rest in place. Take note of the number of screws that need to be removed.
By locating the screws, you are preparing to move on to the next step of unscrewing them to detach the wrist rest. This step sets the stage for the physical removal of the wrist rest from your Corsair K70 gaming keyboard. Once you’ve identified the screws, you’re ready to proceed to the next step of the removal process.
Step 4: Unscrew the Wrist Rest
With the screws identified, the next step in removing the wrist rest from your Corsair K70 gaming keyboard is to unscrew them. This process requires a Phillips head screwdriver, which will allow you to carefully remove the screws without causing any damage to the keyboard or the wrist rest.
Follow these steps to unscrew the wrist rest:
- Secure the Keyboard: Ensure that the keyboard is placed on a stable surface with the underside facing upward. This will provide a steady platform for unscrewing the wrist rest.
- Use the Phillips Head Screwdriver: Select the appropriately sized Phillips head screwdriver and insert it into the screw head. Apply gentle pressure in a counterclockwise direction to loosen and remove the screws.
- Keep Screws Safely: As you remove each screw, place them in a secure location to prevent misplacement. This will ensure that the screws are readily available when reattaching the wrist rest.
- Check for Additional Screws: Some Corsair K70 models may have additional screws securing the wrist rest. Ensure that all screws are removed before proceeding to the next step.
By unscrewing the wrist rest, you are effectively releasing it from the keyboard and preparing to physically detach it in the subsequent step. This step is crucial in the removal process and sets the stage for the final step of removing the wrist rest from your Corsair K70 gaming keyboard.
Step 5: Remove the Wrist Rest
After unscrewing the fasteners, you are now ready to remove the wrist rest from your Corsair K70 gaming keyboard. This step involves gently detaching the wrist rest from the keyboard, taking care to ensure a smooth and controlled removal process.
Follow these steps to remove the wrist rest:
- Gently Lift the Wrist Rest: With the screws removed, gently lift the wrist rest away from the keyboard. Apply even pressure to ensure that it detaches smoothly without any abrupt movements.
- Inspect for Residue: After removing the wrist rest, inspect the area where it was attached for any residue or debris. Use a clean cloth to wipe down the surface and ensure that it is free from any leftover material.
- Store the Screws Safely: Place the screws in a secure location to prevent misplacement. Keeping the screws safe will make reattaching the wrist rest hassle-free in the future, if desired.
By successfully removing the wrist rest, you have completed the process of detaching it from your Corsair K70 gaming keyboard. Whether you are removing the wrist rest for cleaning, replacement, or customization, this step marks the accomplishment of your goal. With the wrist rest removed, you have the flexibility to clean and maintain your keyboard or explore different customization options to suit your preferences.
Conclusion
Congratulations! You have successfully learned how to remove the wrist rest from your Corsair K70 gaming keyboard. This process equips you with the knowledge and confidence to maintain, clean, or customize your keyboard according to your preferences. By following the step-by-step guide and using simple tools, you can easily remove the wrist rest and explore various options for personalizing your gaming setup.
Removing the wrist rest not only allows for easy cleaning and maintenance but also presents an opportunity to enhance the aesthetics of your keyboard. Whether you choose to replace the wrist rest with a new one, keep it off for a sleeker look, or explore other customization options, this process gives you the freedom to tailor your keyboard to your liking.
With the wrist rest removed, you can now enjoy a clean and personalized Corsair K70 gaming keyboard that reflects your unique style and preferences. Whether you’re a gaming enthusiast, a tech-savvy individual, or someone who values a well-maintained setup, this guide empowers you to take control of the appearance and functionality of your keyboard.
Remember to keep the removed screws in a safe place for future use, and take the opportunity to clean the keyboard and the detached wrist rest. With these simple steps, you can ensure that your Corsair K70 gaming keyboard remains in top condition, ready to support you in your gaming adventures and daily tasks.
By mastering the process of removing the wrist rest from your Corsair K70 gaming keyboard, you have unlocked a new level of customization and maintenance for your gaming setup. Whether you’re a seasoned tech enthusiast or a newcomer to keyboard customization, this guide has equipped you with the skills and knowledge to carry out this task with ease.