Introduction
Mechanical keyboards are beloved for their tactile feedback and durability, but encountering a broken spacebar can be a frustrating experience. Fortunately, with the right tools and a bit of know-how, replacing a spacebar on a mechanical keyboard can be a straightforward process. Whether the spacebar has become unresponsive, wobbly, or detached, addressing this issue can restore the keyboard's functionality and user experience.
This guide will walk you through the steps to remove a broken spacebar and attach a new one, reviving your mechanical keyboard and getting you back to smooth, uninterrupted typing. With attention to detail and a methodical approach, you can effectively troubleshoot and resolve this common issue, saving time and money on professional repairs.
By following these instructions, you can regain the full functionality of your mechanical keyboard and extend its lifespan. With a few simple tools and a clear understanding of the process, you'll be well-equipped to tackle this repair with confidence. Let's dive into the steps required to put the spacebar back on your mechanical keyboard and restore it to optimal working condition.
Tools and Materials Needed
Before embarking on the task of replacing a spacebar on a mechanical keyboard, it’s important to gather the necessary tools and materials. Having the right equipment at hand will streamline the process and ensure a successful outcome. Here’s what you’ll need:
- Replacement Spacebar: Obtain a compatible replacement spacebar for your specific mechanical keyboard model. It’s essential to ensure that the replacement part matches the layout and mounting mechanism of your keyboard.
- Flathead Screwdriver: A flathead screwdriver will be useful for gently prying the broken spacebar from its position without causing damage to the keyboard.
- Tweezers or Small Pliers: These tools can aid in carefully maneuvering and attaching the new spacebar, especially when dealing with small and delicate components.
- Clean Cloth: Having a clean, lint-free cloth on hand can help in wiping down the keyboard and removing any dust or debris that may have accumulated.
- Work Surface: Prepare a clean, well-lit work area where you can comfortably lay out the keyboard and perform the necessary steps without any obstructions.
- Patience and Attention to Detail: While not tangible items, these qualities are invaluable during the repair process. Patience will ensure that each step is carried out methodically, while attention to detail will help in avoiding mistakes and achieving a professional result.
By gathering these tools and materials, you’ll be well-prepared to tackle the task of putting the spacebar back on your mechanical keyboard. Having everything at your disposal will facilitate a smooth and efficient repair process, ultimately leading to a fully functional keyboard once again.
Removing the Broken Spacebar
Before attaching a new spacebar to your mechanical keyboard, it’s essential to safely remove the broken or malfunctioning one. This process requires precision and care to avoid causing any further damage to the keyboard. Follow these steps to effectively remove the broken spacebar:
- Power Off and Disconnect: Ensure that the keyboard is powered off and disconnected from the computer or any power source before proceeding. This precaution will prevent any accidental inputs and ensure your safety during the repair.
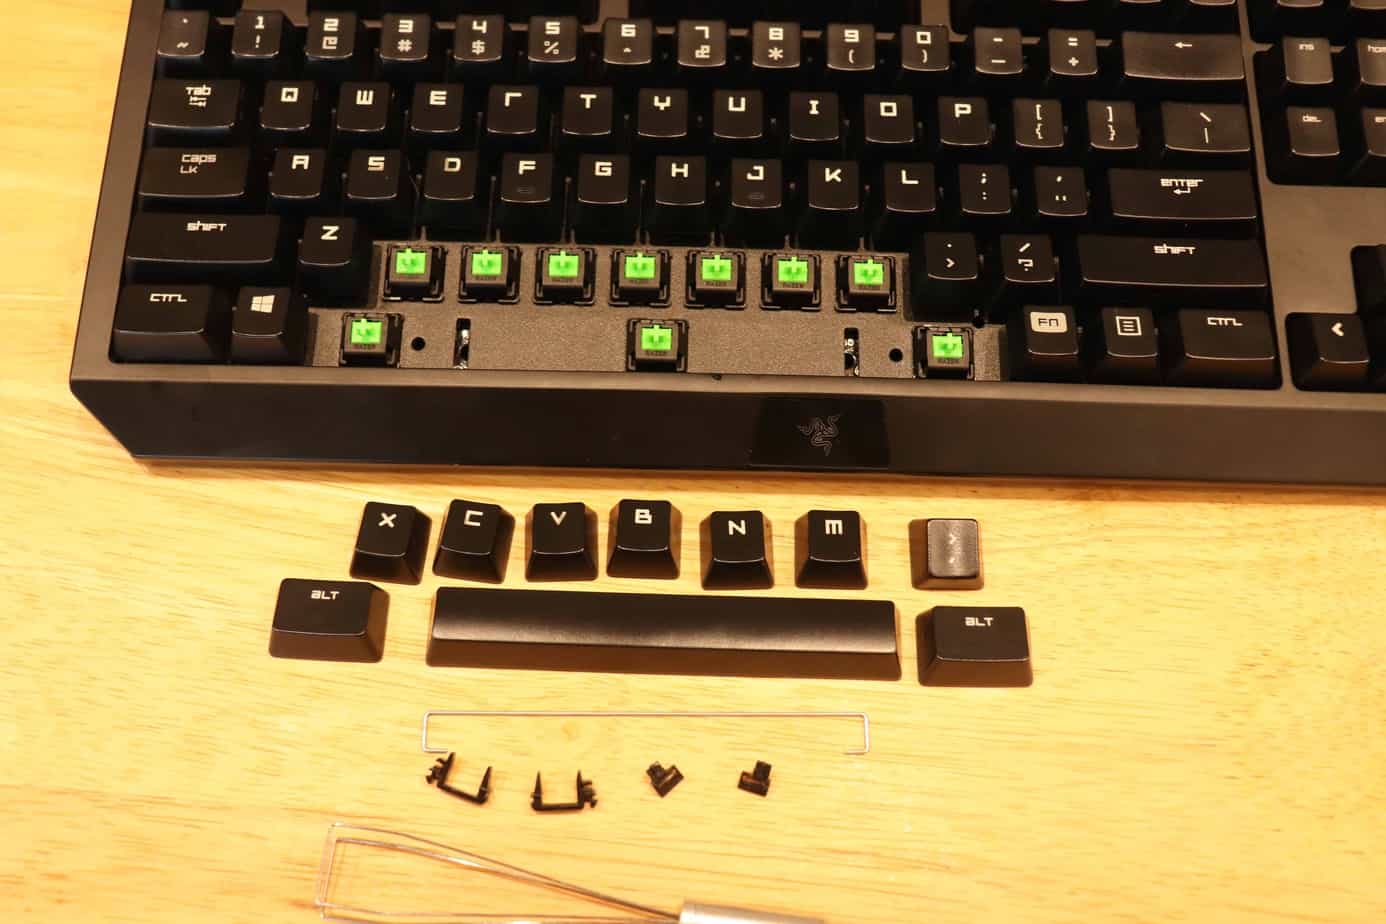
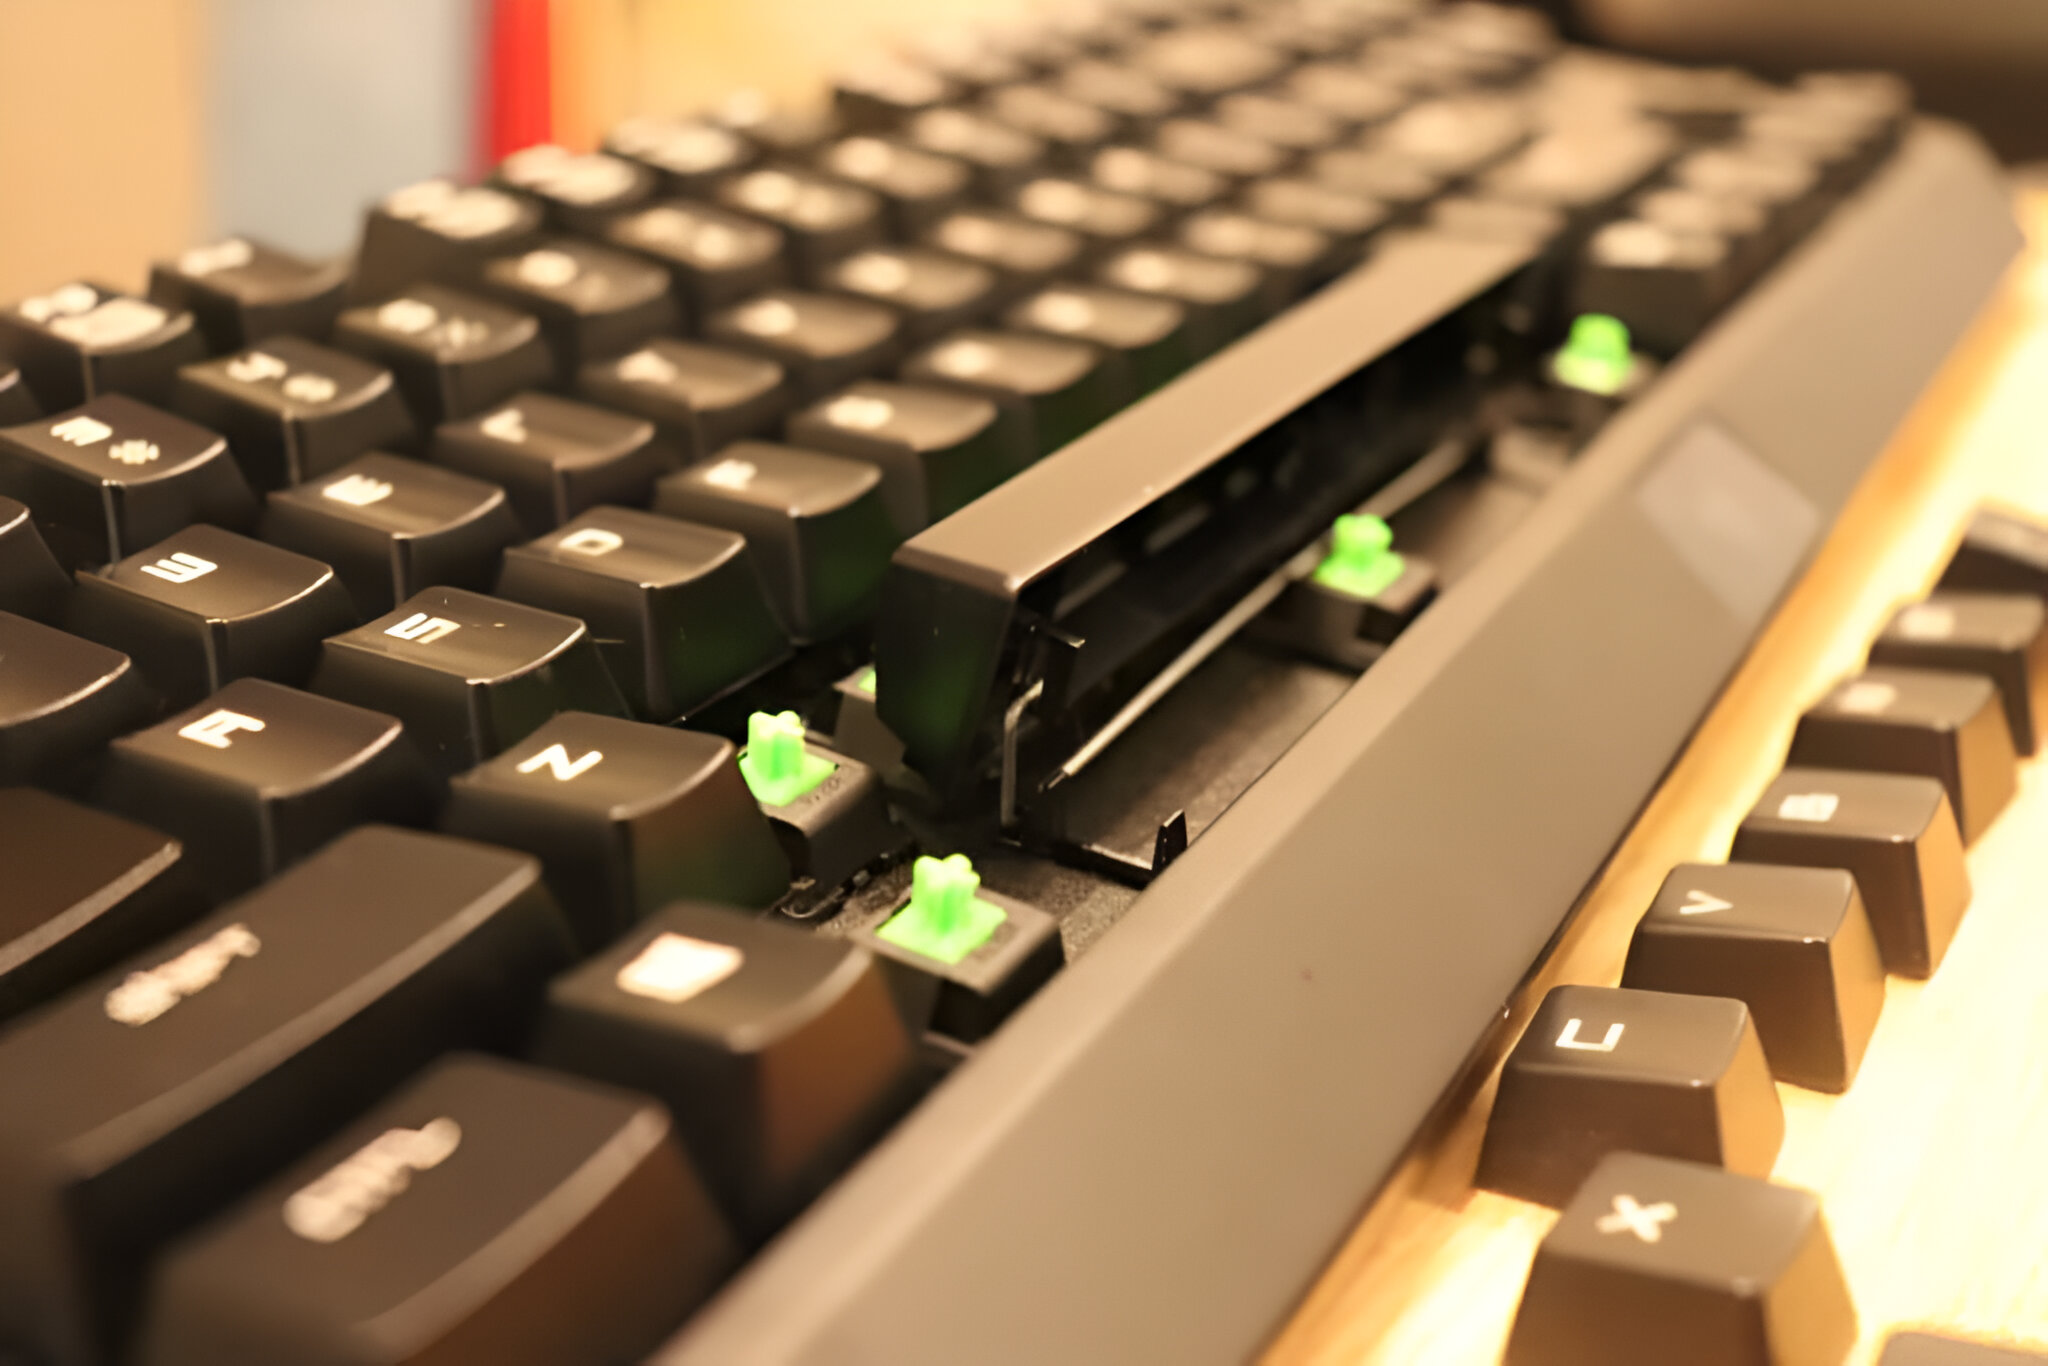
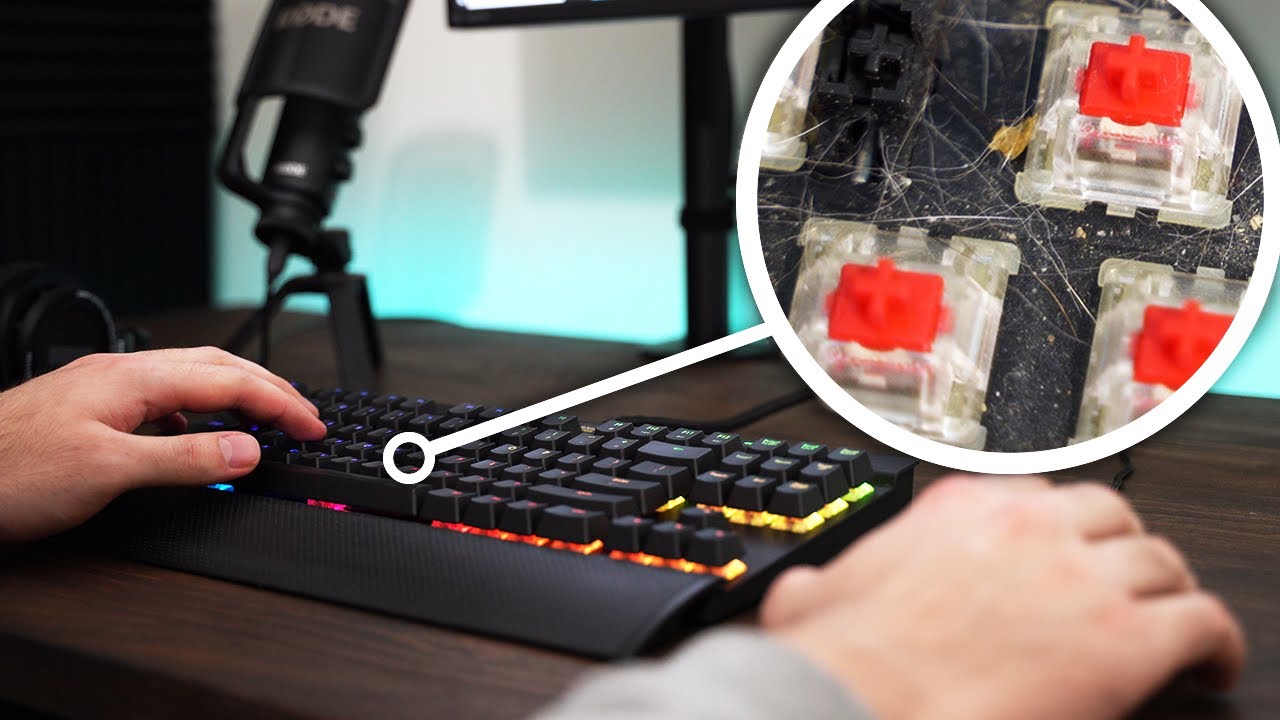
- Assess the Mounting Mechanism: Examine the mounting mechanism of the spacebar to understand how it is attached to the keyboard. Different mechanical keyboards may have varying mechanisms, such as stabilizer wires or clips, which hold the spacebar in place.
- Use a Flathead Screwdriver: Gently insert a flathead screwdriver under one end of the spacebar. Apply light and even pressure to lift the keycap from its position. Take care not to force or twist the spacebar, as this can cause damage to the keyboard’s switches or stabilizers.
- Work Methodically: Gradually work the screwdriver along the length of the spacebar, lifting it from the keyboard’s switches or stabilizers. Exercise patience and precision to avoid any sudden movements that could lead to breakage.
- Remove the Spacebar: Once the spacebar is lifted from its position, carefully detach it from the keyboard. Pay attention to any stabilizer wires or clips that may be attached and ensure that they are safely disengaged.
- Clean the Area: With the spacebar removed, take the opportunity to clean the exposed area of the keyboard. Use a clean, lint-free cloth to wipe away any dust or debris that may have accumulated.
By following these steps, you can safely remove the broken spacebar from your mechanical keyboard, preparing the keyboard for the next phase of the repair process. With the broken spacebar successfully detached, you are now ready to proceed with attaching the new spacebar and restoring the keyboard’s functionality.
Attaching the New Spacebar
After removing the broken spacebar, the next step is to attach the new spacebar to your mechanical keyboard. This process requires precision and attention to detail to ensure that the replacement keycap is securely and properly positioned. Follow these steps to effectively attach the new spacebar:
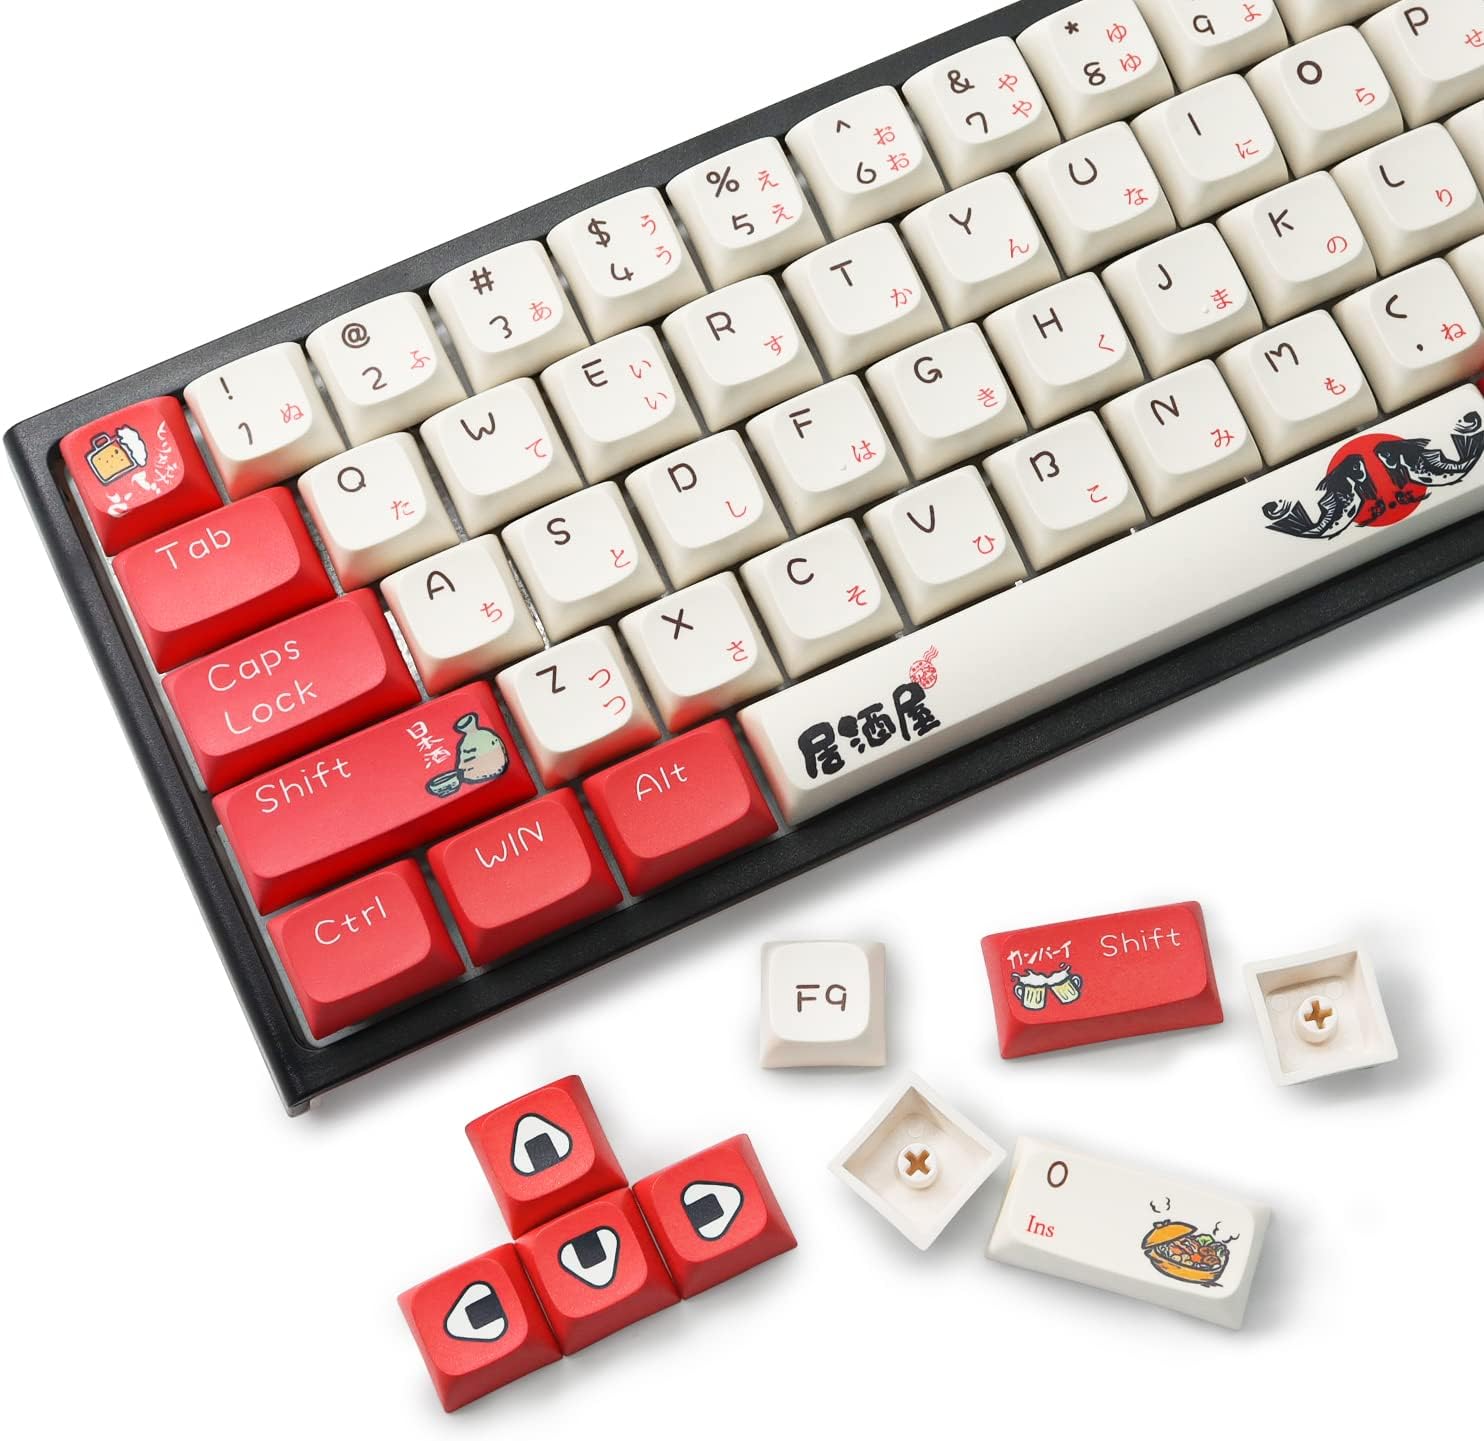
- Examine the Mounting Mechanism: Before proceeding, carefully examine the mounting mechanism of the new spacebar. Ensure that it aligns with the layout and design of your mechanical keyboard, and take note of any stabilizer wires or clips that may need to be engaged.
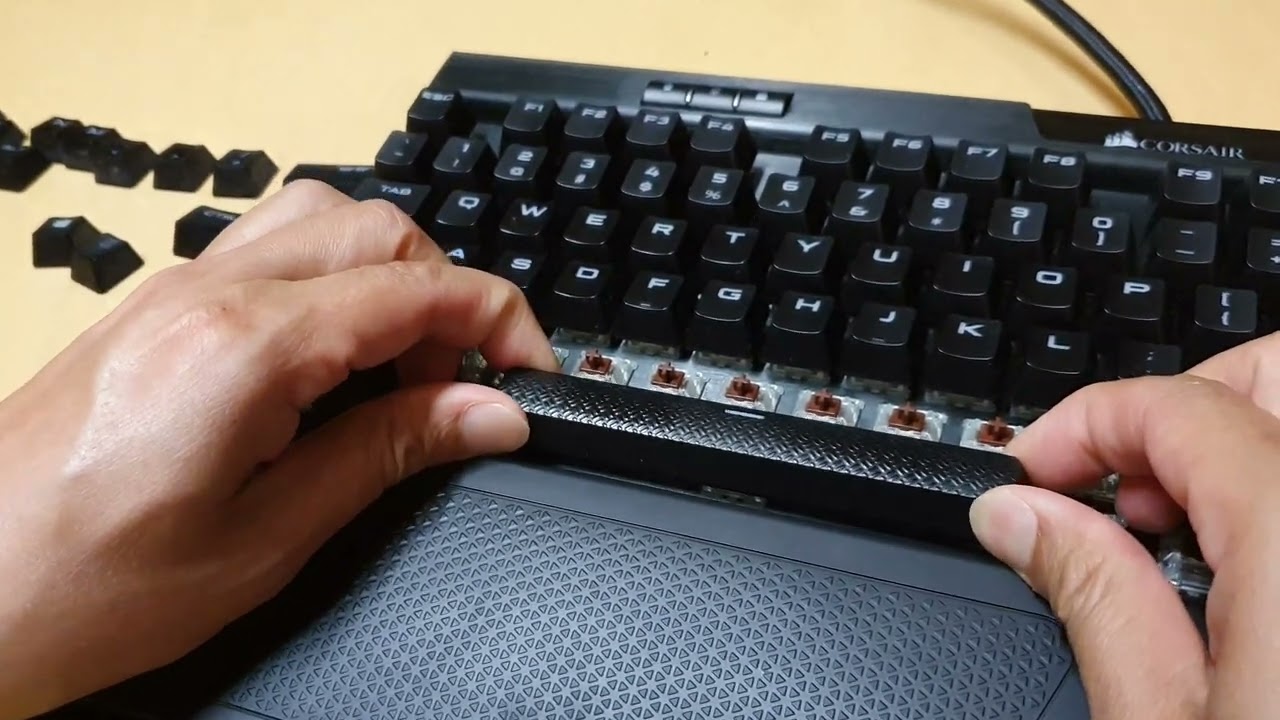
- Position the Spacebar: Align the new spacebar over the keyboard’s switches, ensuring that it sits flush and level. Take care to position any stabilizer wires or clips in their designated locations to facilitate smooth key movement.
- Gently Press into Place: With the spacebar properly aligned, apply gentle and even pressure to press it into position. Ensure that it engages with the switches and stabilizers without any resistance, allowing for smooth and consistent key movement.
- Test Key Movement: Press the newly attached spacebar to test its movement and responsiveness. Verify that it depresses and rebounds smoothly, without sticking or wobbling. This step ensures that the spacebar is securely attached and functioning as intended.
- Adjust if Necessary: If the key movement feels uneven or the spacebar exhibits any issues, carefully lift and reposition it, ensuring that all components are properly aligned. Test the key movement again to confirm that any adjustments have resolved the issue.
By following these steps, you can effectively attach the new spacebar to your mechanical keyboard, restoring its functionality and ensuring a seamless typing experience. With attention to detail and a methodical approach, you can successfully complete this crucial step of the repair process, bringing new life to your mechanical keyboard.
Testing the Spacebar
Once the new spacebar has been securely attached to your mechanical keyboard, it’s essential to conduct thorough testing to ensure its functionality and responsiveness. Testing the spacebar will help verify that the repair process has been completed successfully and that the keyboard is fully operational. Follow these steps to effectively test the spacebar:
- Perform Key Presses: Press the spacebar multiple times to gauge its responsiveness and consistency. Verify that it depresses smoothly and rebounds without any sticking or unusual resistance.
- Observe Key Stability: While pressing the spacebar, observe its stability and alignment. Ensure that it does not wobble or feel loose, indicating a secure attachment to the keyboard.
- Test Key Functionality: Type sentences and phrases that involve frequent use of the spacebar. Verify that the spacebar registers each press accurately and consistently, contributing to uninterrupted typing.
- Check for Unusual Noises: Listen for any unusual sounds or creaking when using the spacebar. A properly attached spacebar should operate quietly and smoothly, without any distracting noises.
- Ensure Compatibility: If your keyboard features customizable or programmable keys, ensure that the new spacebar functions seamlessly within the keyboard’s layout and programming, if applicable.
By conducting these tests, you can confirm that the new spacebar is fully functional and integrated into your mechanical keyboard. Thorough testing ensures that the repair process has been successful and that the keyboard is ready to deliver a seamless typing experience. With the spacebar performing optimally, you can confidently resume using your mechanical keyboard for work, gaming, or any other activities that require precise and reliable input.
Conclusion
Repairing a broken or malfunctioning spacebar on a mechanical keyboard is a rewarding endeavor that can restore the full functionality and user experience of the keyboard. By following the steps outlined in this guide, you have successfully navigated the process of removing the broken spacebar, attaching a new one, and thoroughly testing its functionality. This hands-on approach not only saves the cost of professional repairs but also empowers you to maintain and troubleshoot your mechanical keyboard with confidence.
Throughout the repair process, attention to detail and a methodical approach were crucial in achieving a successful outcome. By exercising patience and precision, you ensured that each step was carried out effectively, ultimately resulting in a fully functional spacebar and a revived mechanical keyboard.
Furthermore, the skills and knowledge gained from this repair can be applied to future maintenance and troubleshooting tasks, allowing you to extend the lifespan of your mechanical keyboard and address potential issues as they arise. With the right tools, materials, and a clear understanding of the repair process, you have demonstrated the capability to tackle common keyboard repairs and maintain optimal performance.
As you resume using your mechanical keyboard, take pride in the hands-on effort you’ve invested in restoring its functionality. The successful repair of the spacebar serves as a testament to your ability to troubleshoot and resolve technical issues, contributing to a seamless and enjoyable typing experience.
With your mechanical keyboard now equipped with a fully functional spacebar, you can confidently engage in work, gaming, and other activities that demand reliable and precise input. Embrace the satisfaction of a well-maintained keyboard and the knowledge that you have the skills to address similar challenges in the future.