Introduction
Cleaning mechanical keyboard switches is an essential maintenance task that can help preserve the longevity and performance of your beloved keyboard. Over time, debris, dust, and grime can accumulate within the switches, leading to sticky keys or decreased responsiveness. By regularly cleaning out the switches, you can ensure a smooth and satisfying typing experience while preventing potential malfunctions.
Whether you're an avid gamer, a dedicated coder, or a professional writer, a well-maintained keyboard is crucial for your productivity and comfort. The process of cleaning out mechanical keyboard switches may seem daunting at first, but with the right tools and a systematic approach, you can effectively restore your keyboard to its optimal condition.
In this guide, we will walk through the step-by-step process of cleaning out mechanical keyboard switches, providing detailed instructions to help you navigate this task with confidence. From gathering the necessary tools and materials to reassembling the keyboard after cleaning, we will cover each stage comprehensively, ensuring that your keyboard receives the care it deserves.
By following these instructions, you can extend the lifespan of your mechanical keyboard, maintain its performance, and enjoy a satisfying typing experience for years to come. Let's dive into the world of keyboard maintenance and discover how to revitalize your mechanical keyboard switches.
Tools and Materials Needed
Before embarking on the journey of cleaning out your mechanical keyboard switches, it’s essential to gather the necessary tools and materials. Having the right equipment at your disposal will streamline the cleaning process and ensure that you can effectively remove debris and grime from the switches. Here’s a comprehensive list of the tools and materials you’ll need:
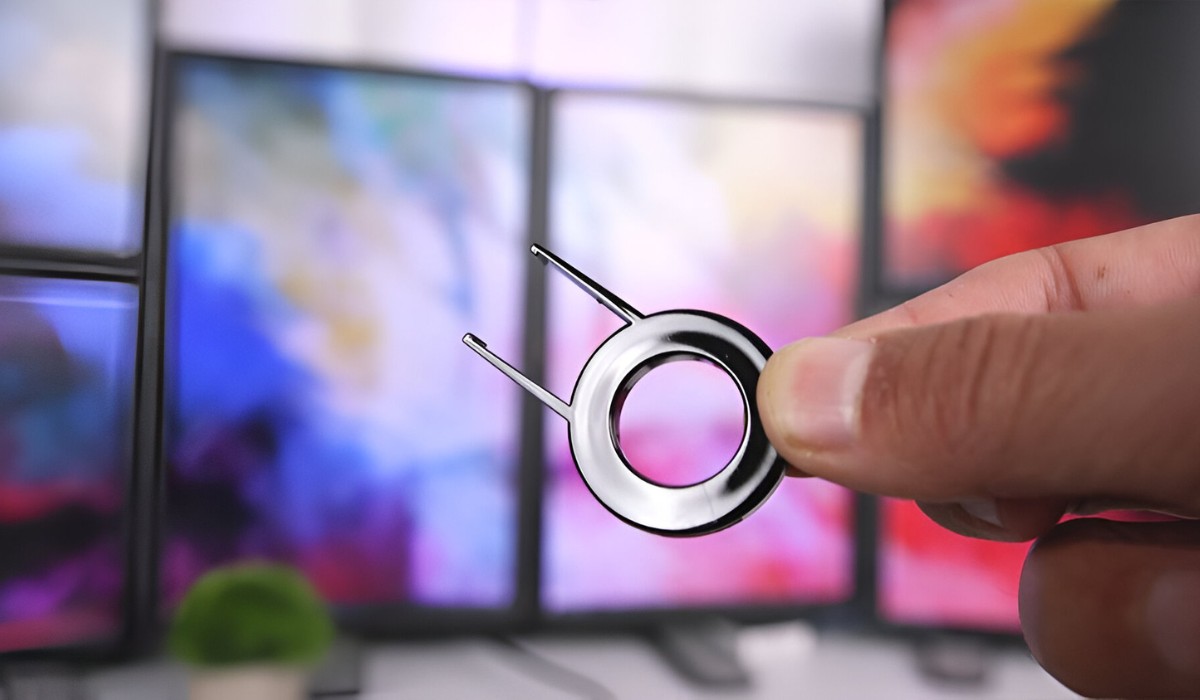
- Keycap Puller: This tool is vital for removing the keycaps from your keyboard without causing damage. Keycap pullers come in various designs, including wire-style and plastic ring-style pullers, and are specifically designed to safely extract keycaps.
- Compressed Air Canister: Compressed air is an excellent tool for dislodging and removing dust and debris from hard-to-reach areas within the switches. It’s crucial for thoroughly cleaning the internal components of the keyboard switches.
- Soft Brush: A small, soft-bristled brush, such as a clean paintbrush or a dedicated electronics brush, is ideal for gently sweeping away loose debris and dust from the switches and the keyboard’s surface.
- Isopropyl Alcohol: Isopropyl alcohol, commonly known as rubbing alcohol, is an effective cleaning agent for removing grime and residue from the switches. It evaporates quickly, making it suitable for cleaning electronic components.
- Cotton Swabs: These are useful for applying isopropyl alcohol to specific areas and for gently cleaning intricate parts of the switches.
- Microfiber Cloth: A soft, lint-free microfiber cloth is essential for wiping down the keycaps and the keyboard’s surface after cleaning. It helps remove any remaining residue and ensures a clean, polished finish.
- Small Container: A small container or bowl can be used to hold the keycaps while they soak in a cleaning solution, facilitating thorough cleaning and preventing them from getting misplaced.
By ensuring that you have these tools and materials on hand, you’ll be well-prepared to tackle the task of cleaning out your mechanical keyboard switches efficiently and effectively.
Removing Keycaps
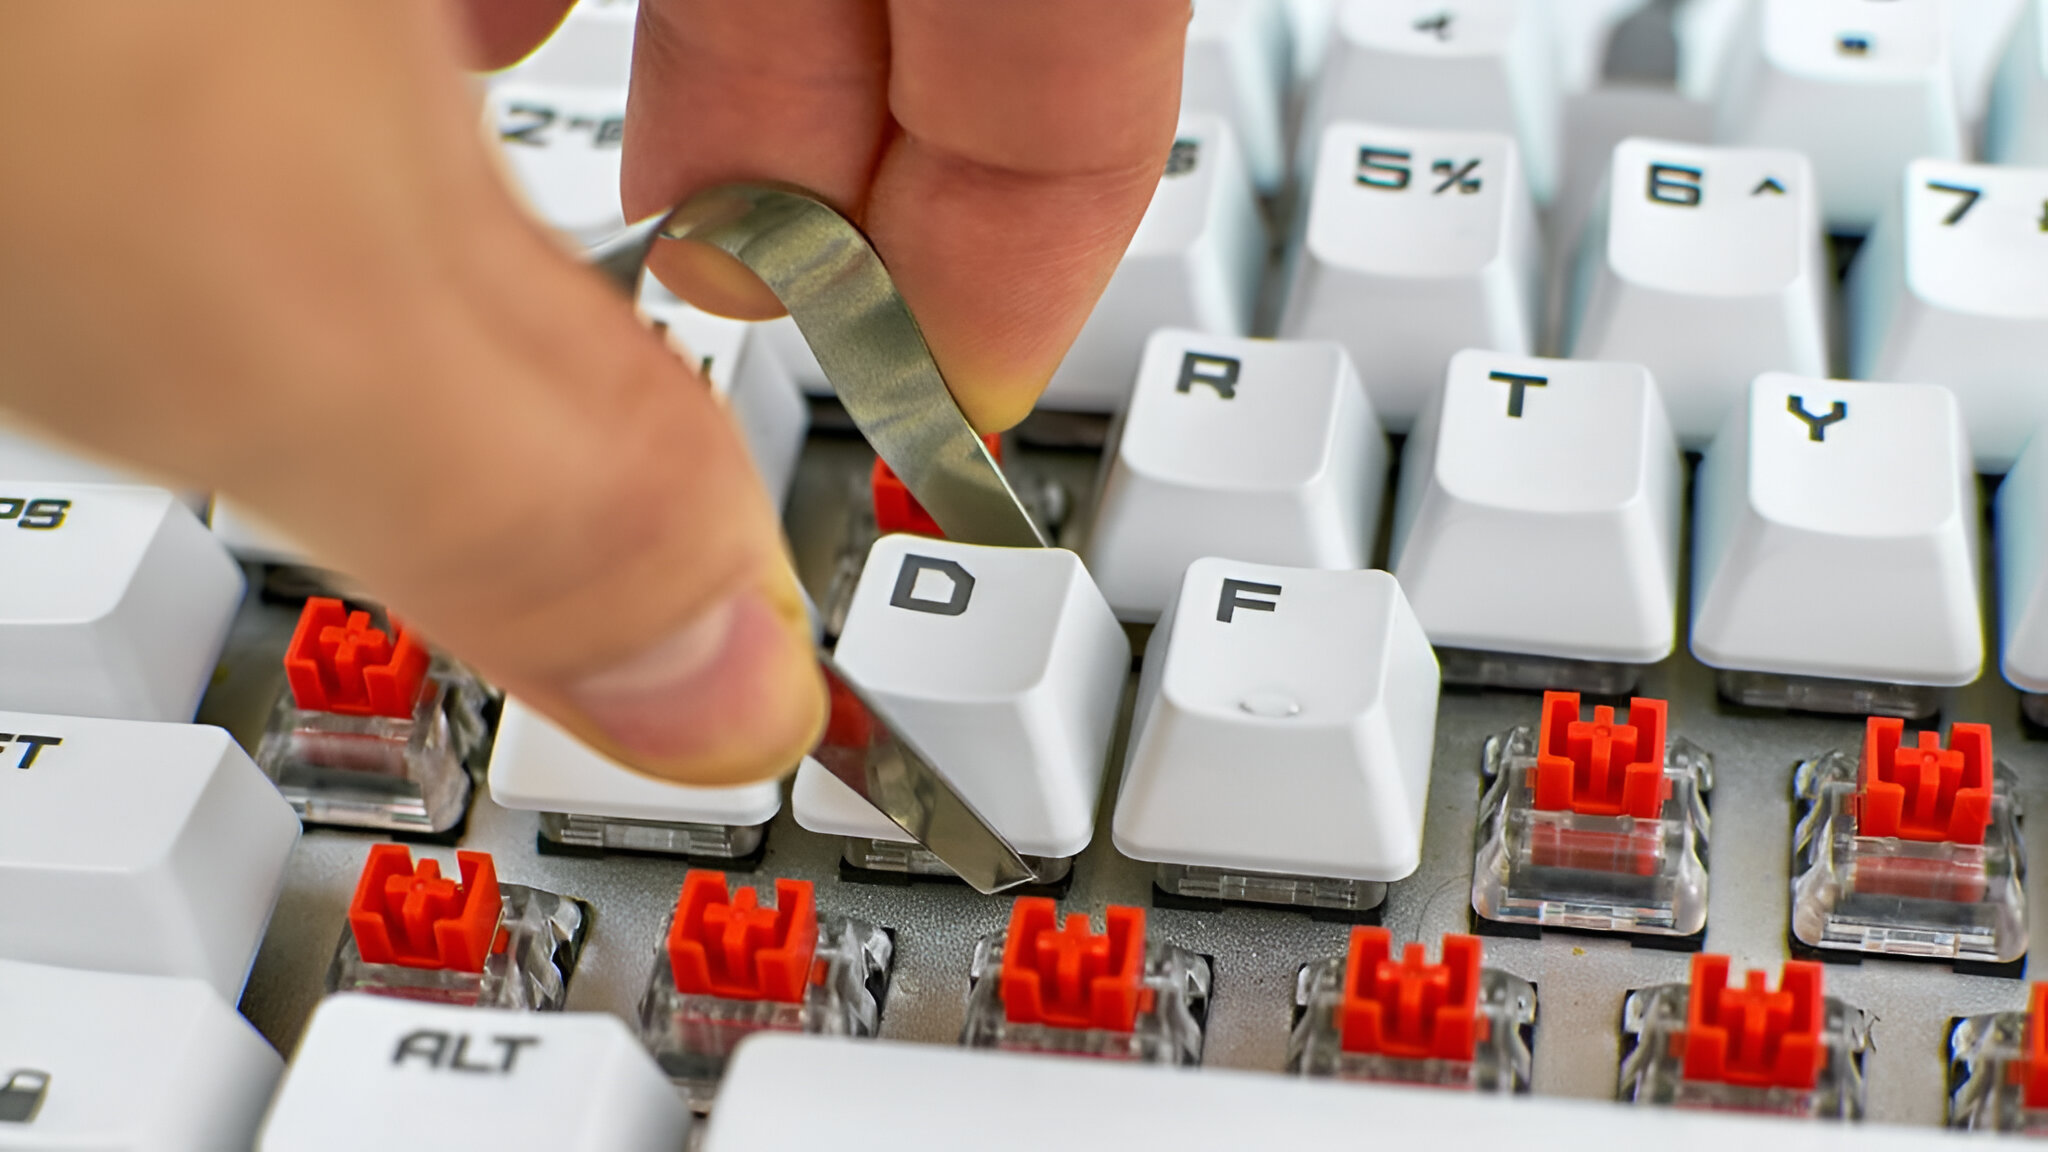
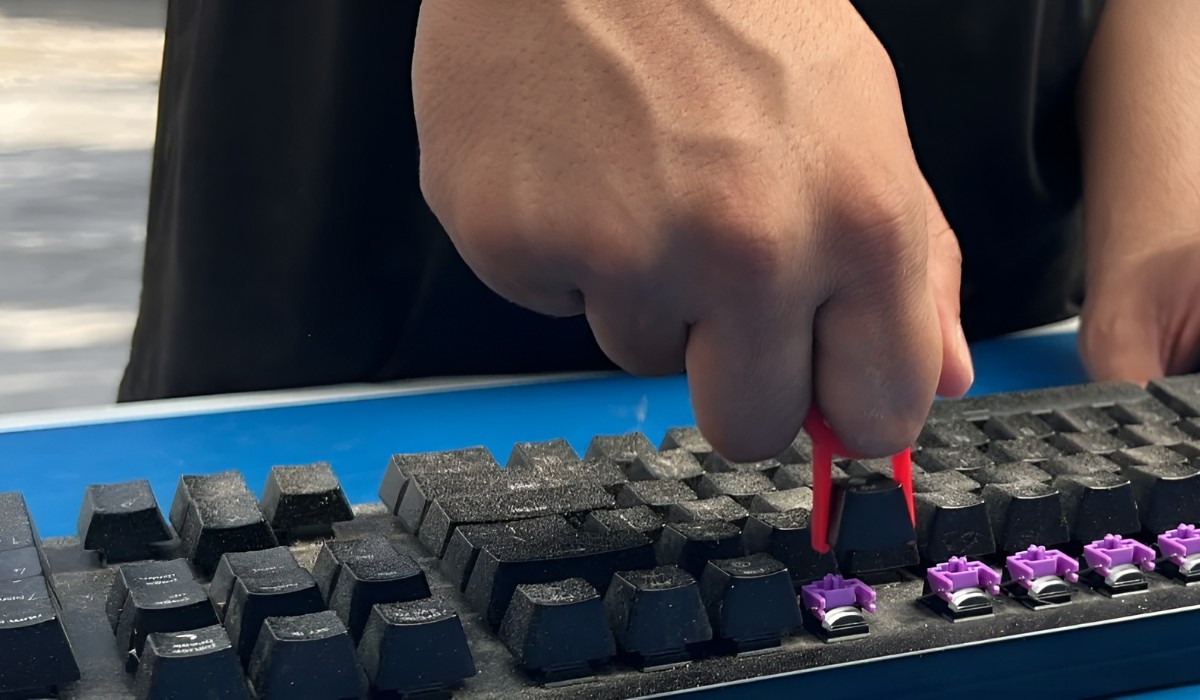
Before delving into the intricate process of cleaning the switches, the first step is to remove the keycaps from the keyboard. This allows for better access to the switches and ensures a thorough cleaning of the entire keyboard. Here’s a systematic guide to safely removing the keycaps:
- Prepare Your Workspace: Find a clean, well-lit area to work in, ensuring that you have enough space to organize the keycaps as you remove them. A clutter-free workspace will help prevent any keycaps from getting lost during the process.
- Use the Keycap Puller: Depending on the type of keycap puller you have, carefully position it under the corner of a keycap and gently apply upward pressure to lift it from the switch. Work methodically, starting from one end of the keyboard and progressing to the other, to avoid damaging the keycaps or the switches.
- Organize the Keycaps: As you remove the keycaps, place them in a designated container or lay them out systematically to ensure that you can easily identify their original positions when reassembling the keyboard. Taking reference photos of the keyboard before removing the keycaps can also be helpful.
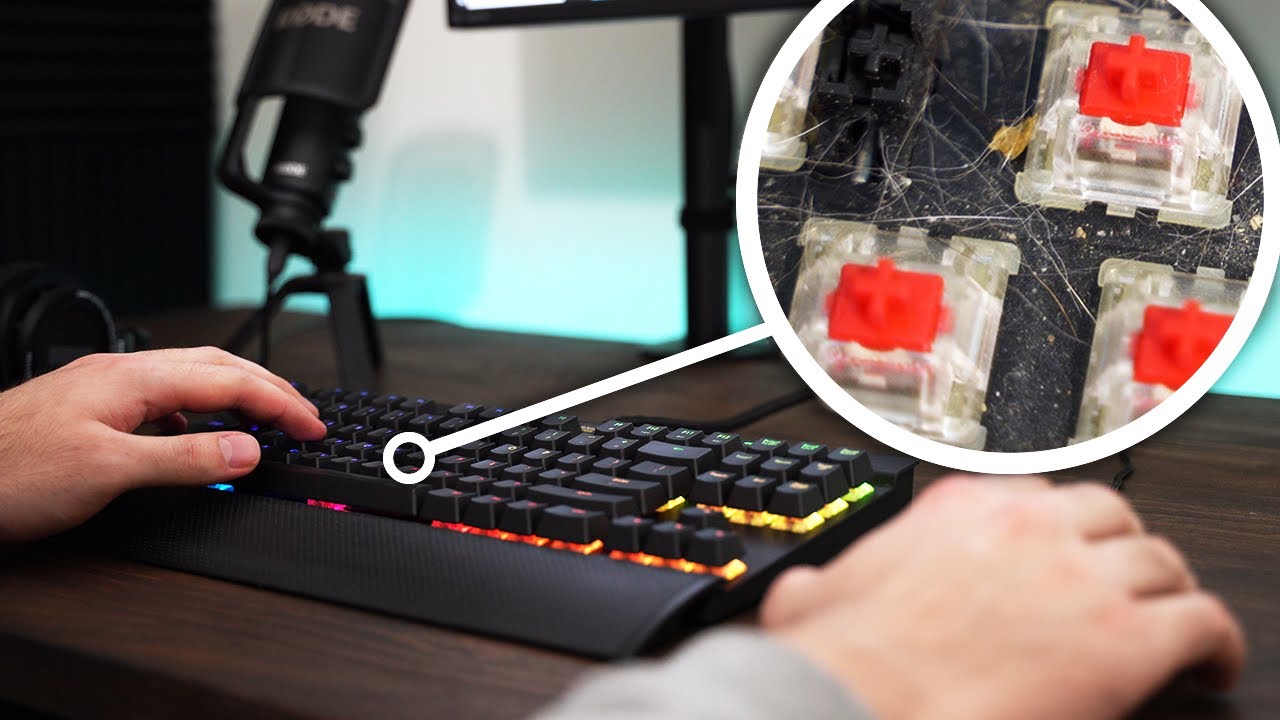
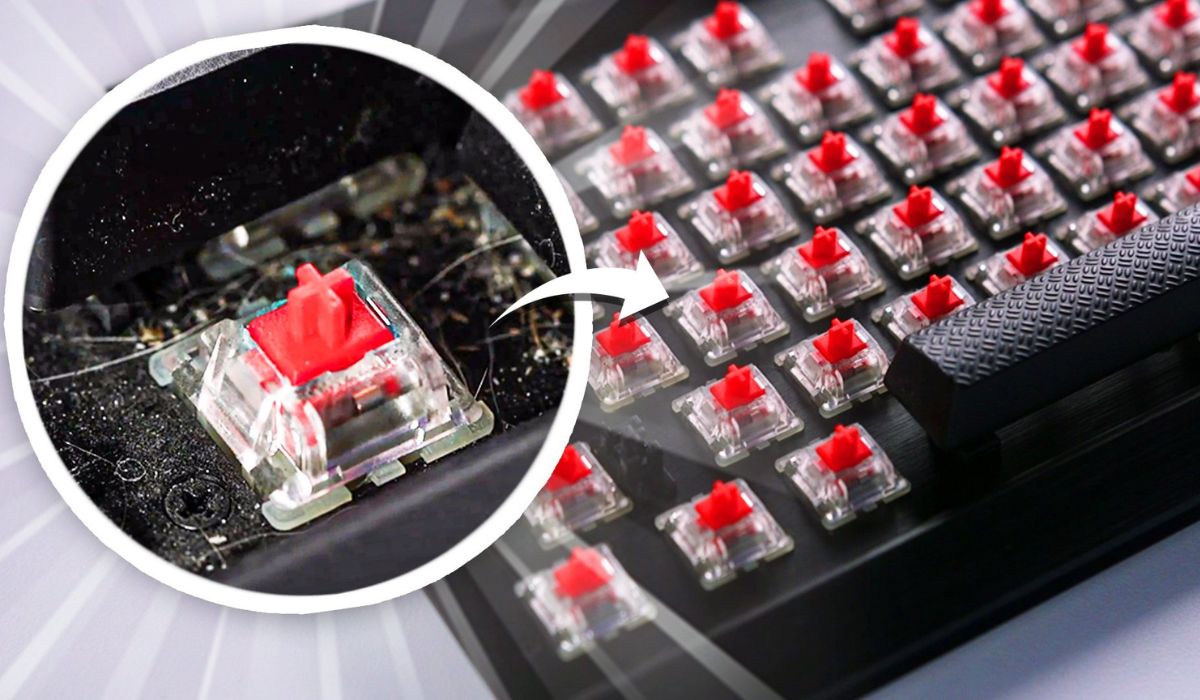
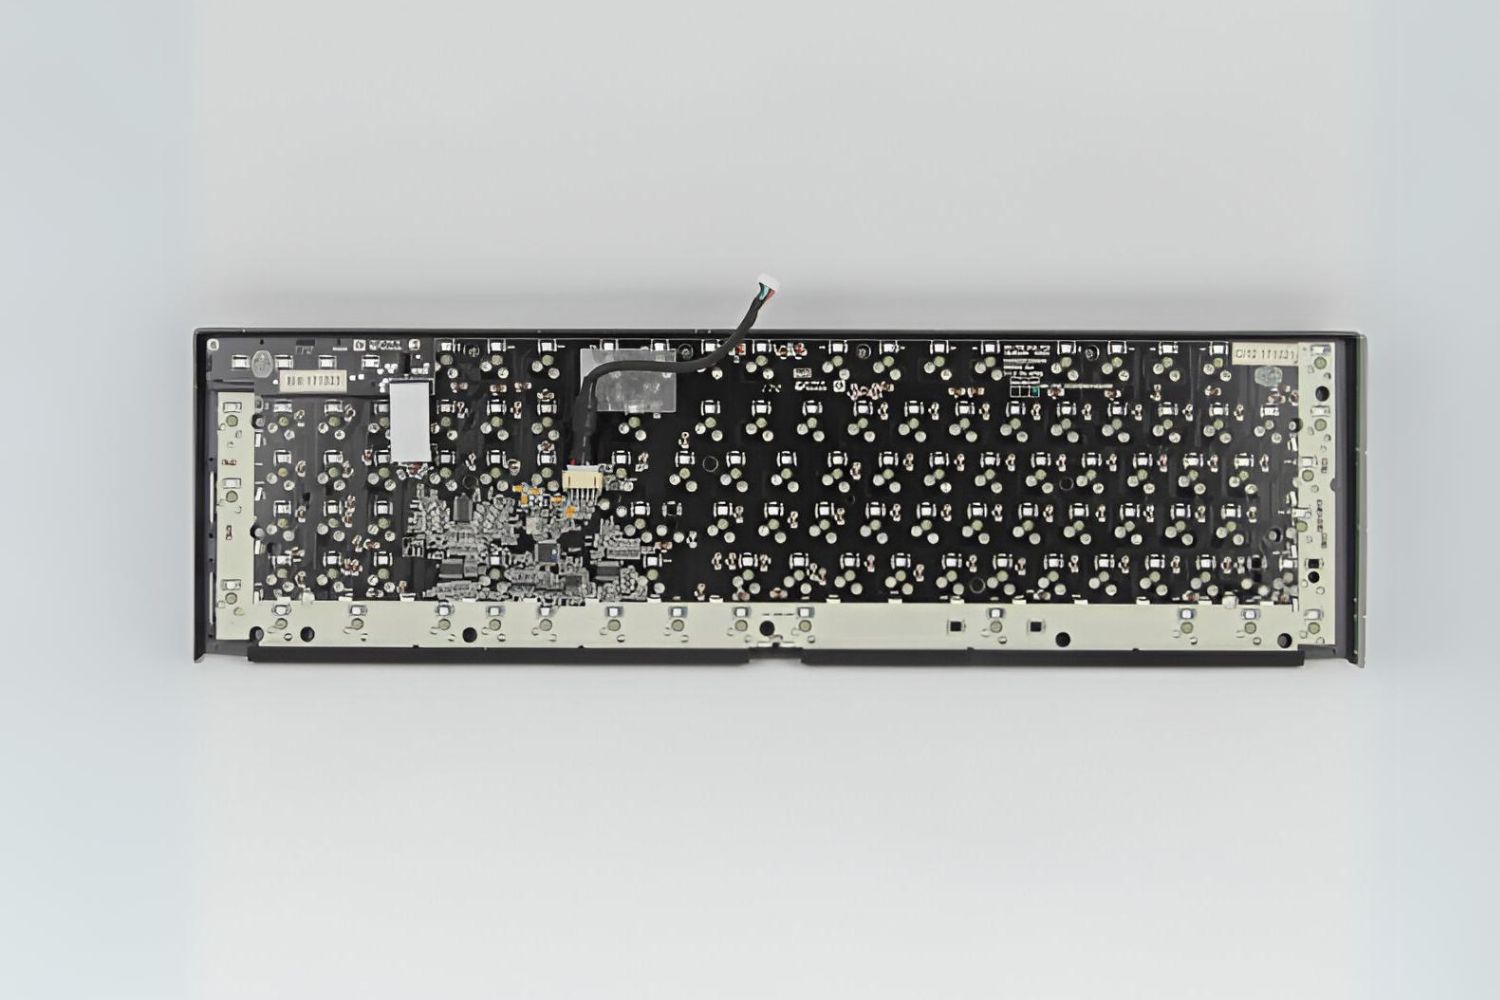
- Inspect for Dirt and Debris: Once the keycaps are removed, take a moment to inspect the exposed switches for any visible dirt, debris, or residue. This initial assessment will give you an idea of the level of cleaning required for the switches.
By following these steps, you can safely and methodically remove the keycaps from your mechanical keyboard, setting the stage for the thorough cleaning of the switches. With the keycaps out of the way, you’ll have clear access to the switches and can proceed with the next phase of the cleaning process.
Cleaning the Switches
With the keycaps removed, you now have a clear view of the switches and can proceed with the meticulous task of cleaning them. The following steps outline the process of effectively cleaning the switches of your mechanical keyboard:
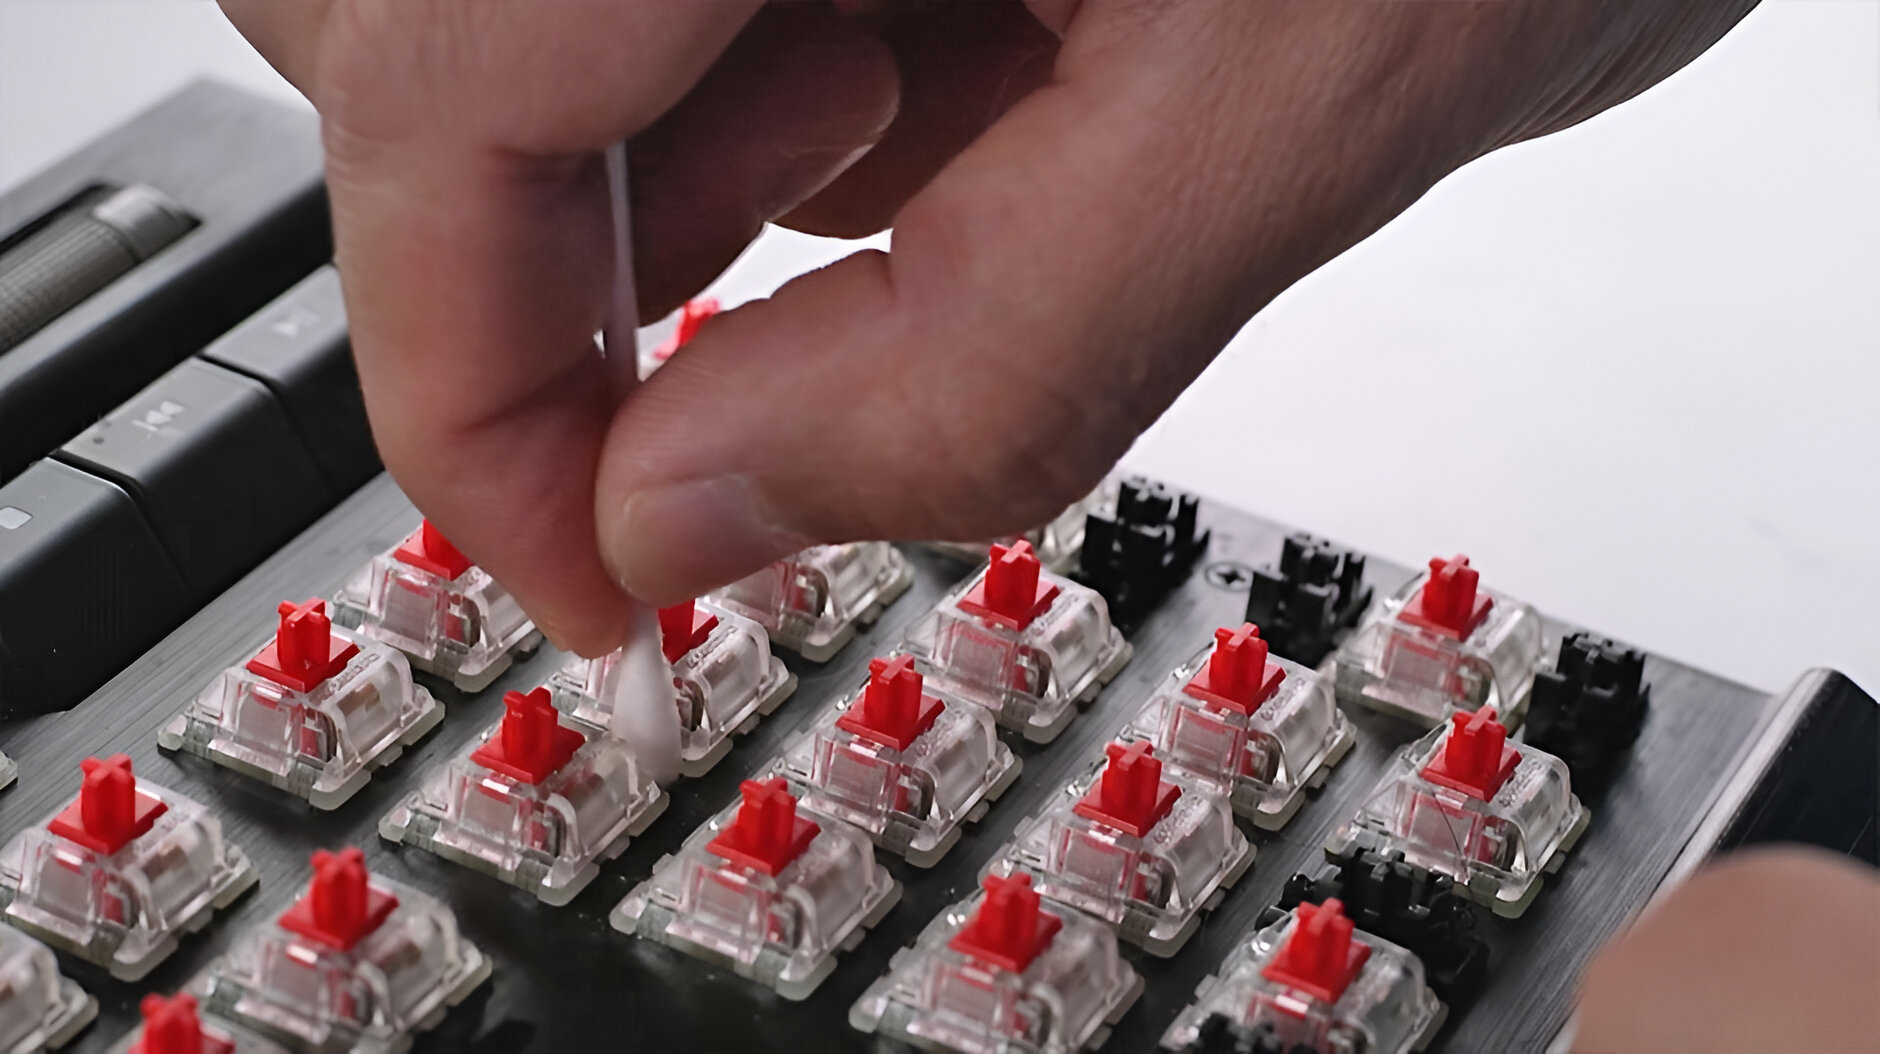
- Using Compressed Air: Begin by using the compressed air canister to blow away loose dust and debris from the switches. Direct the airflow at an angle to dislodge any particles that may have accumulated within the switch housing. Be thorough but gentle to avoid damaging the delicate components.
- Brushing the Switches: Employ a soft brush, such as a clean paintbrush or an electronics brush, to gently sweep away any remaining dust and debris from the switches. Focus on intricate areas and crevices to ensure a comprehensive clean. Take care to brush in a single direction to avoid pushing debris further into the switches.
- Applying Isopropyl Alcohol: Dampen a cotton swab with isopropyl alcohol and carefully swab the internal components of the switches. This will help dissolve and remove any stubborn grime or residue that may be affecting the switch’s performance. Ensure that the swab is not dripping with alcohol to prevent any liquid from seeping into the switches.
- Allowing for Drying Time: After cleaning with isopropyl alcohol, allow the switches to air dry completely before reassembling the keyboard. This will ensure that any residual moisture evaporates, leaving the switches clean and dry.
By meticulously following these steps, you can effectively clean the switches of your mechanical keyboard, removing accumulated debris and ensuring optimal performance. The combination of compressed air, gentle brushing, and isopropyl alcohol provides a thorough cleaning process that can rejuvenate the switches and contribute to an improved typing experience.
Reassembling the Keyboard
With the switches now clean and refreshed, the next crucial step is to reassemble the keyboard, ensuring that each keycap is returned to its rightful place. Follow these steps to methodically reassemble your mechanical keyboard:
- Referencing Photos or Layout: If you took reference photos or made note of the keycap layout before removing them, use these resources to guide you in placing the keycaps back in their original positions. This will help prevent confusion and ensure that each keycap is correctly reinstalled.
- Aligning and Pressing Down: Position each keycap directly over its corresponding switch, aligning it carefully to avoid bending or damaging the switch stems. Apply gentle pressure to press the keycap into place, ensuring that it sits flush with the keyboard’s surface.
- Checking for Stability: After reattaching all the keycaps, perform a quick visual inspection to confirm that each keycap is securely in place. Gently press each key to ensure that it registers correctly and does not wobble or feel unstable.
By diligently reassembling the keyboard and ensuring that each keycap is correctly positioned, you can restore your mechanical keyboard to its original configuration, ready for use with its rejuvenated switches. Taking the time to carefully align and secure each keycap will contribute to a satisfying and consistent typing experience.
Testing the Keyboard
After completing the meticulous process of cleaning and reassembling your mechanical keyboard, it’s essential to conduct thorough testing to ensure that the switches are functioning optimally. Here’s a systematic approach to testing your keyboard:
- Typing Test: Begin by typing on the keyboard and carefully assessing the responsiveness of each key. Pay attention to any keys that may feel sticky or less responsive than others. This will help identify if any switches require further attention.
- Multi-Key Inputs: Test the keyboard’s capability to register multiple simultaneous key presses. This is particularly important for gamers and users who require this functionality for specific applications. Ensure that all keys respond accurately when pressed in combination with others.
- Functional Keys and Shortcuts: Verify the functionality of special keys, such as the function keys, media controls, and programmable shortcuts. Confirm that these keys register inputs as intended and that their secondary functions, if applicable, are operational.
- Consistency and Comfort: Evaluate the overall typing experience for consistency and comfort. Ensure that the keys feel uniform in their responsiveness and that the tactile feedback is consistent across the keyboard.
By conducting these comprehensive tests, you can ascertain the effectiveness of the cleaning process and the overall functionality of your mechanical keyboard. Addressing any lingering issues or inconsistencies at this stage will contribute to a satisfying and reliable typing experience, reaffirming the successful revitalization of your keyboard’s switches.