Introduction
Are you a proud owner of a mechanical keyboard looking to customize it with new keycaps or clean it thoroughly? Removing the keycaps is an essential step in both processes. Whether you want to replace them with vibrant, custom keycaps or simply give your keyboard a thorough cleaning, knowing how to remove the keycaps properly is crucial. In this guide, we will explore three effective methods for removing keycaps from a mechanical keyboard.
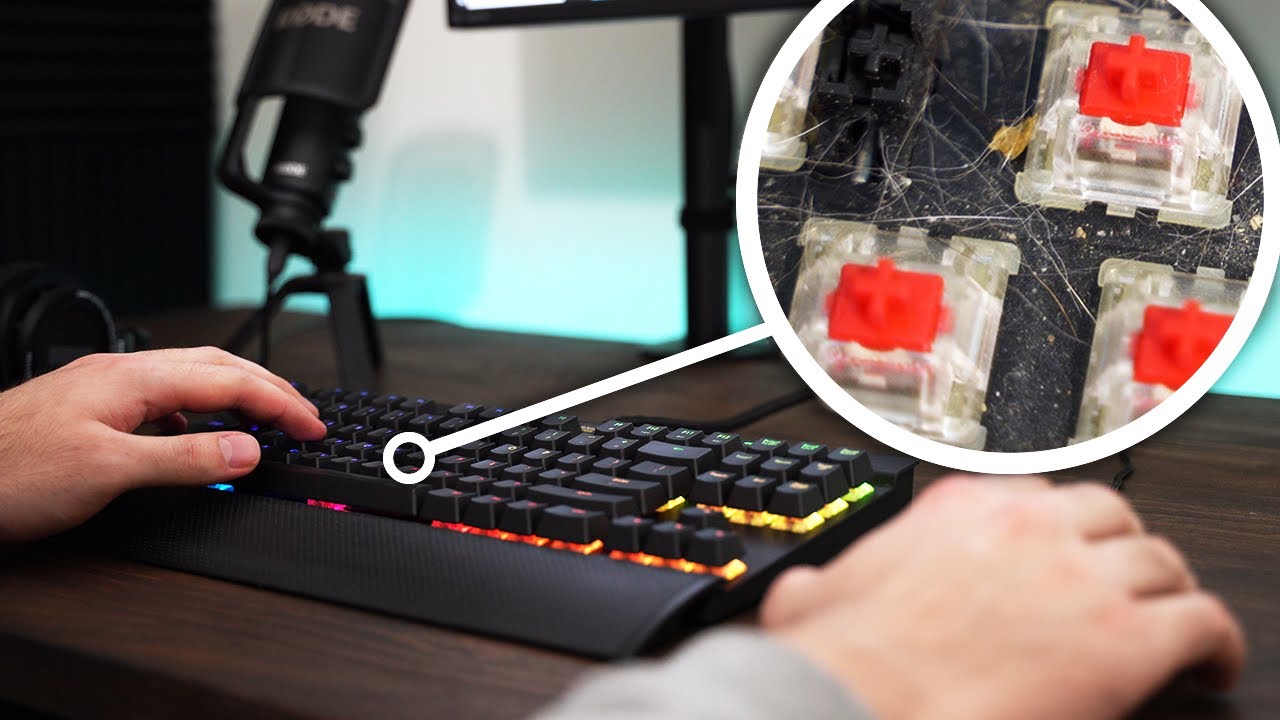
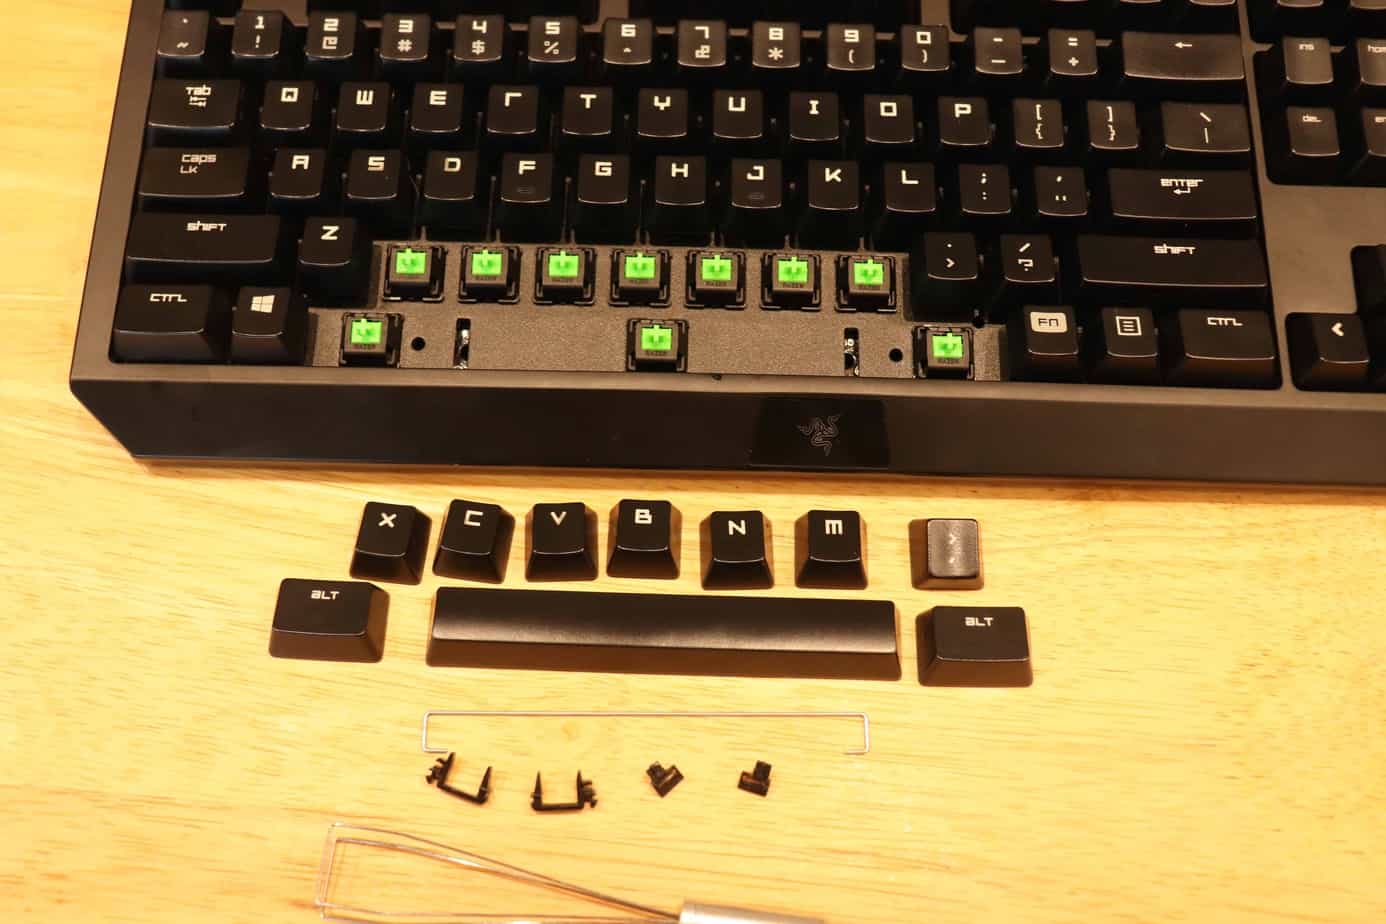
Understanding the anatomy of a mechanical keyboard is the first step in this process. Each keycap is placed atop a switch, and it's essential to remove them without damaging the switches. By following the methods outlined in this guide, you can safely remove the keycaps without causing any harm to your keyboard.
We will cover the tools needed for the task, including common household items that can be repurposed for this purpose. Additionally, we'll provide step-by-step instructions for three different methods: using a keycap puller, dental floss, and a flathead screwdriver. Each method offers its own advantages and may be more suitable depending on the specific keyboard and the resources available to you.
By following these methods, you can confidently remove the keycaps from your mechanical keyboard, opening up a world of customization and maintenance possibilities. Let's dive into the tools required and the step-by-step procedures for each method to effectively remove keycaps from your mechanical keyboard.
Tools Needed
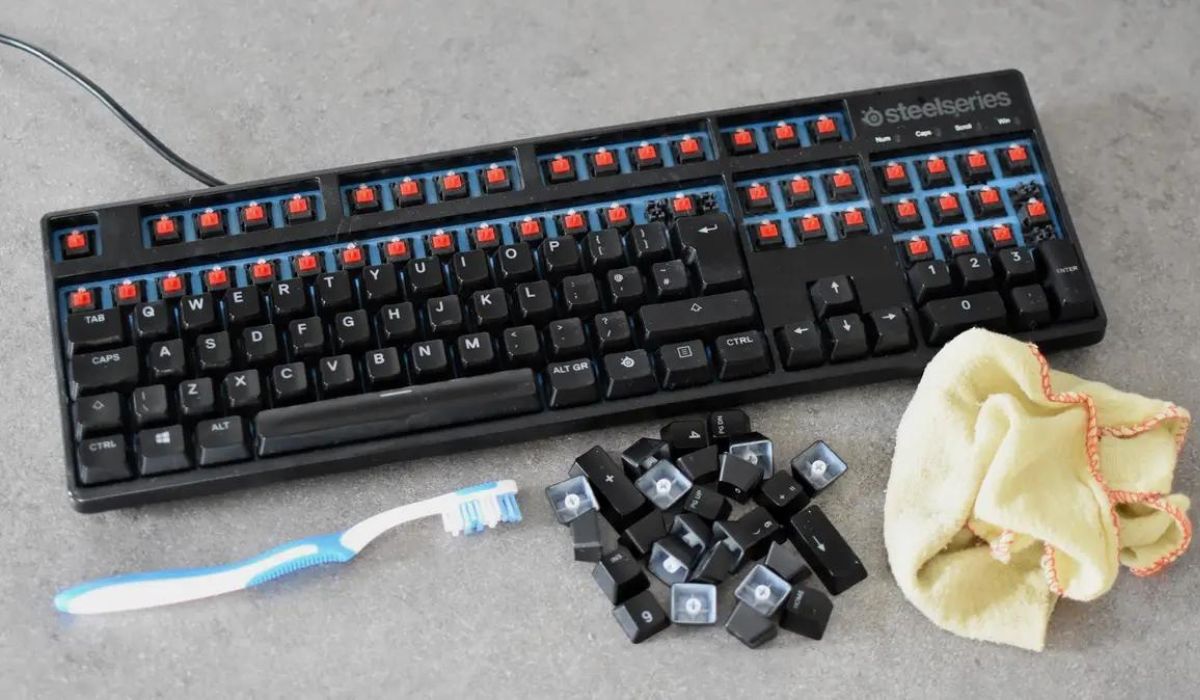
Before embarking on the task of removing keycaps from your mechanical keyboard, it’s essential to gather the necessary tools. These tools will ensure that the keycaps are removed safely and efficiently, without causing any damage to the keyboard or its components. Here are the essential tools you’ll need:
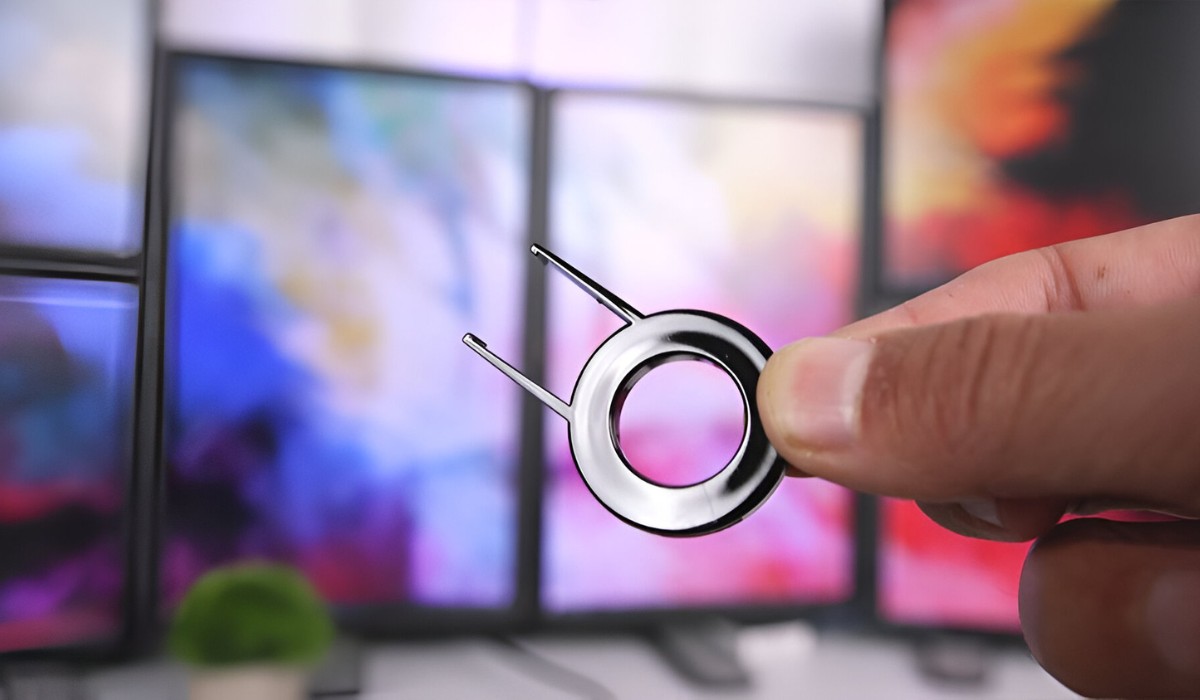
- Keycap Puller: This specialized tool is designed specifically for removing keycaps from mechanical keyboards. It comes in various designs, including wire-style and ring-style pullers, and provides a gentle and precise way to extract keycaps without applying excessive force.
- Dental Floss: Surprisingly, dental floss can be repurposed as an effective tool for removing keycaps. Its thin and flexible nature allows it to slide underneath the keycap, making it a practical alternative to a keycap puller.
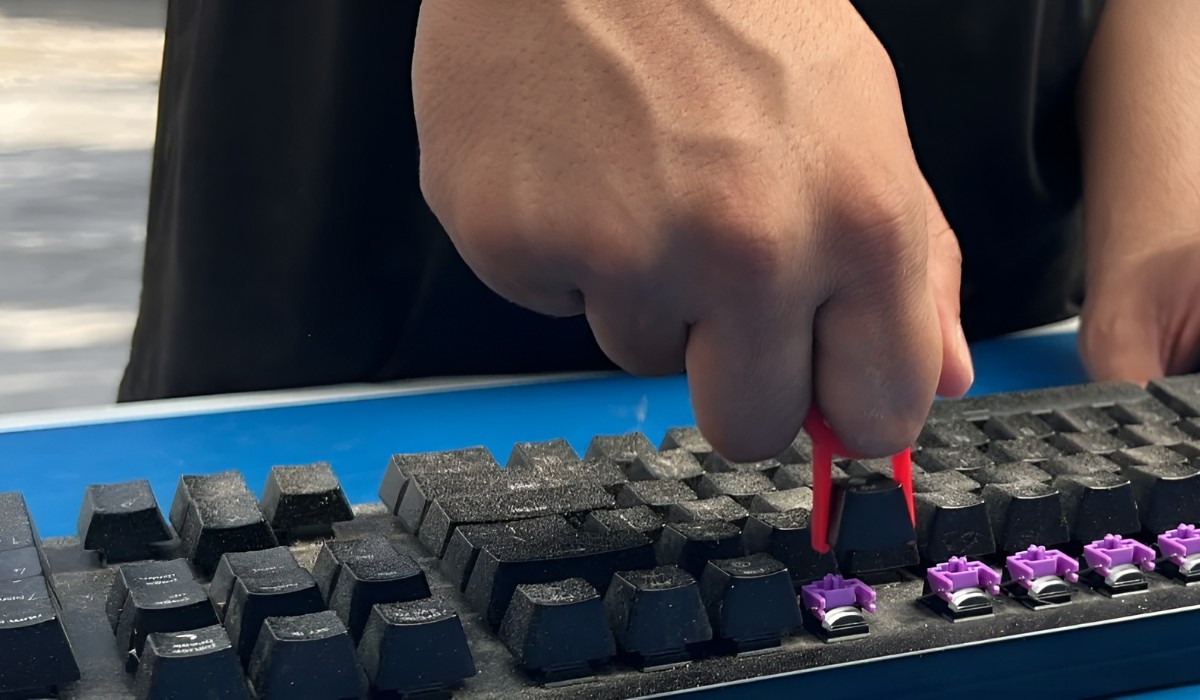
- Flathead Screwdriver: A small flathead screwdriver can also be used to carefully pry off keycaps. However, caution must be exercised to prevent damage to the keyboard or the keycap itself.
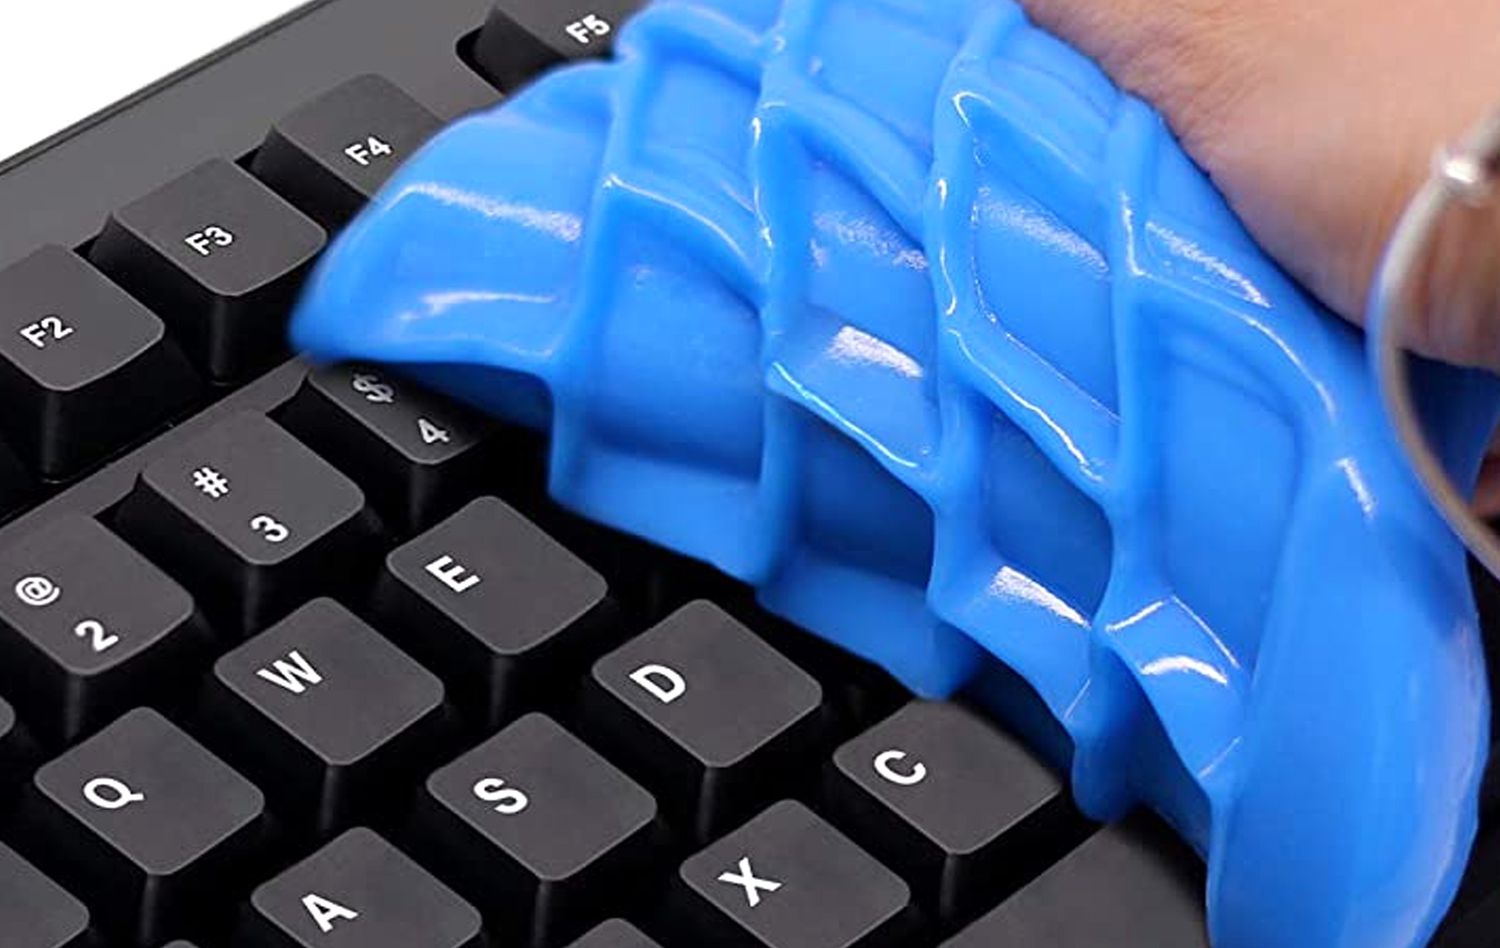
- Cloth or Brush: Having a soft cloth or brush on hand is useful for cleaning the exposed switches and the keyboard’s surface once the keycaps are removed.
These tools are readily available and can be found in most households. If you don’t have a keycap puller, dental floss, or a flathead screwdriver, they can be easily obtained from hardware stores or online retailers. With these tools at your disposal, you’re ready to proceed with the keycap removal process using the method that best suits your preferences and the resources available to you.
Method 1: Using a Keycap Puller
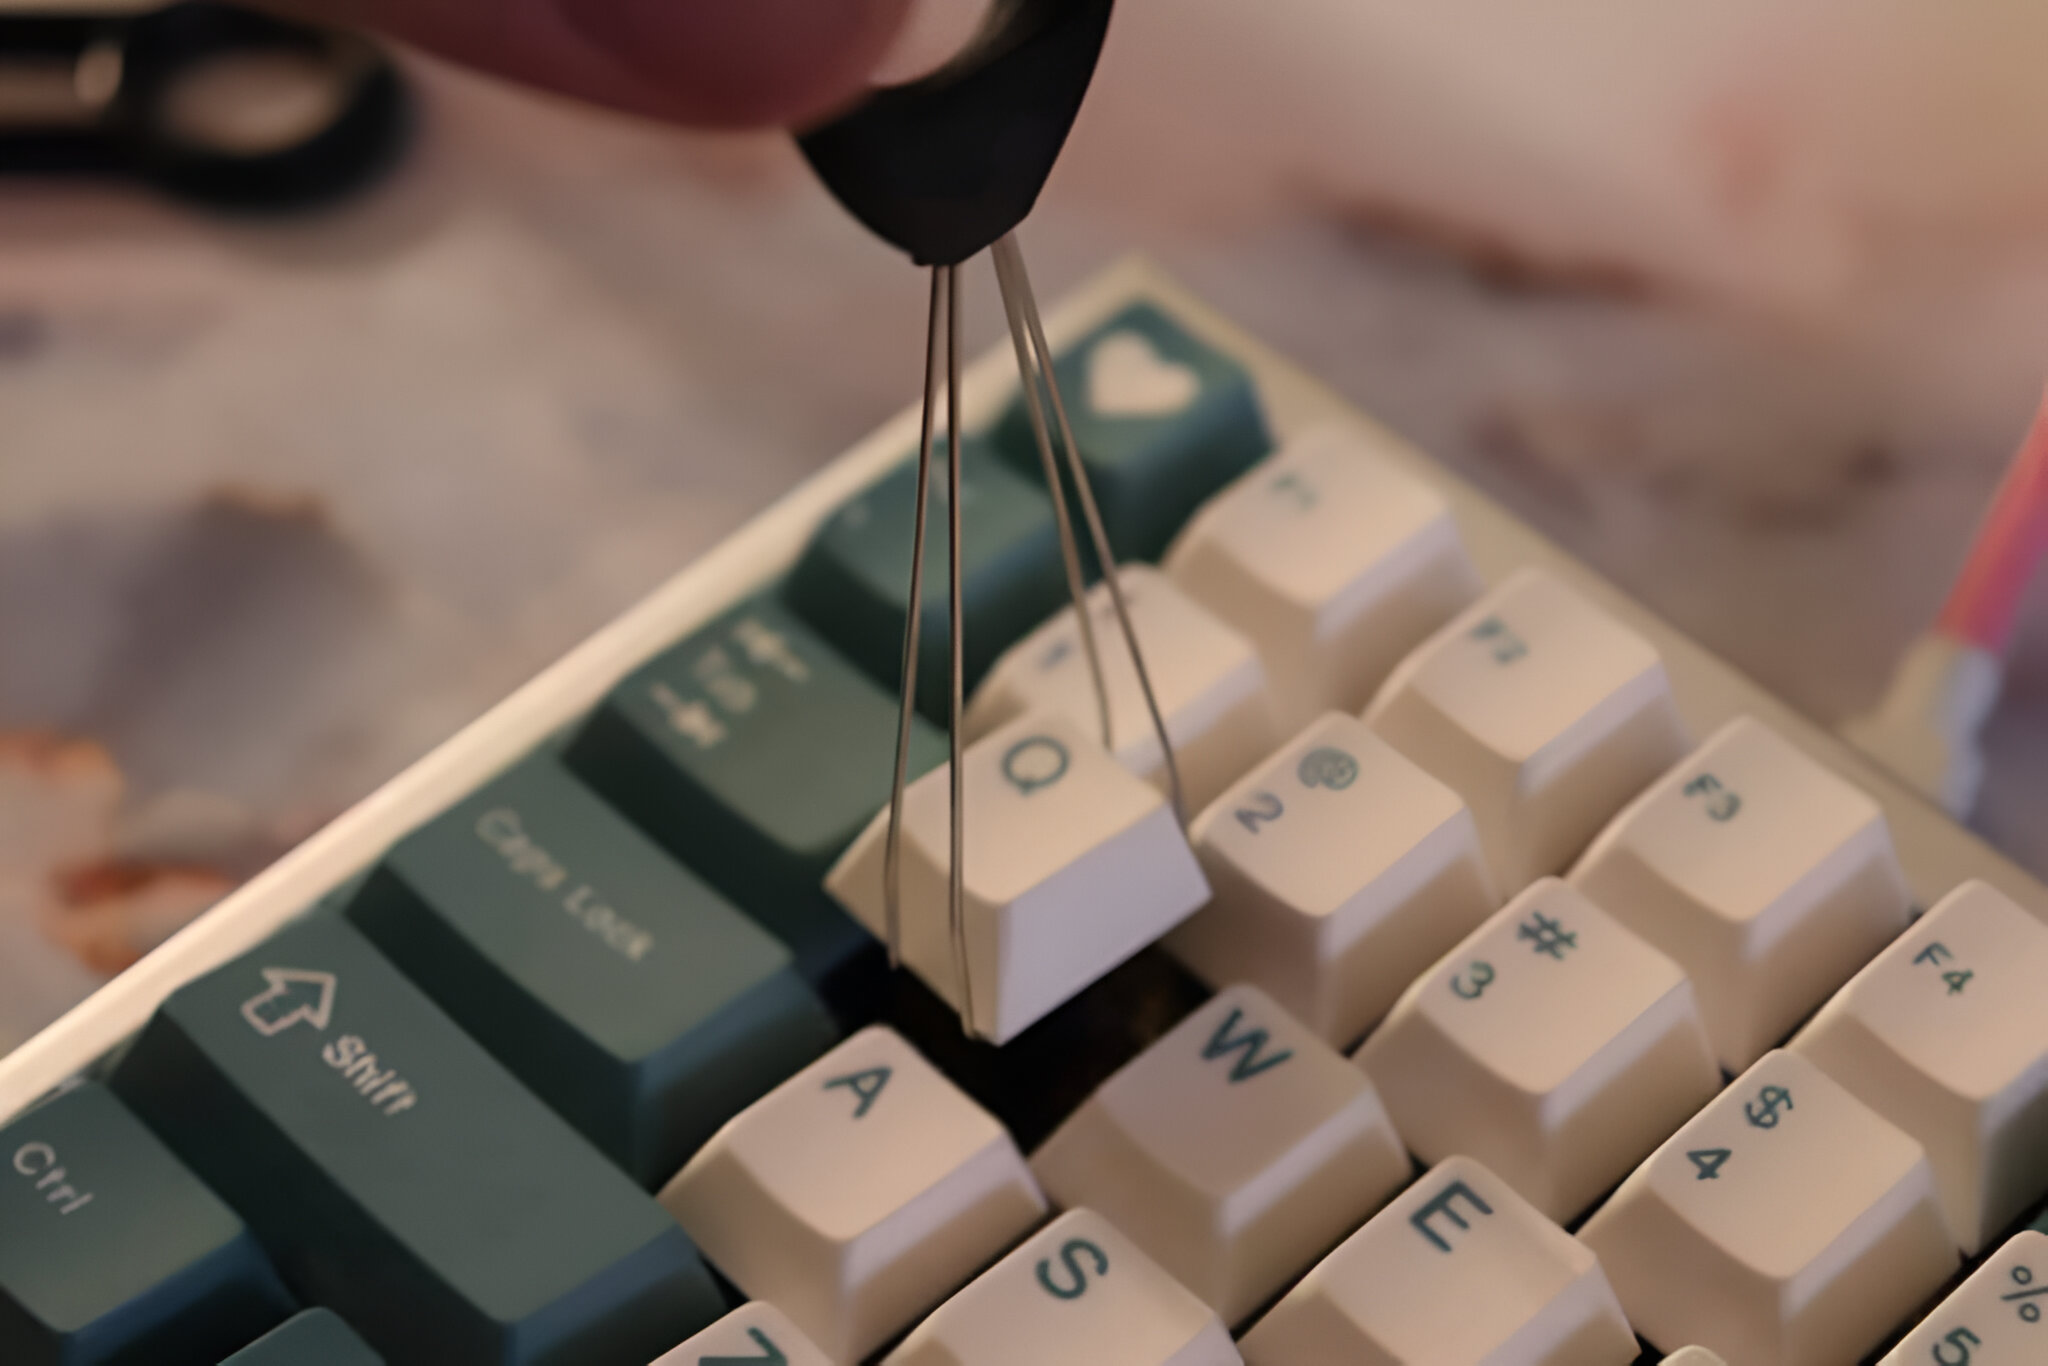
Using a keycap puller is widely regarded as the safest and most effective method for removing keycaps from a mechanical keyboard. These specialized tools are designed to gently extract keycaps without exerting excessive force on the switches, minimizing the risk of damage. Here’s a step-by-step guide on how to use a keycap puller:
- Position the Keyboard: Place the keyboard on a flat surface, ensuring stability during the keycap removal process.
- Insert the Keycap Puller: Insert the wire-style or ring-style keycap puller’s prongs beneath the keycap you wish to remove. Ensure that the prongs are positioned evenly on both sides of the keycap.
- Apply Even Pressure: Gently and evenly apply upward pressure on the keycap puller’s handles to dislodge the keycap from the switch. Avoid applying excessive force, as this may damage the switch or the keycap itself.
- Repeat the Process: If you plan to remove multiple keycaps, repeat the above steps for each keycap, ensuring a methodical and careful approach to avoid any mishaps.
- Clean the Exposed Switches: Once the keycaps are removed, use a soft brush or cloth to clean the exposed switches and the keyboard’s surface, removing any accumulated dust or debris.
Using a keycap puller provides a gentle and precise way to remove keycaps, making it an ideal method for individuals who prioritize the safety of their keyboard’s components. By following these steps, you can confidently and safely remove keycaps from your mechanical keyboard, paving the way for customization and maintenance tasks.
Method 2: Using Dental Floss
Surprisingly, dental floss can serve as a practical alternative for removing keycaps from a mechanical keyboard, especially when a keycap puller is not readily available. This method requires a degree of patience and precision to ensure that the keycaps are removed without causing any damage to the keyboard. Here’s a step-by-step guide on how to use dental floss for removing keycaps:
- Prepare the Dental Floss: Cut a piece of dental floss, approximately 6-8 inches in length, and ensure that it is free of any frayed ends that could get caught during the process.
- Thread the Dental Floss: Gently slide the dental floss underneath one side of the keycap, ensuring that it is positioned evenly beneath the keycap’s edge.
- Cross the Floss: Once the dental floss is positioned under one side of the keycap, carefully cross it over to the opposite side, forming a loop around the base of the keycap.
- Apply Even Pressure: Holding both ends of the dental floss, apply gentle and even upward pressure to lift the keycap from the switch. Exercise caution to avoid exerting excessive force that could damage the switch or the keycap.
- Repeat the Process: If you need to remove additional keycaps, repeat the above steps for each keycap, ensuring a methodical and careful approach to prevent any mishaps.
- Clean the Exposed Switches: Once the keycaps are removed, use a soft brush or cloth to clean the exposed switches and the keyboard’s surface, removing any accumulated dust or debris.
While using dental floss may require more dexterity and patience than a keycap puller, it can be an effective method for safely removing keycaps, especially in the absence of specialized tools. By following these steps, you can confidently and carefully remove keycaps from your mechanical keyboard, opening up opportunities for customization and maintenance tasks.
Method 3: Using a Flathead Screwdriver
When a keycap puller or dental floss is not available, a small flathead screwdriver can be repurposed to remove keycaps from a mechanical keyboard. However, it’s important to exercise caution and precision when using this method to avoid damaging the keyboard’s switches or the keycaps themselves. Here’s a step-by-step guide on how to use a flathead screwdriver to remove keycaps:
- Position the Keyboard: Place the keyboard on a flat and stable surface to ensure that it remains steady during the keycap removal process.
- Select the Proper Size: Choose a small flathead screwdriver that matches the width of the keycap, ensuring that it fits comfortably beneath the keycap without causing undue pressure on the surrounding keys.
- Insert the Screwdriver: Gently insert the flathead screwdriver beneath one side of the keycap, positioning it evenly to avoid putting excessive pressure on the switch or the keycap.
- Apply Even Pressure: With the screwdriver in place, apply gentle and even upward pressure to lift the keycap from the switch. Take care to avoid using excessive force that could potentially damage the switch or the keycap.
- Repeat the Process: If you need to remove multiple keycaps, repeat the above steps for each keycap, ensuring a methodical and careful approach to prevent any mishaps.
- Clean the Exposed Switches: Once the keycaps are removed, use a soft brush or cloth to clean the exposed switches and the keyboard’s surface, removing any accumulated dust or debris.
While using a flathead screwdriver is a viable option for removing keycaps when specialized tools are unavailable, it’s crucial to proceed with caution and precision to prevent any damage to the keyboard or its components. By following these steps, you can safely and carefully remove keycaps from your mechanical keyboard, creating opportunities for customization and maintenance tasks.
Conclusion
Removing keycaps from a mechanical keyboard is a fundamental skill that allows for customization, maintenance, and cleaning. In this guide, we explored three effective methods for safely removing keycaps, each offering its own advantages and considerations. Whether using a keycap puller, dental floss, or a flathead screwdriver, the key is to proceed with care and precision to avoid damaging the keyboard’s switches or keycaps.
Understanding the tools needed for the task, including keycap pullers, dental floss, and flathead screwdrivers, ensures that you are well-prepared for the keycap removal process. These tools, along with a soft brush or cloth for cleaning, are essential for safely and effectively removing keycaps without causing any harm to the keyboard.
By following the step-by-step instructions for each method, users can confidently and carefully remove keycaps from their mechanical keyboards, opening up opportunities for customization and maintenance. Whether it’s swapping out keycaps for a new look or giving the keyboard a thorough cleaning, the ability to remove keycaps safely is a valuable skill for any mechanical keyboard enthusiast.
With the knowledge gained from this guide, individuals can embark on keycap removal with confidence, knowing that they can enhance and maintain their mechanical keyboards without compromising their integrity. By incorporating these methods into their keyboard maintenance routines, users can ensure that their mechanical keyboards remain in optimal condition while reflecting their personal style through customized keycaps.