Introduction
Welcome to our guide on how to put a key back on an ASUS Republic of Gamers Gaming Laptop. If you’re an avid gamer or someone who relies heavily on your laptop for work, you know how frustrating it can be when a key on your keyboard pops off or becomes loose. But don’t worry, with a few simple steps, you can easily fix this issue and have your laptop keyboard back to its optimal functioning state in no time.
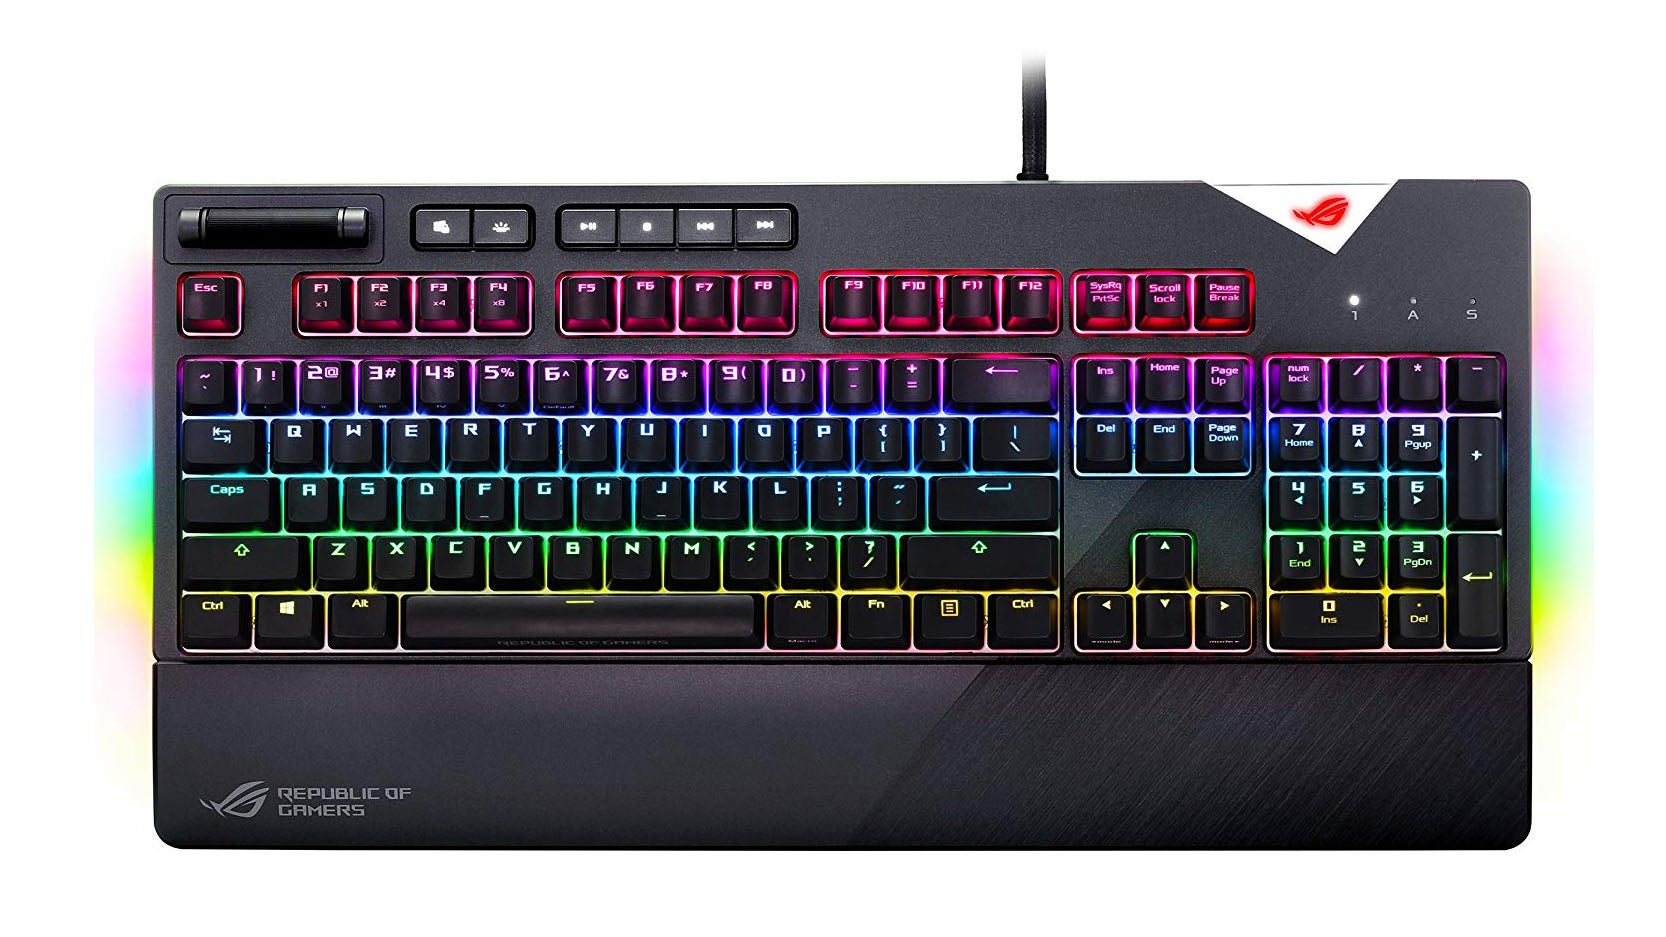
Before we dive into the step-by-step process, it’s important to note that ASUS Republic of Gamers (ROG) laptops are known for their high-quality components, including their keyboards. These keyboards are designed for gaming enthusiasts and are built to withstand heavy usage. However, accidents happen, and keys may occasionally come loose or detach.
In this guide, we will walk you through each step to ensure a successful reattachment of the key. We will cover gathering the necessary tools, removing the damaged key, preparing the key and the laptop, attaching the key back onto the laptop keyboard, and finally, testing the key functionality. By following these instructions carefully, you can avoid any further damage and get back to enjoying your gaming or work sessions without any interruptions.
Whether you accidentally spilled a drink on your keyboard, applied too much pressure while typing, or simply had a key come loose over time, this guide will provide you with the knowledge and techniques to troubleshoot and resolve the issue yourself. Not only will this save you time and money by avoiding a professional repair service, but it will also give you the satisfaction of fixing the problem on your own.
Now, let’s proceed to the next section where we’ll discuss the necessary tools you’ll need to gather before you begin the key reattachment process.
Gather the Necessary Tools
Before you embark on the process of putting the key back on your ASUS ROG gaming laptop, it’s essential to gather the necessary tools. Having the right tools at hand will ensure a smooth and efficient repair process. Here are the tools you’ll need:
- Tweezers or small pliers: These will help you handle the key and its components with precision.
- Clean cloth or microfiber cloth: It’s important to have a clean surface to work on and to wipe away any dirt or debris.
- Compressed air or a small brush: This will help you remove any dust or particles from the key and the keyboard.
- Keycap puller (optional): If you have a keycap puller, it can make the removal process easier. However, it’s not necessary, as you can also use tweezers or your fingers.
Ensure that you have these tools readily available before you proceed with the repair process. By having them on hand, you can avoid interruptions and complete the task smoothly.
Once you have gathered the necessary tools, you are now ready to move on to the next section, where we’ll discuss how to remove the damaged key from your ASUS ROG gaming laptop.
Remove the Damaged Key
Now that you have your tools ready, it’s time to remove the damaged key from your ASUS ROG gaming laptop. Follow these steps carefully:
- Start by ensuring your laptop is powered off. This will prevent any accidental keystrokes or interference during the key removal process.
- Locate the damaged key on your keyboard. It’s important to identify the exact key that needs to be removed.
- If you have a keycap puller, align it with the corners of the keycap and gently pull upwards. If you don’t have a keycap puller, you can use tweezers or your fingers to carefully lift the keycap. Be gentle to avoid any damage to the key or the keyboard.
- Once the keycap is lifted, you may notice a small metal or plastic hinge mechanism attached to the underside of the keycap. Take note of its position and orientation, as you will need to reattach it later.
- Using tweezers or your fingers, remove the hinge mechanism from the keyboard. Again, be gentle to avoid any unnecessary force.
- Set aside the keycap and hinge mechanism in a safe place to prevent them from getting lost or damaged.
- Inspect the keyboard for any dust, crumbs, or debris. Use compressed air or a small brush to gently clean the area before proceeding.
By following these steps, you should now have successfully removed the damaged key from your ASUS ROG gaming laptop. Take a moment to ensure that the keycap and hinge mechanism are safely stored and easily accessible for the next steps.
In the next section, we will guide you through the process of preparing the key and the laptop for reattachment, so make sure to proceed to the following section.
Prepare the Key and the Laptop
Now that you have successfully removed the damaged key from your ASUS ROG gaming laptop, it’s time to prepare the key and the laptop for reattachment. Following these steps will ensure a smooth and secure placement of the key:
- Clean the keycap and the keyboard: Use a clean cloth or microfiber cloth to wipe away any dirt or debris from the keycap and the area where the key will be reattached. This will ensure proper adhesion and prevent any interference with the key’s functionality.
- Inspect the hinge mechanism: Take a close look at the hinge mechanism that was attached to the underside of the keycap. Ensure that it is not damaged or bent. If it appears to be in good condition, proceed to the next step. If it is damaged, consider replacing it before continuing with the reattachment process.
- Align the hinge mechanism: Carefully align the hinge mechanism with the corresponding slot on the keyboard. Pay attention to the orientation and position of the hinge, as it needs to fit precisely for the key to function properly.
- Press down firmly: Once the hinge mechanism is aligned, press down firmly on the keycap to snap it back into place. Apply even pressure across the entire keycap to ensure a secure attachment.
- Give it a test: Press the key multiple times to verify that it is functioning correctly and registers the keystroke. Ensure that the keycap does not wobble or feel loose when being pressed.
By following these steps, you have now successfully prepared the key and the laptop for reattachment. Take a moment to congratulate yourself on completing this crucial step. Next, we will move on to the actual process of attaching the key back onto the laptop keyboard, so continue reading to the next section.
Attach the Key Back onto the Laptop Keyboard
Now that the key and the laptop are prepared, it’s time to attach the key back onto the ASUS ROG gaming laptop keyboard. Follow these steps carefully:
- Ensure that the laptop is still powered off before proceeding to the reattachment process.
- Position the keycap in alignment with the corresponding key slot on the keyboard. Take note of the orientation and angle of the keycap to ensure proper placement.
- Press down firmly and evenly on the keycap, applying a gentle downward force. Use your fingers or a small flat object, such as a credit card, to press the keycap if needed. Avoid using excessive force that could result in damage.
- You should hear a satisfying click or snap sound, indicating that the keycap has been securely attached to the keyboard.
- After attaching the keycap, test its functionality by pressing the key multiple times. Ensure that it registers the keystrokes accurately and does not feel loose or wobbly.
Following these steps will ensure a successful reattachment of the key to your ASUS ROG gaming laptop keyboard. Take your time and pay attention to the details to ensure a secure and functional key.
Now that you have attached the key back onto the laptop keyboard, it’s time to move on to the final step, which is testing the key functionality. Continue reading to the next section to complete the repair process.
Test the Key Functionality
After attaching the key back onto your ASUS ROG gaming laptop keyboard, it’s important to test its functionality to ensure that the reattachment was successful. Follow these steps to test the key:
- Power on your laptop and access any text editor or word processing application.
- Press the key that you have reattached multiple times while observing the on-screen output. Ensure that the key registers the keystrokes accurately and functions as expected.
- Test the key in combination with other keys, such as modifiers like Shift, Control, or Alt. Verify that the key functions correctly in different combinations and does not produce unexpected or erratic behavior.
- If you notice any issues or inconsistencies with the key’s functionality, you may need to repeat the previous steps to ensure a proper attachment. Alternatively, it might be necessary to seek professional assistance for further troubleshooting.
By testing the key’s functionality, you can be confident that the reattachment process was successful, and your ASUS ROG gaming laptop keyboard is back to its optimal state. Enjoy using your laptop once again without any interruptions or inconvenience caused by the detached key.
Congratulations! You have successfully put the key back on your ASUS Republic of Gamers gaming laptop. By following this guide, you were able to resolve the issue on your own and save both time and money. Remember to keep your laptop keyboard clean and handle it with care to prevent future damage or detachment of keys.
Thank you for following this guide, and we hope it helped you restore your laptop keyboard to its full functionality. Happy gaming or working on your ASUS ROG gaming laptop!
Conclusion
In this guide, we have walked you through the steps to put a key back on your ASUS Republic of Gamers (ROG) gaming laptop. By following these instructions, you were able to successfully remove the damaged key, prepare the key and laptop for reattachment, attach the key back onto the keyboard, and test its functionality.
We began by gathering the necessary tools, including tweezers or small pliers, a clean cloth, compressed air or a small brush, and a keycap puller (optional). These tools were essential in smoothly carrying out the repair process.
Next, we guided you through the process of removing the damaged key. It involved careful lifting of the keycap, removal of the hinge mechanism, and cleaning the keyboard area to ensure a clean surface for reattachment.
After that, we discussed the steps to prepare the key and the laptop for reattachment. This included cleaning the keycap and the keyboard, inspecting the hinge mechanism, aligning the hinge mechanism properly, and firmly pressing down on the keycap.
Finally, we covered the process of attaching the key back onto the laptop keyboard and testing its functionality. We emphasized the importance of ensuring a secure attachment and verifying that the key registers keystrokes accurately.
By following this guide, you have successfully resolved the issue of a detached or loose key on your ASUS ROG gaming laptop. You saved time and money by addressing the problem yourself, while also gaining a deeper understanding of your laptop’s components.
Remember to exercise caution and handle your laptop keyboard with care to prevent any future damage. Proper cleaning and maintenance can go a long way in maintaining the optimal functioning of your keyboard.
Thank you for using this guide, and we hope it has been helpful in restoring your ASUS ROG gaming laptop keyboard to its full functionality. Happy gaming and working!