Introduction
So, you've decided to upgrade your mechanical keyboard by installing new keys. Congratulations! This simple and rewarding process can breathe new life into your keyboard, enhance your typing experience, and even add a touch of personal flair. Whether you're a seasoned keyboard enthusiast or a newcomer to the world of mechanical keyboards, this guide will walk you through the steps to successfully install new keys on your keyboard.
Mechanical keyboards have gained popularity due to their durability, tactile feedback, and customizable keycap options. By swapping out the stock keys for new ones, you can customize the look and feel of your keyboard to suit your preferences. Whether you're aiming for a sleek, minimalist aesthetic or a vibrant, eye-catching design, the process of installing new keys is relatively straightforward and can be an enjoyable DIY project.
In this guide, we will cover the tools and materials you'll need for the key installation, the step-by-step process of removing the old keys and installing the new ones, and finally, how to test the keys to ensure they are functioning properly. By following these instructions, you can breathe new life into your keyboard and enjoy a personalized typing experience.
Let's dive into the world of mechanical keyboards and unlock the potential for customization and improved functionality. Whether you're looking to replace worn-out keys, experiment with different keycap materials, or simply add a personal touch to your keyboard, this guide will equip you with the knowledge and confidence to embark on this DIY keyboard upgrade journey.
Tools and Materials Needed
Before embarking on the process of installing new keys on your mechanical keyboard, it’s essential to gather the necessary tools and materials. Having the right equipment at your disposal will ensure a smooth and efficient key installation process. Here’s a list of the tools and materials you’ll need:
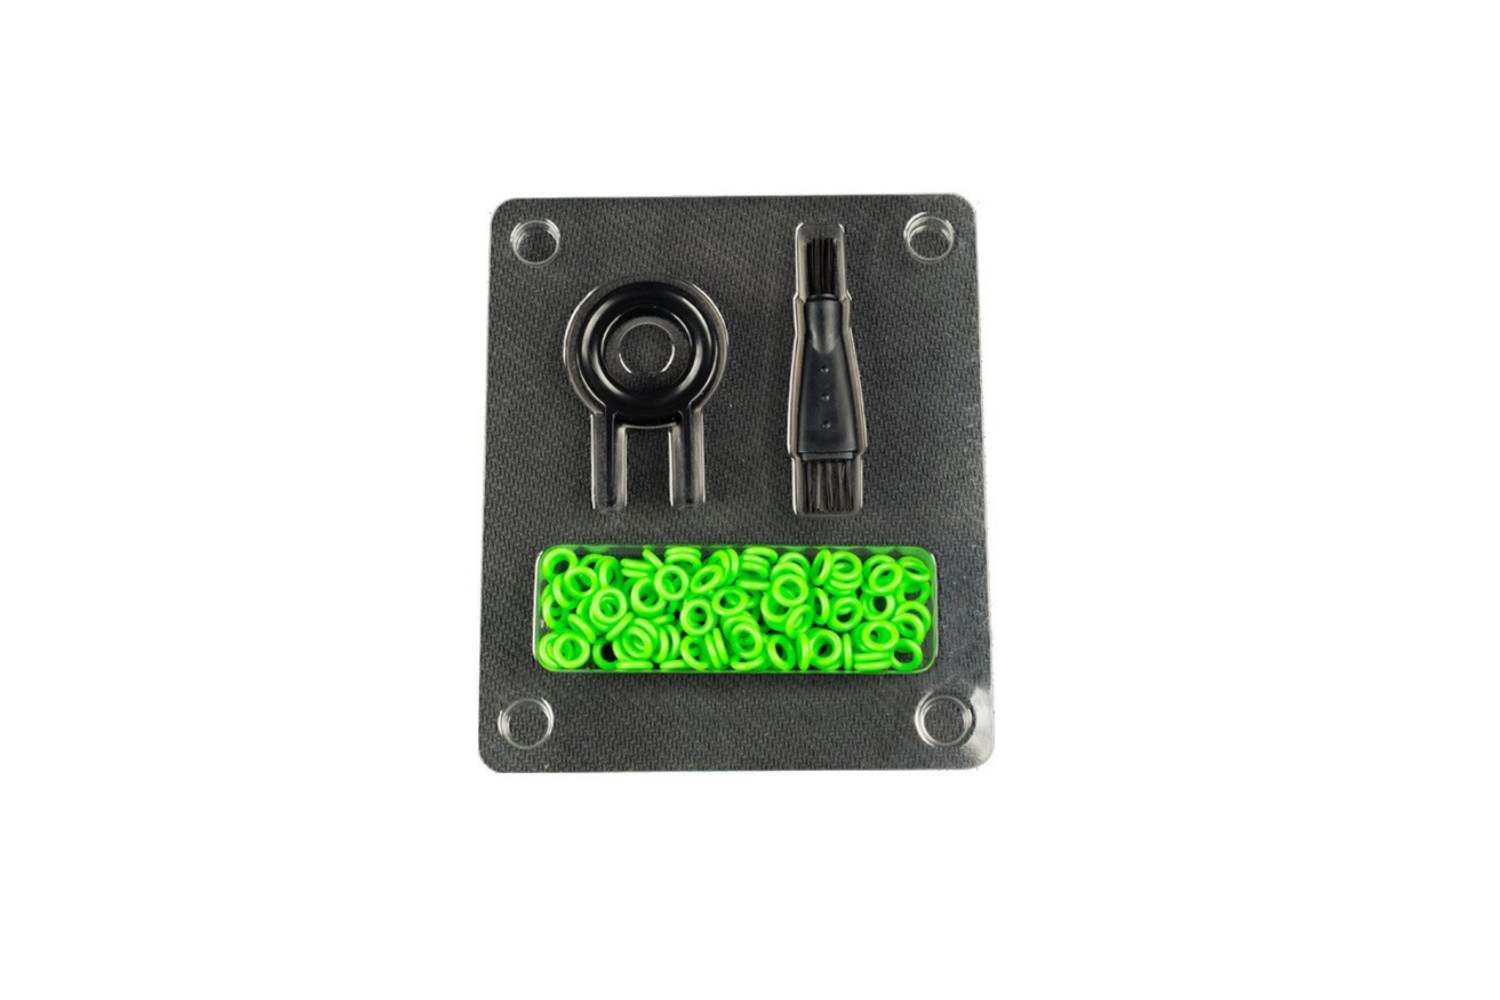
- Keycap Puller: A keycap puller is a specialized tool designed to safely remove keycaps from a mechanical keyboard. It prevents damage to the keycaps and the keyboard’s switches during the removal process.
- New Keycaps: Depending on your preference, you may choose to replace all the keycaps or only specific ones. Keycaps come in various materials, colors, and profiles, allowing for extensive customization.
- Cleaning Supplies: It’s a good idea to have cleaning supplies on hand to tidy up the keyboard and remove any debris or dust that may have accumulated beneath the keycaps.
- Microfiber Cloth: A microfiber cloth is ideal for gently wiping down the keyboard and removing any smudges or fingerprints.
- Compressed Air: Compressed air can be used to blow away dust and debris from the keyboard’s surface and hard-to-reach areas.
- Tweezers or Small Brush: These tools can be helpful for cleaning and handling small components during the key installation process.
- Workspace: Ensure you have a clean, well-lit workspace to perform the key installation. A clutter-free environment will make it easier to keep track of small components and work comfortably.
By gathering these tools and materials, you’ll be well-prepared to tackle the task of installing new keys on your mechanical keyboard. With the right equipment at your disposal, you can proceed with confidence and ensure a successful key installation process.
Removing Old Keys
Before you can install new keys on your mechanical keyboard, you’ll need to remove the existing keycaps. This process requires precision and care to avoid damaging the keyboard’s switches or keycaps. Here’s a step-by-step guide to removing the old keys:
- Prepare Your Workspace: Find a clean, well-lit area to work on your keyboard. Ensure that you have ample space to lay out the removed keycaps and keep track of the components.
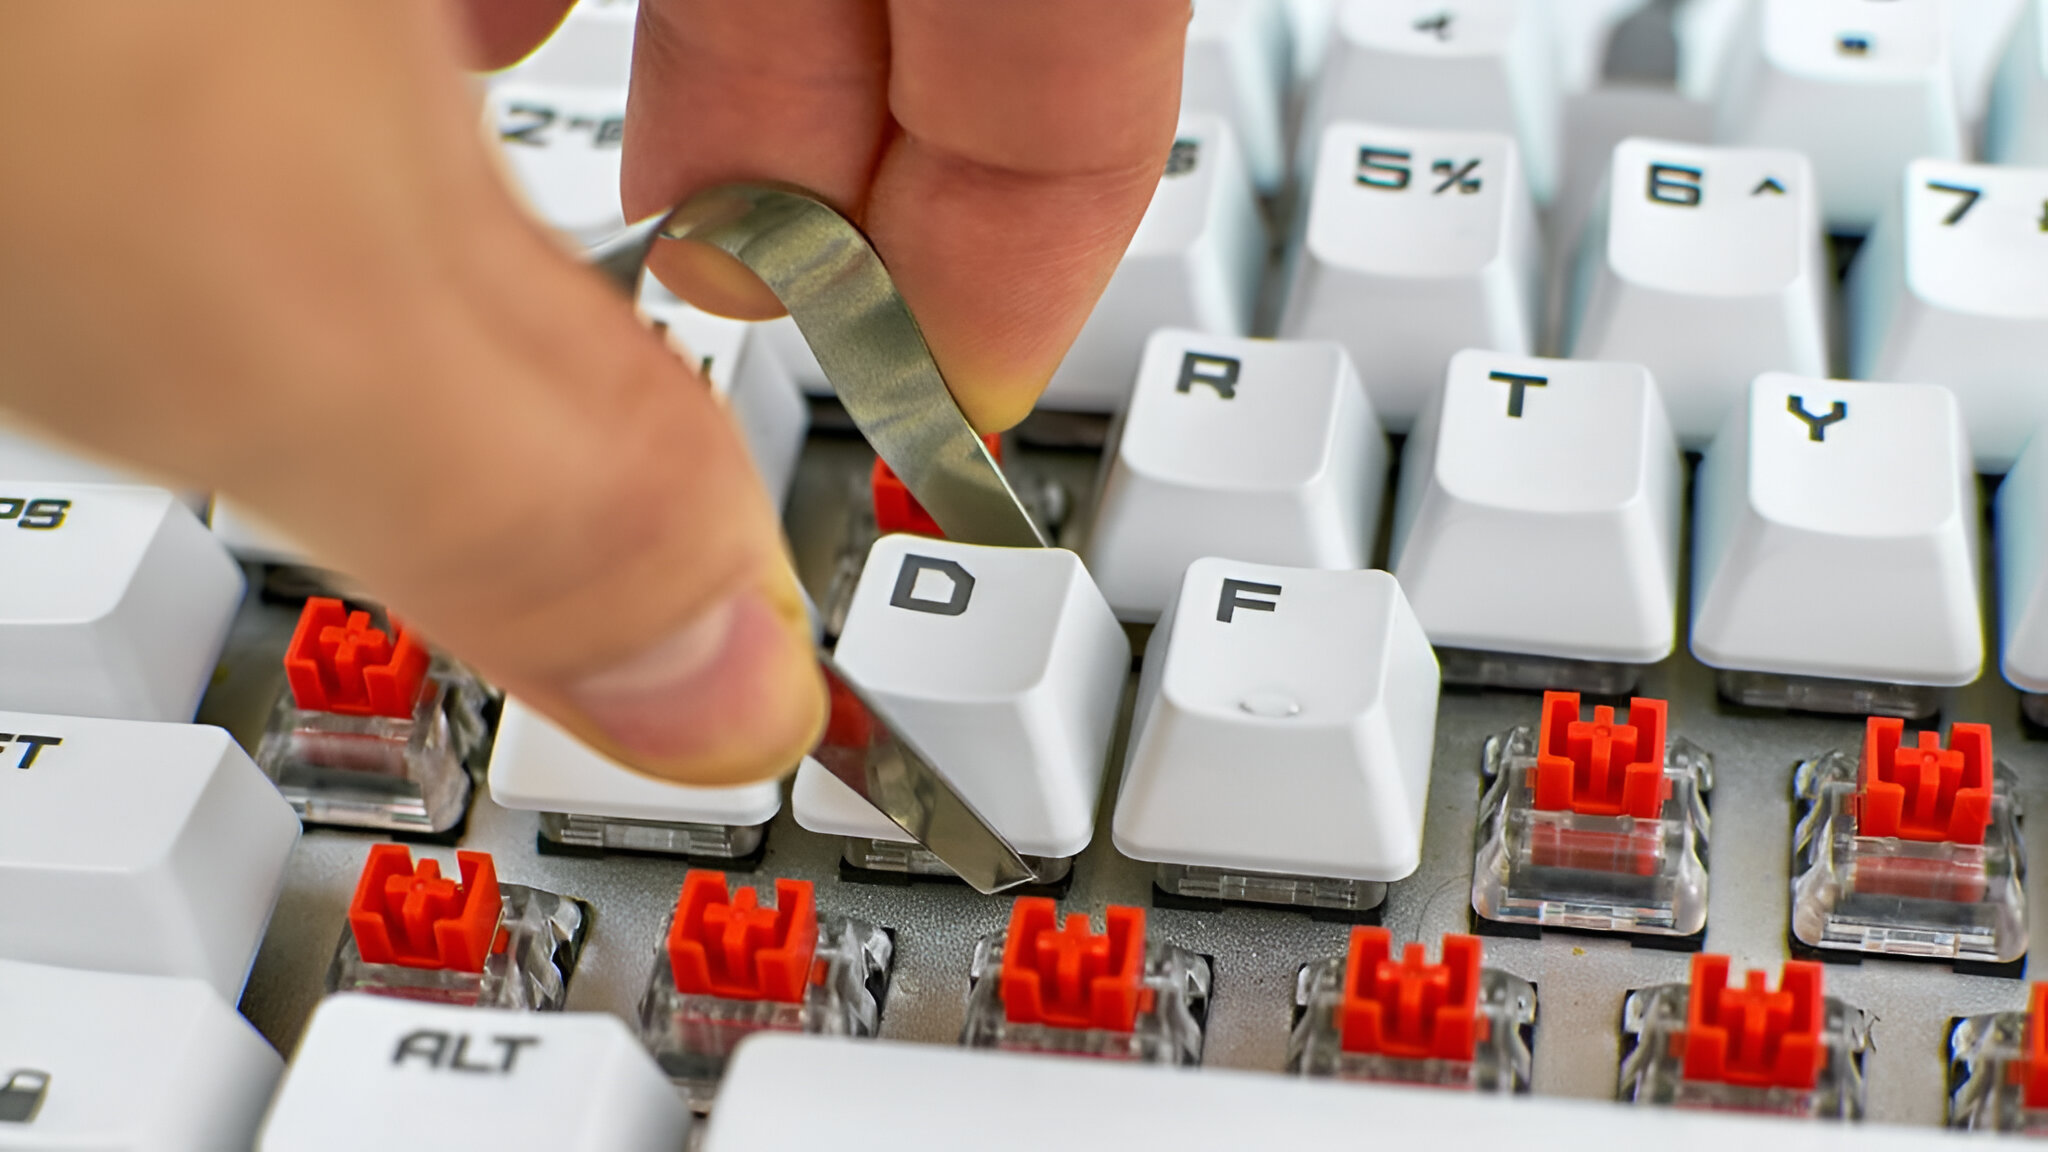
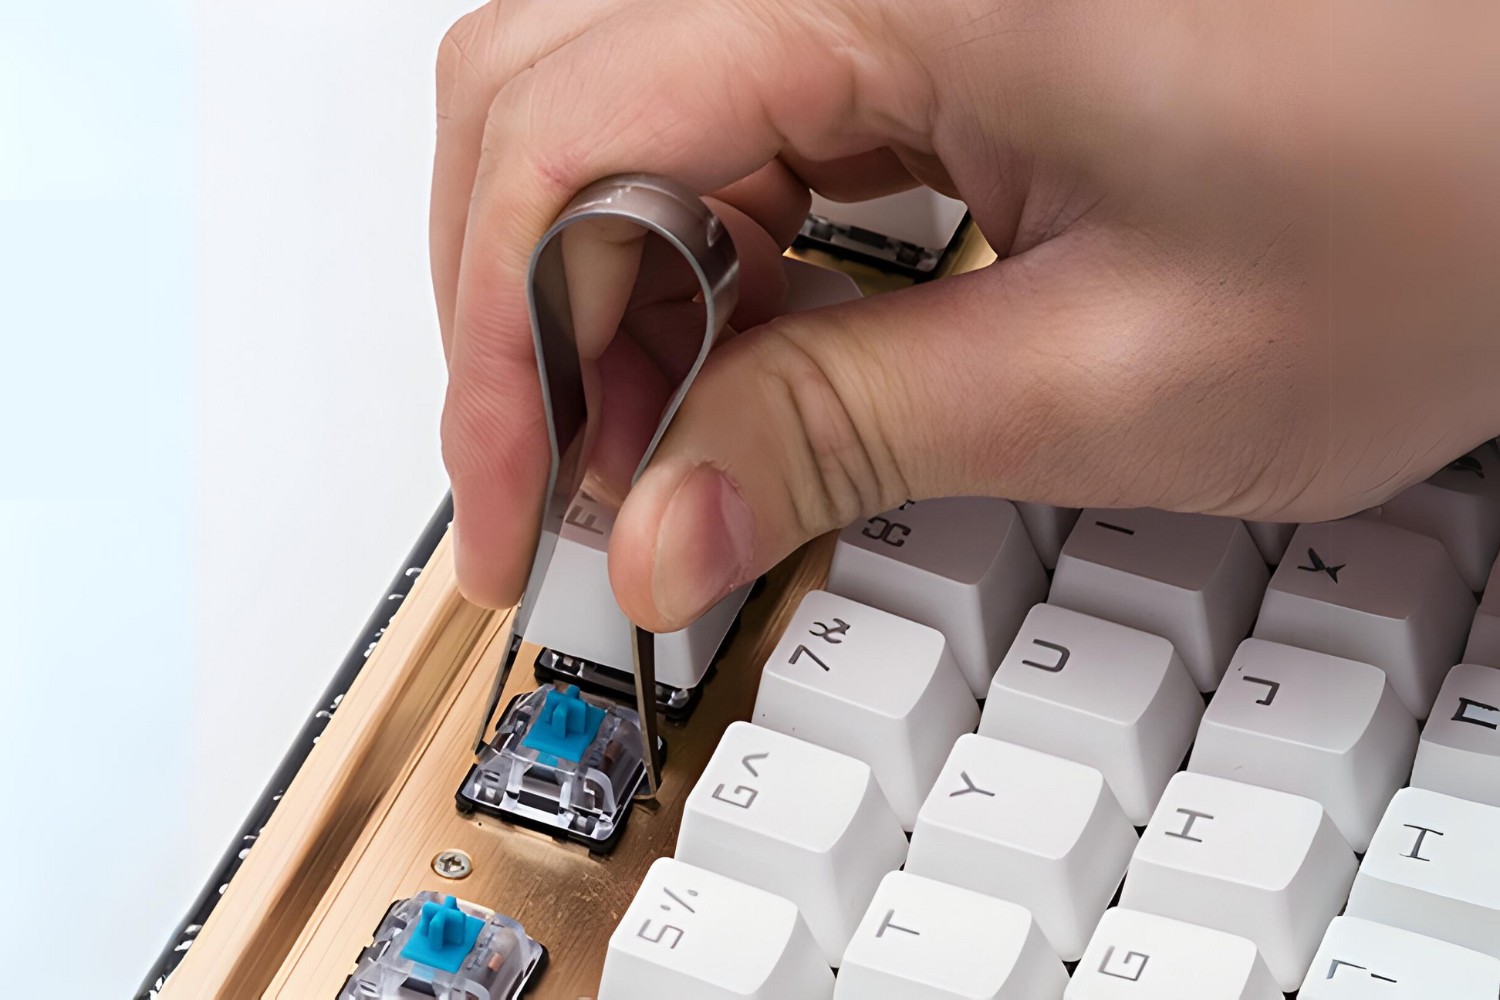
- Use the Keycap Puller: Gently position the keycap puller around the base of a keycap. Apply even pressure and pull upward to release the keycap from the switch. Repeat this process for each keycap, taking care not to bend or twist the keycaps during removal.
- Work Methodically: Start by removing the keycaps from the top row of the keyboard and progress to the subsequent rows. Take note of any non-standard keycap sizes or stabilizers, as these may require special attention during removal.
- Handle with Care: When using the keycap puller, ensure that you grip the keycap and not the switch itself. Applying force directly to the switches can cause damage, so handle the keycap puller gently and precisely.
- Keep Track of Keycaps: As you remove the keycaps, organize them in a safe place to prevent misplacement. You may want to arrange them in the layout of the keyboard to simplify the reinstallation process later.
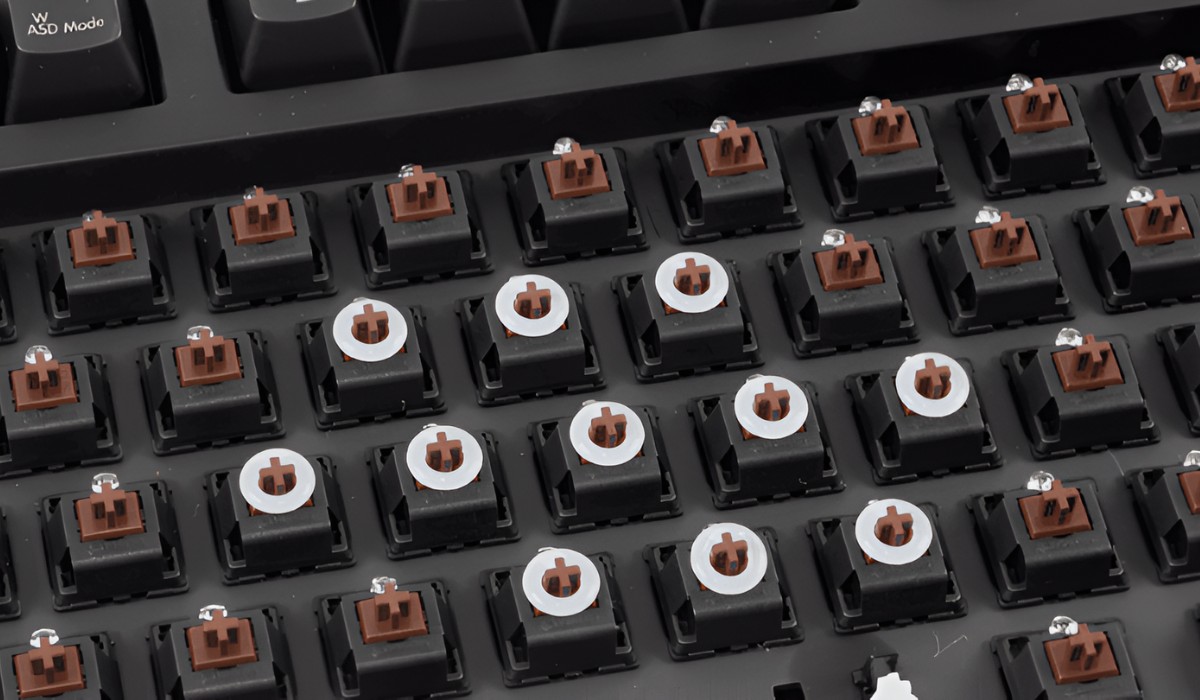
- Clean the Keyboard: Once all the keycaps are removed, take the opportunity to clean the exposed switches and keyboard surface. Use compressed air and a microfiber cloth to remove any dust or debris.
By following these steps, you can safely remove the old keycaps from your mechanical keyboard without causing damage to the switches or keycaps. Methodical and careful removal of the old keys sets the stage for the exciting process of installing new keys and customizing your keyboard to your preference.
Installing New Keys
With the old keycaps removed, it’s time to embark on the exciting process of installing new keys on your mechanical keyboard. This step allows for customization and personalization, giving you the opportunity to tailor the keyboard to your preferences. Follow these steps to install the new keys:
- Prepare the New Keycaps: Lay out the new keycaps in a manner that aligns with the layout of your keyboard. Take note of any non-standard keycap sizes or special keys that may require specific keycaps.
- Position the Keycaps: Align the new keycaps with the switches, ensuring that they are oriented correctly and fit snugly onto the switches. Apply gentle and even pressure to seat the keycaps onto the switches, taking care not to force them or apply uneven pressure.
- Check for Stability: For larger keys or keys with stabilizers, ensure that the stabilizer wires are properly positioned and that the keycap sits securely on the stabilizers. Test the stability and actuation of these keys to confirm a proper fit.
- Verify Keycap Orientation: Double-check the orientation of each keycap to ensure that they are facing the correct direction and are aligned with the keyboard’s layout. This step helps prevent the need to reposition keycaps after installation.
- Test the Key Feel: After installing a few keycaps, test the typing feel and sound to ensure that the new keycaps meet your expectations. Adjust the keycaps as needed to achieve a consistent and satisfying typing experience.
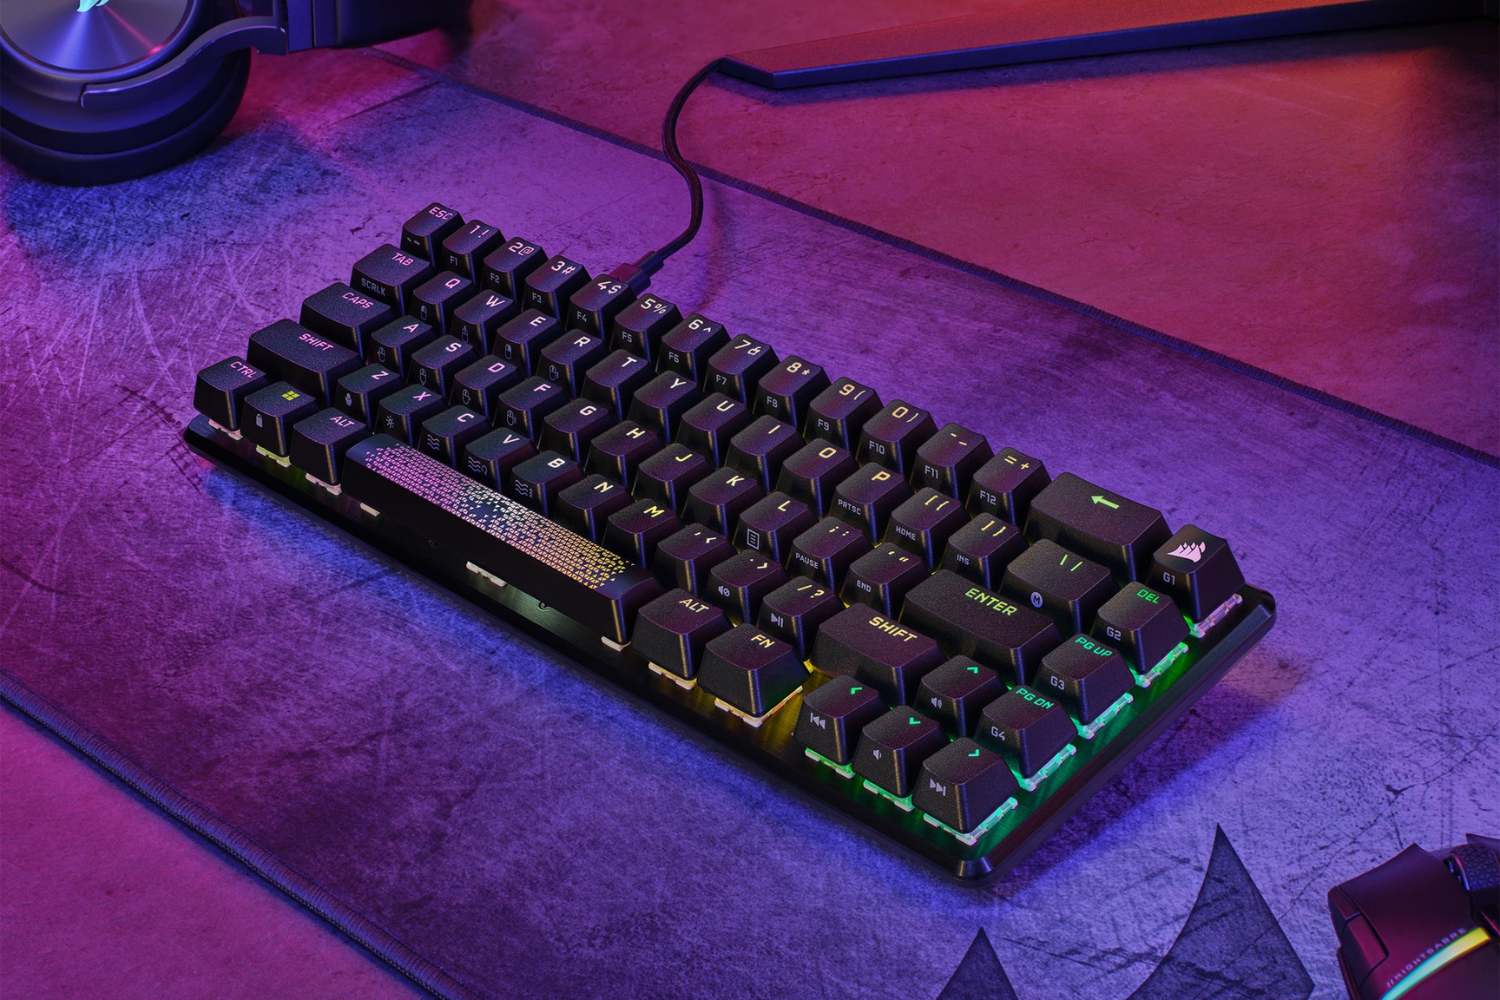
- Complete the Installation: Once all the new keycaps are installed, take a moment to admire the refreshed appearance of your keyboard. Ensure that all keycaps are securely seated and that the keyboard’s layout is accurate.
By following these steps, you can successfully install new keys on your mechanical keyboard, bringing a personalized touch to your typing experience. The process of installing new keycaps allows for creativity and customization, making it a rewarding endeavor for keyboard enthusiasts and novices alike.
Testing the Keys
After installing the new keys on your mechanical keyboard, it’s crucial to test each key to ensure that they are functioning properly. Testing the keys will help identify any potential issues and allow for adjustments to be made before finalizing the installation. Follow these steps to test the keys:
- Sequential Key Testing: Begin by testing each key on the keyboard sequentially, starting from the top row and moving systematically through each row. This methodical approach ensures that every key is tested.
- Actuation and Response: Press each key to verify its actuation and response. Pay attention to the tactile feedback and sound produced by each key, ensuring that they match your expectations and typing preferences.
- Modifier Keys and Special Functions: Test the modifier keys (Shift, Ctrl, Alt, etc.) and special function keys to confirm that they are registering input correctly. Verify that key combinations and shortcuts are functioning as intended.
- Typing Test: Perform a brief typing test to assess the overall feel and performance of the new keycaps. Pay attention to any keys that may feel inconsistent or exhibit unusual behavior.
- Visual Inspection: Conduct a visual inspection of the keycaps to ensure that they are aligned correctly and seated securely on the switches. Look for any keycaps that may require adjustment or reseating.
- Addressing Issues: If any keys exhibit unexpected behavior or inconsistencies, take the time to troubleshoot and address the issues. This may involve reseating specific keycaps, verifying stabilizer alignment, or addressing any keycap-specific concerns.
By thoroughly testing the keys, you can identify and resolve any potential issues, ensuring that your newly installed keycaps deliver a consistent and satisfying typing experience. This step is essential for fine-tuning the keyboard’s performance and addressing any adjustments needed to optimize the functionality of the new keys.
Conclusion
Congratulations on successfully installing new keys on your mechanical keyboard! By following the step-by-step process outlined in this guide, you’ve transformed your keyboard into a personalized and customized tool that reflects your unique style and preferences. The journey of upgrading your keyboard has not only enhanced its aesthetic appeal but also improved your typing experience.
Throughout this DIY project, you’ve delved into the world of mechanical keyboards, gaining hands-on experience in keycap removal, installation, and testing. This process has not only allowed you to express your creativity through keyboard customization but has also provided valuable insights into the mechanics of your keyboard.
As you enjoy the tactile feedback and visual appeal of your new keycaps, take pride in the craftsmanship and attention to detail that went into the installation process. Your keyboard now stands as a testament to your dedication to personalizing your workspace and optimizing your typing environment.
Remember that the journey doesn’t end here. With a newfound understanding of keyboard customization, you may find yourself exploring additional modifications, such as artisan keycaps, custom keycap sets, or even experimenting with different switch types to further tailor your keyboard to your preferences.
Embrace the satisfaction of a job well done and revel in the renewed enthusiasm for your keyboard. Whether you’re a seasoned enthusiast or a newcomer to the world of mechanical keyboards, the process of installing new keys has likely sparked a newfound passion for keyboard customization and DIY projects.
With your keyboard now reflecting your unique style and preferences, it’s time to fully immerse yourself in the immersive typing experience that your personalized keyboard offers. Let your fingers dance across the keys, knowing that each keystroke is a reflection of your individuality and creativity.
As you continue to explore the world of mechanical keyboards, may your typing experience be both enjoyable and uniquely yours.