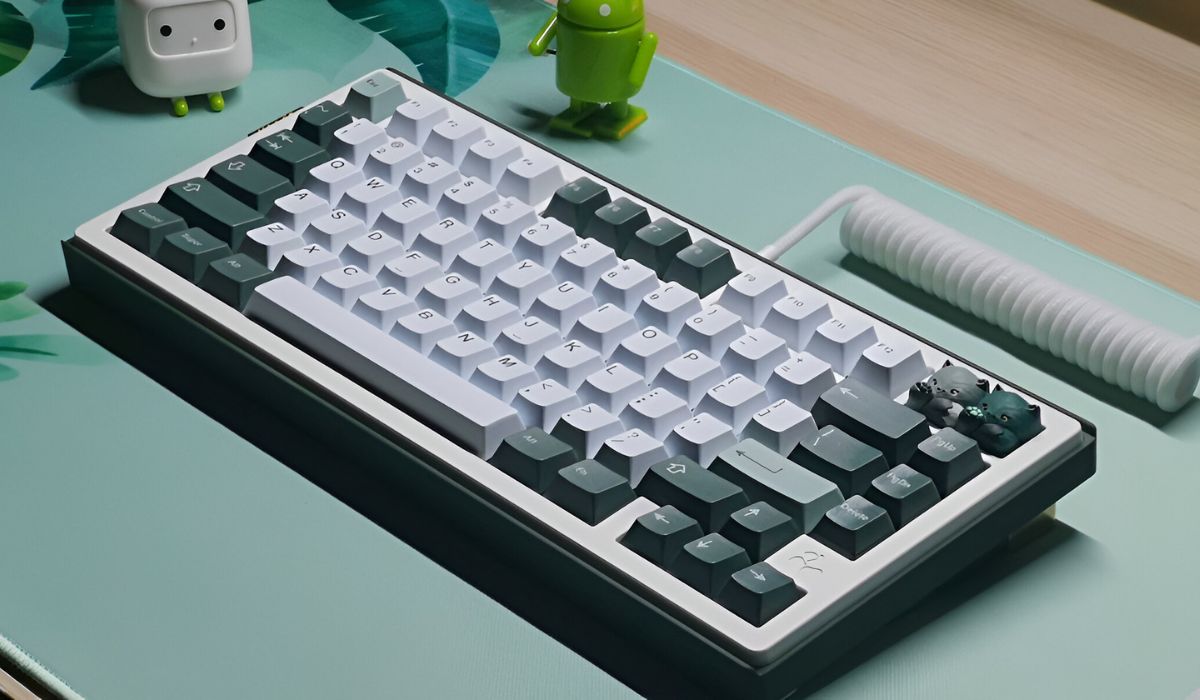
Introduction
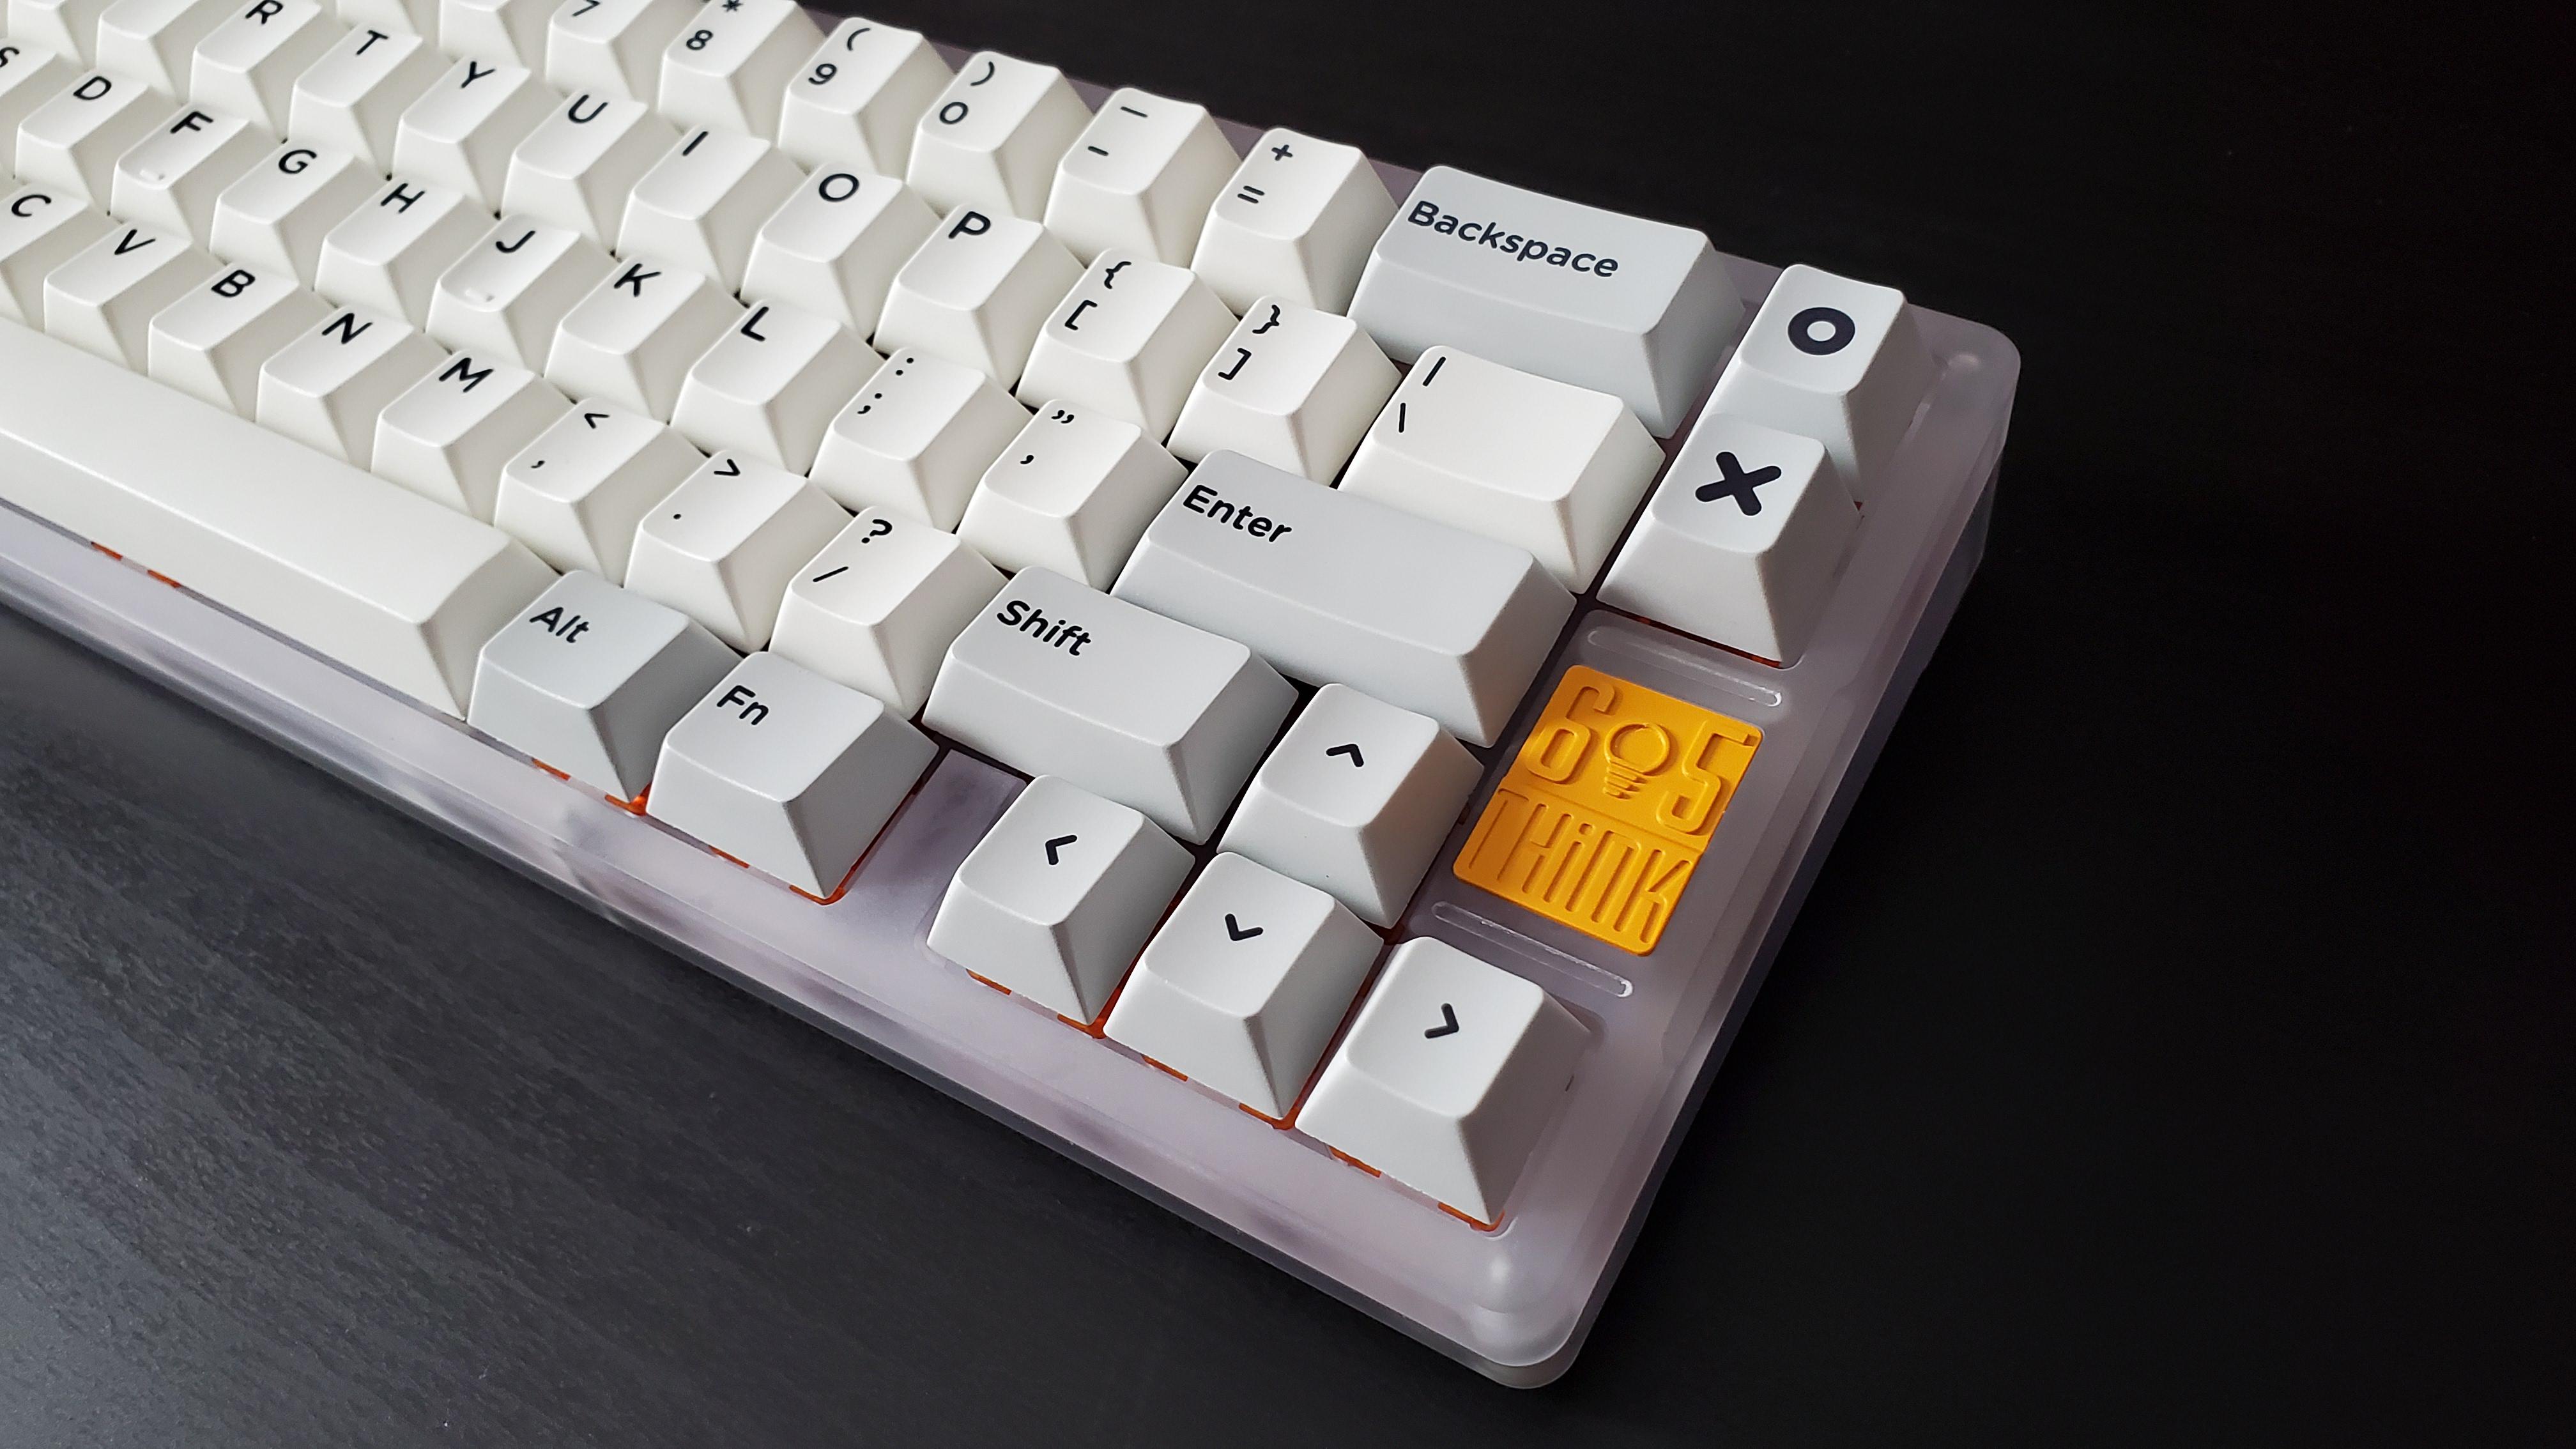
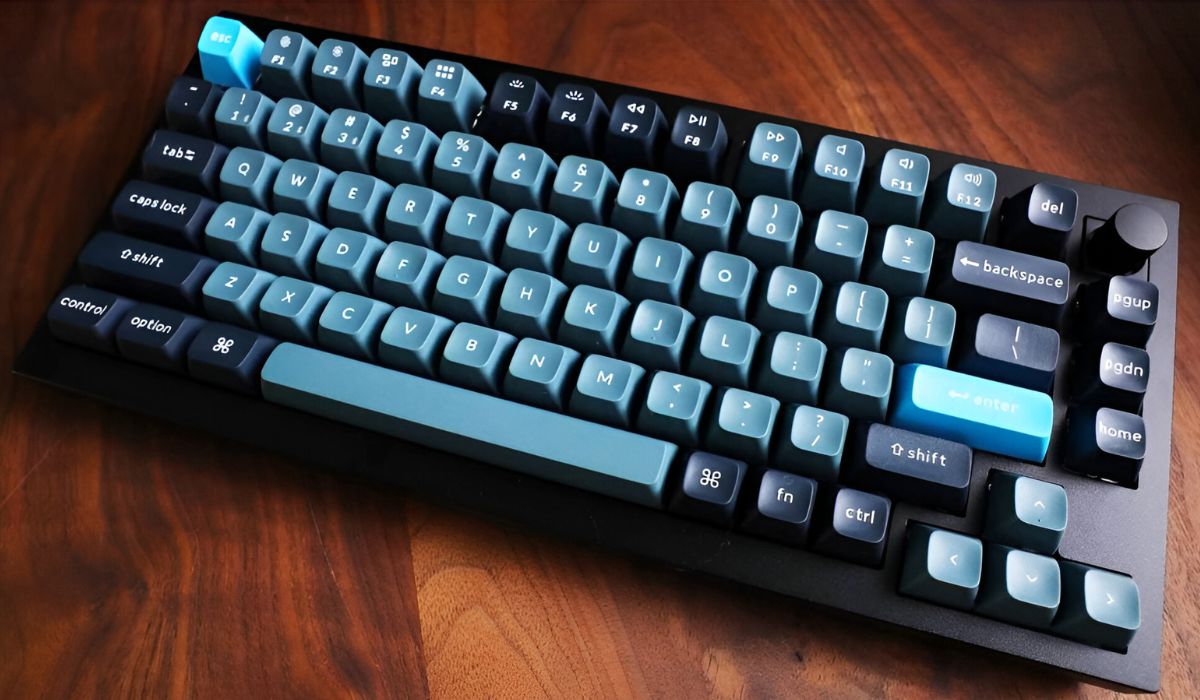
Welcome to the world of mechanical keyboards, where every keystroke feels satisfying and the customization options are endless. However, even the most reliable mechanical keyboards may encounter issues over time, and one common problem is a malfunctioning backspace key. Whether it’s due to dust accumulation, a faulty switch, or a need for maintenance, you can easily address this issue by removing and replacing the backspace switch on your mechanical keyboard.
In this guide, we’ll walk you through the step-by-step process of removing the backspace key from your mechanical keyboard, replacing the switch, and ensuring that your keyboard functions seamlessly once again. You don’t need to be a tech expert to accomplish this task; with the right tools and a bit of patience, you can breathe new life into your beloved mechanical keyboard.
So, if you’ve been frustrated by a sticky or unresponsive backspace key, fear not! By following the instructions in this guide, you’ll soon be back to typing with ease and precision on your mechanical keyboard.
Tools Needed
Before you embark on the journey of removing and replacing the backspace key on your mechanical keyboard, it’s essential to gather the necessary tools. Here’s what you’ll need:
- Keycap Puller: This tool is designed to safely remove keycaps from mechanical keyboards without causing damage to the switches or the keycaps themselves. Keycap pullers come in various designs, including wire and plastic types, and they are readily available from online retailers and tech stores.
- Tweezers: A pair of fine-tipped tweezers will be invaluable for handling small components and ensuring precision during the switch removal process.
- Compressed Air Duster: Dust and debris can accumulate within the keyboard over time, leading to key malfunctions. A can of compressed air will help you thoroughly clean the keyboard and prepare it for the switch replacement.
- Replacement Switch: Depending on the type of switch used in your mechanical keyboard, you’ll need a compatible replacement switch. These switches are available for purchase from various online retailers and specialty stores, and they come in different variations to suit your typing preferences.
- Soldering Iron and Solder (if necessary): In some cases, replacing the backspace switch may require desoldering the existing switch and soldering a new one into place. If your keyboard uses soldered switches, be sure to have a soldering iron and solder at hand.
- Workspace and Lighting: Set up a clean, well-lit workspace where you can comfortably work on your keyboard without misplacing small components or struggling to see the intricate details of the switches.
By having these tools at your disposal, you’ll be well-prepared to tackle the task of removing and replacing the backspace switch on your mechanical keyboard with confidence and precision.
Removing Keycaps
Before delving into the intricacies of removing and replacing the backspace switch, it’s essential to start with the preliminary step of removing the keycaps. This process allows access to the switch underneath and ensures a clear path for the subsequent tasks.
To begin, locate your keycap puller, a handy tool designed to safely extract keycaps without causing damage to the switches or the keycaps themselves. If you’re using a wire keycap puller, position the wires around the base of the keycap and gently squeeze the handles to detach the keycap from the switch. For a plastic keycap puller, position the prongs beneath the keycap and apply even pressure to lift it off.
Work systematically across the keyboard, carefully removing the keycaps and placing them in a safe location. It’s advisable to arrange the keycaps in a pattern that corresponds to their original positions on the keyboard, as this will simplify the reassembly process later on. Additionally, take note of any stabilizer bars or clips that may be present beneath larger keys, as these will need to be handled with care during the removal process.
As you proceed, take the opportunity to inspect the exposed switches for any visible debris or signs of wear. If you notice accumulated dust or grime, a can of compressed air can be used to gently clean the switches and ensure optimal performance once the keycaps are reinstalled.
By meticulously removing the keycaps and preparing the switches for the next steps, you’re laying the groundwork for a successful switch replacement process. With this essential preparatory task completed, you’re now ready to move on to the next phase of removing and replacing the backspace switch on your mechanical keyboard.
Removing the Backspace Switch
With the keycaps successfully removed, the next crucial step in the process of addressing the backspace key issue on your mechanical keyboard is removing the backspace switch itself. This step requires a steady hand and attention to detail, ensuring that the switch is safely extracted without causing damage to the surrounding components.
Begin by identifying the backspace switch among the exposed switches on the keyboard. The backspace switch is typically a larger, stabilizer-supported switch, and it may differ in appearance from the standard switches used for alphanumeric keys. Once located, take note of its positioning and any additional components, such as stabilizer bars, that may be present to support its functionality.
If your keyboard utilizes hot-swappable switches, the removal process is relatively straightforward. Using tweezers, carefully grip the sides of the backspace switch and gently lift it from the switch socket. Exercise caution to avoid bending or damaging the switch pins during this process, as they will need to remain intact for the replacement switch to be installed securely.
For keyboards with soldered switches, the removal process involves desoldering the existing backspace switch from the circuit board. This requires a soldering iron and solder sucker or desoldering wick to remove the solder securing the switch pins to the circuit board. Once the solder is sufficiently removed, the switch can be delicately lifted from the board, taking care to avoid excessive heat exposure to surrounding components.
During the switch removal process, it’s important to maintain a clear and organized workspace, keeping track of any small components or stabilizers that may accompany the backspace switch. By approaching the removal process with precision and care, you’ll ensure that the keyboard remains in optimal condition for the subsequent steps of replacing the backspace switch.
With the backspace switch successfully removed, you’ve completed a pivotal phase in the journey to restore your mechanical keyboard’s functionality. The next phase will involve replacing the backspace switch with a new, reliable component, bringing you one step closer to enjoying seamless typing experiences once again.
Replacing the Backspace Switch
Having carefully removed the backspace switch from your mechanical keyboard, the time has come to replace it with a new, reliable switch to restore the functionality of the backspace key. This step is crucial in ensuring that your keyboard operates smoothly and reliably, providing a satisfying typing experience with every keystroke.
If your keyboard features hot-swappable switches, the replacement process is relatively straightforward. Begin by aligning the new backspace switch with the switch socket, ensuring that the switch pins are positioned correctly. With gentle pressure, carefully press the switch into place, taking care to align it with the surrounding switches and stabilizer components. Once secure, the new switch should fit snugly within the socket, ready to deliver responsive backspace functionality.
For keyboards with soldered switches, the replacement process involves carefully soldering the new backspace switch onto the circuit board. Position the replacement switch over the designated solder pads, aligning the switch pins with the corresponding solder points. With a soldering iron and solder at the ready, carefully apply heat to the solder points, allowing the solder to flow and secure the switch in place. Exercise caution to avoid excessive heat exposure and ensure that the solder joints are neat and secure, providing a reliable connection for the new switch.
As you complete the switch replacement process, take a moment to inspect the newly installed backspace switch, ensuring that it is seated securely and aligned with the surrounding components. If your keyboard utilizes stabilizer bars or clips for the backspace key, verify that these components are properly engaged and functioning as intended to support the smooth operation of the key.
By replacing the backspace switch with precision and attention to detail, you’re taking a significant stride toward revitalizing your mechanical keyboard and reclaiming the reliable functionality of the backspace key. With the new switch in place, you’re now poised to proceed to the final phase of testing the keyboard to confirm that the backspace key operates seamlessly and responsively.
Testing the Keyboard
With the backspace switch successfully replaced, it’s time to put your mechanical keyboard to the test and ensure that the backspace key functions flawlessly. This critical phase allows you to confirm that the switch replacement process has been executed effectively, paving the way for uninterrupted typing experiences on your revitalized keyboard.
Begin by carefully reattaching the keycaps to their respective switches, following the pattern or layout you established during the keycap removal process. Take care to align each keycap properly and apply gentle pressure to secure it in place, ensuring that the switches are fully engaged and the keycaps sit evenly across the keyboard.
Once the keycaps are reinstalled, take a moment to visually inspect the keyboard, verifying that all keycaps are securely in place and aligned correctly. This visual check allows you to confirm that the keycaps are seated properly, setting the stage for comprehensive testing of the backspace key and the overall keyboard functionality.
Now, proceed to test the backspace key by typing various combinations of characters and words, deliberately focusing on the responsiveness and accuracy of the backspace function. Pay attention to the tactile feedback and auditory cues as you press the backspace key, ensuring that it registers each input reliably and consistently.
While testing the backspace key, take the opportunity to evaluate the overall typing experience on the keyboard, noting any improvements in responsiveness and consistency following the switch replacement. By typing sentences, paragraphs, and even engaging in a brief typing session, you can gauge the effectiveness of the switch replacement process and confirm that the keyboard operates as intended across all keys.
If you encounter any issues during the testing phase, such as inconsistent key registration or unusual behavior from the backspace key, consider revisiting the switch replacement process to ensure that the new switch is securely installed and functioning correctly. Additionally, inspect the surrounding components and stabilizers to identify any potential sources of interference or malfunction.
Upon confirming that the backspace key and the keyboard as a whole are performing optimally, you can celebrate the successful restoration of your mechanical keyboard. The thorough testing process affirms that the backspace switch replacement has revitalized the keyboard’s functionality, allowing you to type with confidence and precision once again.