Introduction
So, you've just purchased a G.Skill mechanical keyboard and you're excited to take your typing and gaming experience to the next level. This high-performance keyboard is designed to offer precision, speed, and durability, making it a popular choice among enthusiasts and professionals alike. In this guide, I'll walk you through the step-by-step process of installing your new G.Skill mechanical keyboard, from unboxing to customizing its settings to suit your preferences.
Whether you're a seasoned gamer, a coding aficionado, or simply someone who appreciates the tactile satisfaction of mechanical switches, this guide will help you get the most out of your G.Skill keyboard. By the time you're finished, you'll be ready to unleash the full potential of this exceptional piece of hardware.
Let's dive in and get your G.Skill mechanical keyboard up and running, so you can start enjoying its responsive keys and customizable features without delay. Whether you're a beginner or a tech-savvy user, this guide will ensure that you can make the most of your new keyboard from the moment you unbox it.
Step 1: Unboxing the G.Skill Mechanical Keyboard
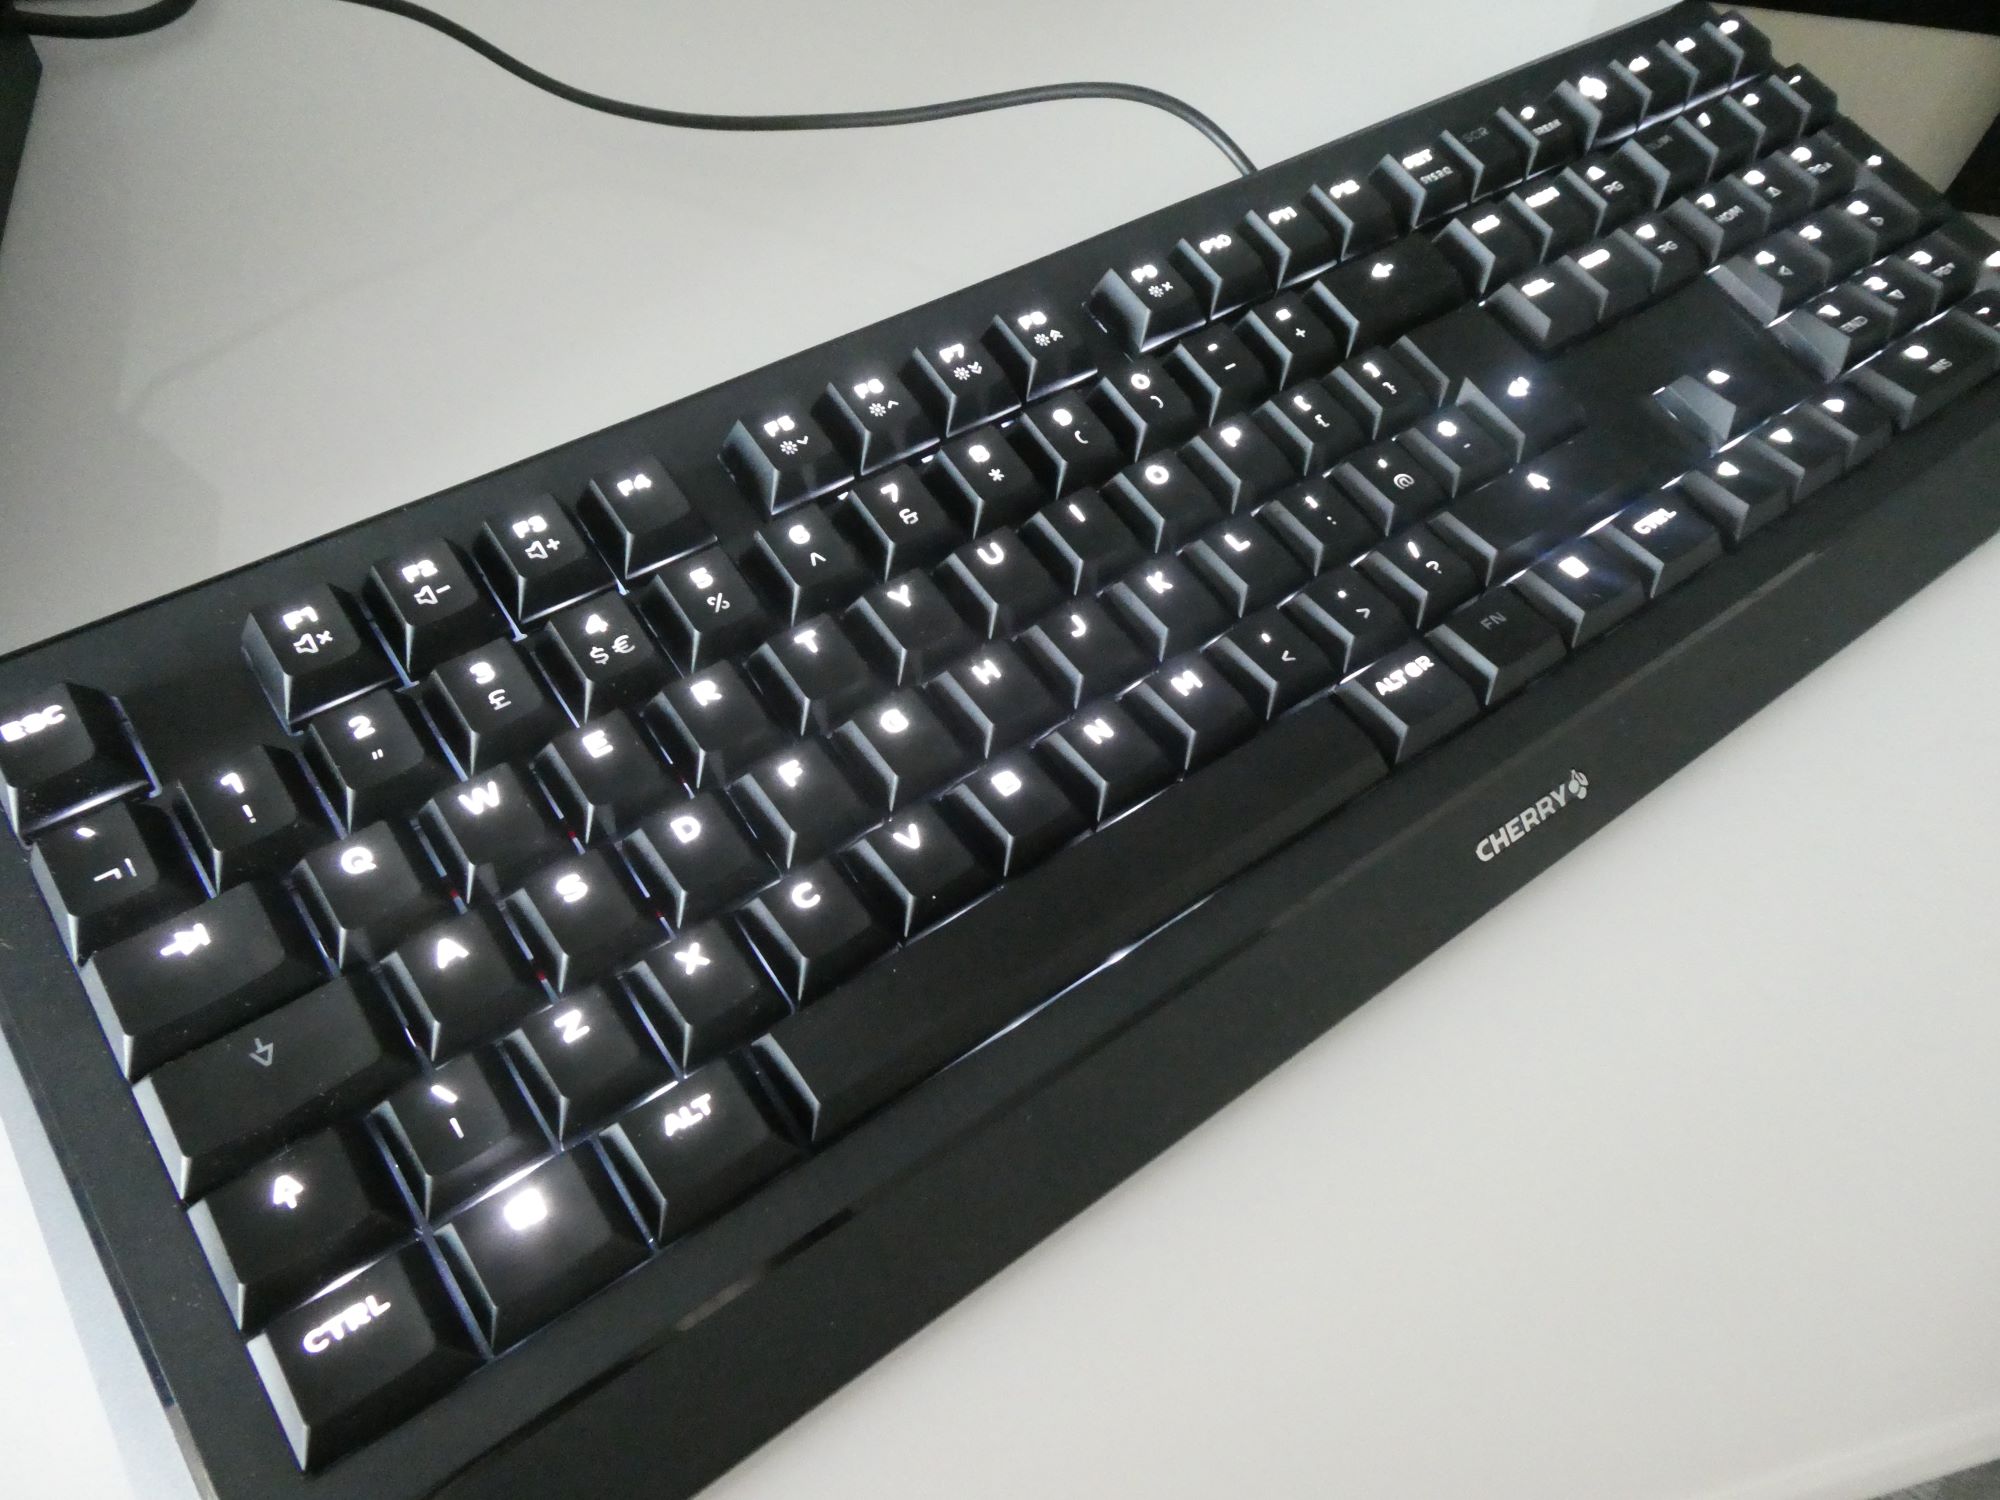
Unboxing a new G.Skill mechanical keyboard is an exciting experience. The packaging is designed to protect the keyboard during transit and showcases the product’s sleek and modern design. As you open the box, you’ll be greeted by the keyboard itself, neatly nestled in protective packaging to ensure it arrives in pristine condition.
Upon lifting the keyboard from the box, take a moment to appreciate its solid construction and premium feel. G.Skill keyboards are known for their high-quality materials and attention to detail, and this will be evident from the moment you lay eyes on your new keyboard.
Alongside the keyboard, you may find additional accessories such as a user manual, a keycap puller, and any included cables. These accessories are essential for setting up and maintaining your keyboard, so be sure to keep them in a safe place for future reference.
Before discarding the packaging, inspect it carefully to ensure that no small components or accessories are overlooked. G.Skill keyboards often come with extra keycaps or other customizable elements, so it’s important to account for all included items before moving on to the next step.
Unboxing your G.Skill mechanical keyboard sets the stage for the installation process and allows you to appreciate the care and craftsmanship that goes into every detail of the product. With the keyboard in hand and all accessories at the ready, you’re now prepared to move on to the next step: connecting the keyboard to your computer.
Step 2: Connecting the Keyboard to Your Computer
Now that you’ve unboxed your G.Skill mechanical keyboard, it’s time to connect it to your computer and prepare it for use. The process is straightforward and typically requires only a few simple steps to get your keyboard up and running.
Begin by identifying the type of connection your G.Skill keyboard utilizes. Most modern G.Skill mechanical keyboards connect to your computer via a USB cable. Locate the USB cable included with your keyboard, and if it is detachable, connect it to the keyboard’s USB port. If your keyboard features a wireless connection, follow the manufacturer’s instructions to pair it with your computer via Bluetooth or a wireless receiver.
Next, locate an available USB port on your computer and insert the USB connector. Your computer should automatically recognize the new device and may install basic drivers to enable its functionality. In some cases, you may need to download and install specific drivers or software from the G.Skill website to unlock the full range of features offered by your keyboard.
Once the keyboard is connected, give it a test run to ensure that all keys are responsive and functioning as expected. Press a few keys to confirm that they register input on your computer. If your keyboard features customizable lighting or macros, now is a good time to verify that these features are working properly.
With the keyboard successfully connected and functioning, you’re now ready to move on to the next step: installing the G.Skill keyboard software. This software will allow you to access advanced customization options and tailor the keyboard to your specific preferences, enhancing your overall typing and gaming experience.
Step 3: Installing the G.Skill Keyboard Software
Installing the G.Skill keyboard software is a crucial step in unlocking the full potential of your mechanical keyboard. This software provides you with a range of customization options, allowing you to personalize key functions, lighting effects, and macros to suit your specific needs and preferences.
To begin, visit the official G.Skill website and navigate to the support or downloads section. Locate the software specifically designed for your keyboard model, ensuring that you download the correct version for your operating system, whether it’s Windows, macOS, or Linux.
Once the software is downloaded, follow the installation instructions provided by G.Skill. This typically involves running the installer and following the on-screen prompts to complete the setup process. During installation, you may be prompted to connect your keyboard to ensure that the software can detect and communicate with it effectively.
After the software is installed, launch the application to access the full suite of customization features. Depending on your keyboard model, you may be able to customize individual key functions, create and assign macros, and adjust the keyboard’s lighting effects to match your setup or personal style.
Take the time to explore the software’s capabilities and experiment with different settings to find a configuration that best suits your workflow or gaming preferences. The software interface is designed to be user-friendly, allowing you to make adjustments with ease and see real-time changes reflected on your keyboard.
With the G.Skill keyboard software successfully installed and configured, your mechanical keyboard is now fully customized to your liking, offering a personalized and enhanced typing or gaming experience. Moving forward, you can continue to fine-tune your keyboard settings to optimize its performance and make it uniquely yours.
Step 4: Customizing Your Keyboard Settings
With the G.Skill keyboard software installed, you now have the opportunity to delve into the myriad of customization options available for your mechanical keyboard. From personalized key mappings to dynamic lighting effects, customizing your keyboard settings allows you to tailor the device to your specific preferences and elevate your overall user experience.
One of the key features offered by G.Skill keyboards is the ability to reassign key functions to better align with your workflow or gaming habits. Using the keyboard software, you can remap keys to perform different functions, create shortcuts, or assign complex macros to streamline repetitive tasks. This level of customization empowers you to optimize your keyboard for maximum efficiency and productivity.
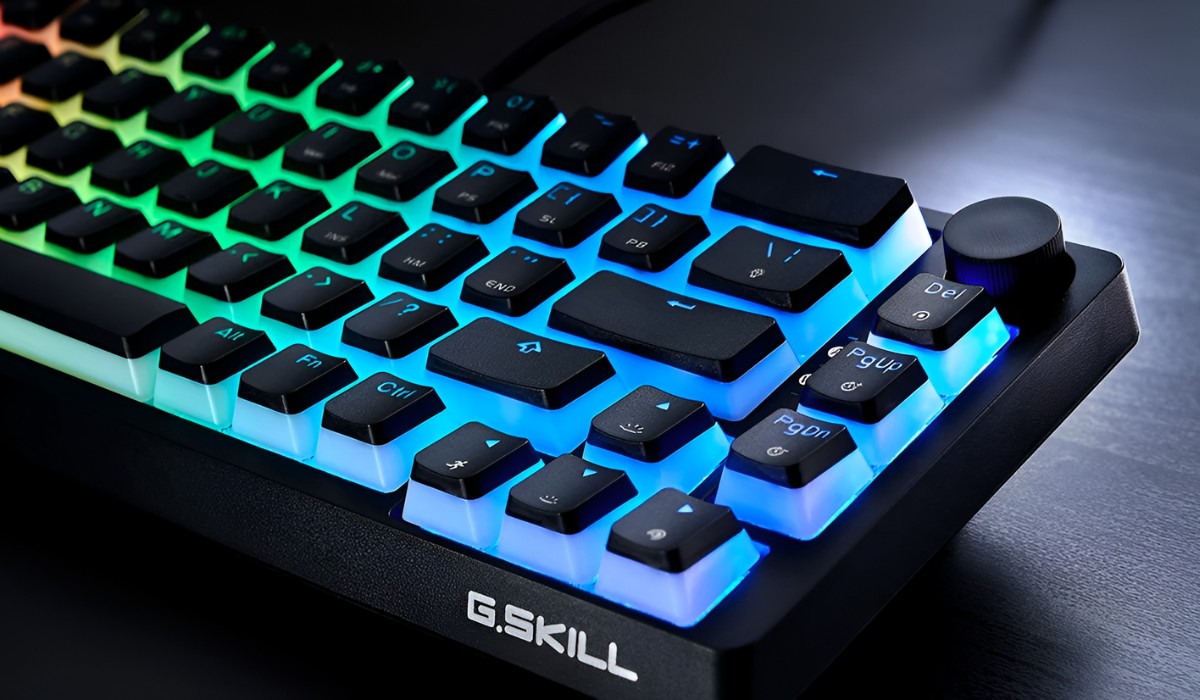
Additionally, G.Skill keyboards often boast vibrant and customizable RGB lighting effects, enabling you to personalize the visual aesthetic of your keyboard. Through the software interface, you can select from a spectrum of colors, create dynamic lighting patterns, and synchronize the lighting effects with other compatible devices in your setup, such as RGB mice and headsets.
For gaming enthusiasts, the ability to program macros can be a game-changer. G.Skill’s software allows you to record and assign macros to specific keys, empowering you to execute complex sequences of commands with a single keystroke. This functionality is particularly valuable in fast-paced gaming scenarios, where quick and precise inputs can make all the difference.
Furthermore, the software may offer additional features such as profile management, allowing you to create and save multiple keyboard configurations for different purposes, such as work, gaming, or creative tasks. This flexibility ensures that your keyboard adapts seamlessly to various usage scenarios without the need for manual adjustments each time.
By customizing your G.Skill keyboard settings, you can harness the full potential of the device, tailoring it to complement your unique preferences and usage patterns. Whether you’re seeking enhanced productivity, immersive gaming experiences, or simply a keyboard that reflects your personal style, the customization options available through the keyboard software empower you to make the most of your G.Skill mechanical keyboard.
Conclusion
Congratulations! You’ve successfully navigated the process of installing and customizing your G.Skill mechanical keyboard. From the moment you unboxed this precision-engineered device to customizing its settings to align with your preferences, you’ve embarked on a journey that will undoubtedly elevate your typing and gaming experiences.
By carefully unboxing your G.Skill keyboard, you gained insight into the meticulous craftsmanship and attention to detail that defines this renowned brand. Connecting the keyboard to your computer was a seamless process, and with the installation of the G.Skill keyboard software, you unlocked a world of customization options that allow you to tailor the keyboard to your unique needs.
Customizing your keyboard settings through the intuitive software interface has empowered you to reassign key functions, create mesmerizing lighting effects, and program complex macros, all with the aim of enhancing your productivity and enjoyment. The ability to manage multiple profiles ensures that your keyboard seamlessly adapts to diverse usage scenarios, reflecting the versatility and adaptability of this exceptional device.
As you continue to explore the capabilities of your G.Skill mechanical keyboard, remember that the journey doesn’t end here. The ongoing process of fine-tuning and personalizing your keyboard settings will ensure that it remains in harmony with your evolving needs and preferences, providing a reliable and tailored input device for your daily endeavors.
Embrace the versatility, precision, and customization opportunities offered by your G.Skill mechanical keyboard, and let it become an extension of your creativity, productivity, and gaming prowess. With its responsive switches, customizable features, and robust construction, your G.Skill keyboard is poised to be an enduring companion in your digital pursuits.
Now, armed with the knowledge and guidance provided in this guide, you’re ready to embark on your next typing or gaming session with newfound confidence and a keyboard that reflects your unique style and preferences. Enjoy the responsive keystrokes, personalized lighting effects, and streamlined functionality of your G.Skill mechanical keyboard, and let it inspire you to achieve new heights in your digital endeavors.