Introduction
So, you've got a mechanical keyboard that's seen better days, and the keys are starting to show signs of wear and tear. Whether it's due to heavy use or accidental spills, the time has come to replace those worn-out keys and give your trusty keyboard a new lease on life. Luckily, replacing the keys on a mechanical keyboard is a straightforward process that you can easily do at home with the right tools and a little know-how.
In this guide, we'll walk you through the step-by-step process of replacing the keys on your mechanical keyboard. From removing the old keys to cleaning the keyboard and installing the new keys, we've got you covered. By the end of this tutorial, you'll have a rejuvenated keyboard that looks and feels as good as new.
Whether you're a gaming enthusiast looking to upgrade your gaming setup or a professional in need of a reliable typing tool, maintaining your mechanical keyboard is essential for optimal performance and longevity. With a few simple tools and a bit of patience, you can breathe new life into your beloved keyboard and enjoy a satisfying typing experience once again.
So, gather your tools, set aside some time, and let's dive into the process of replacing the keys on your mechanical keyboard. With our guidance, you'll soon be well on your way to a refreshed and fully functional keyboard that's ready to tackle your typing tasks with ease.
Tools and Materials Needed
Before you embark on the journey of replacing the keys on your mechanical keyboard, it’s essential to gather the necessary tools and materials. Here’s what you’ll need to get started:
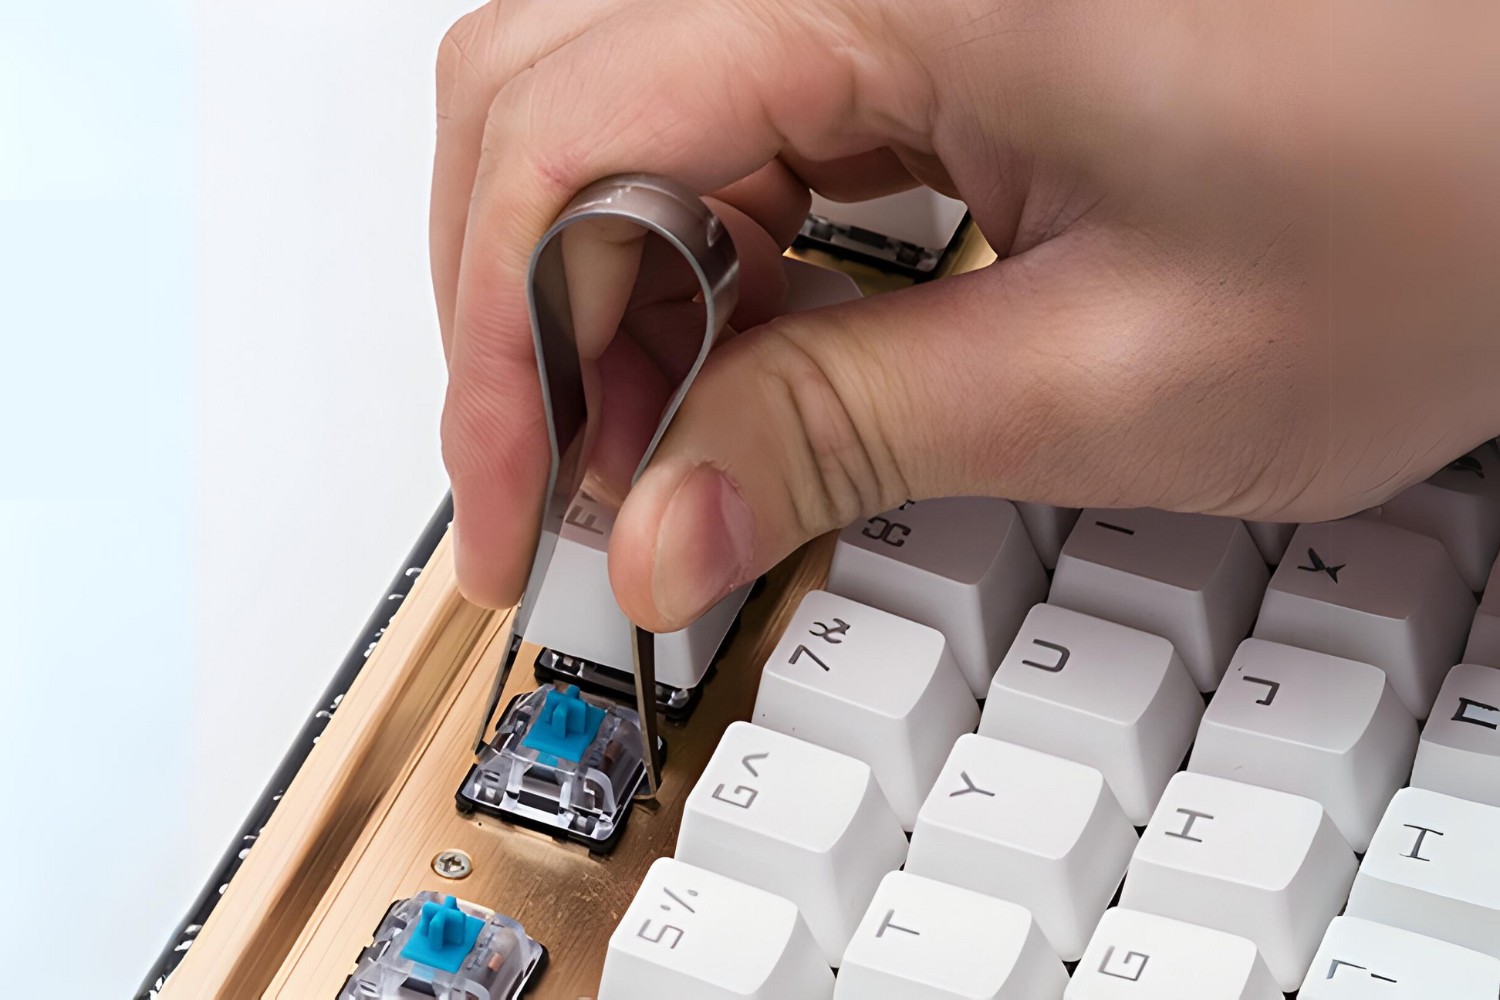
- Keycap Puller: This handy tool is designed to safely remove keycaps from your keyboard without causing any damage. It typically features wire loops that fit under the keycaps, allowing you to pull them off effortlessly.
- Clean Cloth: Having a soft, lint-free cloth on hand is crucial for wiping down the keyboard and removing any dust, debris, or fingerprints.
- Isopropyl Alcohol: A solution of isopropyl alcohol and water can be used to clean the keyboard’s surface and remove stubborn grime or sticky residue.
- Cotton Swabs: These are useful for reaching small crevices and corners of the keyboard, especially when cleaning hard-to-reach areas.
- Replacement Keycaps: Depending on the keys you want to replace, ensure you have the corresponding replacement keycaps that match the layout and design of your keyboard.
- Tweezers: Precision tweezers can aid in handling and placing the new keycaps onto the keyboard’s switches with accuracy.
- Compressed Air: A can of compressed air is effective for blowing away dust and debris from the keyboard, particularly from the switch mechanisms.
By having these tools and materials at your disposal, you’ll be well-equipped to carry out the key replacement process efficiently and with care. Now that you’re ready with everything you need, it’s time to move on to the next step: removing the old keys from your mechanical keyboard.
Removing the Old Keys
Now that you have gathered the necessary tools and materials, it’s time to begin the process of removing the old keys from your mechanical keyboard. Follow these steps to ensure a smooth and hassle-free key removal:
- Prepare Your Workspace: Find a well-lit and clean area to work on your keyboard. It’s essential to have ample space and good lighting to see the keys and their positions clearly.
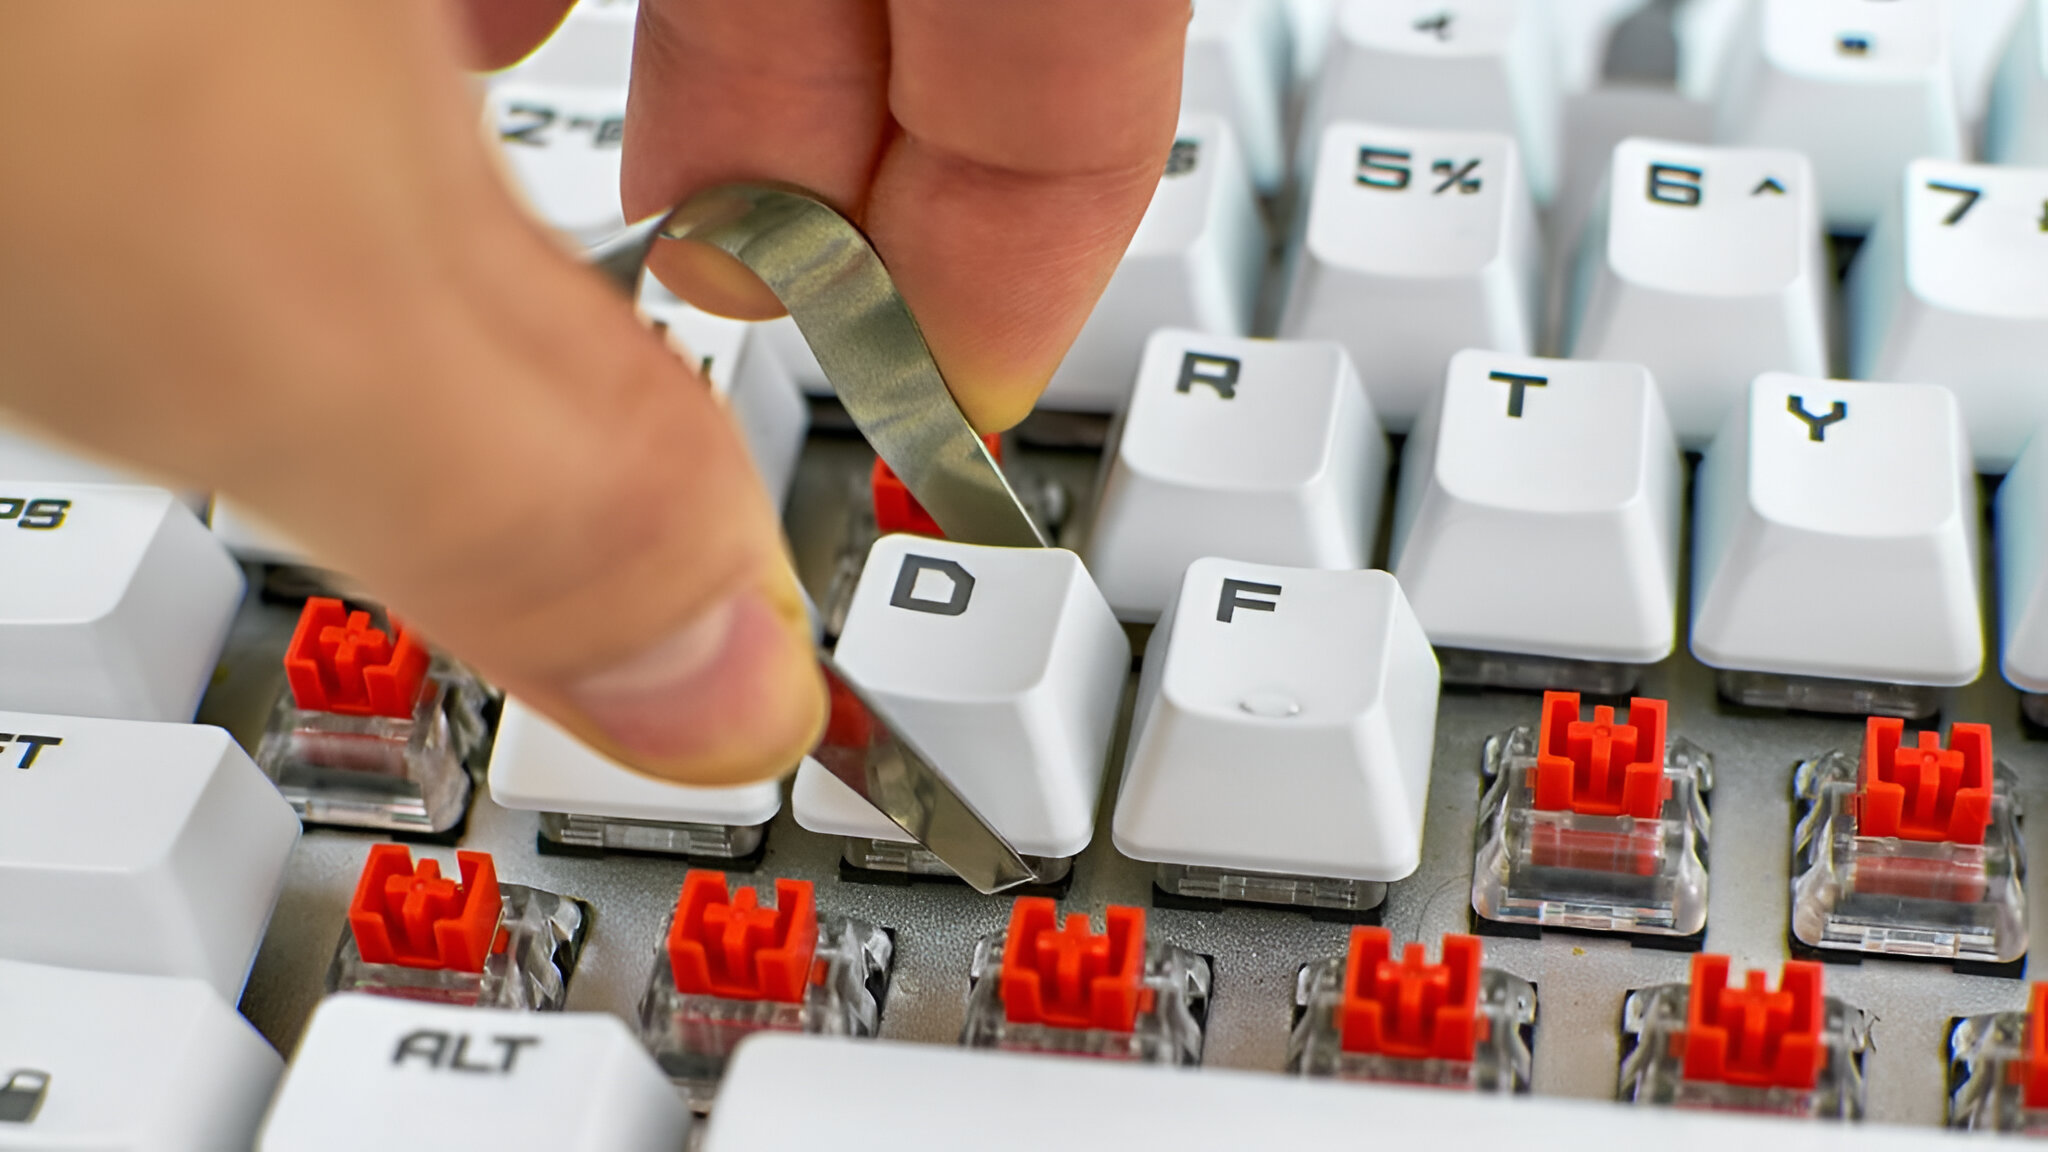
- Use the Keycap Puller: Take your keycap puller and carefully position the wire loops under the keycap you want to remove. Gently but firmly pull upwards to detach the keycap from the switch. Repeat this process for each key you wish to replace, taking care not to apply excessive force.
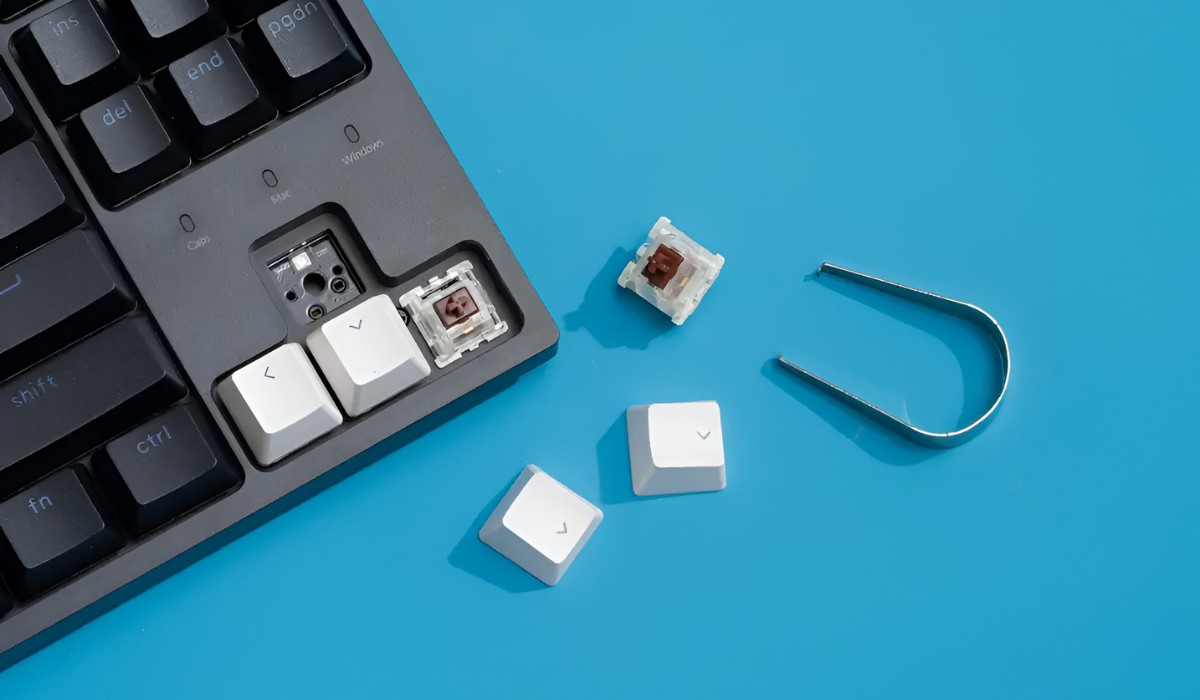
- Organize the Keycaps: As you remove the keycaps, consider organizing them in a way that makes it easy to remember their original placements. You can use a small container or lay them out in a grid pattern to match the keyboard’s layout.
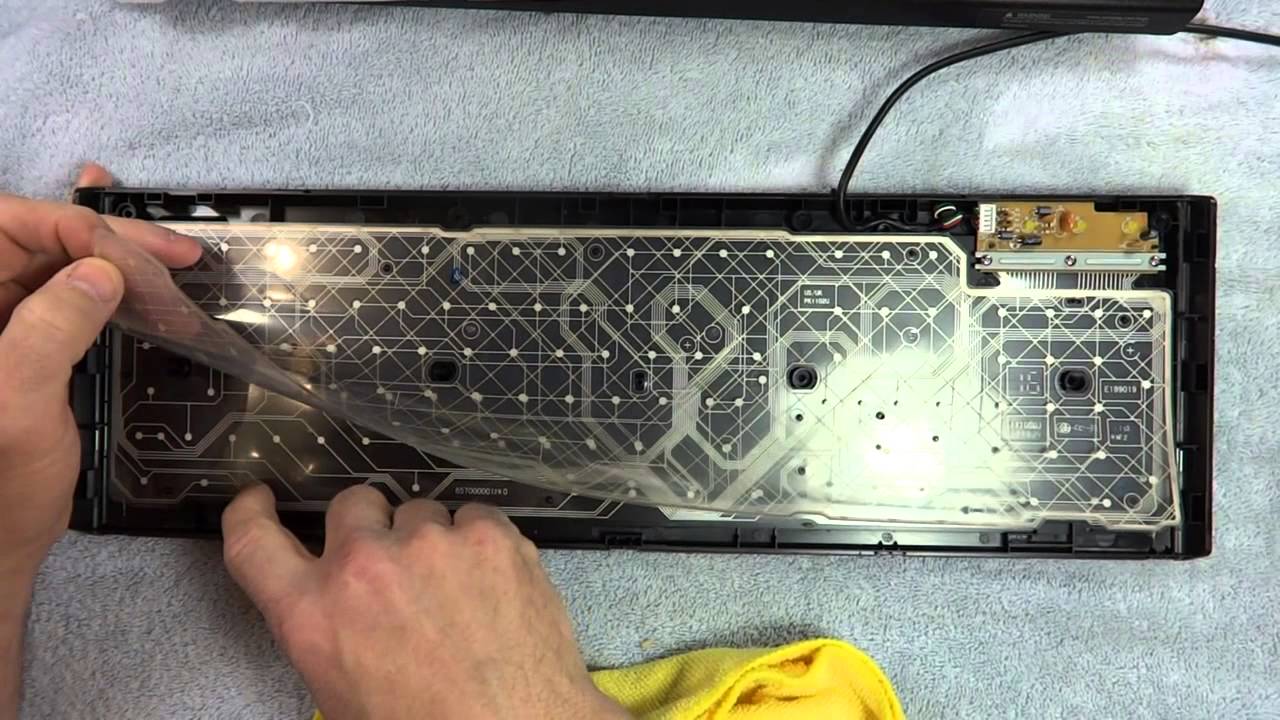
- Inspect the Keyboard: Once all the old keycaps have been removed, take a moment to inspect the keyboard for any dust, debris, or spills that may have accumulated beneath the keys. Use a can of compressed air to gently blow away any loose particles.
- Clean the Keyboard Surface: Using a clean cloth lightly dampened with isopropyl alcohol, wipe down the exposed keyboard surface to remove any dirt, grime, or oily residue. Pay special attention to areas around the switches and stabilizers.
By following these steps, you’ll successfully remove the old keys from your mechanical keyboard and prepare the keyboard for the next phase: cleaning. With the old keycaps safely set aside and the keyboard surface cleaned, you’re ready to move on to the next step in the process.
Cleaning the Keyboard
After removing the old keys, it’s essential to give your mechanical keyboard a thorough cleaning to ensure optimal performance and longevity. Follow these steps to effectively clean your keyboard:
- Inspect for Residue: Take a close look at the exposed switches and keyboard surface for any residual dirt, grime, or sticky residue. Use a flashlight if needed to spot any hard-to-see debris.
- Use Compressed Air: With the help of a can of compressed air, blow out any remaining dust and debris from the switches and surrounding areas. The compressed air will dislodge particles that may have settled during the keycap removal process.
- Clean Switches and Stabilizers: If necessary, lightly dab a cotton swab with isopropyl alcohol and gently clean the exposed switches and stabilizers to remove any stubborn residue. Be careful not to oversaturate the swab.
- Wipe Down the Keyboard: Take a clean, lint-free cloth and lightly dampen it with isopropyl alcohol. Gently wipe down the entire keyboard surface, including the areas around the switches and stabilizers, to remove any remaining dirt, oil, or fingerprints.
- Dry Thoroughly: Allow the keyboard to air dry for a few minutes to ensure that any residual moisture evaporates completely. This step is crucial before proceeding to install the new keycaps.
By thoroughly cleaning your mechanical keyboard, you’ll not only maintain its appearance but also ensure that the switches and internal components remain free from debris and contaminants. With the cleaning process complete, you’re now ready to move on to the exciting part: installing the new keycaps onto your freshly cleaned keyboard.
Installing the New Keys
With your mechanical keyboard cleaned and prepped, it’s time to breathe new life into it by installing the fresh, new keycaps. Follow these steps to ensure a successful installation:
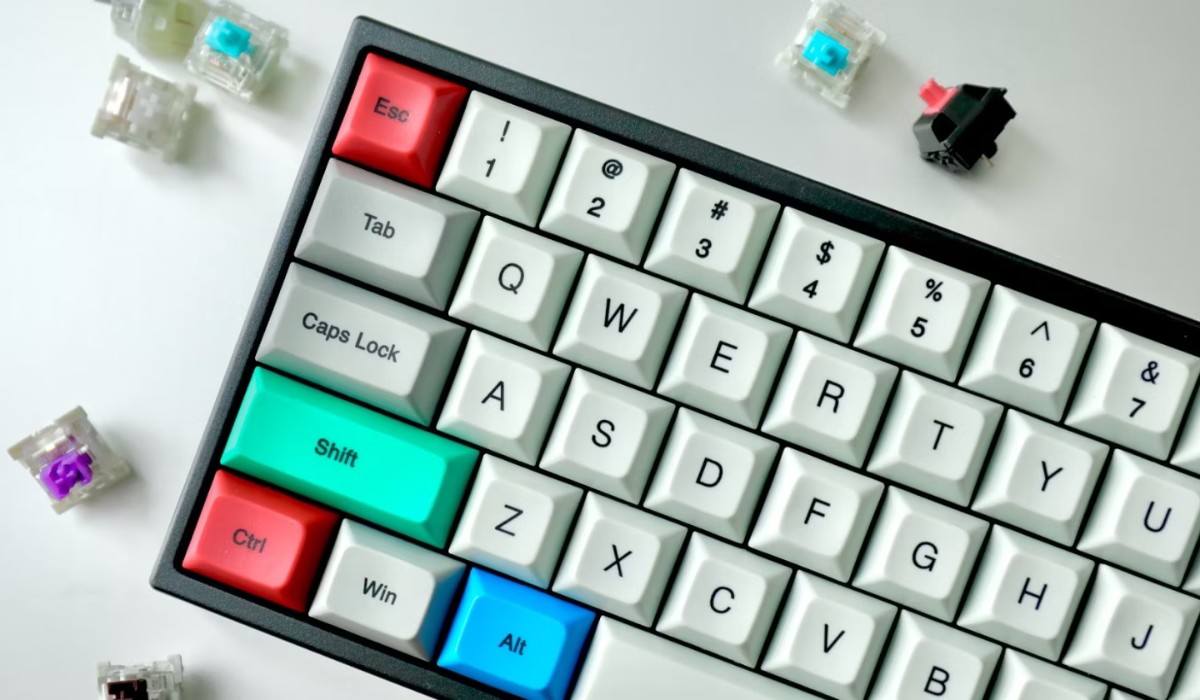
- Refer to the Layout: Before you begin, familiarize yourself with the layout of your keyboard and ensure you have the correct replacement keycaps for each position. Double-checking the keycap sizes and profiles is crucial to avoid any installation errors.
- Start with the Bottom Row: Begin by placing the keycaps on the bottom row of the keyboard. Gently position each keycap over its corresponding switch, ensuring that the stems align properly with the switch housings.
- Use Even Pressure: Apply even pressure when pressing down on the keycaps to secure them in place. Be careful not to force the keycaps, as excessive pressure can potentially damage the switches or keycap stems.
- Work Your Way Up: Once the bottom row is complete, proceed to install the keycaps on the subsequent rows, working your way up the keyboard. Take your time to align each keycap correctly and press down evenly to seat them securely.
- Double-Check Alignment: After installing all the new keycaps, take a moment to ensure that each keycap is properly aligned and seated. Gently press each key to confirm that it registers keystrokes without sticking or feeling loose.
By following these steps, you’ll successfully install the new keycaps on your mechanical keyboard, giving it a fresh and revitalized appearance. With the keycaps securely in place, you’re ready to move on to the final phase: testing the keys to ensure they function as intended.
Testing the Keys
After installing the new keycaps, it’s crucial to thoroughly test each key to ensure that they are functioning correctly and registering keystrokes accurately. Follow these steps to conduct a comprehensive key testing process:
- Open a Text Editor or Testing Tool: Launch a text editor or use a dedicated key testing tool on your computer to monitor the input from each key as you press them.
- Systematically Test Each Key: Starting from the top-left corner of the keyboard, systematically press each key and observe the corresponding output on the screen. Proceed across each row, testing every key to confirm its functionality.
- Check for Inconsistencies: Pay close attention to any keys that may exhibit inconsistent behavior, such as double-registering keystrokes, failing to register input, or feeling mushy or unresponsive. Note any issues for further inspection.
- Verify Modifier Keys and Function Keys: Test the modifier keys (e.g., Shift, Ctrl, Alt) and function keys to ensure they perform their designated functions without any issues. These keys are essential for various keyboard shortcuts and commands.
- Ensure Uniform Keystroke Feel: As you test each key, take note of the overall feel and responsiveness of the keyboard. The keycaps should provide a consistent and satisfying typing experience across the entire keyboard.
By meticulously testing each key on your mechanical keyboard, you can identify and address any potential issues that may arise after the keycap replacement process. Once you’ve confirmed that all keys are functioning as intended, you can rest assured that your keyboard is ready to deliver a reliable and seamless typing experience.
Conclusion
Congratulations! You’ve successfully navigated the process of replacing the keys on your mechanical keyboard, breathing new life into this essential tool for work, gaming, or leisure. By following the steps outlined in this guide, you’ve not only revitalized the appearance of your keyboard but also ensured its continued functionality and performance.
From gathering the necessary tools and materials to meticulously removing the old keycaps, cleaning the keyboard, installing the new keycaps, and thoroughly testing each key, you’ve demonstrated the care and attention required to maintain and enhance your mechanical keyboard.
Remember, periodic maintenance and care are essential for preserving the longevity and performance of your mechanical keyboard. By staying attentive to the condition of your keyboard and addressing any signs of wear or aging, you can continue to enjoy a satisfying typing or gaming experience for years to come.
Whether you embarked on this journey to customize the appearance of your keyboard with vibrant new keycaps or simply to restore its original luster, your commitment to maintaining your mechanical keyboard is commendable. With a rejuvenated keyboard at your fingertips, you’re now poised to tackle your typing tasks and gaming adventures with renewed enthusiasm and precision.
So, as you admire your freshly adorned keyboard and revel in the responsive keystrokes it delivers, take pride in the fact that you’ve successfully mastered the art of replacing the keys on your mechanical keyboard. Your dedication to caring for your keyboard ensures that it will continue to be a reliable and enjoyable tool in your daily activities.
Now, with your keyboard looking pristine and functioning flawlessly, it’s time to put it to good use and savor the seamless typing experience it provides. Whether you’re crafting documents, engaging in intense gaming sessions, or simply enjoying the tactile feedback of each keystroke, your revitalized mechanical keyboard is ready to support you every step of the way.