Introduction
Welcome to the world of mechanical keyboards, where every keystroke feels satisfying and every keycap can be customized. If you've found yourself here, you may have encountered the frustration of a missing or malfunctioning Enter key on your beloved mechanical keyboard. Fear not, as we will guide you through the process of putting an Enter key back on your mechanical keyboard, restoring it to its former glory.
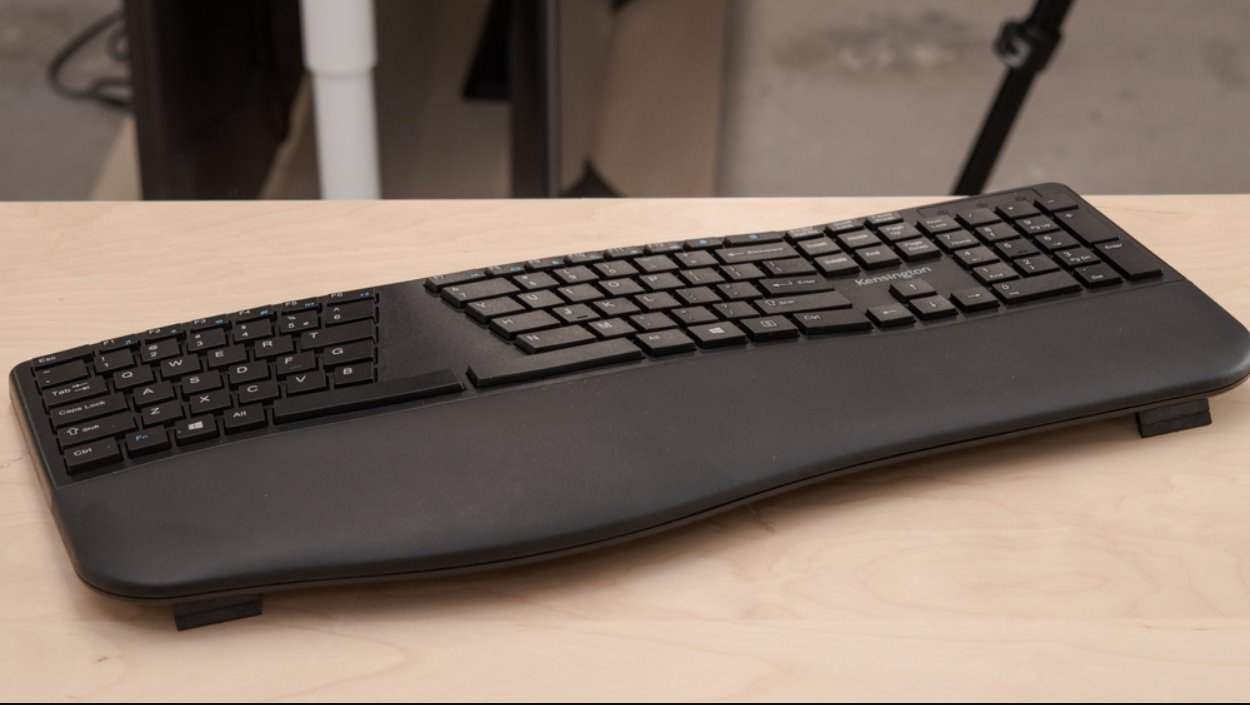
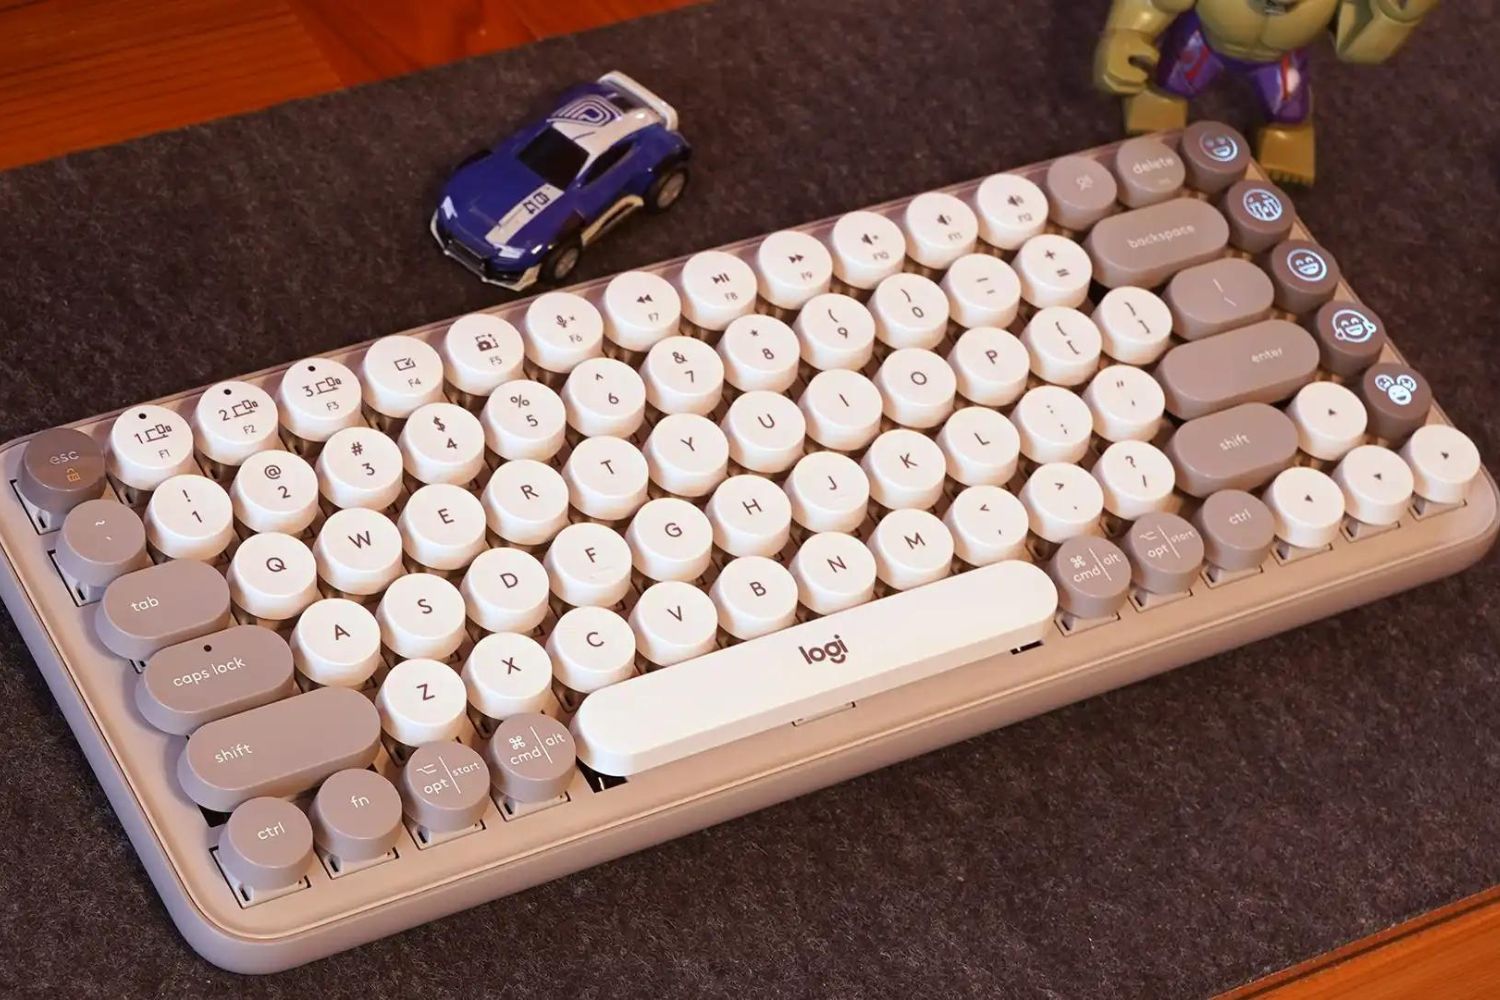
A mechanical keyboard is a marvel of engineering, employing physical switches for each key rather than a membrane. This design not only provides a tactile typing experience but also allows for individual key replacement and customization. The Enter key, a prominent and frequently used key, may need to be replaced due to wear and tear, accidental damage, or a desire to personalize the keyboard with a different keycap.
In this guide, we will delve into the inner workings of a mechanical keyboard, explore the tools and materials required for the task, and provide a detailed step-by-step process for putting an Enter key back on. Additionally, we will cover testing and troubleshooting to ensure that your keyboard is fully functional after the repair.
So, grab your keyboard, gather the necessary tools, and let's embark on this journey to restore your mechanical keyboard to its optimal state. Whether you're a seasoned enthusiast or a newcomer to the world of mechanical keyboards, this guide will equip you with the knowledge and skills to tackle this task with confidence. Let's get started!
Understanding the Mechanism of a Mechanical Keyboard
Before delving into the process of putting an Enter key back on a mechanical keyboard, it’s essential to grasp the fundamental workings of this type of keyboard. Unlike traditional membrane keyboards, which utilize a single membrane layer beneath the keys, mechanical keyboards feature individual mechanical switches for each key. These switches are responsible for the tactile feedback and audible click associated with mechanical keyboards, offering a distinct typing experience.
One of the key components of a mechanical keyboard is the keycap, the visible part of the key that users press. Keycaps are typically made of durable materials such as ABS (Acrylonitrile Butadiene Styrene) or PBT (Polybutylene Terephthalate) and are designed to withstand extensive use. The Enter key, being a frequently used key, may require replacement due to wear or damage.
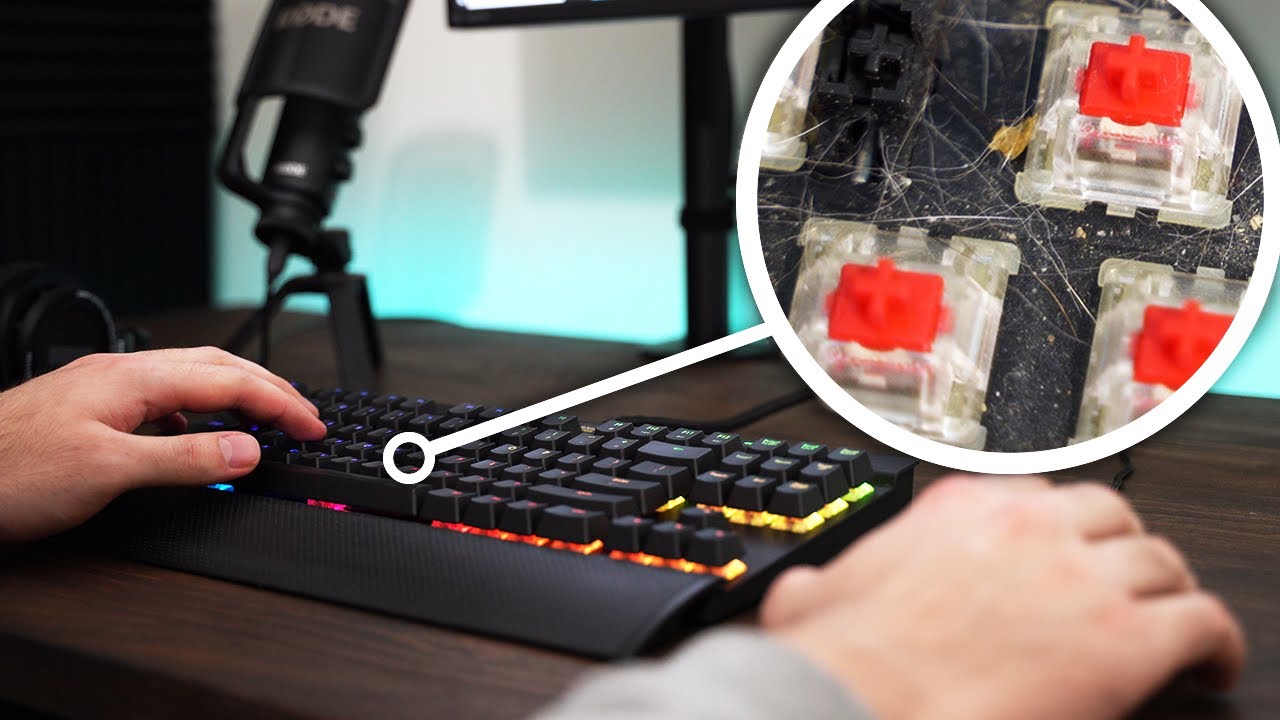
Beneath the keycap lies the switch, which is the heart of a mechanical keyboard. There are various types of switches, each offering unique characteristics such as actuation force, tactile feedback, and noise level. Common switch brands include Cherry MX, Gateron, and Kailh, each with its own loyal following in the keyboard enthusiast community.
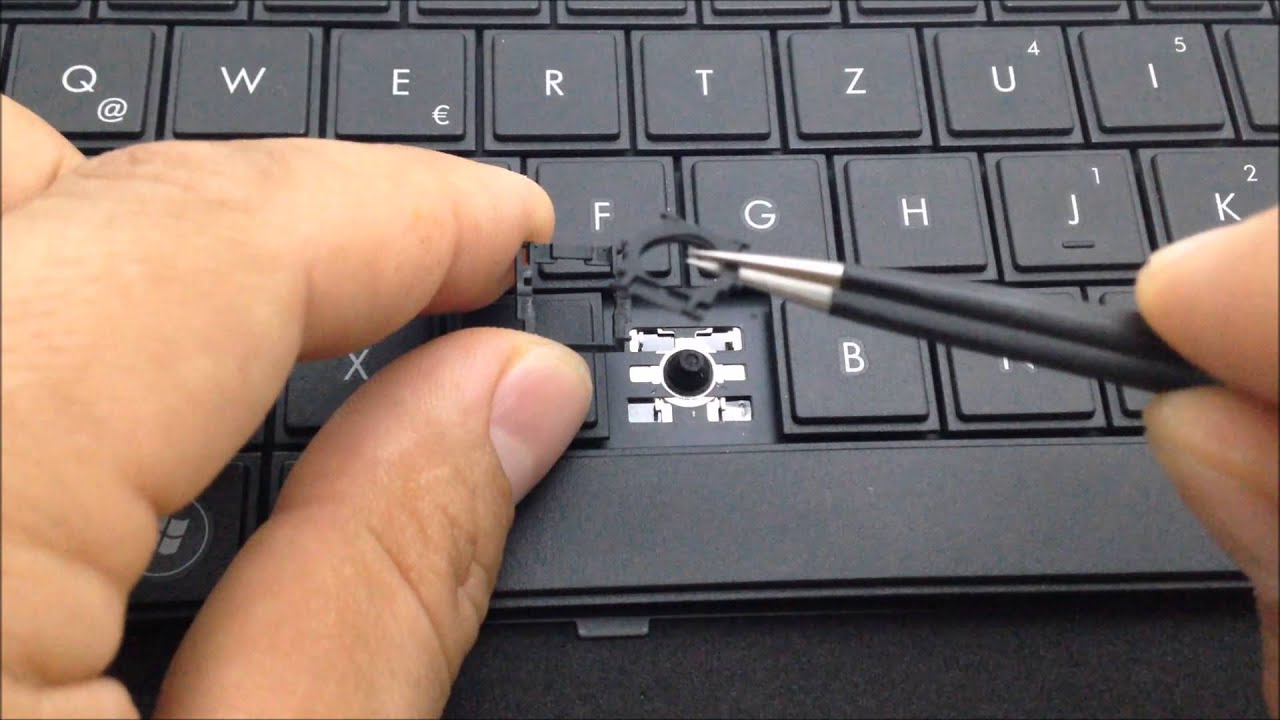
When a keycap is removed, the switch’s stem is exposed, allowing for easy replacement or customization. The stem fits into the keycap and is responsible for registering the keystroke when pressed. Understanding the anatomy of a switch and keycap is crucial when working with a mechanical keyboard, as it enables users to identify and address issues such as a missing or malfunctioning Enter key.
By comprehending the intricate mechanism of a mechanical keyboard, enthusiasts and users gain insight into the repair and customization possibilities that these keyboards offer. With this knowledge in hand, you’ll be well-prepared to proceed with the task of putting an Enter key back on your mechanical keyboard.
Tools and Materials Needed
Before embarking on the task of putting an Enter key back on your mechanical keyboard, it’s essential to gather the necessary tools and materials to ensure a smooth and successful repair process. Here’s a list of items you’ll need:
- Replacement Enter Key: Obtain a compatible replacement Enter keycap that matches the layout and mounting style of your keyboard. Keycaps are available in various sizes and profiles, so it’s crucial to select one that is compatible with your keyboard’s layout.
- Keycap Puller: A keycap puller is a specialized tool designed to safely remove keycaps from mechanical keyboards without causing damage. It typically features wire loops or prongs that grasp the keycap and facilitate its removal from the switch stem.
- Tweezers or Small Flathead Screwdriver: These tools can be used to carefully lift and remove the Enter keycap if a keycap puller is not available. Exercise caution to avoid damaging the switch or surrounding keys during the removal process.
- Clean Cloth: A soft, lint-free cloth can be used to wipe the exposed switch and surrounding area after the keycap has been removed. This helps ensure that the switch is free from debris or residue that may affect its performance.
- Optional Lubricant: If desired, a specialized keyboard switch lubricant can be used to enhance the smoothness and feel of the switch after the keycap replacement. Lubricants designed specifically for mechanical keyboard switches can be applied sparingly to the switch stem for improved tactile feedback.
By assembling these tools and materials, you’ll be well-prepared to tackle the task of putting an Enter key back on your mechanical keyboard. Whether you’re replacing a worn-out keycap or customizing your keyboard with a new design, having the right equipment at your disposal is essential for a successful and satisfying repair experience.
Step-by-Step Guide to Putting an Enter Key Back On
Now that you’ve gathered the necessary tools and materials, it’s time to embark on the process of putting an Enter key back on your mechanical keyboard. Follow these step-by-step instructions to complete the task with precision and care:
- Prepare Your Workspace: Find a well-lit and clean area to work on your keyboard. Ensure that your workspace is free from clutter and that you have ample room to maneuver without risking damage to the keyboard or its components.
- Remove the Damaged Keycap: If the Enter keycap is still attached, gently insert the keycap puller’s wire loops or prongs around the keycap and apply even pressure to pull it upward. If using tweezers or a small flathead screwdriver, carefully lift the keycap from the switch stem, taking care not to damage the surrounding keys.
- Clean the Exposed Switch: Once the keycap is removed, use a clean cloth to gently wipe the exposed switch and the surrounding area. This helps ensure that the switch is free from any debris or residue that may have accumulated, which could affect its performance.
- Position the Replacement Keycap: Take the replacement Enter keycap and align it with the switch stem. Ensure that the keycap is positioned correctly and that the stem fits securely into the keycap’s mounting points.
- Press Down Firmly: With the replacement keycap in position, apply firm and even pressure to press it onto the switch stem. You should feel and hear a satisfying click as the keycap snaps into place, indicating that it is securely attached to the switch.
- Test the Key: Once the keycap is installed, test the Enter key to ensure that it registers keystrokes accurately and returns to its original position without sticking. Verify that the key functions as intended before resuming regular use of the keyboard.
By following these steps carefully and attentively, you can successfully put an Enter key back on your mechanical keyboard, restoring its functionality and aesthetic appeal. Taking the time to execute each step with precision will ensure that the repair process is seamless and that your keyboard is ready for continued use.
Testing and Troubleshooting
After putting the Enter key back on your mechanical keyboard, it’s crucial to perform thorough testing to ensure that the key functions as intended and that the keyboard operates smoothly. Here are the essential steps for testing and troubleshooting the repaired key:
- Keystroke Testing: Begin by testing the Enter key to verify that it registers keystrokes accurately. Type sentences, press the Enter key to create new lines, and use it in various applications to confirm that it functions seamlessly without any delay or inconsistency.
- Tactile Feedback: Pay attention to the tactile feedback of the Enter key. Ensure that it provides the familiar tactile sensation and audible click associated with mechanical switches. If the key feels mushy or unresponsive, it may indicate an improper installation or an issue with the switch.
- Keycap Stability: Check the stability of the replacement Enter keycap. Press down on the keycap from different angles to confirm that it remains securely attached to the switch and does not wobble or feel loose. A stable keycap ensures a consistent typing experience.
- Switch Lubrication (Optional): If you applied a specialized keyboard switch lubricant during the repair, assess the smoothness and feel of the switch. The lubricant should enhance the key’s tactile feedback and ensure smooth actuation without any friction or binding.
- Double-Check Alignment: Revisit the keycap’s alignment to ensure that it is correctly positioned on the switch stem. Misaligned keycaps can impede proper keystroke registration and may affect the overall typing experience.
- Troubleshooting: If you encounter any issues during the testing phase, such as inconsistent keystrokes or unusual behavior from the Enter key, consider reseating the keycap or inspecting the switch for any visible damage or obstruction. Additionally, refer to the keyboard’s user manual or online resources for troubleshooting guidance specific to your keyboard model.
By conducting comprehensive testing and troubleshooting, you can address any potential issues with the repaired Enter key and ensure that your mechanical keyboard functions optimally. Taking the time to verify the key’s performance and stability will contribute to a satisfying repair experience and a fully restored keyboard.
Final Thoughts
Congratulations on successfully putting the Enter key back on your mechanical keyboard! By following this guide, you’ve not only restored the functionality of your keyboard but also gained valuable insight into the inner workings of mechanical keyboards and the process of keycap replacement. As you reflect on this repair experience, consider the following key points:
- Customization Opportunities: The ability to replace individual keycaps on a mechanical keyboard opens up a world of customization possibilities. Whether you’re aiming for a personalized aesthetic or seeking keycaps with specific characteristics, the modularity of mechanical keyboards allows for extensive customization.
- Attention to Detail: The meticulous process of removing and replacing a keycap underscores the attention to detail required for working with mechanical keyboards. Each step, from aligning the keycap to testing its functionality, demands precision and care to ensure a successful repair.
- Keyboard Maintenance: Engaging in keycap replacement serves as a reminder of the importance of keyboard maintenance. Regular cleaning, inspection, and, if necessary, keycap replacement contribute to the longevity and optimal performance of a mechanical keyboard.
- Community and Resources: The world of mechanical keyboards is accompanied by a vibrant community of enthusiasts, as well as a wealth of resources, forums, and tutorials. Embracing this community can provide valuable support, inspiration, and guidance for future keyboard-related endeavors.
As you continue to enjoy the tactile satisfaction and personalized experience offered by your mechanical keyboard, remember that the skills and knowledge gained from this repair can be applied to future maintenance and customization projects. Whether you’re exploring new keycap designs, delving into switch modifications, or simply maintaining your keyboard in pristine condition, the experience of putting an Enter key back on your keyboard has equipped you with valuable expertise.
Embrace the versatility and individuality of your mechanical keyboard, and let your newfound understanding of its inner workings inspire your journey in the world of mechanical keyboards. With each keystroke, may you find satisfaction and creativity at your fingertips.