Introduction
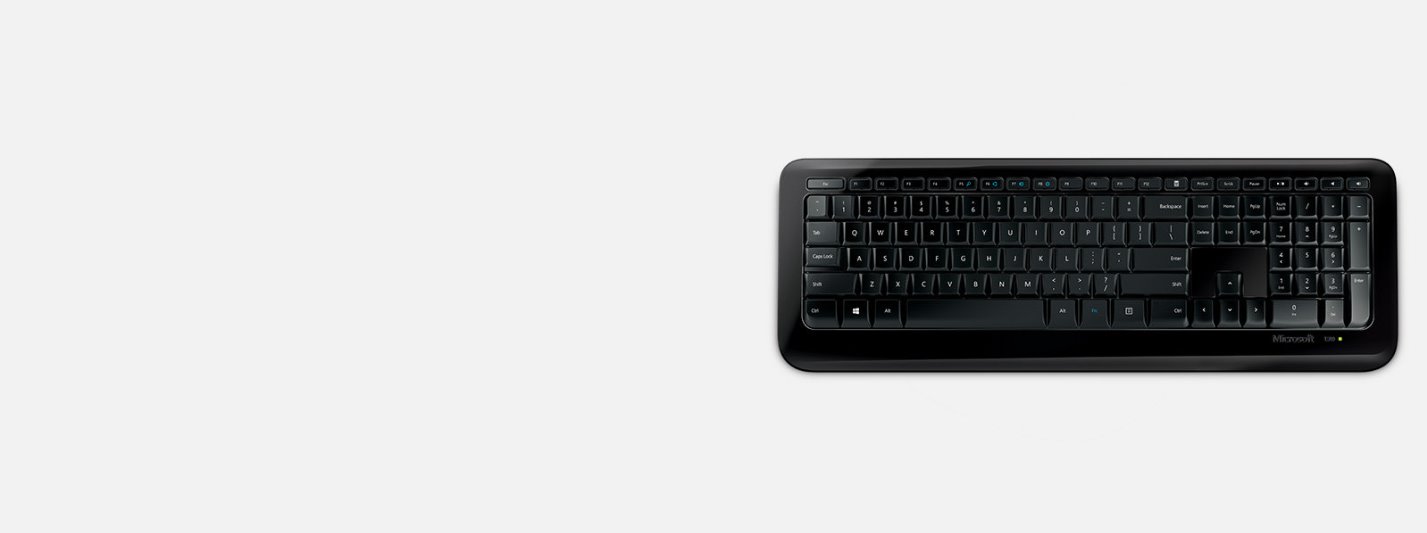
Welcome to this guide on how to connect a Microsoft wireless keyboard. If you’ve recently purchased a Microsoft wireless keyboard for your computer, you may be wondering how to set it up and start using it. Fortunately, connecting a Microsoft wireless keyboard is a straightforward process that can be completed in just a few simple steps.
Having a wireless keyboard offers a range of benefits, including the freedom to move around without being confined by cables and the ability to eliminate clutter on your desk. Whether you’re a student, a professional, or simply a casual computer user, a wireless keyboard can greatly enhance your productivity and overall computing experience.
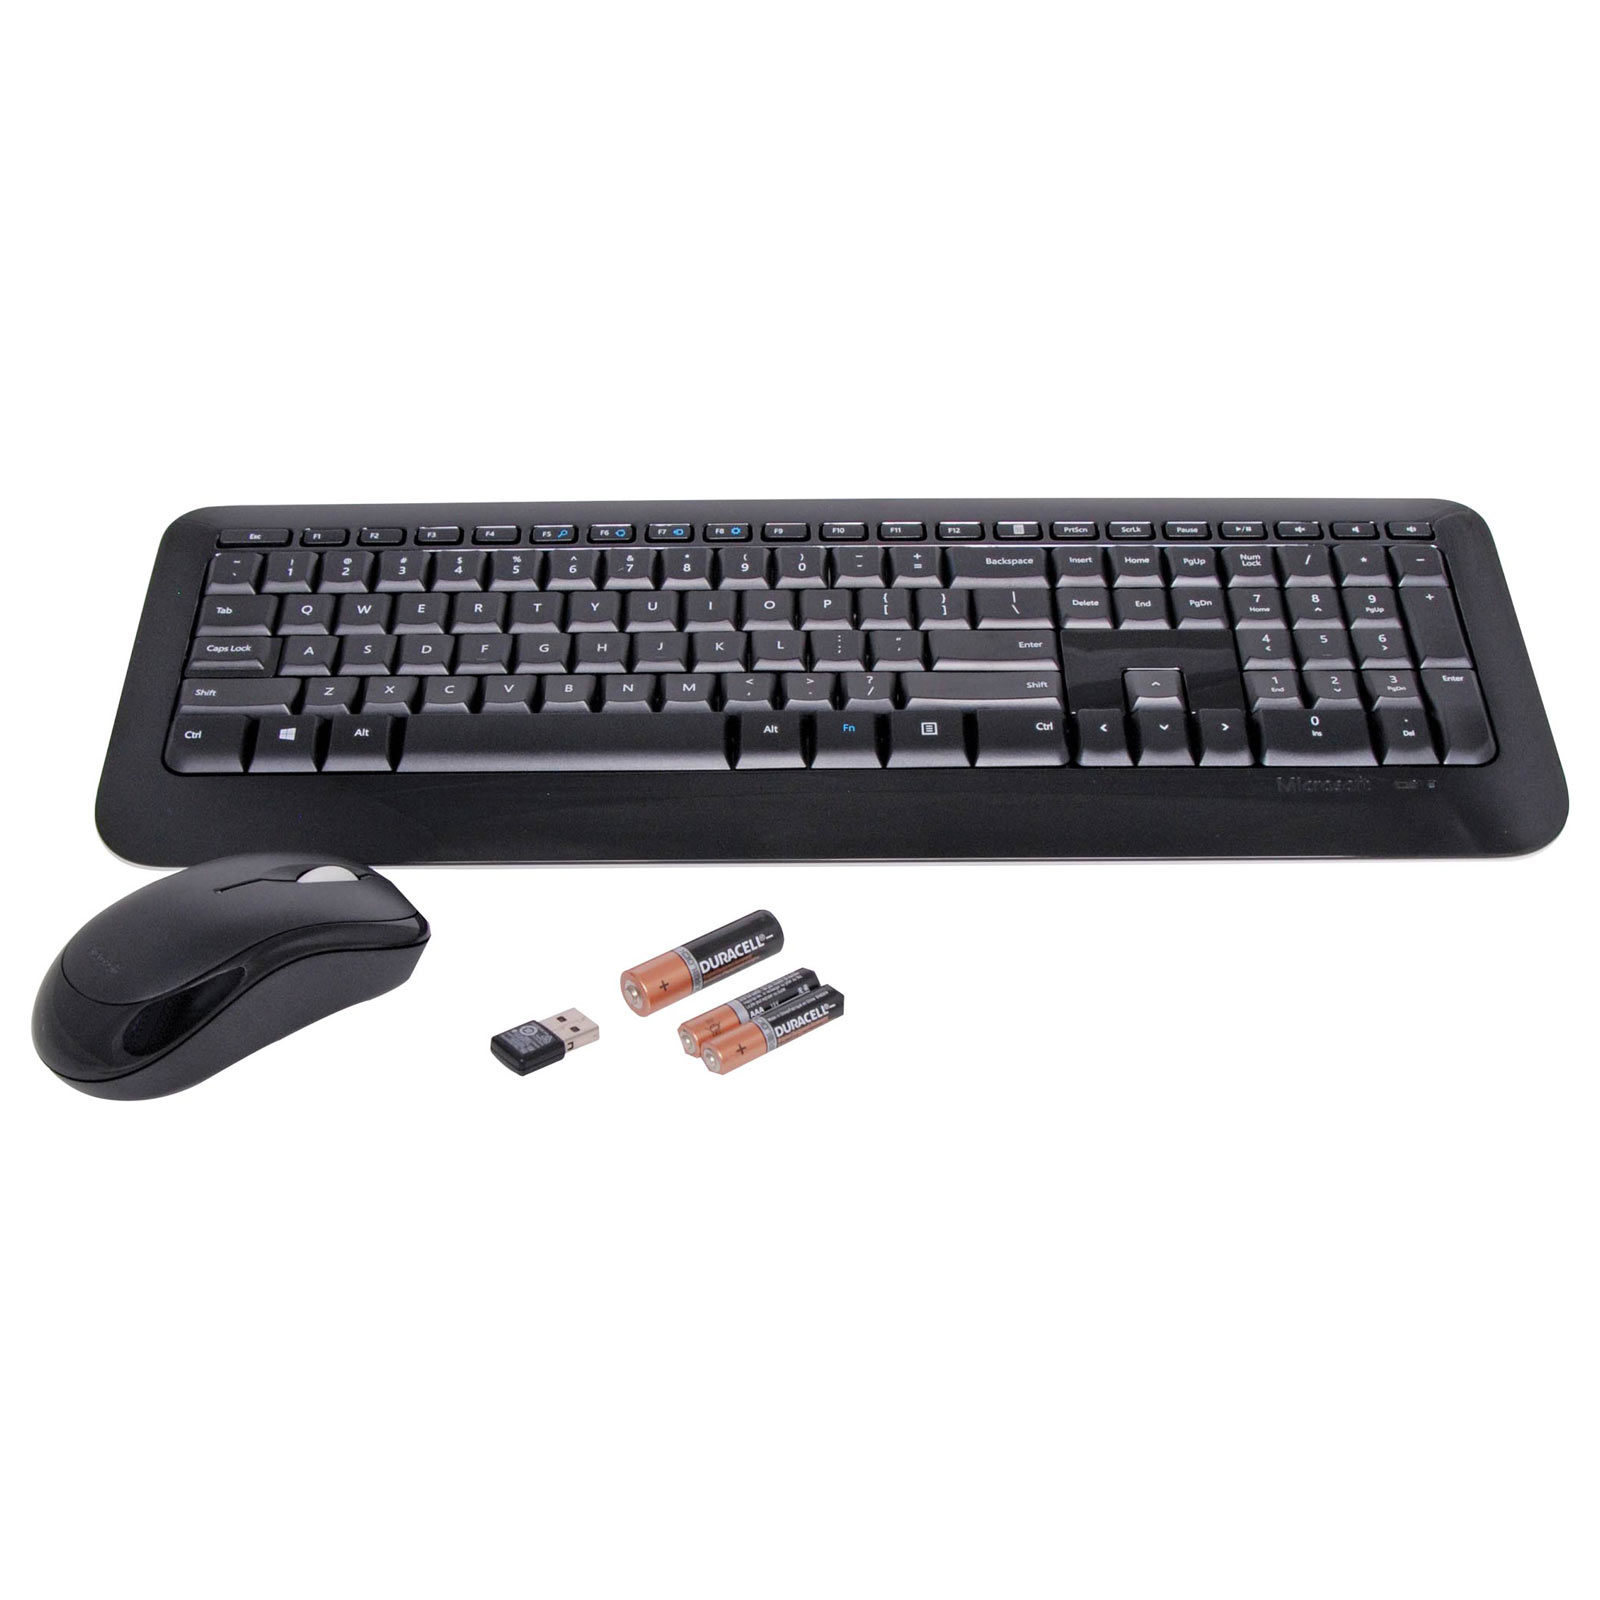
Before we dive into the step-by-step process of connecting your Microsoft wireless keyboard, it’s important to ensure that you have all the necessary equipment and that your keyboard is compatible with your computer. Microsoft wireless keyboards typically come with a USB receiver that needs to be inserted into your computer’s USB port. Additionally, make sure the batteries in your keyboard are working properly or replace them if needed.
In this guide, we’ll walk you through each step of the process, from powering on the keyboard to testing the connection. By following these instructions, you’ll be able to enjoy the convenience of a wireless keyboard in no time.
Step 1: Check the Battery and Power on the Keyboard
The first step in connecting your Microsoft wireless keyboard is to check the battery and power it on. Most wireless keyboards are powered by batteries, so ensuring that they are properly inserted and have sufficient power is essential for a successful connection.
Start by locating the battery compartment on the back or underside of your keyboard. The compartment is usually secured with a small latch or screw. Use a coin or a small screwdriver to open the compartment and access the battery slots.
Check the polarity markings inside the battery compartment to ensure that you insert the batteries correctly. Typically, there will be plus (+) and minus (-) symbols indicating the correct orientation. Insert the batteries according to the markings, making sure they fit snugly into the slots.
Once the batteries are properly inserted, replace the battery compartment cover and secure it in place. Make sure it is tightly closed to avoid any accidental disconnection of the batteries during use.
With the batteries securely in place, you can now power on your Microsoft wireless keyboard. Look for the power switch, which is usually located on the top or side of the keyboard. Slide the switch to the “On” position to activate the keyboard.
Some wireless keyboards may have a different power mechanism, such as a button or touch-sensitive area to power on the device. Refer to the user manual that came with your specific keyboard model if you’re unsure about the power-on procedure.
Once your keyboard is powered on, you’re ready to move on to the next step in the connection process. It’s important to note that different models of Microsoft wireless keyboards may have slight variations in the battery installation and power-on process. Always refer to the instructions provided with your keyboard for precise guidance.
Step 2: Insert the USB Receiver
Now that your Microsoft wireless keyboard is powered on, the next step is to insert the USB receiver into your computer. The USB receiver is a small device that allows your keyboard to communicate wirelessly with your computer.
Start by locating an available USB port on your computer. These ports are typically located on the front or back of your computer tower, or on the side of a laptop. The USB port is rectangular in shape and has several metal contacts inside it.
Take the USB receiver provided with your Microsoft wireless keyboard and insert it into the USB port. Ensure that the USB connector is fully inserted into the port, making a secure connection. The USB receiver is designed to fit snugly into the port, so it may require a gentle push to fully insert it.
As you insert the USB receiver, you may notice that your computer recognizes the new hardware and automatically begins installing the necessary drivers. If this happens, allow the driver installation process to complete. If no driver installation message appears, don’t worry; we’ll cover driver installation in the next step.
It’s essential to insert the USB receiver into a functioning USB port to establish a proper connection with your computer. If you encounter any issues during the insertion process, such as the USB receiver not fitting into the port or not being recognized by your computer, try using a different USB port to see if it resolves the problem.
Now that the USB receiver is securely connected to your computer, you’re one step closer to enjoying the benefits of a wireless keyboard. In the next step, we’ll delve into the process of putting your keyboard into pairing mode to establish a connection with the USB receiver.
Step 3: Put the Keyboard in Pairing Mode
In order to establish a connection between your Microsoft wireless keyboard and the USB receiver, you need to put the keyboard in pairing mode. Pairing mode allows the keyboard and the receiver to sync up and communicate with each other wirelessly.
To put your keyboard in pairing mode, locate the pairing button or switch on the keyboard. The location of this button or switch may vary depending on the model of your Microsoft wireless keyboard. It is typically found on the back or underside of the keyboard.
Once you’ve located the pairing button or switch, press and hold it for a few seconds. This action will activate the pairing mode in your keyboard. Some keyboards may have an LED indicator that starts flashing to indicate that pairing mode is active.
It’s worth mentioning that not all Microsoft wireless keyboards have a dedicated pairing button or switch. Some keyboards automatically enter pairing mode when you power them on. Refer to your keyboard’s user manual for specific instructions on how to put it in pairing mode.
While in pairing mode, your keyboard is actively searching for the USB receiver to establish a connection. This process typically takes a few seconds, but it may vary depending on the model and specifications of your keyboard.
Once the pairing process is complete, the keyboard and the USB receiver should be successfully connected. The LED indicator on the keyboard may stop flashing, indicating a stable connection. However, some keyboards do not have an LED indicator, so don’t worry if you don’t see one.
Now that your keyboard is in pairing mode and ready to communicate with the USB receiver, it’s time to move on to the next step: connecting the USB receiver to your computer and installing any necessary drivers.
Step 4: Connect the USB Receiver to the Computer
After putting your Microsoft wireless keyboard in pairing mode, the next step is to connect the USB receiver to your computer. This step ensures that the keyboard and the receiver can establish a proper wireless connection and start functioning together.
With your computer turned on, locate the USB port where you inserted the USB receiver in the previous step. Check that the USB receiver is still securely connected to the USB port and that it hasn’t come loose during the pairing process.
If the USB receiver is securely connected, your computer should automatically recognize the receiver and start installing the necessary drivers. This process may take a few moments, and you may see a notification or pop-up message indicating the progress of the driver installation.
In some cases, the driver installation may require an internet connection. If prompted, make sure you are connected to the internet to allow your computer to download any required drivers from the Microsoft servers.
During the driver installation, make sure not to remove the USB receiver or turn off your computer. Interrupting the installation process could result in an incomplete or faulty connection between the keyboard and the receiver.
Once the driver installation is complete, your computer should recognize the Microsoft wireless keyboard as a connected device. At this point, your keyboard is ready to use, and you can start typing and navigating on your computer wirelessly.
If, for any reason, your computer does not recognize the USB receiver or encounters issues during driver installation, try the following troubleshooting steps:
- Ensure that the USB receiver is securely connected to the USB port.
- Try connecting the USB receiver to a different USB port on your computer.
- Restart your computer and repeat the connection process from step 1.
- If the issue persists, consult the user manual or contact Microsoft support for further assistance.
Now that you have successfully connected the USB receiver to your computer and installed the necessary drivers, you’re almost ready to start using your Microsoft wireless keyboard. In the next step, we’ll cover the process of testing the keyboard connection to ensure everything is working correctly.
Step 5: Install the Necessary Drivers
Once you have connected the USB receiver to your computer, it’s important to install the necessary drivers to ensure proper functionality of your Microsoft wireless keyboard. The drivers allow your computer to recognize and communicate with the keyboard effectively.
In most cases, when you connect the USB receiver to your computer, the operating system (such as Windows or macOS) will automatically detect the new device and attempt to install the drivers. You may see a notification or pop-up message indicating the progress of the driver installation.
During the driver installation, it’s crucial to stay connected to the internet. This allows your computer to search for and download the latest drivers from Microsoft’s servers. Installing the latest drivers ensures compatibility and optimal performance of your keyboard.
If your computer couldn’t automatically install the drivers, or if you encounter any issues during the installation process, you can manually install them. Start by visiting the official Microsoft website and navigating to the support section. Look for the drivers and downloads page, where you can search for the specific model of your wireless keyboard.
Once you find the correct drivers for your keyboard, download them to your computer. The downloaded file is typically in a compressed format (such as a zip file) and needs to be extracted before you can proceed with the installation.
After extracting the files, locate and run the setup or driver installation program. Follow the on-screen instructions to complete the installation process. It may require you to accept the terms and conditions and specify the installation location.
Once the driver installation is complete, restart your computer to ensure the changes take effect. After rebooting, your Microsoft wireless keyboard should be fully functional, and your computer will recognize it as a connected device.
If you encounter any issues during the driver installation, such as error messages or compatibility problems, it is advisable to consult the user manual or seek assistance from Microsoft support.
By installing the necessary drivers, you ensure that your Microsoft wireless keyboard works seamlessly with your computer, providing you with an enhanced typing and navigation experience.
In the next step, we will test the keyboard connection to confirm that everything is working correctly.
Step 6: Test the Keyboard Connection
Now that you have successfully connected and installed the necessary drivers for your Microsoft wireless keyboard, it’s time to test the keyboard connection to ensure that everything is working as expected. This step ensures that your keyboard is properly synced with the USB receiver and that you can interact with your computer seamlessly.
To begin testing the keyboard connection, open a text document, word processor, web browser, or any application where you can input text. Click on the text field or document to make sure it is active and ready to receive input.
Start typing on your Microsoft wireless keyboard, and verify that the characters appear on the screen as you type. Ensure that there is no noticeable delay or lag between your keystrokes and the characters appearing on the screen. If you experience any significant delay, it may indicate a weak or unstable connection.
Additionally, test the functionality of other keys on your keyboard, such as the function keys, multimedia keys, and special function keys. Make sure they perform their designated actions correctly. For example, if your keyboard has a volume control button, press it to confirm that the volume level changes accordingly.
If any specific keys or functions are not working as expected, double-check the user manual or the Microsoft support website for troubleshooting tips and instructions. It’s possible that additional settings or configurations need to be adjusted to enable specific functionalities.
During the testing phase, also pay attention to the wireless range of your keyboard. Move a few feet away from your computer and try typing to check if the keystrokes are still registered correctly. The wireless range may vary depending on the specific model of your keyboard.
If you encounter any issues during the test or notice any irregularities in the keyboard’s performance, try the following troubleshooting steps:
- Check the battery level of your keyboard and replace the batteries if necessary.
- Ensure that there are no obstructions or interference between the keyboard and the USB receiver.
- Try repositioning the USB receiver to a different USB port for a stronger wireless connection.
- Check for any available software updates for your keyboard on the Microsoft website.
- Contact Microsoft support for further assistance if the issues persist.
By testing the keyboard connection and verifying its functionality, you can ensure a smooth and efficient computing experience. Enjoy the convenience and freedom of your Microsoft wireless keyboard in all your future endeavors!
Conclusion
Congratulations! You have successfully connected and set up your Microsoft wireless keyboard. By following the step-by-step instructions in this guide, you can now enjoy the convenience of a wire-free keyboard experience.
During the connection process, you learned how to check the battery and power on the keyboard, insert the USB receiver, put the keyboard in pairing mode, connect the USB receiver to your computer, install the necessary drivers, and test the keyboard connection. These steps ensure that your keyboard is properly synced with your computer and ready for use.
With your Microsoft wireless keyboard, you can now type and navigate with ease, without being tethered by cables. The freedom of movement provided by a wireless keyboard enables you to work or play in any comfortable position without the constraints of a wired connection.
Remember, if you encounter any issues or need further assistance, you can always consult the user manual or reach out to Microsoft support for guidance.
Enjoy your newfound freedom and enhanced productivity with your Microsoft wireless keyboard! Happy typing!


