Introduction
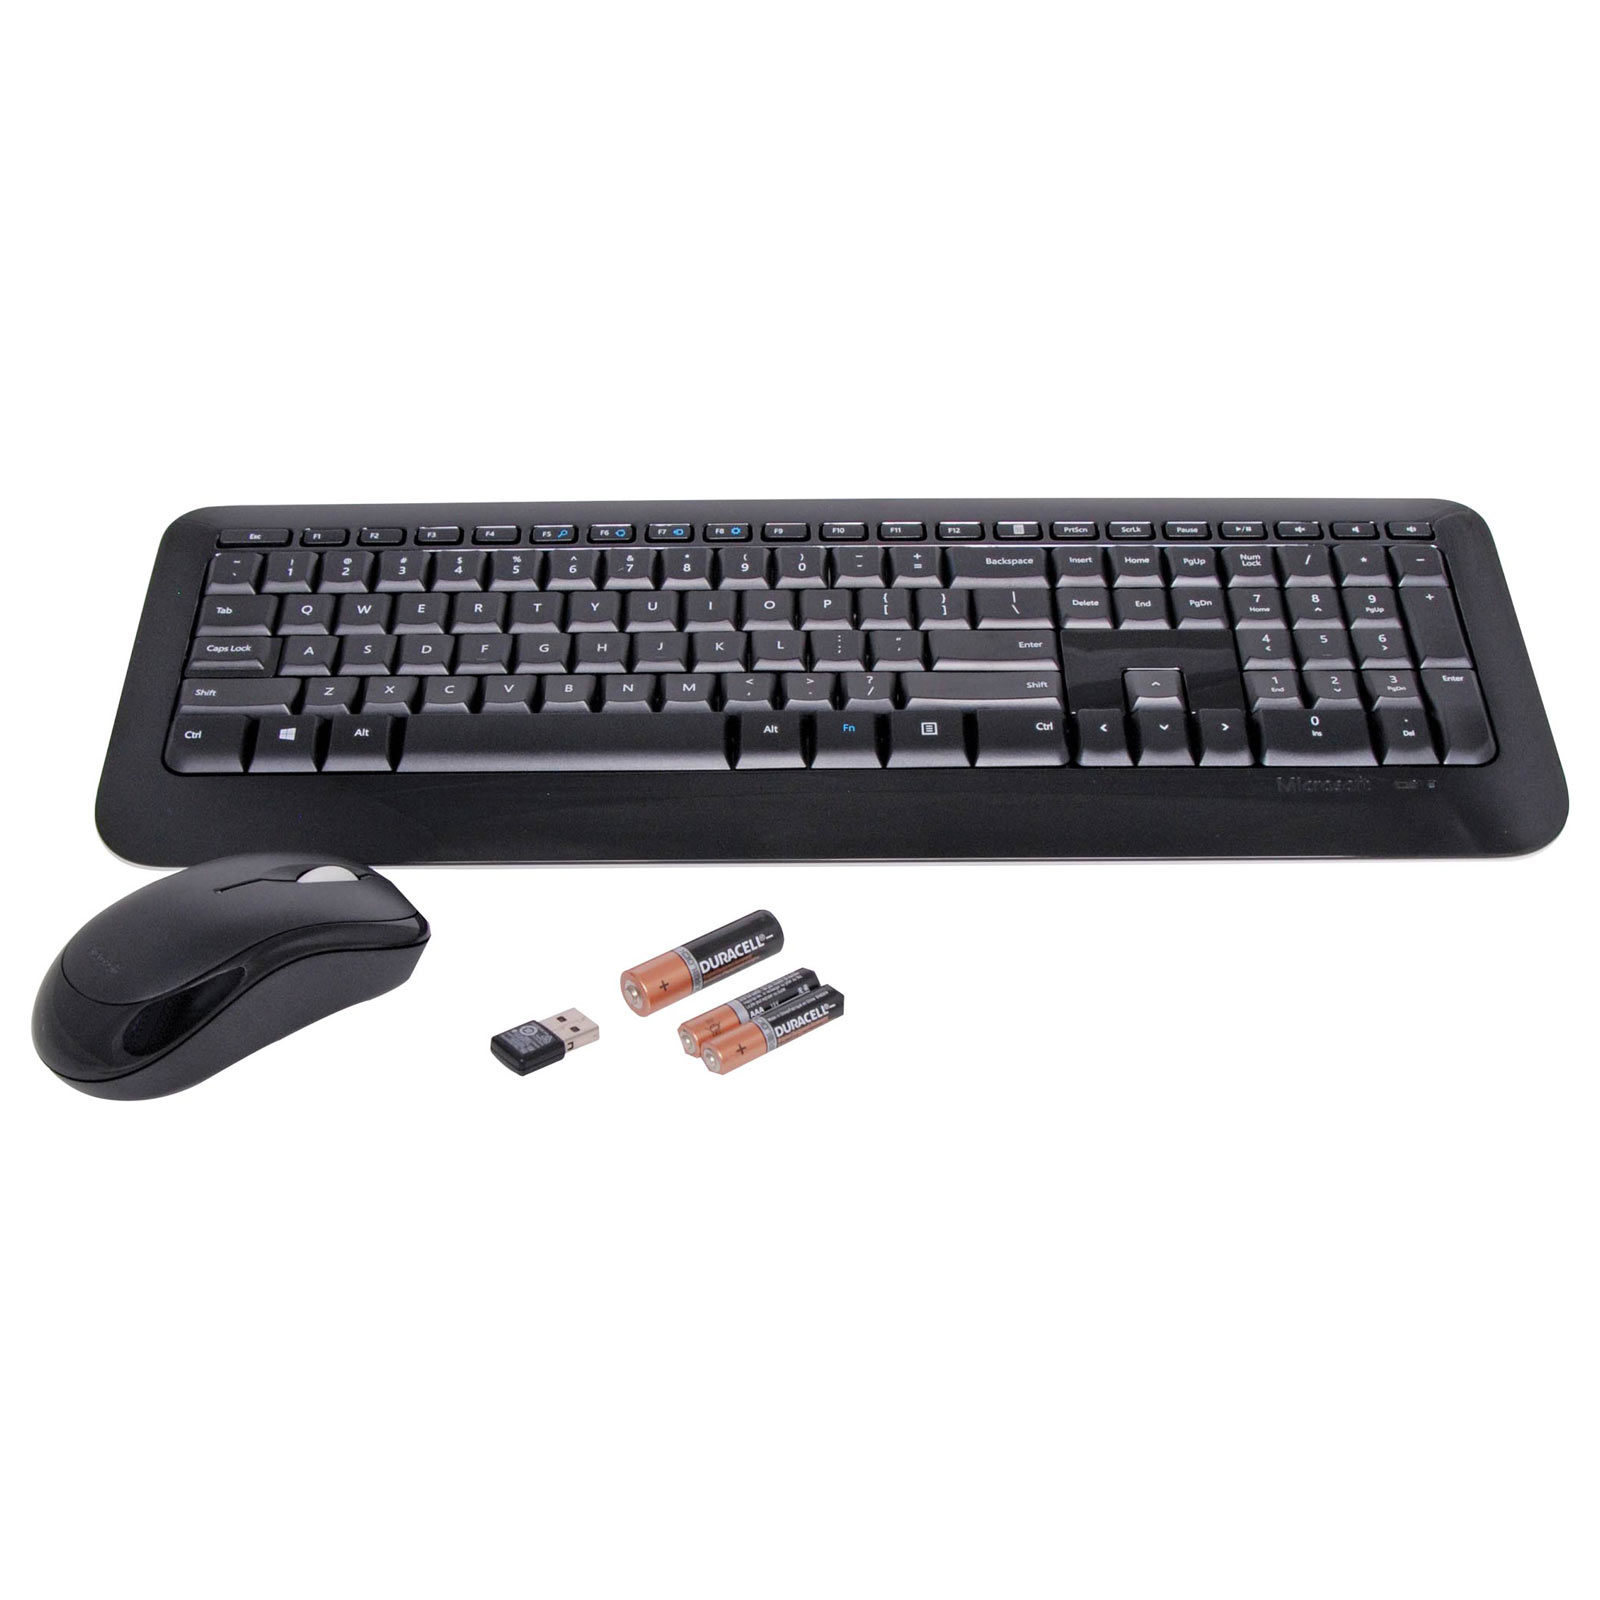
The Microsoft Wireless Keyboard 3000 V2.0 is a versatile and ergonomic keyboard that offers convenience and flexibility for everyday computer use. This wireless keyboard allows you to connect to your computer without the hassle of tangled wires or limited mobility. Whether you are working, gaming, or simply browsing the web, this keyboard provides a seamless typing experience.
With its sleek design and advanced features, the Microsoft Wireless Keyboard 3000 V2.0 is a popular choice among users who value comfort and functionality. The keyboard features a full-size layout with responsive keys, making typing effortless and comfortable. Additionally, its wireless connectivity eliminates clutter and allows you to work from a distance.
One of the key features of this keyboard is its compatibility with both Windows and Mac operating systems. This ensures that regardless of your computer setup, you can easily connect and use the Microsoft Wireless Keyboard 3000 V2.0 without any compatibility issues.
In this article, we will guide you through the process of connecting the Microsoft Wireless Keyboard 3000 V2.0 to your computer. We will walk you through the necessary steps, from checking the battery level to troubleshooting common issues that may arise during the setup process. By following these steps, you will be able to enjoy the convenience and efficiency that this wireless keyboard has to offer. So, let’s get started and connect your Microsoft Wireless Keyboard 3000 V2.0 to your computer hassle-free!
Features of Microsoft Wireless Keyboard 3000 V2.0
The Microsoft Wireless Keyboard 3000 V2.0 comes packed with a range of features that enhance your typing experience and make everyday tasks more convenient. Let’s take a closer look at some of its standout features:
1. Wireless Connectivity: This keyboard employs advanced wireless technology, allowing you to connect to your computer effortlessly. The wireless receiver provides a reliable connection, giving you the freedom to work or play from a distance, without the limitations of cables.
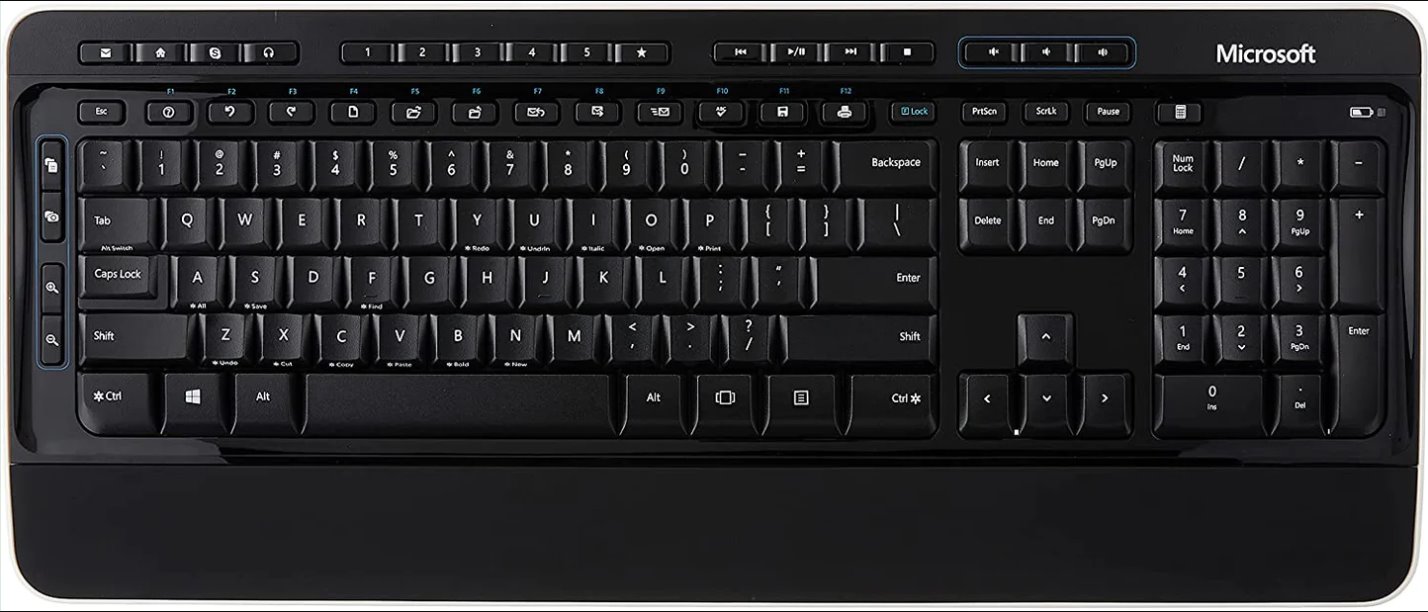
2. Full-Size Layout: With a full-size layout, the Microsoft Wireless Keyboard 3000 V2.0 provides a comfortable typing experience. The keys are well-spaced and responsive, making it easy to type quickly and accurately. The full-size design also includes a dedicated numeric keypad for effortless number input.
3. Quiet-Touch Keys: The keyboard features Quiet-Touch keys, which provide a silent typing experience. The keys are designed to reduce noise without compromising on the tactile feedback, allowing you to work in quiet environments without disturbing those around you.
4. Battery Life: The Microsoft Wireless Keyboard 3000 V2.0 has an impressive battery life, thanks to its energy-efficient design. With regular use, the batteries can last for several months, minimizing the need for constant replacements. Additionally, the keyboard features a battery status indicator, alerting you when it’s time to replace the batteries.
5. Multimedia Control: This keyboard includes dedicated multimedia keys that allow you to control media playback with ease. Whether you want to play, pause, or adjust the volume, these multimedia keys provide quick access to essential functions, enhancing your multimedia experience.
6. Customizable Hotkeys: The Microsoft Wireless Keyboard 3000 V2.0 offers customizable hotkeys, allowing you to personalize your keyboard shortcuts. With the included software, you can assign specific functions or launch applications with just a press of a button, saving you time and effort.
In summary, the Microsoft Wireless Keyboard 3000 V2.0 combines convenience, comfort, and versatility to provide an excellent typing experience. With features like wireless connectivity, quiet-touch keys, and multimedia control, this keyboard caters to the needs of both casual users and professionals. Whether you’re working, gaming, or simply browsing the web, this keyboard is a reliable and user-friendly choice.
Step 1: Checking the Battery Level
Before you begin the setup process for your Microsoft Wireless Keyboard 3000 V2.0, it’s important to check the battery level to ensure uninterrupted usage. Follow these simple steps to check the battery level:
1. On the back of the keyboard, locate the battery compartment. It is usually located near the top edge of the keyboard.
2. Use a coin or your fingernail to twist the battery compartment cover counterclockwise and remove it. Set the cover aside.
3. Inside the battery compartment, you will find the battery indicator and the battery slot. The battery indicator provides a visual representation of the battery level.
4. Check the battery indicator for the current battery level. A green light indicates a sufficient battery charge, while a red light indicates a low battery.
5. If the battery level is low, you will need to replace the batteries with fresh ones. The Microsoft Wireless Keyboard 3000 V2.0 typically uses two AA batteries.
6. Insert the new batteries into the battery slot, ensuring that the positive and negative ends are correctly aligned with the markings inside the compartment.
7. Once the new batteries are inserted, replace the battery compartment cover and twist it clockwise to secure it in place.
8. After verifying that the battery level is sufficient, you are now ready to proceed with the setup process and connect your Microsoft Wireless Keyboard 3000 V2.0 to your computer.
By following these steps and ensuring that the battery level is adequate, you can avoid any interruptions during the setup process and enjoy uninterrupted usage of your Microsoft Wireless Keyboard 3000 V2.0.
Step 2: Connecting the Receiver to Your Computer
Once you have checked the battery level of your Microsoft Wireless Keyboard 3000 V2.0, the next step is to connect the receiver to your computer. The receiver is the device that allows your keyboard to communicate with your computer wirelessly. Follow these simple steps to connect the receiver:
1. Locate an available USB port on your computer. The USB port is usually located on the front or back panel of your desktop computer or on the side of your laptop.
2. Insert the USB receiver into the USB port. Ensure that it is inserted fully to establish a secure connection.
3. Wait for a few seconds for your computer to recognize the USB receiver. You may see a notification or hear a sound indicating that the receiver has been detected.
4. If your computer is unable to detect the receiver, try inserting it into a different USB port. Some computers have multiple USB ports, so it’s worth trying another one to ensure a successful connection.
5. Once the receiver is connected and detected by your computer, you are now ready to proceed with turning on the keyboard and connecting it to the receiver.
By following these steps, you can easily connect the receiver of your Microsoft Wireless Keyboard 3000 V2.0 to your computer. This allows for seamless communication between your keyboard and computer, enabling you to type effortlessly and navigate your computer with ease.
Step 3: Turning on the Keyboard
Now that you have successfully connected the receiver of your Microsoft Wireless Keyboard 3000 V2.0 to your computer, it’s time to turn on the keyboard itself. Follow these steps to turn on the keyboard:
1. Locate the power switch on the underside or the side of the keyboard. It is usually a small toggle switch labeled with a power icon.
2. Flip the power switch to the “On” position. You may hear a slight click or see a small LED indicator light up to indicate that the keyboard is powered on.
3. Once the keyboard is turned on, it will start searching for the receiver and establishing a connection. This process may take a few seconds.
4. During this time, it’s important to keep the keyboard within the range of the receiver, usually within a few feet. This ensures a strong and stable connection between the keyboard and the computer.
5. Once the keyboard has successfully connected to the receiver, it is ready for use.
It’s worth noting that the Microsoft Wireless Keyboard 3000 V2.0 also has an auto-off feature to conserve battery life. If the keyboard is left idle for a certain period, it will automatically enter a power-saving mode. To wake it up, simply press a key, and it will quickly reconnect to the receiver.
By following these steps, you can easily turn on your Microsoft Wireless Keyboard 3000 V2.0 and ensure that it establishes a reliable connection with your computer. Now that your keyboard is powered on, you’re ready to proceed to the next step of connecting the keyboard to the receiver.
Step 4: Connecting the Keyboard to the Receiver
With your Microsoft Wireless Keyboard 3000 V2.0 turned on, it’s time to connect it to the receiver that you previously connected to your computer. Follow these simple steps to establish the connection:
1. Look for the connect button on the USB receiver. It is typically located on the top or side of the receiver. The button might be labeled as “Connect” or have a symbol resembling a wireless signal.
2. Press and hold the connect button on the USB receiver until the LED light on the receiver starts blinking. This activates the receiver and prepares it to search for the keyboard.
3. Next, locate the connect button on the underside of the keyboard. It is usually located near the power switch or in close proximity to the battery compartment.
4. Press and hold the connect button on the keyboard for a few seconds until the LED light on the receiver stops blinking and remains steady. This indicates that the keyboard has successfully connected to the receiver.
5. Release the connect buttons on both the USB receiver and the keyboard. You may see the LED light on the receiver flashing briefly or remaining solid, indicating a stable connection between the keyboard and the computer.
6. Test the keyboard by typing a few keys to ensure that the connection is working properly. You should see the characters appearing on your computer screen as you type.
If, for any reason, the connection is not established, try repeating the steps again or consult the keyboard’s user manual for troubleshooting tips.
By following these steps, you can easily connect your Microsoft Wireless Keyboard 3000 V2.0 to the receiver, ensuring a seamless and reliable wireless connection. With the keyboard successfully connected, you can now enjoy the convenience and flexibility of using your wireless keyboard for all your computing needs.
Step 5: Troubleshooting common issues
While setting up your Microsoft Wireless Keyboard 3000 V2.0, you may encounter some common issues. Here are a few troubleshooting tips to help you resolve them:
1. Check the battery level: If your keyboard is not working properly, the first thing to check is the battery level. Ensure that the batteries are properly inserted and have sufficient charge. If needed, replace them with fresh batteries.
2. Verify the connection: Double-check that the USB receiver is securely connected to your computer’s USB port. Ensure that it is inserted fully and not loose. If necessary, try connecting it to a different USB port.
3. Re-establish the connection: If the keyboard is not responding, you can try re-establishing the connection between the keyboard and the receiver. Start by turning off the keyboard and unplugging the receiver. Wait for a few seconds, then plug in the receiver and turn on the keyboard again. This can help establish a fresh connection.
4. Remove interference: Wireless devices can sometimes be affected by interference from other devices. Ensure that there are no other wireless devices, such as routers or cordless phones, in close proximity to the keyboard and receiver. These devices can cause signal interference, resulting in connectivity issues.
5. Restart your computer: If the keyboard is still not working, try restarting your computer. Sometimes, a simple reboot can resolve connectivity issues by resetting system settings.
6. Update drivers: Ensure that your computer’s drivers are up to date. Visit the manufacturer’s website to check for any driver updates specifically related to your keyboard model. Installing the latest drivers can help resolve compatibility issues and improve performance.
7. Reset the keyboard: If none of the above steps work, you can try resetting the keyboard. Look for a small reset button on the underside of the keyboard and use a paperclip or a small pin to press and hold the button for a few seconds. This will reset the keyboard to its default settings and may help resolve any software-related issues.
If you have tried all these troubleshooting steps and are still experiencing issues with your Microsoft Wireless Keyboard 3000 V2.0, it is recommended to contact Microsoft support for further assistance. They will be able to provide specific guidance and solutions tailored to your situation.
Remember, troubleshooting common issues is part of the setup process, and with a little patience and perseverance, most issues can be resolved, allowing you to enjoy the full functionality of your wireless keyboard.
Conclusion
By following the step-by-step guide outlined in this article, you should now have a clear understanding of how to connect and set up your Microsoft Wireless Keyboard 3000 V2.0. From checking the battery level to troubleshooting common issues, each step is important in ensuring a smooth and seamless connection between your keyboard and computer.
The Microsoft Wireless Keyboard 3000 V2.0 offers a range of features like wireless connectivity, quiet-touch keys, customizable hotkeys, and multimedia control, making it a versatile and user-friendly choice for both casual and professional users.
Remember to check the battery level before starting the setup process and insert fresh batteries if required. Connect the receiver to an available USB port on your computer, ensuring a secure connection. Turn on the keyboard and establish a connection with the receiver. Finally, troubleshoot any common issues that may arise, such as verifying the battery level, re-establishing the connection, removing interference, or updating drivers.
By successfully setting up your Microsoft Wireless Keyboard 3000 V2.0, you can now enjoy the convenience and flexibility of a wireless keyboard while enhancing your productivity and comfort. Whether you’re working on documents, browsing the web, or enjoying multimedia, this wireless keyboard provides a reliable and efficient typing experience.
If you encounter any further issues or require additional assistance, don’t hesitate to reach out to the Microsoft support team. They are equipped to provide personalized help to resolve any lingering setup issues or answer any questions you may have.
With your Microsoft Wireless Keyboard 3000 V2.0 ready for use, you can now enjoy a hassle-free and comfortable typing experience on your computer. Happy typing!