Introduction
Are you looking to customize your mechanical keyboard or give it a thorough cleaning? Whether you want to replace keycaps, clean out debris, or simply refresh the look of your keyboard, removing and replacing keycaps is a straightforward process that can breathe new life into your trusty typing companion. In this guide, we'll walk you through the step-by-step process of safely removing and replacing keycaps on a mechanical keyboard.
Removing and replacing keycaps is a great way to personalize your keyboard, whether you're looking to create a custom layout, improve typing comfort, or add a touch of flair with colorful or textured keycaps. Additionally, periodic cleaning of your keyboard can help maintain its performance and longevity by preventing dust and debris from affecting the switches and overall functionality.
By following the instructions in this guide, you'll be able to confidently and effectively remove and replace keycaps on your mechanical keyboard, allowing you to customize its appearance and maintain its optimal performance. So, gather your tools and let's get started on this rewarding and practical keyboard maintenance journey.
Tools Needed
Before diving into the process of removing and replacing keycaps on your mechanical keyboard, it’s essential to gather the necessary tools to ensure a smooth and efficient experience. Here’s a list of tools you’ll need:
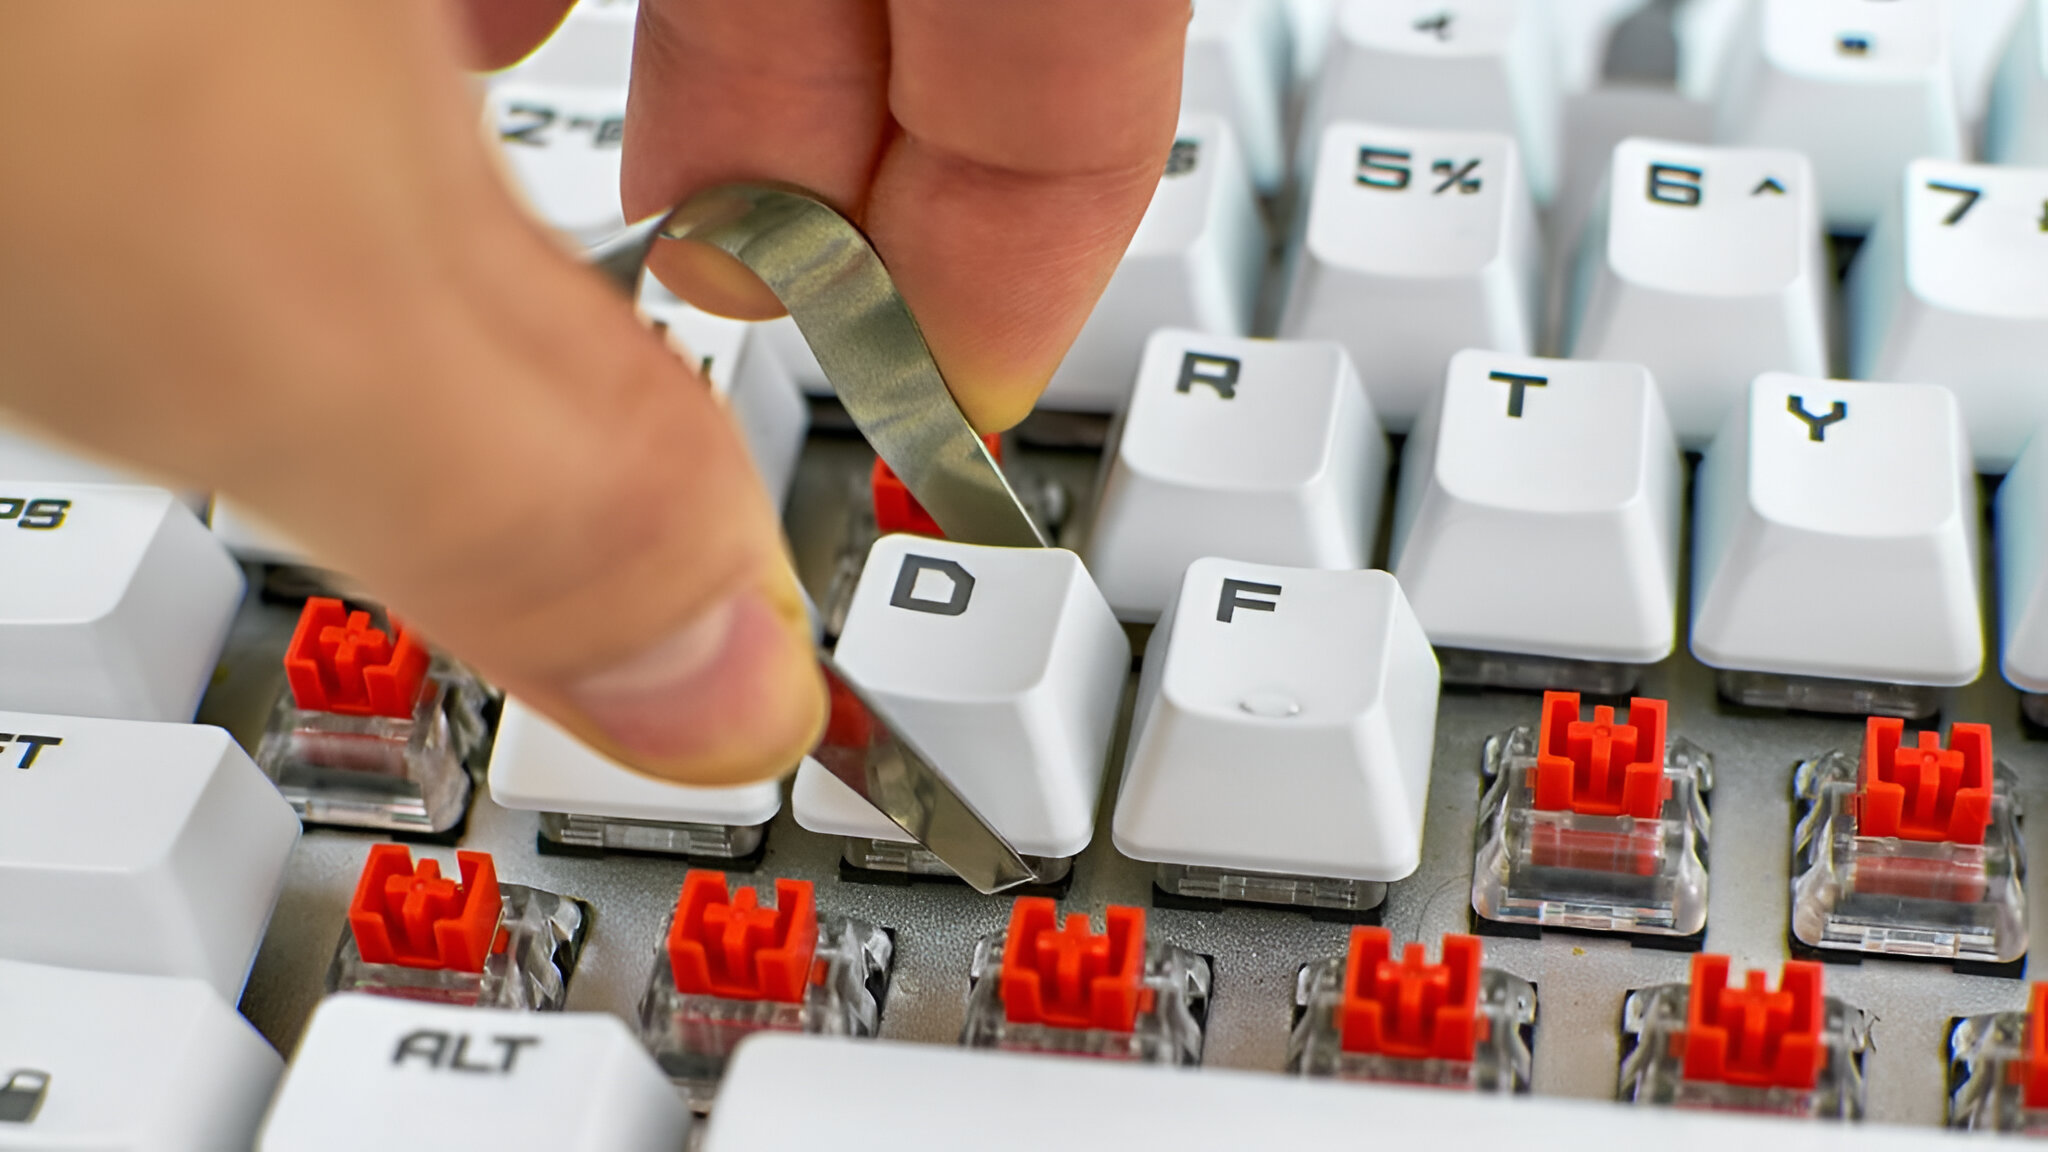
- Keycap Puller: This specialized tool is designed to safely and easily remove keycaps without damaging the switches or keycap stems. Keycap pullers come in various designs, including wire-style and plastic ring-style pullers, and are essential for a hassle-free keycap removal process.
- Compressed Air or Soft Brush: To clean the exposed switches and keyboard surface, having a can of compressed air or a soft brush is crucial for removing dust, crumbs, and other debris that may have accumulated beneath the keycaps.
- Microfiber Cloth: A gentle and lint-free microfiber cloth is ideal for wiping down the keyboard’s surface and removing any remaining dust or fingerprints after the keycaps have been removed.
- Container or Bag: Having a container or resealable bag to store the removed keycaps will help keep them organized and prevent any from getting lost during the cleaning or customization process.
By ensuring you have these tools on hand, you’ll be well-prepared to tackle the task of removing and replacing keycaps on your mechanical keyboard with ease and precision. With the right tools at your disposal, you can maintain the integrity of your keyboard while achieving your desired aesthetic or functional improvements.
Removing Keycaps
Removing keycaps from a mechanical keyboard is a delicate process that requires patience and precision to avoid damaging the switches or keycap stems. Here’s a step-by-step guide to safely remove the keycaps:
- Prepare Your Workspace: Start by turning off your computer and creating a clean and organized workspace. This will help prevent any small components from getting lost and allow you to work methodically.
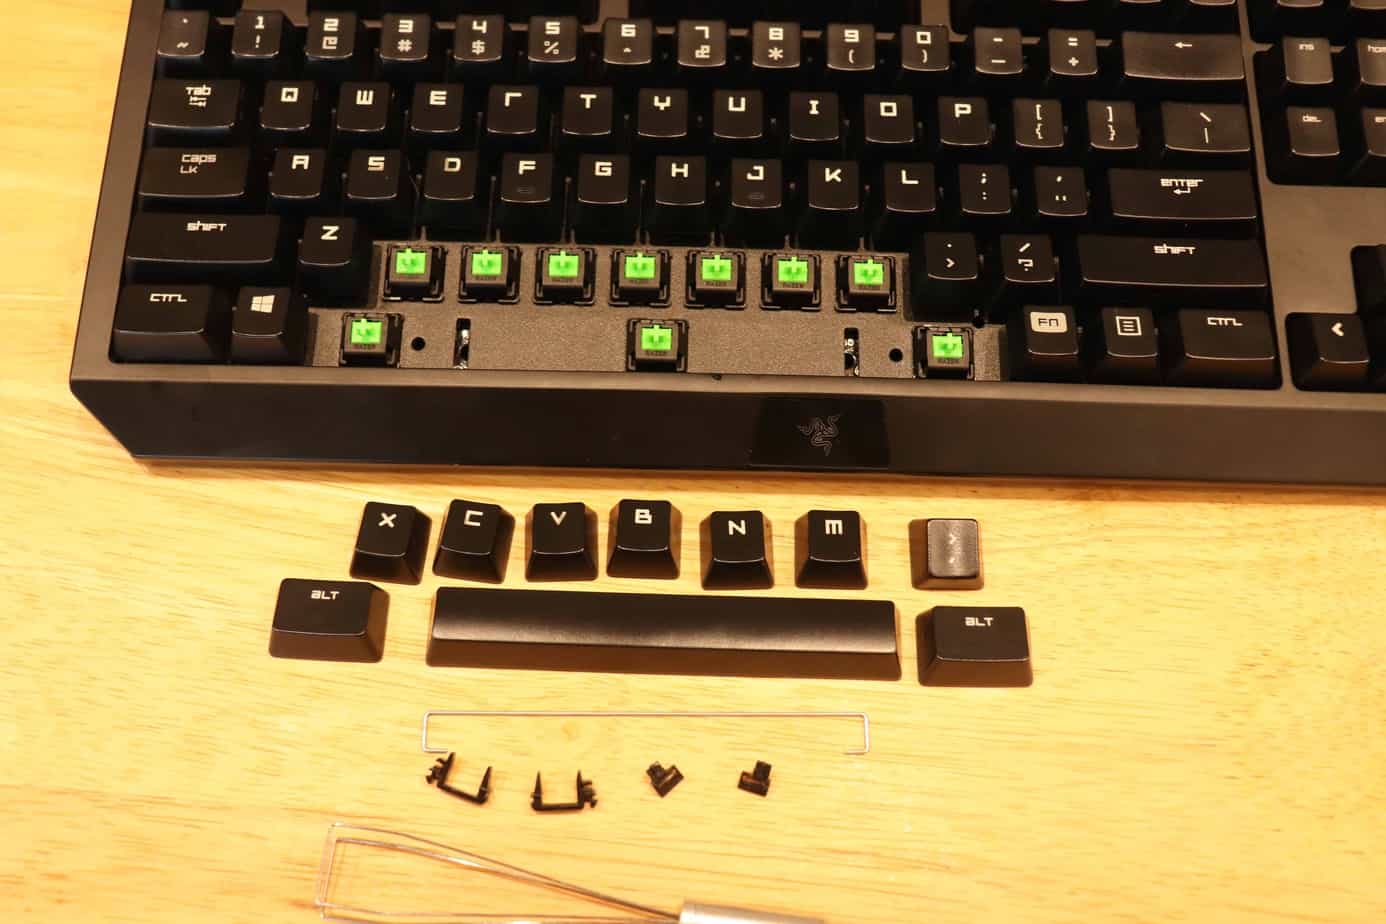
- Use the Keycap Puller: Position the keycap puller around the keycap you want to remove, ensuring that it securely grasps the keycap without putting excessive pressure on the switch underneath. Gently wiggle the keycap puller to detach the keycap from the switch.
- Work Methodically: Begin removing the keycaps one by one, starting from one side of the keyboard and working your way across. This systematic approach will help you keep track of the keycaps and ensure that you do not miss any during the removal process.
- Store the Keycaps: As you remove each keycap, place them in a container or resealable bag to keep them organized and prevent them from rolling away or getting mixed up. This will also make it easier to locate specific keycaps when it’s time to reassemble the keyboard.
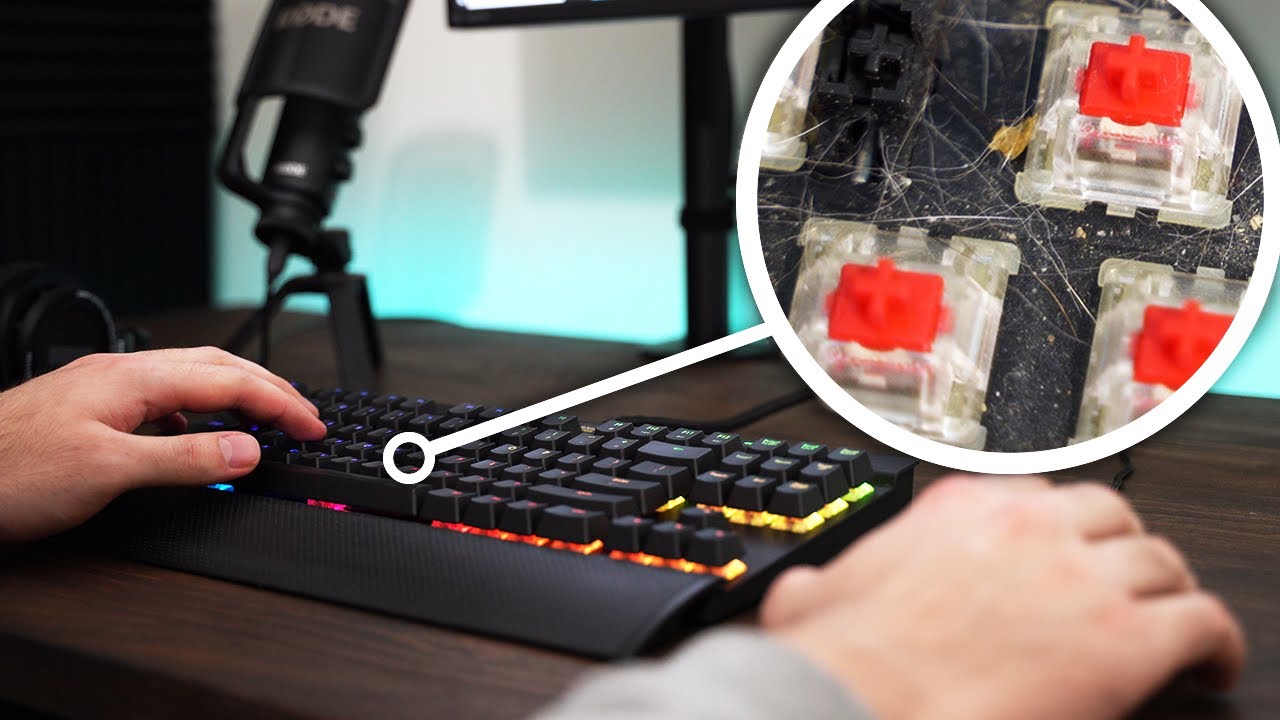
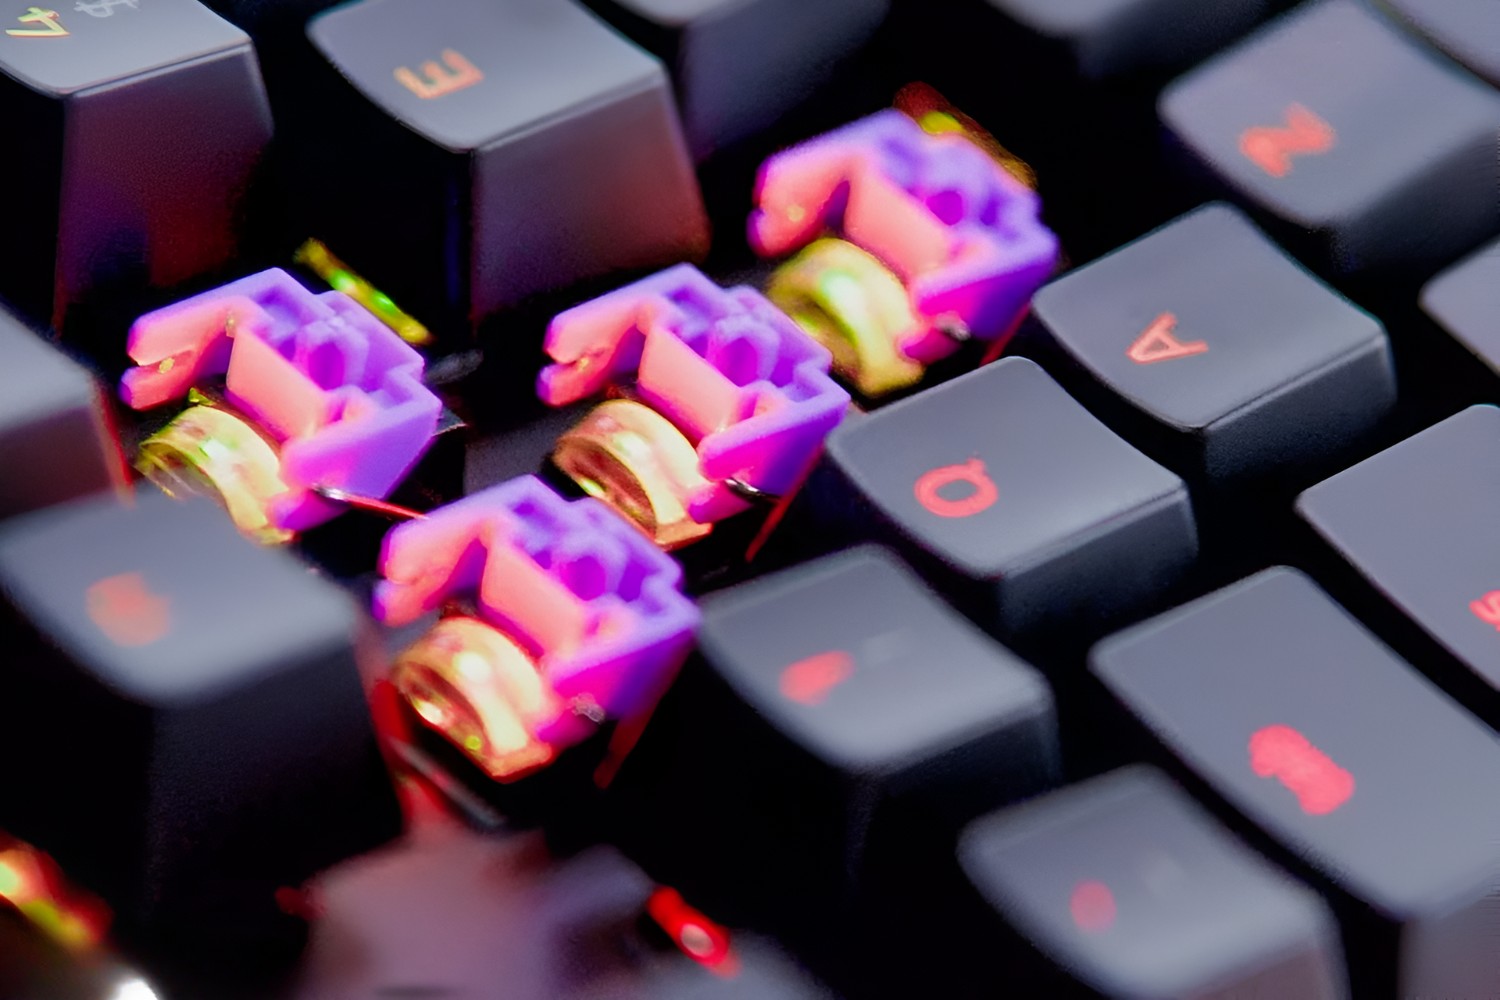
- Inspect for Debris: Once all the keycaps have been removed, take the opportunity to inspect the exposed switches and keyboard surface for any accumulated dust or debris. Use compressed air or a soft brush to gently clean these areas, ensuring that the keyboard is free from any obstructions before replacing the keycaps.
By following these steps, you can safely and effectively remove the keycaps from your mechanical keyboard without causing any damage to the switches or keycap stems. This process sets the stage for cleaning the keyboard and preparing it for the installation of new keycaps or the reattachment of the original ones.
Cleaning the Keyboard
After removing the keycaps, it’s essential to thoroughly clean the exposed switches and the keyboard’s surface to maintain optimal functionality and hygiene. Here’s a detailed guide on how to clean your mechanical keyboard:
- Use Compressed Air: Holding the keyboard at a slight angle, use compressed air to blow away any dust, crumbs, or debris that may have accumulated in and around the switches. Ensure that the air is directed away from the keyboard to prevent dislodged debris from resettling.
- Brush the Surface: With a soft-bristled brush, gently sweep across the keyboard’s surface to dislodge and remove any remaining particles. Pay close attention to the areas around the switches and along the edges of the keycap recesses.
- Inspect for Stubborn Debris: If there are any stubborn or sticky residues on the keyboard, lightly dampen a microfiber cloth with a small amount of isopropyl alcohol and carefully wipe the affected areas. Be sure to use minimal moisture to avoid any liquid seeping into the switches or circuitry.
- Allow for Drying: Once the cleaning process is complete, allow the keyboard to air dry for a few minutes to ensure that any residual moisture evaporates before proceeding to replace the keycaps.
By diligently cleaning the keyboard’s exposed switches and surface, you can maintain a hygienic and well-functioning mechanical keyboard. This step is crucial for ensuring that the keyboard is free from debris and residues, ultimately contributing to a more enjoyable and responsive typing experience.
Replacing Keycaps
Once the cleaning process is complete, it’s time to reassemble your mechanical keyboard by replacing the keycaps. Follow these steps to ensure a smooth and successful keycap replacement:
- Refer to the Layout: Before replacing the keycaps, familiarize yourself with the layout of your keyboard to ensure that each keycap is positioned correctly. Most keycap sets are designed to match standard layouts, but it’s important to verify the keycap orientation for non-standard or customized keyboards.
- Begin Reattaching Keycaps: Starting from one side of the keyboard, carefully position each keycap over its corresponding switch stem. Apply gentle and even pressure to press down on the keycap, ensuring that it securely snaps into place without causing any strain on the switch.
- Check for Uniformity: As you progress through reattaching the keycaps, periodically check the alignment and spacing to ensure that the keycaps are uniformly positioned. This attention to detail will contribute to a visually pleasing and consistent keyboard appearance.
- Test the Keycaps: Once all the keycaps have been replaced, perform a quick test by pressing each key to verify that they register keystrokes accurately and feel stable. This test will help identify any keycaps that may require further adjustment.
- Enjoy Your Refreshed Keyboard: With the keycaps securely in place, take a moment to appreciate the refreshed look and feel of your mechanical keyboard. Whether you’ve replaced the keycaps for customization or simply to maintain cleanliness, your keyboard is now ready to serve you effectively.
By following these steps, you can confidently and effectively replace the keycaps on your mechanical keyboard, resulting in a rejuvenated and personalized typing experience. Whether you’ve opted for a new color scheme, a different font, or specialized keycaps for enhanced functionality, your keyboard is now primed for continued use with a fresh and appealing aesthetic.