Introduction
Welcome to the world of mechanical keyboards, where every keystroke is a tactile delight. If you're passionate about customizing your keyboard, soldering switches is an essential skill to master. Whether you're a gamer seeking that competitive edge, a programmer striving for typing efficiency, or simply an enthusiast who appreciates the satisfying click of mechanical switches, this guide will walk you through the process of soldering switches onto a mechanical keyboard.
Soldering switches can be a rewarding and personalized experience, allowing you to tailor your keyboard to your exact preferences. By learning this skill, you gain the ability to fine-tune the feel and sound of each keystroke, creating a keyboard that is uniquely yours.
In this comprehensive guide, we will cover the tools and materials you'll need, the steps to prepare the keyboard and switches for soldering, the actual soldering process, and finally, how to test your keyboard to ensure everything is functioning as intended. Whether you're a seasoned DIY enthusiast or a newcomer to the world of soldering, this guide is designed to be accessible and informative, providing you with the knowledge and confidence to tackle this project with ease.
So, grab your soldering iron, put on your safety goggles, and let's dive into the intricate and rewarding process of soldering switches onto a mechanical keyboard.
Tools and Materials Needed
Before embarking on the journey of soldering switches onto your mechanical keyboard, it’s crucial to ensure that you have the necessary tools and materials at your disposal. Here’s a comprehensive list to prepare you for the task at hand:
- Soldering Iron: A quality soldering iron with adjustable temperature settings is essential for precise and controlled soldering. Look for a soldering iron specifically designed for electronics work, as it will provide the precision required for soldering delicate components.
- Solder: High-quality solder with a rosin core is recommended for electrical soldering. A diameter of around 0.8mm to 1.0mm is suitable for soldering switches onto a keyboard PCB.
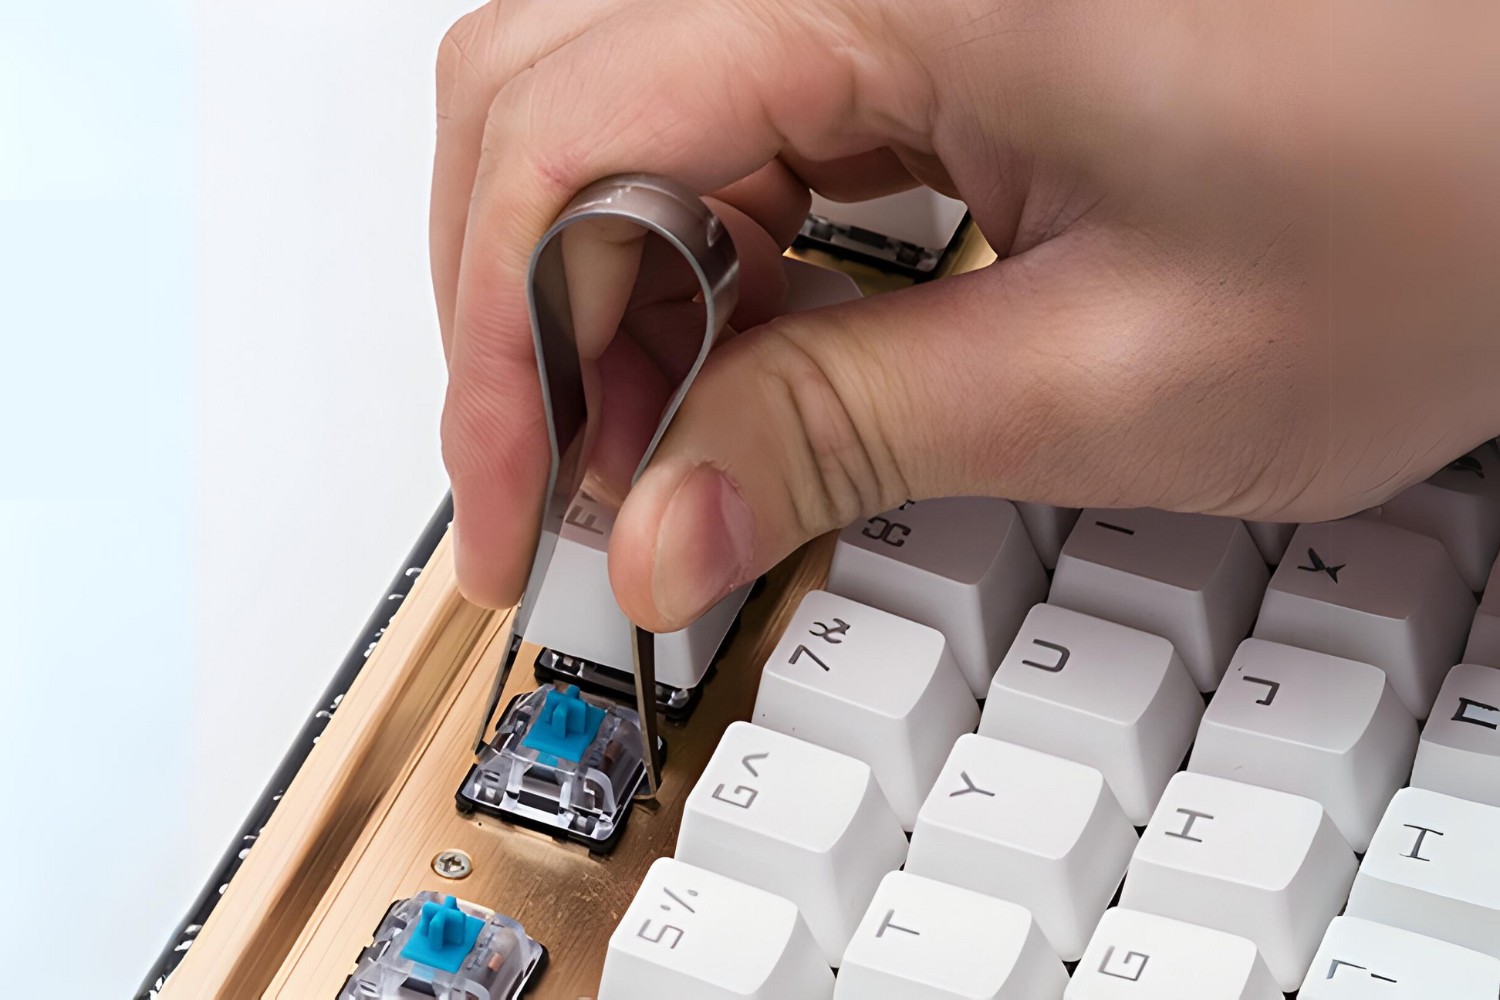
- Desoldering Pump or Wick: In case you need to correct any mistakes or replace switches, a desoldering pump or desoldering wick will be invaluable for removing excess solder and components.
- Flush Cutters: Precision cutting tools are essential for trimming excess component leads and ensuring a clean and professional-looking soldering job.
- Safety Goggles: Protecting your eyes from potential solder splashes or stray metal fragments is a crucial safety measure. Invest in a pair of safety goggles to safeguard your vision during the soldering process.
- Soldering Helping Hands: These tools are designed to hold the PCB and switches in place, allowing for stable and precise soldering without risking movement or slippage during the process.
- Isopropyl Alcohol and Cotton Swabs: Keeping your work area and components clean is essential. Isopropyl alcohol and cotton swabs are ideal for removing flux residue and ensuring a pristine soldering environment.
- Mechanical Keyboard Kit: If you’re assembling a keyboard from a kit, ensure that you have all the necessary components, including the keyboard PCB, switches, keycaps, and stabilizers.
- Workstation with Adequate Ventilation: Soldering releases fumes that should not be inhaled. It’s crucial to work in a well-ventilated area or use a fume extractor to safeguard your respiratory health.
By gathering these essential tools and materials, you’ll be well-prepared to embark on the soldering journey and ensure a smooth and successful assembly process for your mechanical keyboard.
Preparing the Keyboard
Before diving into the intricate process of soldering switches onto your mechanical keyboard, it’s crucial to prepare the keyboard and its components to ensure a seamless and successful assembly. Here are the essential steps to prepare your keyboard for the soldering process:
- Layout Planning: Determine the layout of your keyboard and ensure that the switches align correctly with the PCB. Verify that the switch placement matches the desired layout to avoid any rework during the soldering process.
- Inspect the PCB: Thoroughly inspect the keyboard PCB for any defects, such as damaged traces or solder pads. Address any issues before proceeding with the soldering process to prevent complications during assembly.
- Clean the PCB: Use isopropyl alcohol and a soft brush or cotton swab to clean the PCB surface. Removing any dust, debris, or flux residue will ensure optimal soldering conditions and promote strong electrical connections.
- Stabilizer Installation: If your keyboard design includes stabilizers for larger keys, such as the spacebar, shift, or enter keys, install the stabilizers onto the PCB. Ensure that the stabilizers are securely in place to prevent any movement during the soldering process.
- Switch Alignment: Carefully align the switches with the designated positions on the PCB. Ensure that the switches are oriented correctly and sit flush with the PCB to guarantee proper alignment and functionality.
- Double-Check Alignment: Once the switches are in place, double-check their alignment and positioning to avoid any errors before proceeding to the soldering stage. Attention to detail at this stage can prevent rework and ensure a professional end result.
By meticulously preparing the keyboard and its components, you set the stage for a smooth and efficient soldering process. Taking the time to verify the layout, inspect the PCB, and ensure the proper alignment of switches and stabilizers will contribute to the overall quality and functionality of your custom mechanical keyboard.
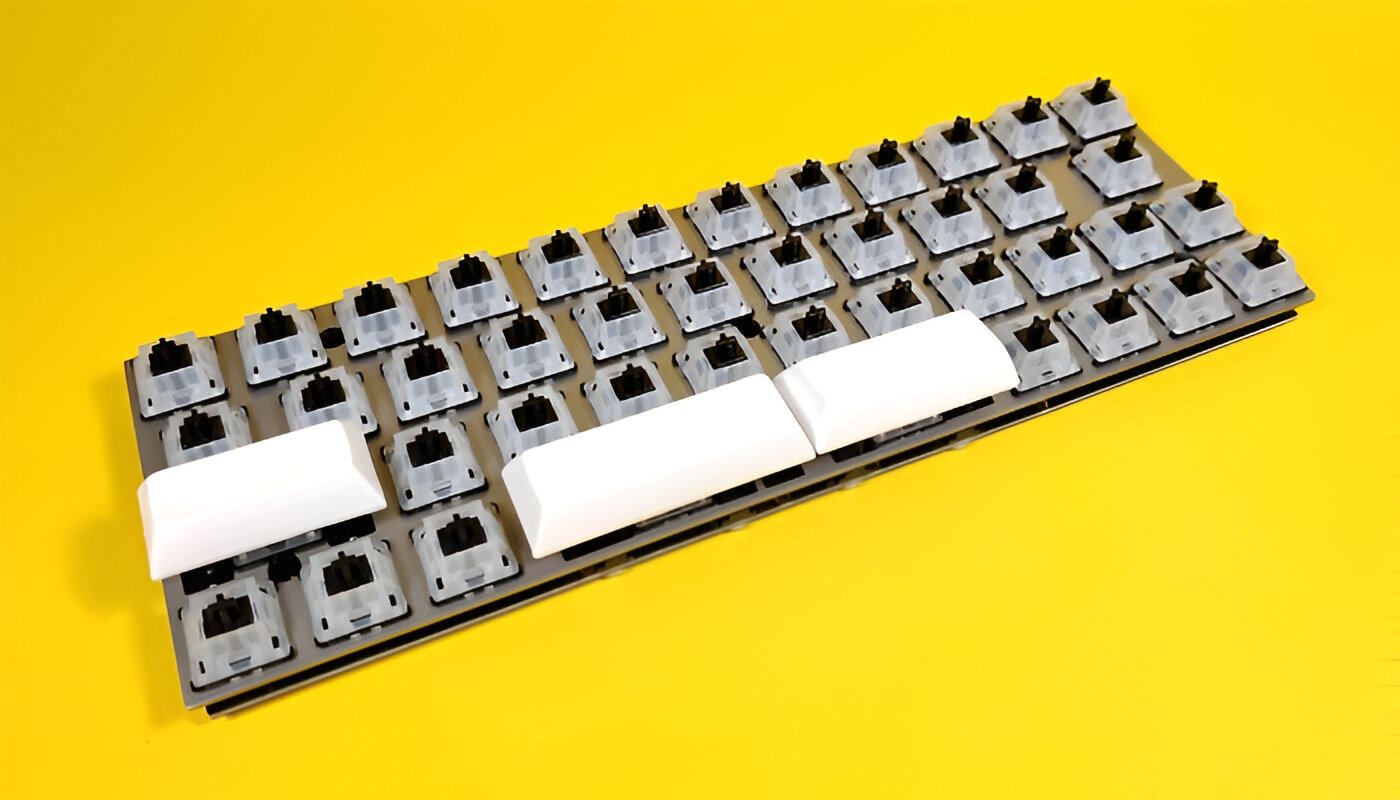
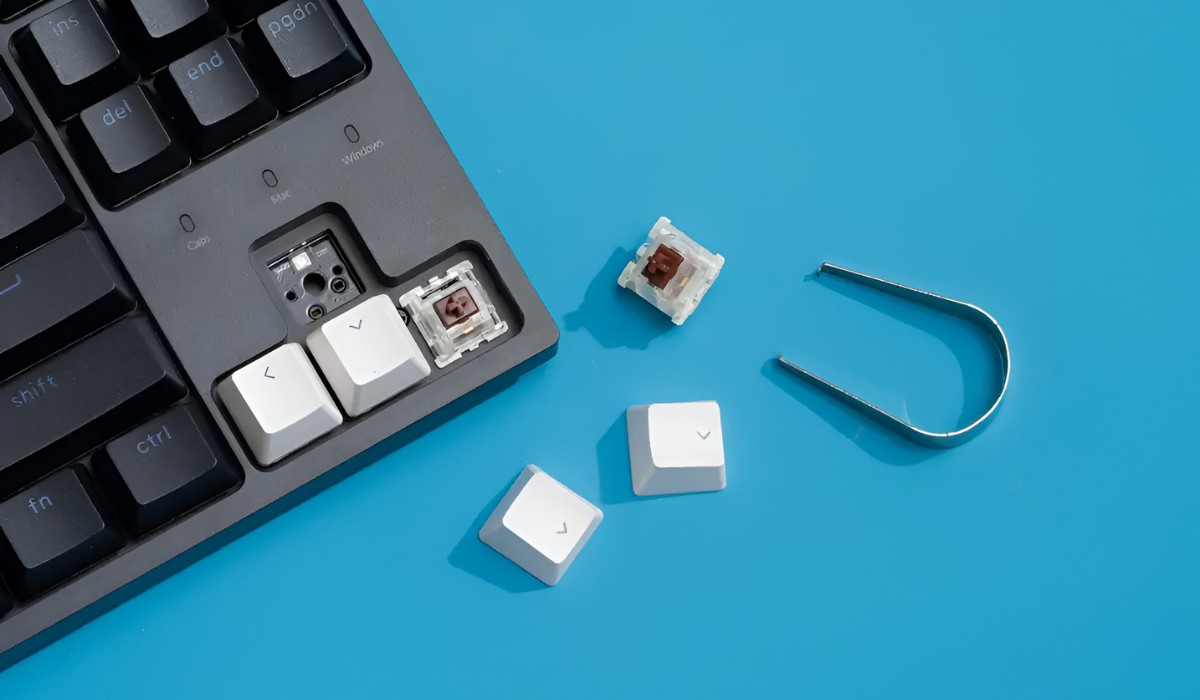
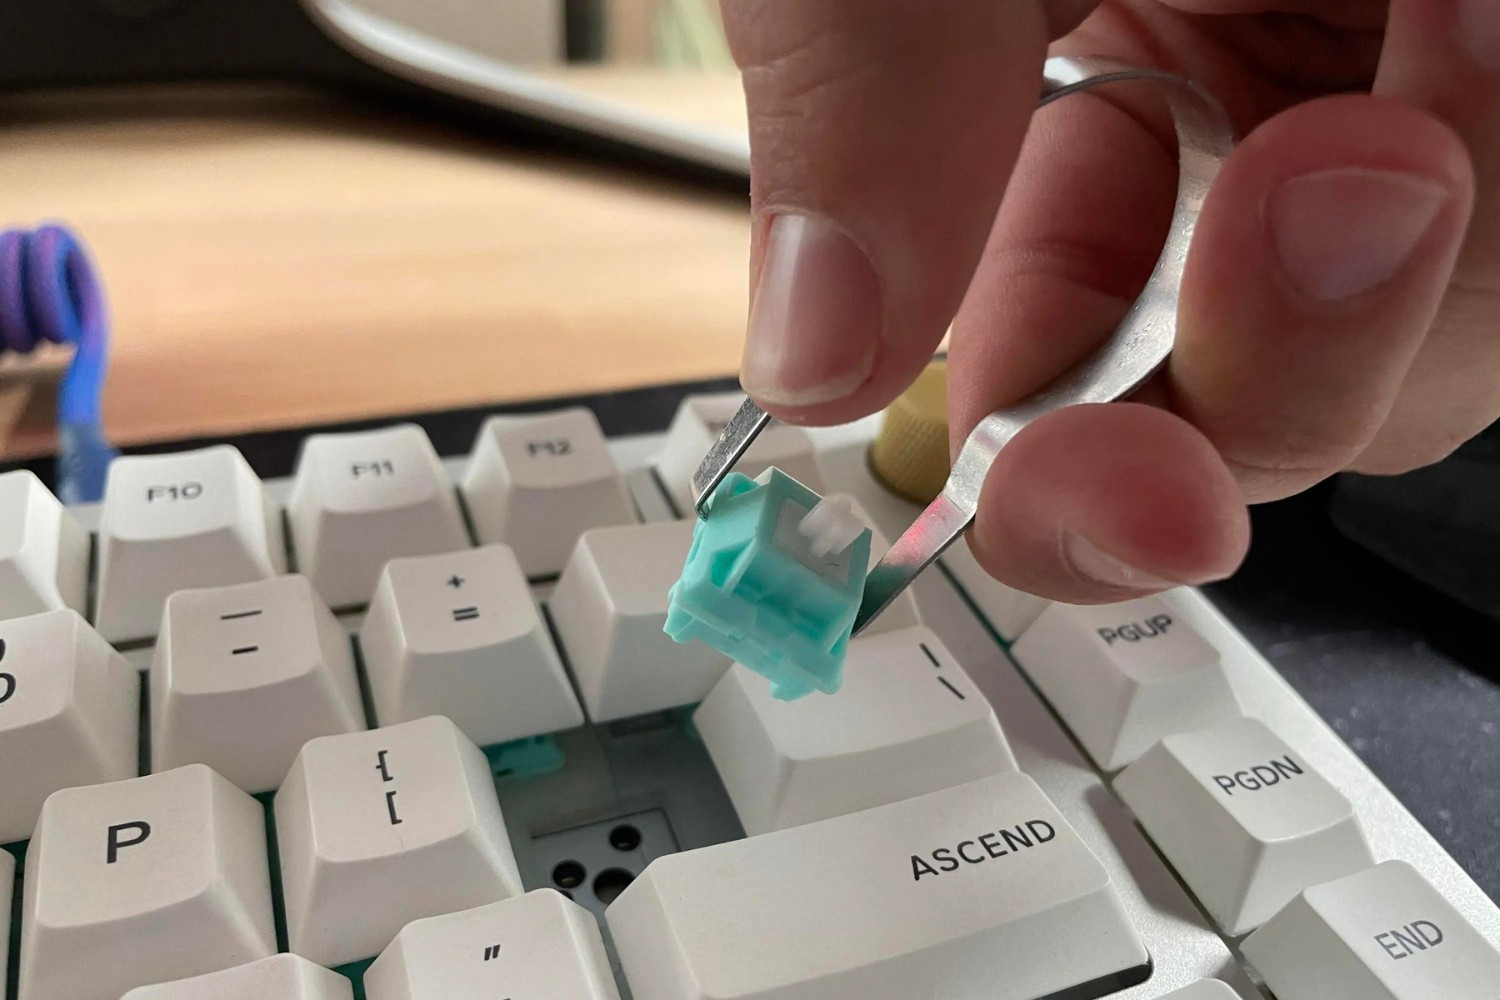
Preparing the Switches
Before soldering the switches onto your mechanical keyboard’s PCB, it’s essential to properly prepare the switches to ensure a secure and reliable connection. This involves inspecting the switches, aligning them correctly, and verifying their functionality. Here’s a detailed guide on how to prepare the switches for soldering:
- Inspect the Switches: Thoroughly examine each switch to ensure that the housing, contacts, and pins are free from any defects or damage. Check for bent or misaligned pins that may impede proper insertion into the PCB.
- Align the Switches: Align the switches in the correct orientation for insertion into the PCB. Ensure that the pins are straight and parallel, facilitating smooth and accurate insertion into the designated switch positions on the PCB.
- Verify Switch Functionality: Before soldering, it’s advisable to test each switch for proper actuation and functionality. Depress each switch to confirm that it actuates smoothly and registers key presses consistently. Identifying any faulty switches at this stage can prevent issues after soldering.
- Clean the Switches: Use compressed air or a soft brush to remove any dust or debris from the switches. This step ensures that the switches are free from contaminants that could affect their performance or interfere with the soldering process.
- Organize the Switches: If you’re working with a large number of switches, organizing them according to their placement on the keyboard layout can streamline the soldering process. Grouping the switches by rows or sections can help maintain order and efficiency during assembly.
- Double-Check Alignment: Once the switches are inspected and aligned, double-check their orientation and positioning to avoid any errors during the soldering process. Attention to detail at this stage can contribute to the overall precision and functionality of the soldered switches.
By meticulously preparing the switches and confirming their functionality and alignment, you lay the groundwork for a successful soldering process. Taking the time to inspect, align, and verify the switches ensures that they integrate seamlessly with the keyboard PCB, resulting in a reliable and responsive custom mechanical keyboard.
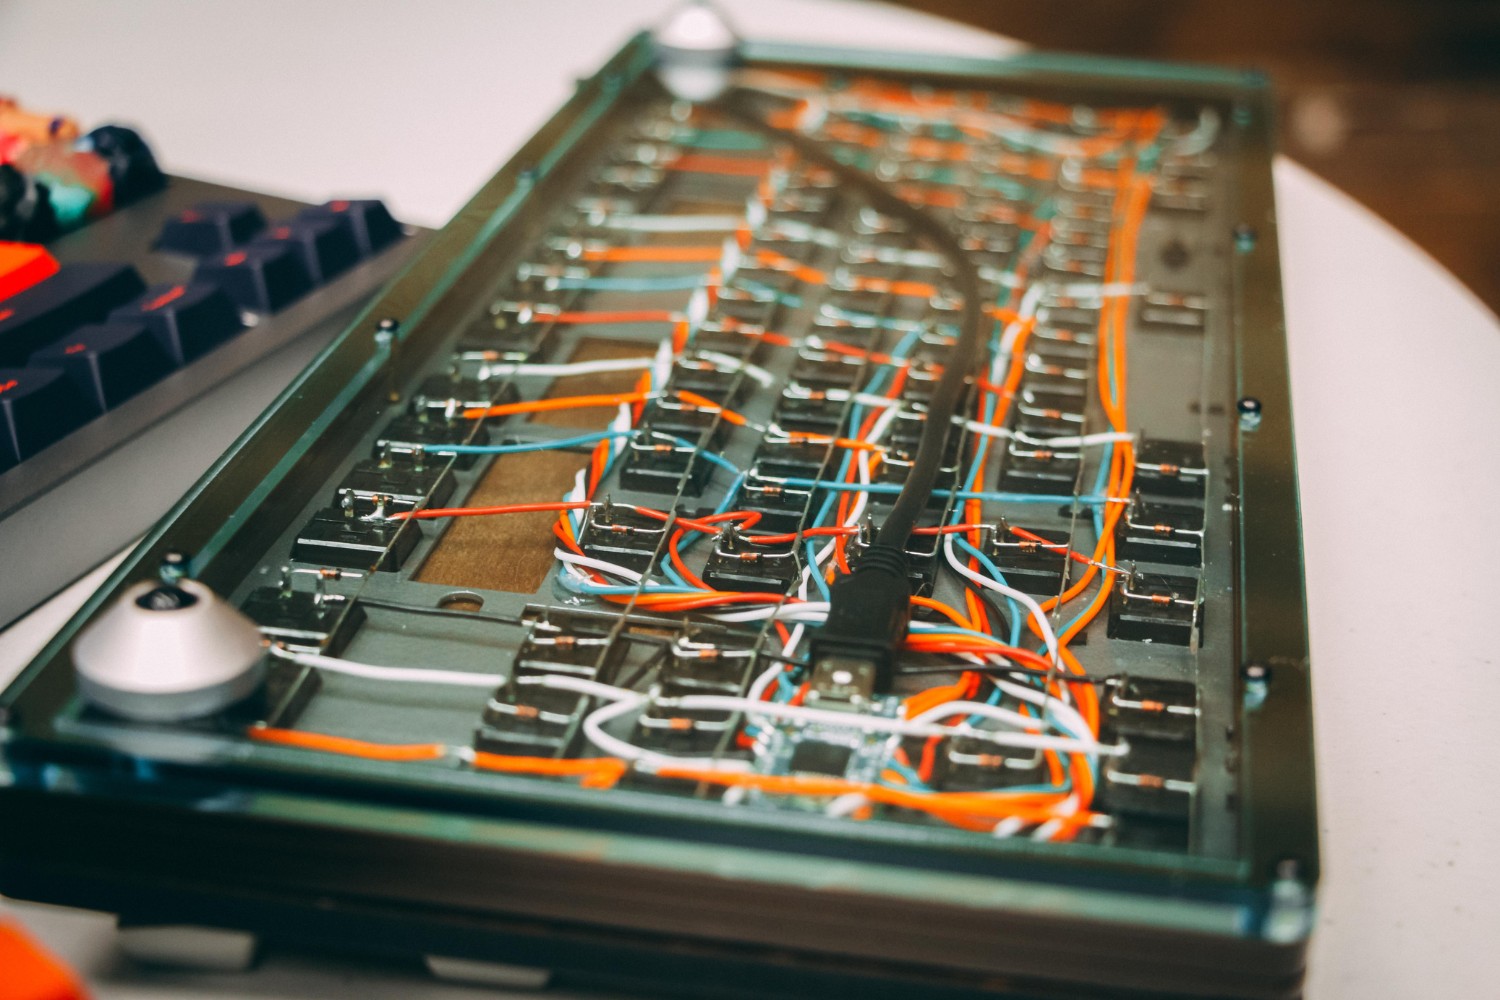
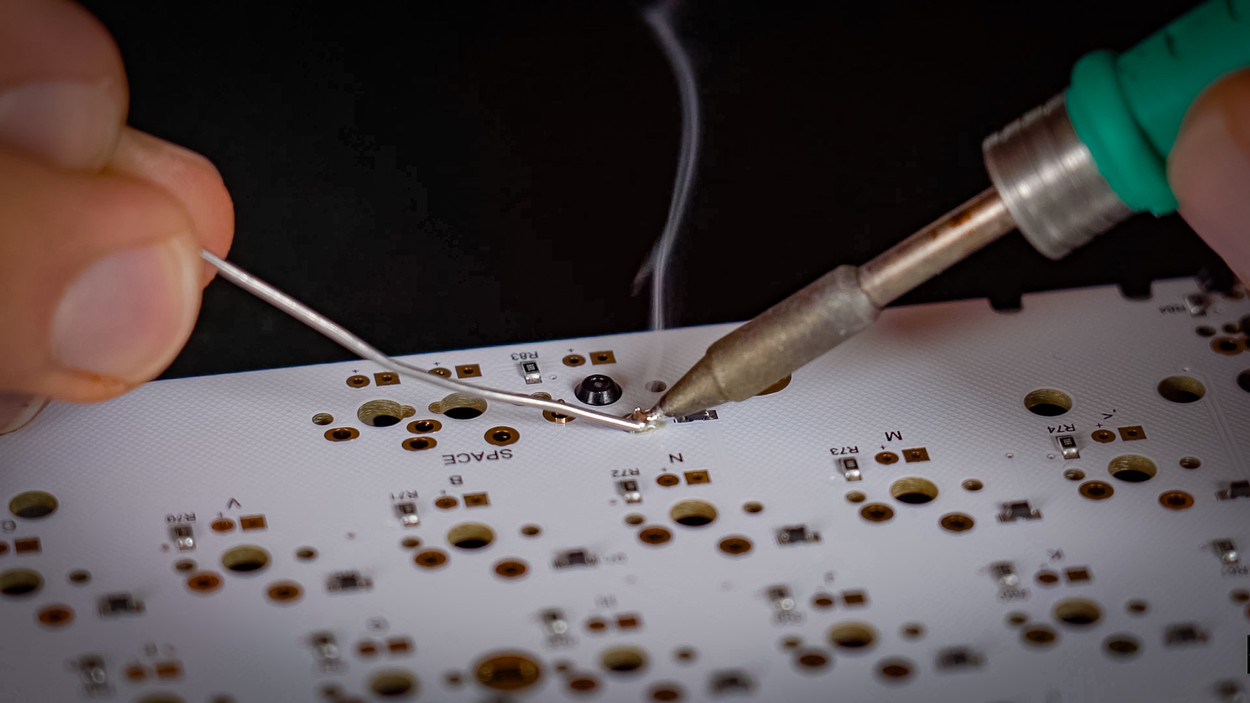
Soldering the Switches
Now comes the pivotal stage of soldering the switches onto the keyboard’s PCB. This process demands precision, patience, and a steady hand to achieve strong electrical connections and ensure the longevity of the keyboard assembly. Here’s a step-by-step guide to effectively soldering the switches onto your mechanical keyboard:
- Secure the PCB: Place the keyboard PCB on a stable surface or secure it in place using a PCB holder or helping hands. Ensuring that the PCB remains stationary during the soldering process is crucial for precision and accuracy.
- Prepare the Soldering Iron: Heat the soldering iron to the appropriate temperature for electronics soldering. A temperature range of 350°C to 400°C is generally suitable for soldering switches without risking damage to the PCB or components.
- Tin the Soldering Iron: Apply a small amount of solder to the tip of the soldering iron to “tin” it, ensuring optimal heat transfer and promoting smooth solder flow during the soldering process.
- Apply Solder to the Joints: With the soldering iron in one hand and solder in the other, carefully apply a small amount of solder to the switch’s contact pads on the PCB. The goal is to create a strong and uniform bond between the switch pins and the PCB pads.
- Controlled Soldering: Touch the tip of the soldering iron to the switch pin and the corresponding PCB pad, allowing the heat to melt the solder and create a secure connection. Ensure that the solder flows smoothly and does not form cold joints or excess solder bridges.
- Trim Excess Leads: Once the solder joints are formed, use flush cutters to trim any excess leads protruding from the switch pins. This step contributes to a tidy and professional soldering job while preventing potential short circuits or interference with other components.
- Inspect the Solder Joints: After soldering each switch, inspect the solder joints to ensure they are smooth, shiny, and free from any solder bridges or cold joints. This visual inspection confirms the integrity of the connections and identifies any areas that may require rework.
By meticulously following these steps and exercising care and precision, you can effectively solder the switches onto the keyboard’s PCB, creating robust electrical connections and laying the foundation for a responsive and durable custom mechanical keyboard.
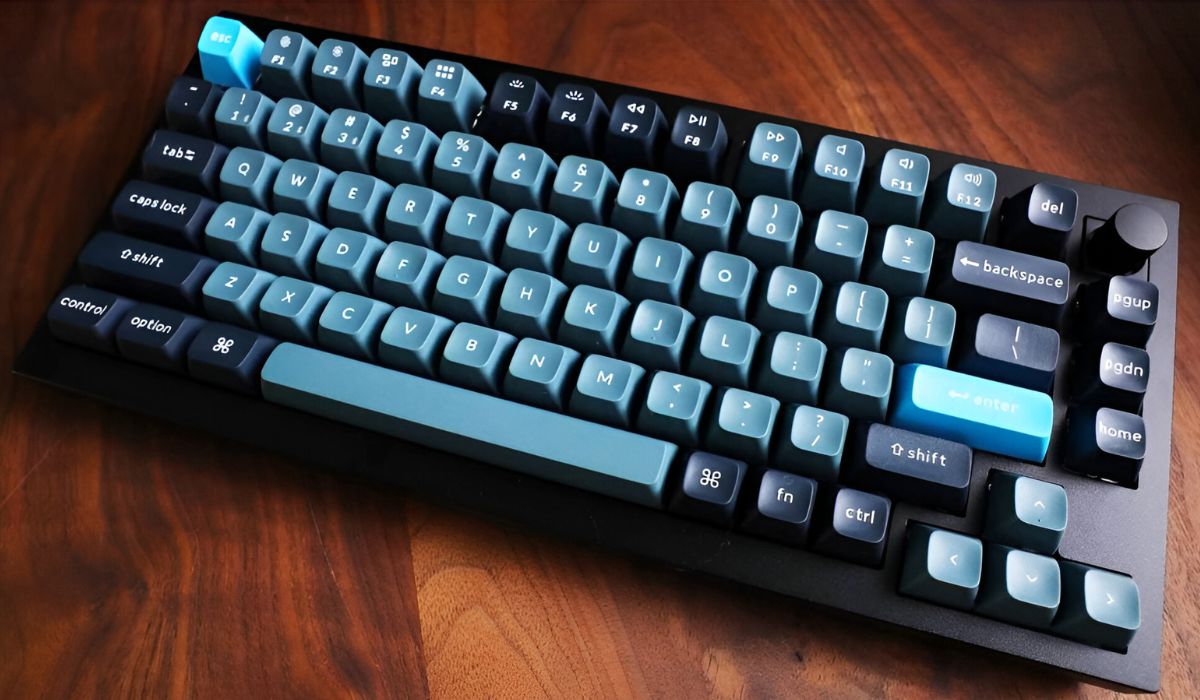
Testing the Keyboard
After soldering the switches onto your mechanical keyboard, it’s crucial to conduct comprehensive testing to ensure that each key registers accurately and the keyboard functions as intended. This phase allows you to identify any potential issues and make necessary adjustments before finalizing the assembly. Here’s a systematic approach to testing your custom mechanical keyboard:
- Visual Inspection: Thoroughly inspect the soldered switches and the PCB for any visible defects, such as solder bridges, cold joints, or misaligned switches. Addressing these issues before testing can prevent functional complications and streamline the troubleshooting process.
- Key Press Testing: Methodically press each key on the keyboard to verify that it actuates smoothly and registers key presses accurately. Pay close attention to any keys that exhibit inconsistent behavior or fail to register keystrokes, as these may indicate underlying issues with the soldering or switch functionality.
- Key Mapping Verification: Confirm that the key mapping matches the intended layout and that each key corresponds to the correct input. Testing the functionality of modifier keys, function keys, and specialty keys ensures that the keyboard’s full range of inputs is operational.
- Switch Replacements: If any switches exhibit irregular behavior or fail to register key presses, consider replacing these switches to rectify the issue. Desoldering and replacing faulty switches can resolve key registration issues and ensure consistent performance across all keys.
- Stabilizer Testing: If your keyboard design incorporates stabilizers for larger keys, such as the spacebar or shift keys, verify that the stabilizers function correctly and prevent key wobble or instability during use.
- LED and Backlight Testing (If Applicable): If your mechanical keyboard features LEDs or backlighting, test the lighting functionality to ensure that all lighting elements illuminate as expected. Address any inconsistencies or non-functional LEDs to achieve the desired lighting effects.
- Typing Test: Perform a comprehensive typing test to evaluate the overall typing experience, including key feel, actuation force, and auditory feedback. This step allows you to assess the tactile and auditory characteristics of the keyboard and make adjustments if necessary.
By diligently testing each aspect of the keyboard’s functionality, you can identify and address any potential issues, ensuring that your custom mechanical keyboard delivers a reliable and satisfying typing experience. Thorough testing is key to achieving a high-quality end result and maximizing the performance of your meticulously assembled keyboard.
Conclusion
Congratulations on successfully soldering switches onto your mechanical keyboard and completing the assembly process. This endeavor represents a fusion of technical skill, precision, and creativity, resulting in a personalized keyboard that reflects your unique preferences and style. By mastering the art of soldering switches, you’ve unlocked the potential to customize and fine-tune your keyboard to perfection.
Throughout this journey, you’ve navigated the intricacies of preparing the keyboard and switches, meticulously soldering each component, and conducting thorough testing to ensure optimal functionality. Your dedication to precision and attention to detail have culminated in the creation of a custom mechanical keyboard that embodies your vision and craftsmanship.
As you embark on your typing adventures with your newly assembled mechanical keyboard, cherish the satisfaction of each keystroke and revel in the tactile delight that your personalized creation delivers. Whether you’re engaging in intense gaming sessions, coding with precision, or simply enjoying the sensory experience of mechanical switches, your custom keyboard stands as a testament to your ingenuity and passion for customization.
Remember, the journey doesn’t end here. Your newfound expertise in soldering switches opens the door to endless possibilities for future keyboard projects and modifications. Whether you’re exploring new switch options, experimenting with custom keycap designs, or delving into advanced keyboard layouts, your soldering skills will continue to empower you in your pursuit of keyboard customization.
Embrace the artistry of soldering, the allure of mechanical keyboards, and the boundless creativity that fuels the custom keyboard community. Your journey as a keyboard enthusiast is a testament to the fusion of technical prowess and personal expression, and your custom mechanical keyboard stands as a testament to your dedication and creativity in the world of keyboard customization.