Introduction
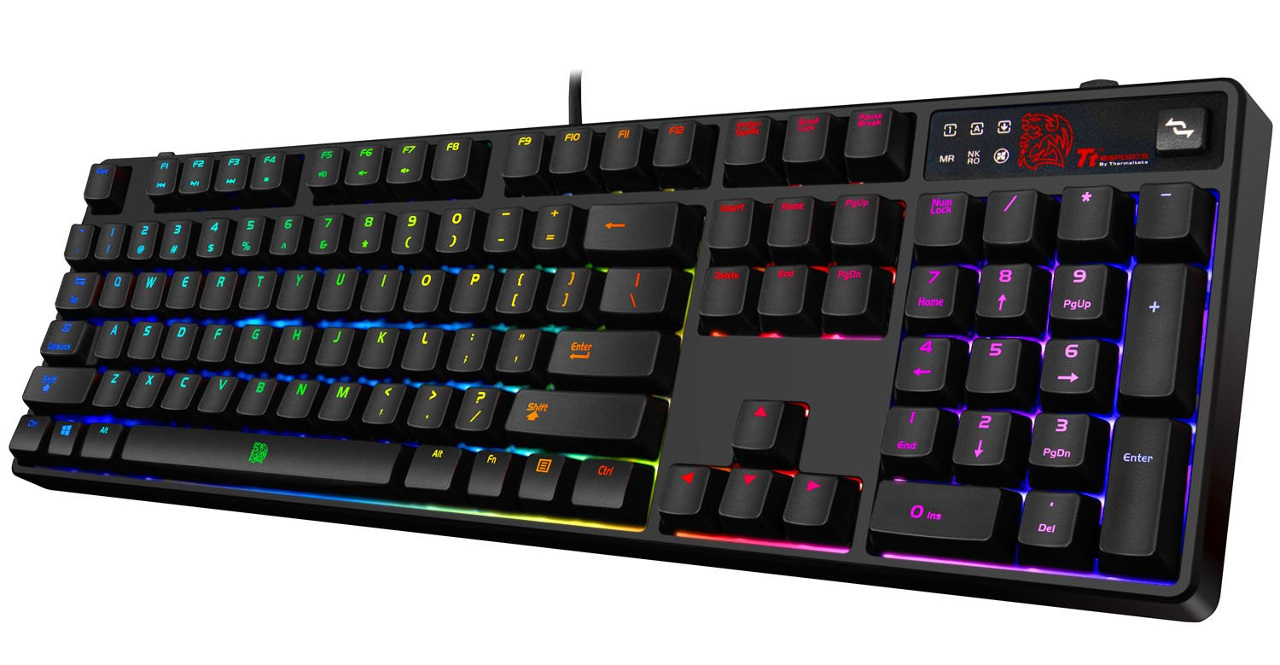
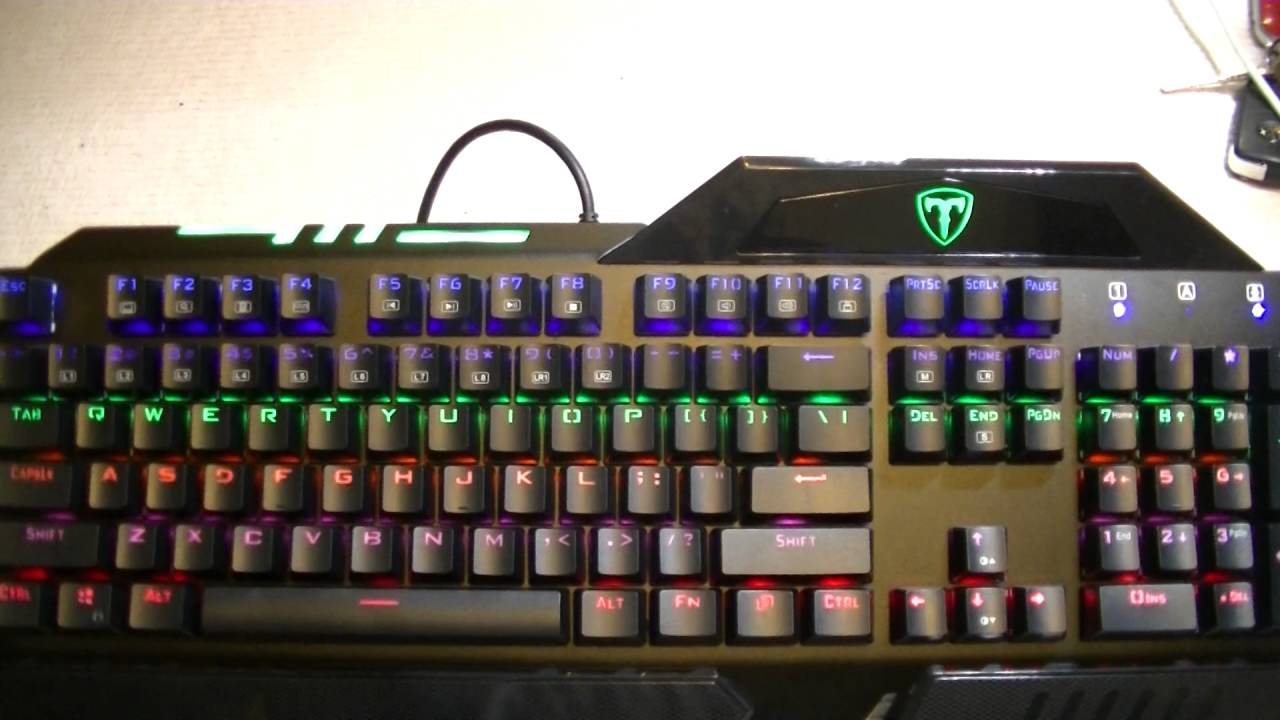
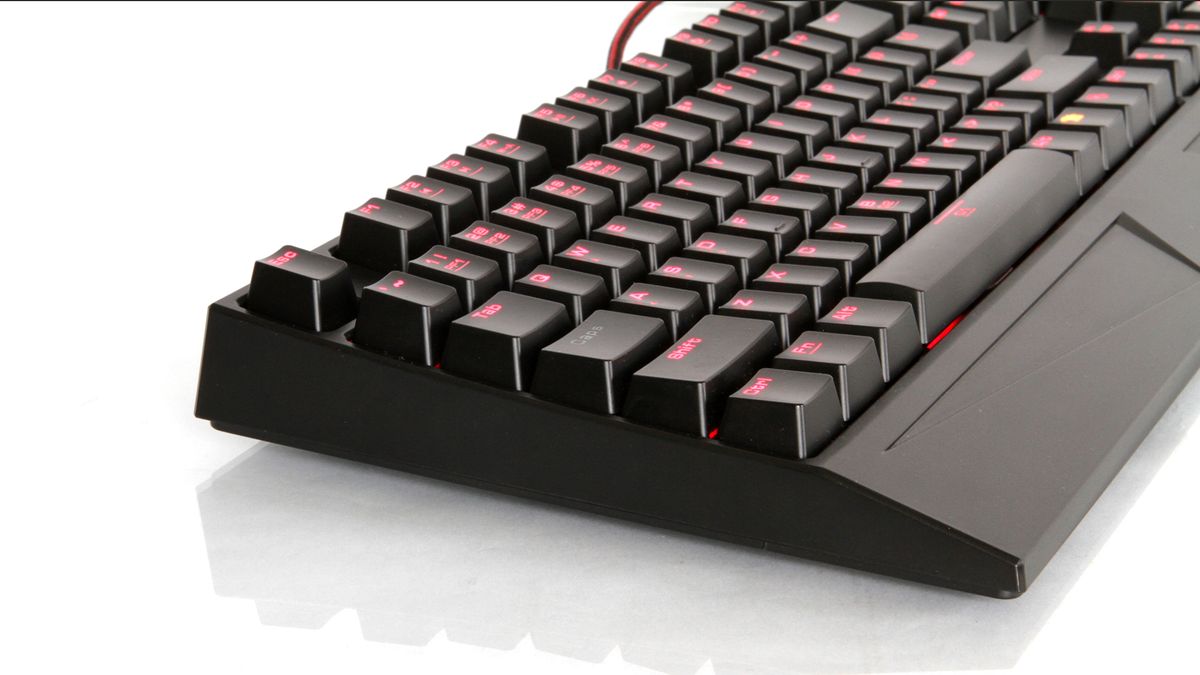
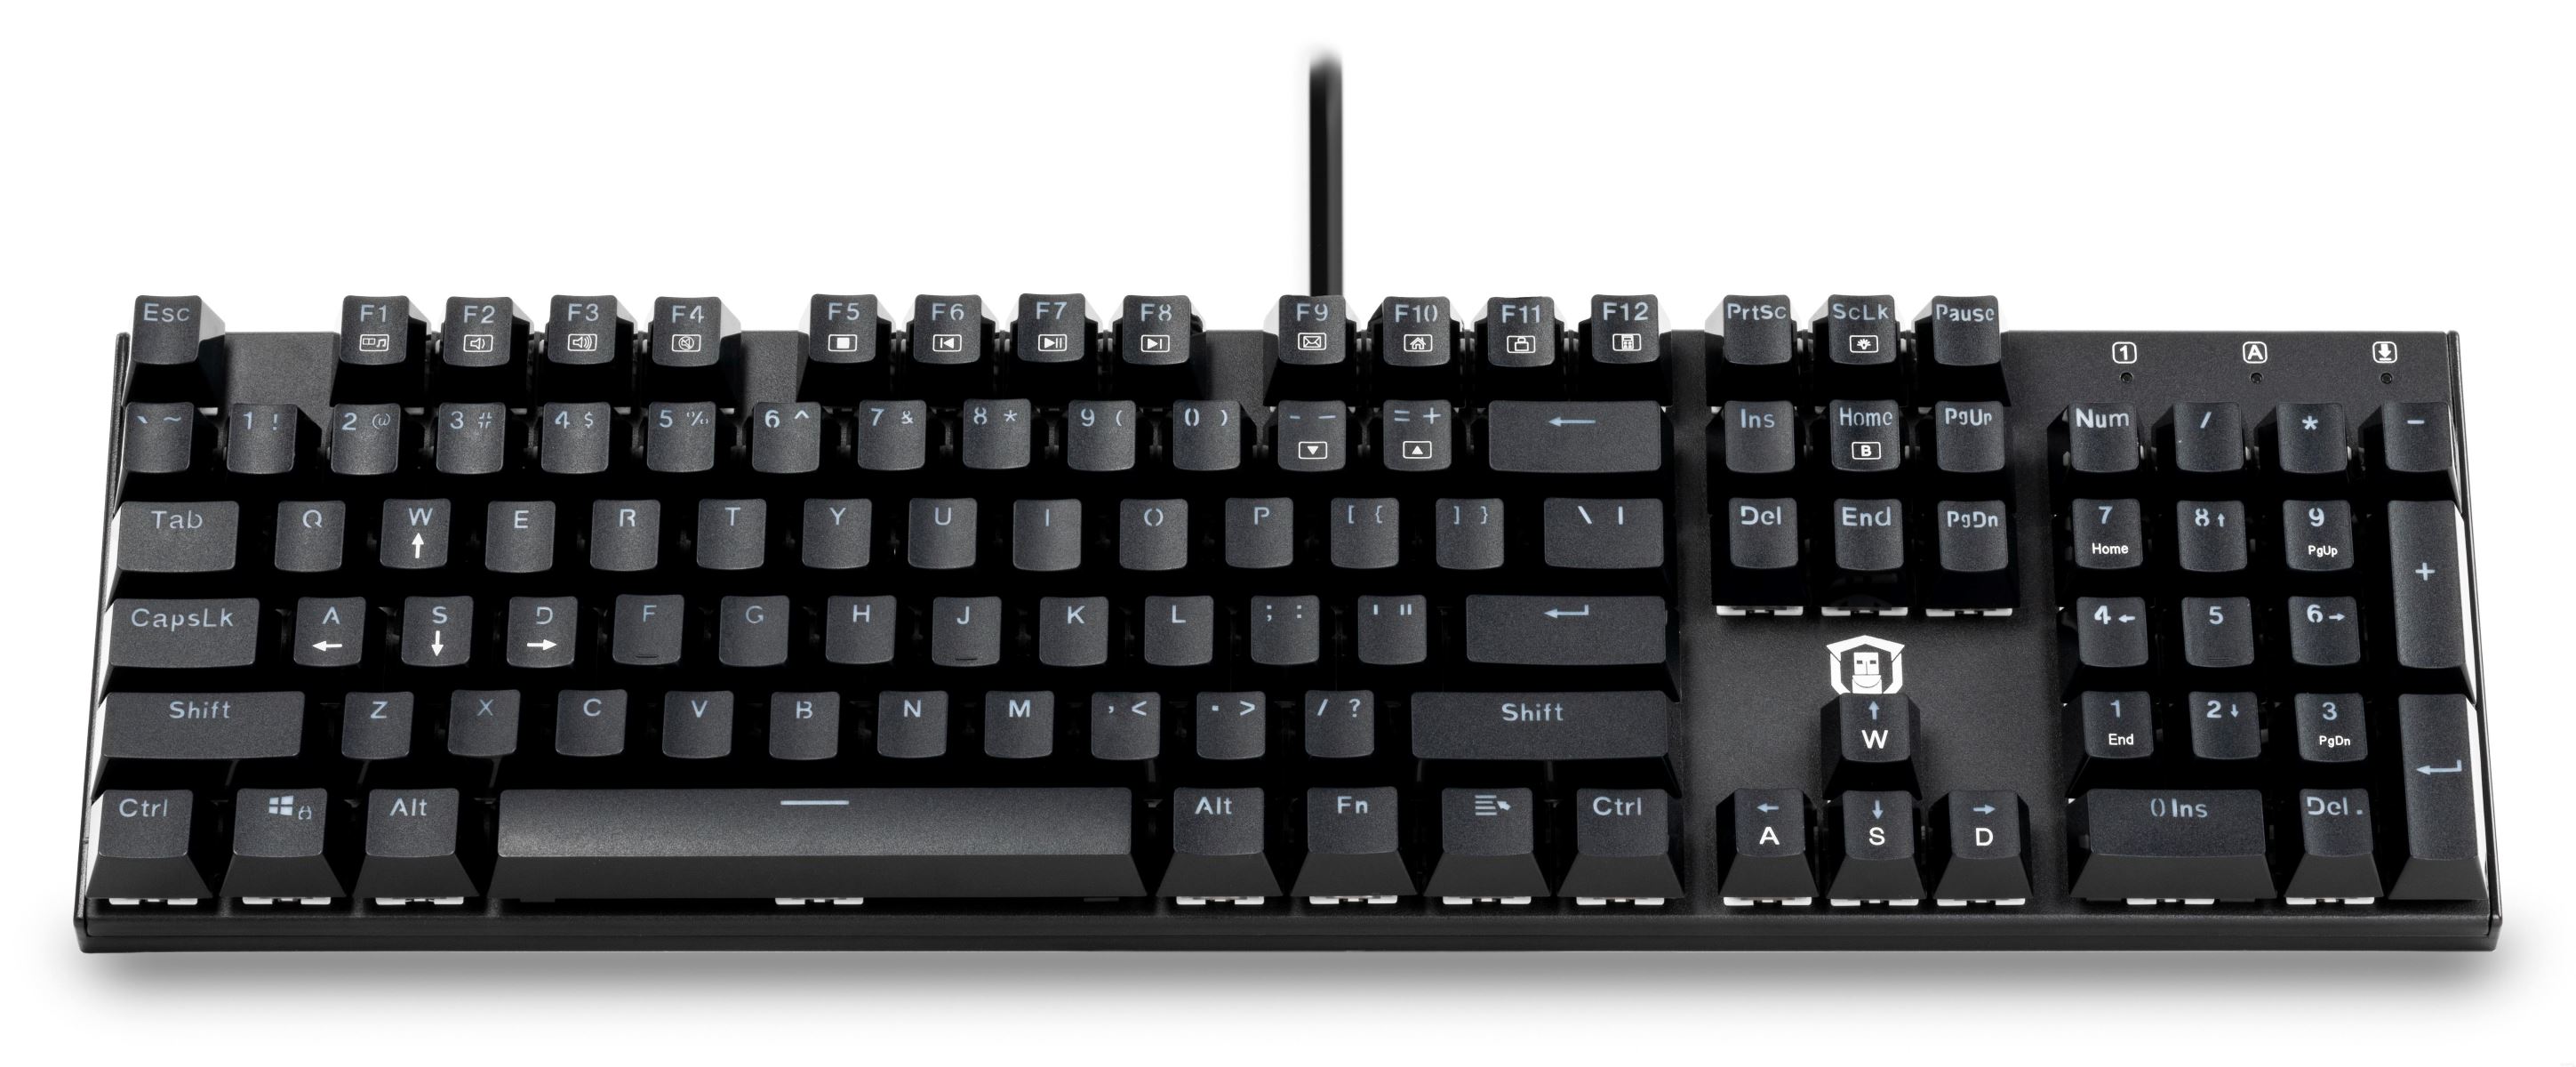
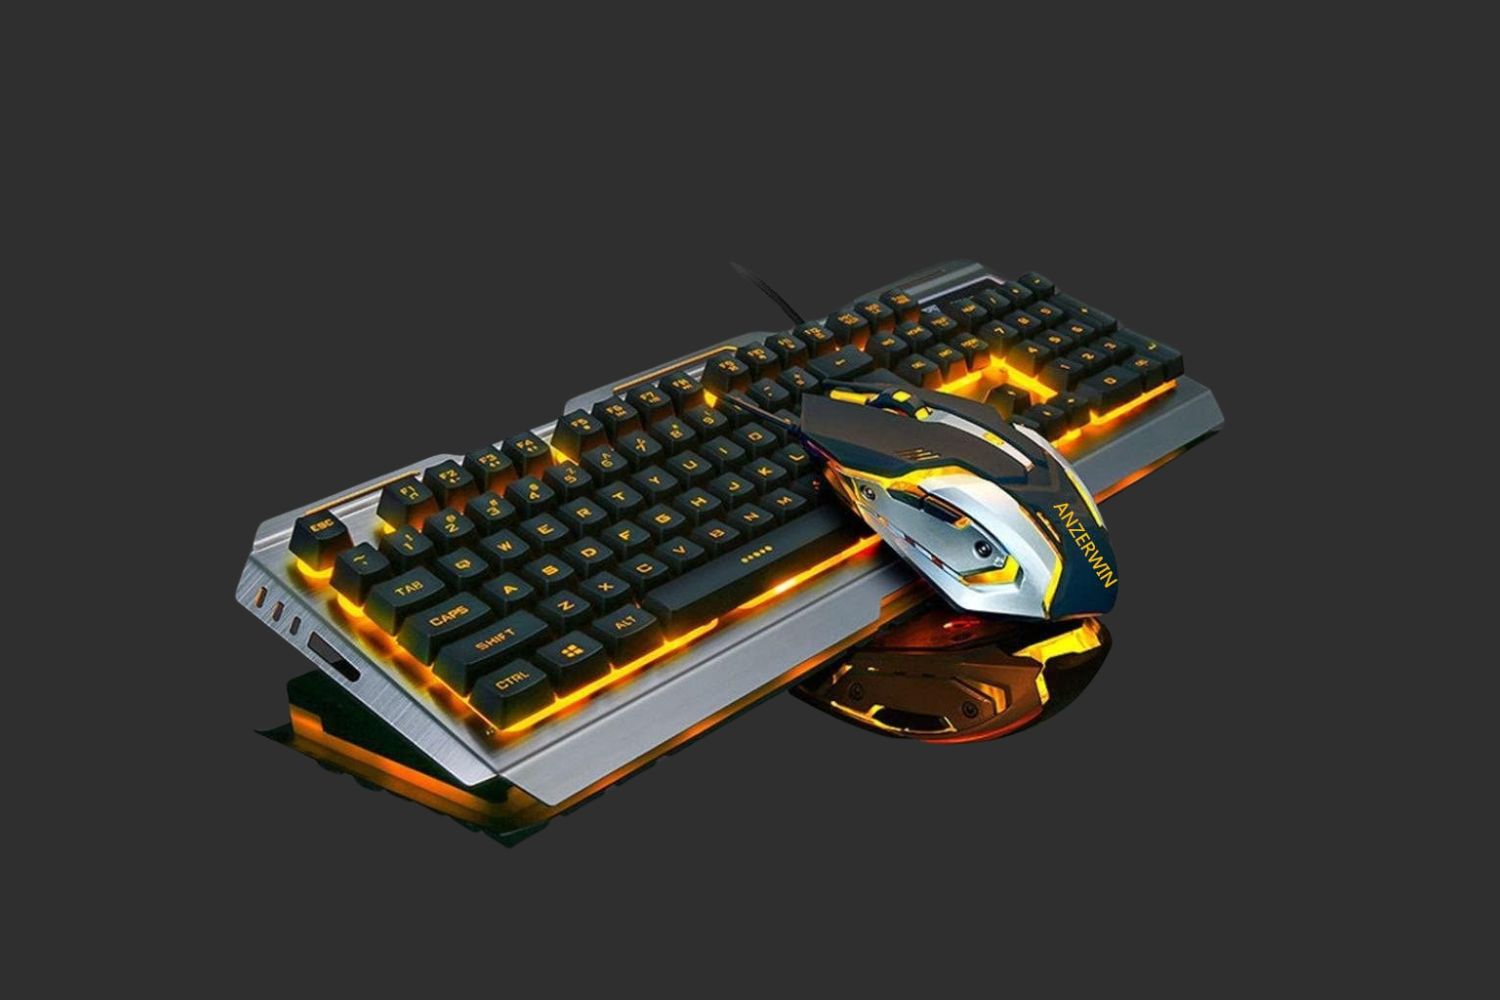
Are you looking to add a personal touch to your mechanical keyboard? One way to achieve this is by changing the LED lights. Whether you want to match the lighting to your setup or simply replace a malfunctioning LED, this guide will walk you through the process. With some basic tools and a little patience, you can customize the lighting of your keyboard to suit your preferences.
Customizing your keyboard with different LED colors can not only enhance its aesthetics but also improve functionality by making it easier to see the keys in low-light conditions. This simple modification can add a unique flair to your workstation or gaming setup, making your keyboard stand out from the rest.
In this step-by-step guide, we will cover the tools and materials needed, the process of removing the keycaps, accessing the LED, replacing the LED, testing the new LED, and reassembling the keyboard. By the end of this tutorial, you will have the knowledge and confidence to personalize your mechanical keyboard with the LED of your choice.
So, roll up your sleeves and get ready to embark on this DIY journey to transform the appearance and functionality of your mechanical keyboard. Let's dive into the details of this exciting modification!
Tools and Materials Needed
Before you begin the process of changing the LED on your mechanical keyboard, it’s essential to gather the necessary tools and materials. Here’s what you’ll need:
- Screwdriver set: You’ll require a small Phillips head screwdriver to disassemble the keyboard and access the LED.
- Keycap puller: This tool will help you remove the keycaps without damaging them.
- Replacement LED: Ensure that you have the correct type and size of LED for your keyboard model. LEDs come in various colors, so choose one that suits your preferences.
- Tweezers: These will be handy for handling the small LED and placing it accurately in the keyboard.
- Clean cloth: It’s important to have a clean cloth to wipe the keyboard and keycaps during the process.
- Work surface: Prepare a clean and well-lit workspace to carry out the LED replacement without any distractions.
- Container or tray: Use this to keep the removed keycaps organized and prevent them from getting lost.
By having these tools and materials ready, you can ensure a smooth and efficient LED replacement process. Once you’ve gathered everything on the list, you’re all set to proceed to the next steps of this DIY keyboard customization project.
Removing the Keycaps
Before accessing the LED, you’ll need to remove the keycaps from your mechanical keyboard. This step is crucial to gain access to the LED and prepare for its replacement. Here’s a step-by-step guide to removing the keycaps:
- Prepare the workspace: Begin by setting up a clean and well-lit workspace. This will help you see the keys clearly and prevent any small components from getting lost.
- Use the keycap puller: Insert the keycap puller’s wire loops under the keycap you want to remove. Gently wiggle the keycap puller from side to side to detach the keycap from the switch. Repeat this process for each keycap you need to remove.
- Organize the keycaps: As you remove the keycaps, place them in a container or tray to keep them organized and prevent them from rolling off the work surface. It’s important to handle the keycaps carefully to avoid damaging them.
- Inspect the switches: With the keycaps removed, take a moment to inspect the switches and ensure that they are clean and free from any debris. This is also a good opportunity to clean the exposed keyboard surface with a clean cloth.
By following these steps, you can safely remove the keycaps from your mechanical keyboard, allowing you to proceed to the next stage of accessing and replacing the LED. Remember to handle the keycaps with care to avoid causing any damage during the removal process.
Accessing the LED
After removing the keycaps, the next step in changing the LED on your mechanical keyboard is to access the LED itself. This process may vary depending on the keyboard model, but the general steps are as follows:
- Disassemble the keyboard: Use the appropriate screwdriver to remove the screws on the back of the keyboard. Keep the screws in a safe place to prevent them from getting lost. Once the screws are removed, carefully separate the top and bottom halves of the keyboard casing to expose the internal components.
- Lift the keyboard PCB: With the keyboard casing open, gently lift the keyboard PCB (printed circuit board) to access the area where the LEDs are located. Take care not to apply excessive force or bend the PCB during this step.
- Locate the LED: Once the PCB is accessible, locate the LED that you intend to replace. LEDs are typically small, colored components soldered to the PCB. Use caution when handling the PCB and surrounding components to avoid causing any damage.
- Identify the LED type: Take note of the LED’s size, color, and polarity. This information will be essential when selecting a replacement LED to ensure compatibility with the keyboard’s circuitry.
By following these steps, you can gain access to the LED on your mechanical keyboard, setting the stage for the subsequent process of replacing the LED with a new component. It’s crucial to handle the keyboard components with care and attention to detail to avoid any unintended damage during this phase of the LED replacement procedure.
Replacing the LED
Once you have accessed the LED on your mechanical keyboard, the next step is to replace it with a new LED. Follow these steps to successfully replace the LED:
- Prepare the replacement LED: Ensure that you have the correct replacement LED that matches the size, color, and polarity of the original LED. This is crucial for compatibility and proper functioning within the keyboard’s circuitry.
- Desolder the old LED: Use a soldering iron to carefully desolder the old LED from the PCB. Apply the soldering iron to the solder joints of the LED and gently remove it from the PCB. Take care to avoid excessive heat that could damage the surrounding components.
- Solder the new LED: Position the new LED in place on the PCB, ensuring that the polarity aligns correctly with the circuit. Use the soldering iron to solder the new LED securely to the PCB, taking care to create clean and reliable connections without any solder bridges or cold joints.
- Trim excess leads: Once the new LED is soldered in place, carefully trim any excess leads to ensure a neat and tidy appearance. Be cautious when using cutting tools to avoid damaging the newly soldered connections or the surrounding components.
- Inspect the solder joints: After replacing the LED, thoroughly inspect the solder joints to ensure that they are secure and free from any defects. This visual inspection is essential to verify the quality of the soldering work and prevent potential issues with the new LED’s functionality.
By following these steps, you can successfully replace the LED on your mechanical keyboard with a new component that matches your desired specifications. It’s important to exercise caution and precision during the soldering process to avoid any damage to the PCB or surrounding components, ensuring a reliable and functional LED replacement.
Testing the New LED
After replacing the LED on your mechanical keyboard, it’s essential to test the new LED to ensure that it functions correctly within the keyboard’s circuitry. Follow these steps to test the new LED:
- Reassemble the keyboard partially: Before fully reassembling the keyboard, partially reassemble it by securing the PCB and connecting it to the keyboard’s controller. This will allow you to test the new LED without fully reassembling the entire keyboard.
- Apply power to the keyboard: Connect the keyboard to a power source or computer to supply power to the PCB and LED. Ensure that the power source is stable and reliable to prevent any potential issues during the testing process.
- Observe the LED’s illumination: With power supplied to the keyboard, observe the illumination of the new LED. Verify that it lights up as expected and emits the desired color, indicating that the replacement process was successful.
- Test the LED functionality: Press various keys on the keyboard to test the functionality of the new LED. Ensure that the LED responds appropriately to key presses and remains consistently illuminated without flickering or irregular behavior.
- Verify keycap compatibility: Reattach a few keycaps to verify that they fit properly over the new LED without any obstruction or interference. This step ensures that the keycaps align correctly with the newly replaced LED.
By following these steps, you can thoroughly test the new LED on your mechanical keyboard, confirming its proper functionality and compatibility with the keyboard’s circuitry. This testing phase is crucial to ensure that the LED replacement was successful and that the keyboard’s lighting system operates as intended.
Reassembling the Keyboard
With the new LED successfully tested and confirmed to be functioning as intended, the final step in the process of changing the LED on your mechanical keyboard is to reassemble the keyboard. Follow these steps to reassemble the keyboard:
- Secure the PCB: Carefully position the PCB back into the keyboard casing, ensuring that it aligns properly and sits securely in place. Take care to avoid putting pressure on any components or connectors during this step.
- Reattach the keyboard casing: Align the top and bottom halves of the keyboard casing, ensuring that any internal components, such as the PCB and controller, fit snugly within the casing. Secure the casing by reinserting and tightening the screws using the appropriate screwdriver.
- Reinstall the keycaps: Using the keycap puller, reattach the keycaps to their respective switches on the keyboard. Ensure that each keycap is securely and evenly seated, providing a consistent typing experience across the keyboard.
- Perform a final inspection: Once the keyboard is fully reassembled, inspect the keycaps, LED, and overall keyboard appearance to ensure that everything is in place and functioning correctly. This visual inspection is essential to verify that the keyboard has been reassembled properly.
- Clean the keyboard surface: Use a clean cloth to wipe the keyboard surface and remove any fingerprints, smudges, or debris that may have accumulated during the reassembly process. This final touch will ensure that your keyboard looks clean and well-maintained.
By following these steps, you can successfully reassemble your mechanical keyboard after replacing the LED. It’s important to handle the keyboard components with care and attention to detail during the reassembly process to ensure that the keyboard functions optimally and maintains its aesthetic appeal.