Introduction
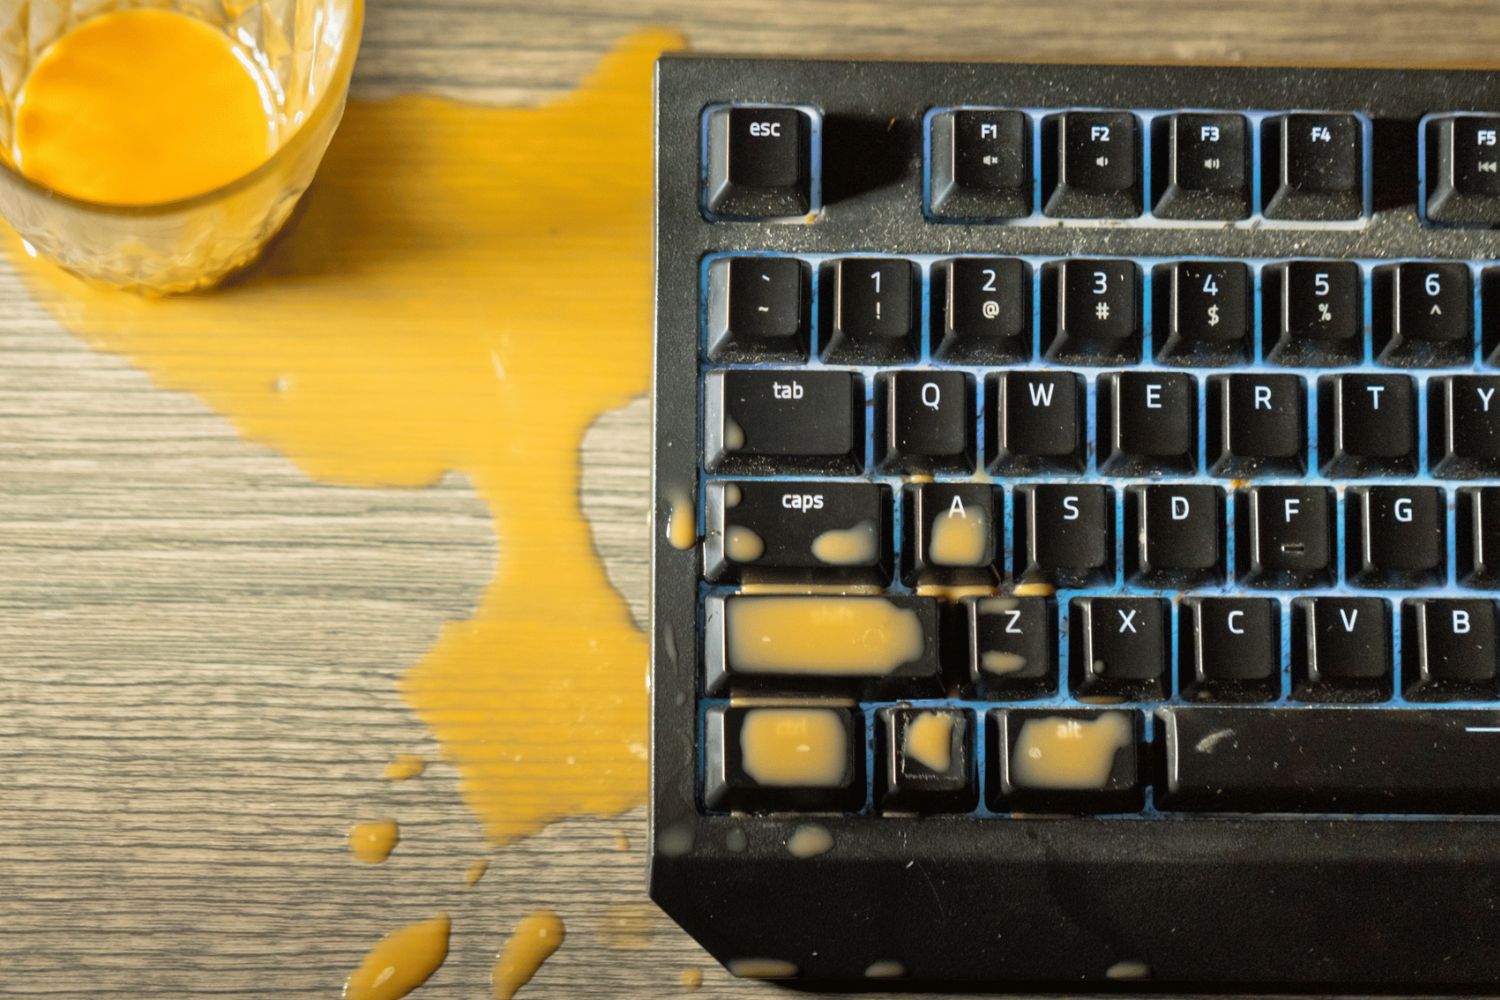
Spilling liquid on a mechanical keyboard can be a nightmare for any user. The intricate mechanisms and sensitive electronic components make cleaning a mechanical keyboard after a spill a daunting task. However, with the right approach and careful execution, it's possible to salvage a water-damaged keyboard and restore it to its former glory.
Whether it's a minor coffee spill or a major liquid mishap, knowing how to clean a mechanical keyboard after a spill is crucial to prevent permanent damage and ensure its continued functionality. This comprehensive guide will walk you through the process, from assessing the damage to reassembling and testing the keyboard, providing valuable insights and practical tips to help you tackle this challenging situation with confidence.
In the following sections, we'll delve into the step-by-step process of cleaning a mechanical keyboard after a spill, covering everything from assessing the damage and disassembling the keyboard to cleaning the components, drying and reassembling the keyboard, and finally, testing its functionality. By following these instructions and recommendations, you can effectively address the aftermath of a spill and increase the likelihood of salvaging your beloved mechanical keyboard. So, let's roll up our sleeves and embark on this keyboard-saving journey together!
Assessing the Damage
When a spill occurs on a mechanical keyboard, the first step is to assess the extent of the damage. Act swiftly to unplug the keyboard and turn it upside down to allow any excess liquid to drain out. This immediate action can help prevent the liquid from seeping further into the keyboard's internal components, minimizing the potential damage.
Next, evaluate the type of liquid that was spilled. Water, coffee, soda, or other sugary beverages can have varying effects on the keyboard, and understanding the nature of the spill can guide your cleaning approach. Water is generally less harmful, while sugary or sticky substances can pose a greater risk of causing damage to the keyboard's circuitry and switches.
Inspect the affected keys and switches for any signs of stickiness, unusual resistance, or non-responsiveness. Additionally, observe the keyboard's lighting and functionality to identify any immediate issues resulting from the spill. Documenting the specific keys and areas impacted by the spill can help in targeting the cleaning process and tracking improvements as you proceed.
If the spill was substantial or if the liquid has penetrated deep into the keyboard, consider seeking professional assistance or referring to the manufacturer's guidelines to determine the best course of action. It's important to be cautious during this phase, as attempting to use the keyboard without proper assessment and cleaning may exacerbate the damage and lead to permanent malfunction.
By thoroughly assessing the damage and understanding the implications of the spill, you can pave the way for an effective cleaning process tailored to the specific needs of your mechanical keyboard. This initial evaluation sets the stage for the subsequent steps in restoring the keyboard to its optimal condition.
Disassembling the Keyboard
Before delving into the cleaning process, it’s essential to disassemble the mechanical keyboard to access its internal components. Begin by referring to the manufacturer’s instructions or online resources for guidance on disassembling your specific keyboard model. Take note of the type of switches and keycaps present, as this information will be valuable when reassembling the keyboard later.
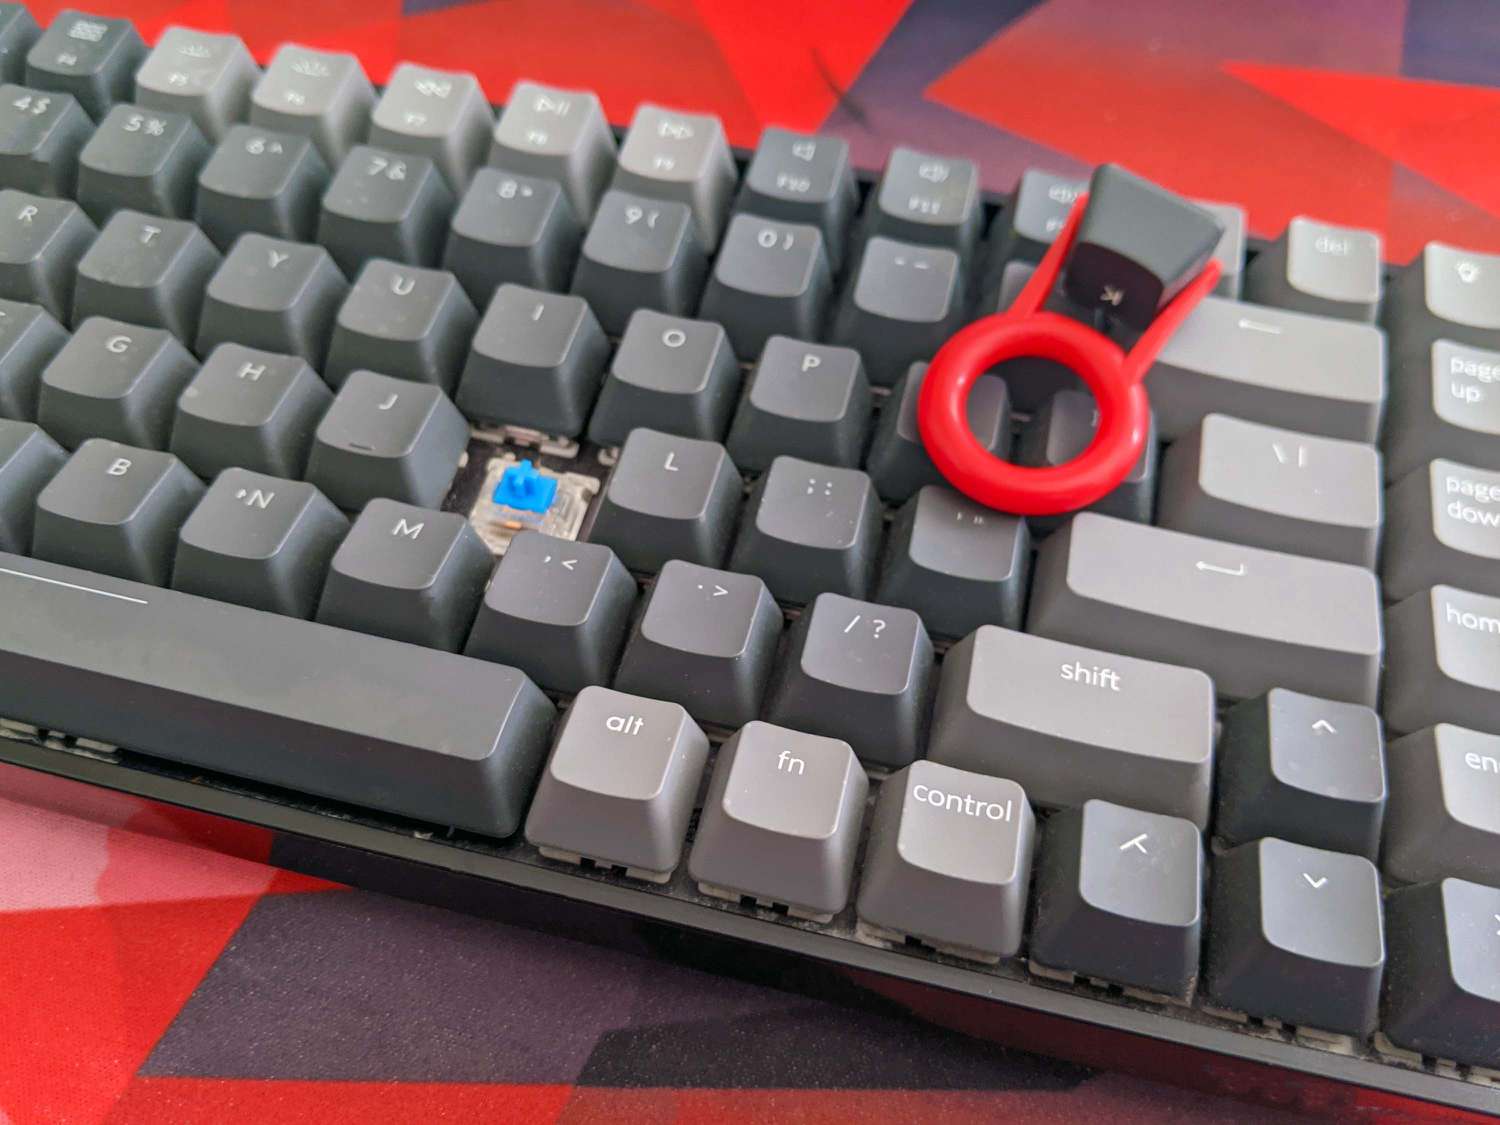
Using a keycap puller or a suitable tool recommended by the manufacturer, carefully remove the keycaps from the affected areas. Exercise caution to avoid damaging the switches or the underlying PCB (printed circuit board) during this process. Once the keycaps are removed, inspect them for any traces of liquid or residue, and set them aside for individual cleaning later.
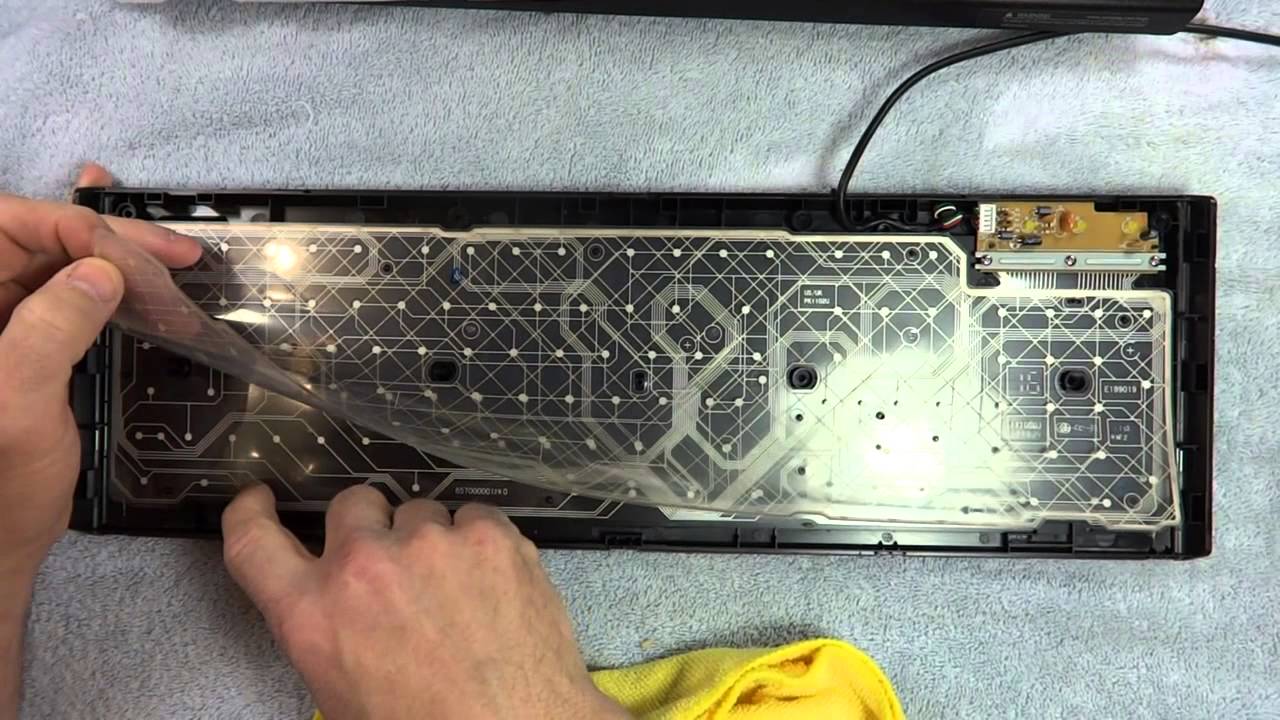
With the keycaps removed, unscrew the keyboard’s housing to access the internal components. Take note of the placement of screws and any hidden latches or clips that secure the housing. As you disassemble the keyboard, keep track of the components and their positions to facilitate reassembly later on.
Upon gaining access to the internal components, carefully disconnect the keyboard’s cable from the PCB. This step is crucial to ensure that the electronic components are not subjected to unnecessary strain during the cleaning and drying process. Additionally, if the spill has reached the PCB, inspect it for any visible signs of liquid or residue, taking note of the affected areas for targeted cleaning.
By methodically disassembling the keyboard and documenting the process, you can effectively prepare the components for thorough cleaning and mitigate the potential risks associated with liquid exposure. This meticulous approach sets the stage for the subsequent cleaning and drying procedures, laying the groundwork for the successful restoration of your mechanical keyboard.
Cleaning the Components
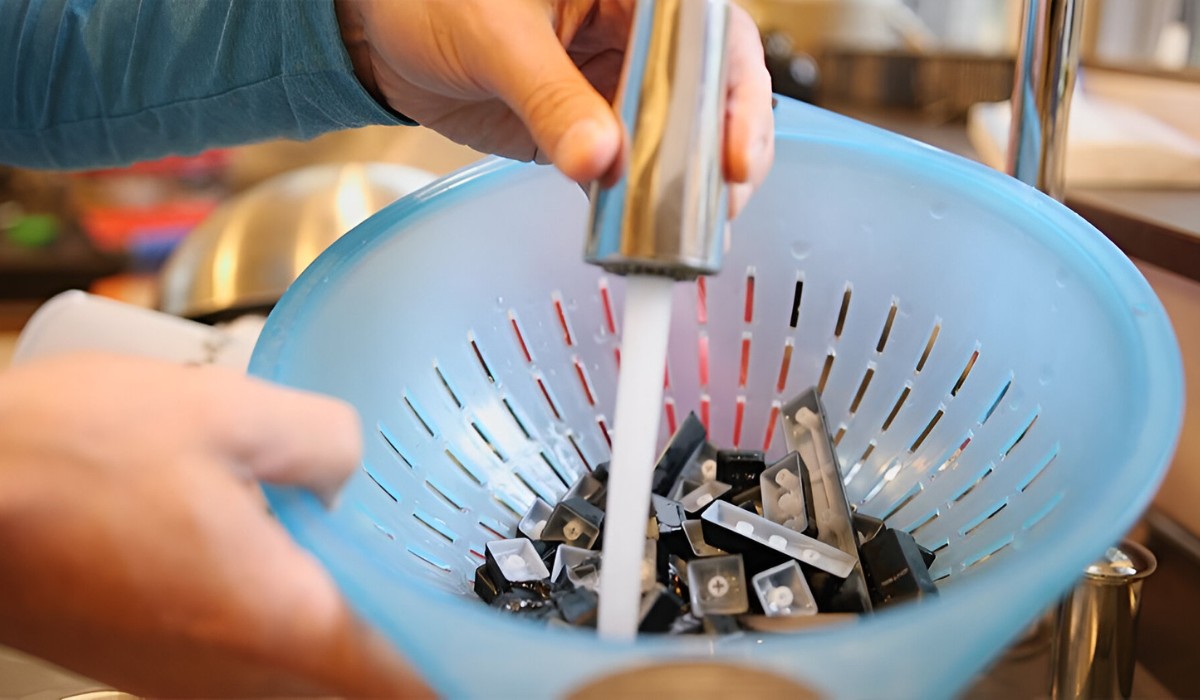
Once the mechanical keyboard is disassembled, it’s time to focus on cleaning the individual components to remove any traces of the spill and restore them to their optimal condition. Begin by addressing the keycaps, which are likely to have been directly exposed to the liquid. Prepare a cleaning solution by mixing a small amount of gentle dish soap with warm water. Submerge the keycaps in this solution and use a soft brush or cloth to gently scrub away any residue. Rinse the keycaps thoroughly with clean water and allow them to air dry completely before reinstallation.
Turning to the switches and PCB, use a soft, lint-free cloth lightly dampened with isopropyl alcohol to carefully wipe the affected areas. Take care to avoid excessive moisture and ensure that the alcohol evaporates completely during the cleaning process. For stubborn residue or stickiness, a cotton swab dipped in isopropyl alcohol can be used to target specific areas while minimizing the risk of damage to the delicate components.
Inspect the keyboard’s housing for any signs of liquid or residue, and clean it using a slightly dampened cloth with mild soap or isopropyl alcohol as appropriate. Pay attention to the crevices and edges where liquid may have accumulated, ensuring thorough cleaning while avoiding excessive moisture that could seep into the internal components.
As you clean the components, exercise patience and precision to effectively remove any remnants of the spill without compromising the integrity of the keyboard’s intricate mechanisms. Thorough cleaning is pivotal in mitigating the potential long-term effects of the liquid exposure and setting the stage for the subsequent drying and reassembly processes.
Drying and Reassembling the Keyboard
After completing the cleaning process, it’s crucial to ensure that all components are thoroughly dried before reassembling the mechanical keyboard. Begin by allowing the keycaps, switches, PCB, and housing to air dry in a well-ventilated area. Avoid using heat sources such as hairdryers or placing the components in direct sunlight, as excessive heat can damage the delicate mechanisms and materials.
For accelerated drying, consider using desiccants such as silica gel packets or a dedicated electronic drying agent. Place the components in a sealed container with the desiccant to expedite the drying process while preventing the accumulation of moisture. Periodically check the components to assess their dryness and avoid reassembly until they are completely free of moisture.
Once the components are thoroughly dry, begin the reassembly process by carefully reconnecting the keyboard’s cable to the PCB. Take note of the cable’s orientation and alignment to ensure a secure and proper connection without causing strain on the delicate wiring.
Reattach the housing of the keyboard, securing it with the appropriate screws and ensuring that all components are properly aligned. Exercise caution to avoid overtightening the screws, as this can lead to damage or misalignment of the internal components.
With the housing reattached, proceed to reinstall the keycaps, ensuring that each keycap is aligned correctly with its respective switch. Gently press down on each keycap to secure it in place, taking care to maintain uniformity and stability across the keyboard.
As you reassemble the keyboard, refer to any documentation or reference materials to ensure the correct placement of switches and keycaps, especially if your keyboard features different types of switches or specialized keycap profiles. This meticulous approach to reassembly is essential in restoring the keyboard to its original configuration and functionality.
By prioritizing the thorough drying of components and following a methodical approach to reassembly, you can safeguard the integrity of the keyboard’s intricate mechanisms and minimize the risk of residual moisture causing further damage. This meticulous process sets the stage for the final step: testing the functionality of the cleaned and reassembled mechanical keyboard.
Testing the Keyboard
With the mechanical keyboard fully reassembled after the spill cleaning process, it’s crucial to thoroughly test its functionality to ensure that all components are operating as intended. Begin by connecting the keyboard to a computer and conducting a comprehensive test of each key’s responsiveness and the overall functionality of the keyboard.
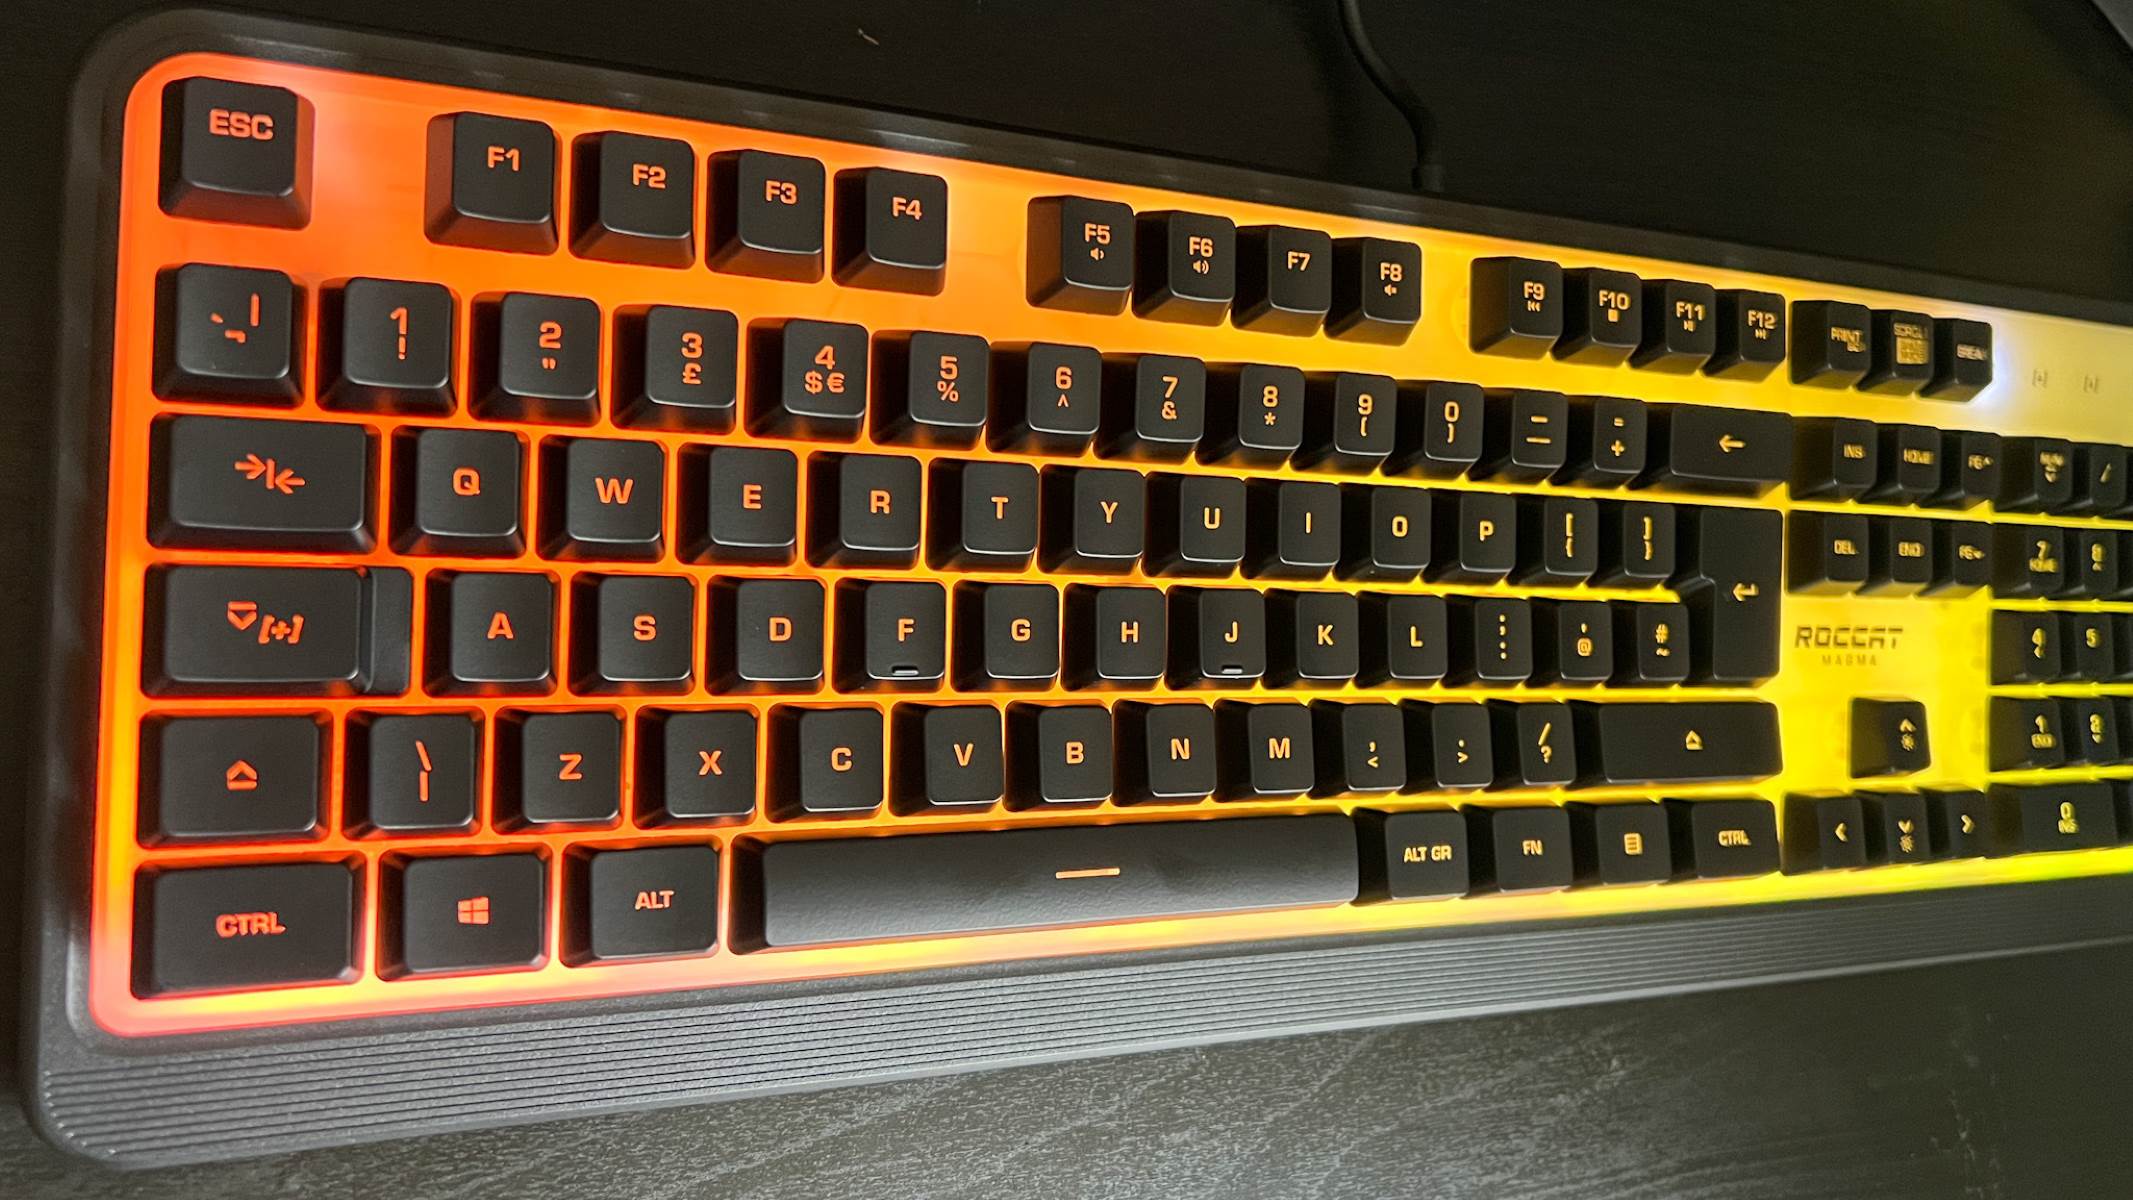
Initiate a visual inspection of the keyboard’s lighting, if applicable, to verify that all LEDs are functioning correctly. Test each key systematically, ensuring that they register keystrokes accurately and that there are no lingering issues such as double-presses, non-responsiveness, or erratic behavior. Pay particular attention to the keys that were directly impacted by the spill, as they may require additional testing and scrutiny.
Verify the functionality of specialized keys, if present, and assess any additional features such as media controls, macros, or programmable functions to ensure that they are operating as expected. This comprehensive testing approach helps identify any residual issues stemming from the spill and allows for targeted troubleshooting and adjustments as needed.
If any keys exhibit irregular behavior or if certain switches are still affected by stickiness or resistance, consider rechecking and cleaning those specific areas to address any lingering traces of the spill. Additionally, refer to the manufacturer’s guidelines or online resources for troubleshooting tips tailored to your specific keyboard model.
During the testing phase, take note of any persistent issues or anomalies and document the steps taken to address them. This record can serve as a reference in the event of ongoing challenges or as a valuable resource for future maintenance and troubleshooting efforts.
By conducting a thorough and systematic testing process, you can verify the successful restoration of your mechanical keyboard after the spill cleaning procedure. This meticulous approach not only ensures the keyboard’s functionality but also provides peace of mind, knowing that the keyboard has been effectively salvaged and is ready to resume its role as a reliable input device for your computing needs.