Introduction
Welcome to the world of custom mechanical keyboards! Building your own plate-mounted mechanical keyboard is a rewarding endeavor that allows you to customize every aspect of your typing experience, from the switches to the keycaps. Whether you're a seasoned enthusiast or a newcomer to the mechanical keyboard community, this guide will walk you through the process of assembling your own personalized keyboard.
A plate-mounted mechanical keyboard typically consists of a metal or plastic plate that holds the switches in place, a printed circuit board (PCB) that houses the electrical components, and a case to enclose the assembly. By constructing a keyboard from scratch, you have the freedom to select the specific components that best suit your preferences, whether it's the type of switches, the layout of the keycaps, or the overall aesthetic of the keyboard.
Not only does building a custom keyboard allow for unparalleled customization, but it also provides a deeper understanding of how mechanical keyboards function. Throughout this guide, you will learn about the intricate components that make up a mechanical keyboard and gain hands-on experience in assembling and soldering the parts together.
Whether you're seeking a quieter typing experience, a more tactile response, or simply a keyboard that reflects your unique style, embarking on the journey of creating a plate-mounted mechanical keyboard will empower you to craft a device that perfectly aligns with your preferences and personality.
Let's dive into the world of custom mechanical keyboards and embark on the fulfilling process of constructing your very own plate-mounted keyboard.
Choosing the Right Components
When embarking on the journey of building a plate-mounted mechanical keyboard, the first crucial step is selecting the right components to bring your vision to life. The components you choose will directly impact the feel, sound, and overall functionality of your keyboard. Here’s a comprehensive guide to help you make informed decisions when choosing the essential elements for your custom keyboard:
- Switches: The switches are the heart of your keyboard, determining the tactile feedback and actuation force. With a myriad of options available, including Cherry MX, Gateron, and Kailh, each switch type offers distinct characteristics. Consider factors such as actuation force, tactile feedback, and noise level when choosing the switches that best suit your typing preferences.
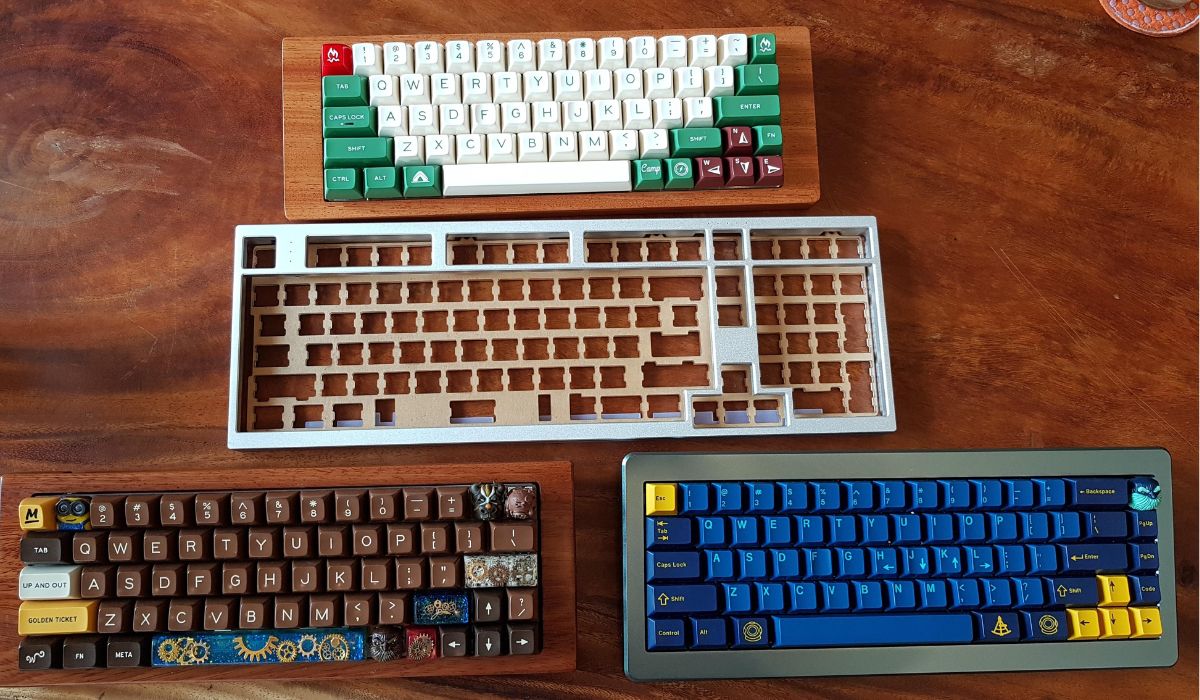
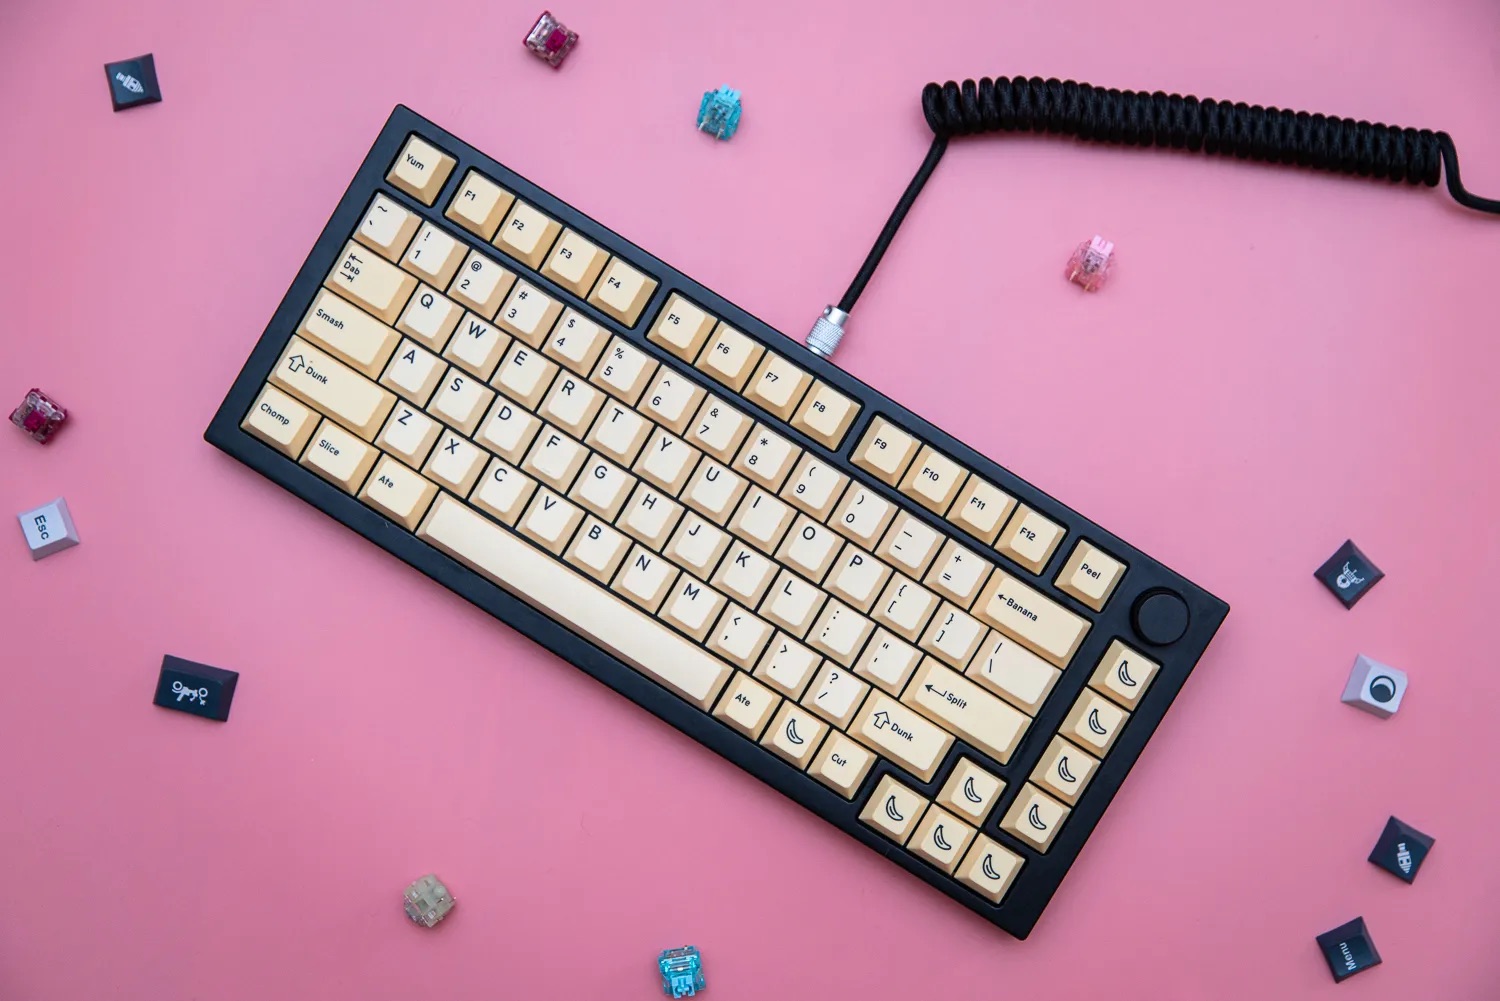
- Keycaps: Keycaps not only contribute to the aesthetic appeal of your keyboard but also play a role in the typing experience. Whether you prefer double-shot ABS, PBT, or custom artisan keycaps, the material and profile of the keycaps can significantly impact the feel and sound of your keyboard.
- PCB: The printed circuit board (PCB) serves as the backbone of your keyboard, housing the electrical components and providing the connectivity for the switches. When selecting a PCB, consider the layout compatibility, programmability, and backlighting options to ensure it aligns with your desired keyboard configuration.
- Plate Material: The plate provides stability and rigidity to the keyboard assembly. Aluminum, steel, and acrylic are common plate materials, each offering unique characteristics in terms of flexibility and sound dampening. Choose a plate material that complements the typing feel you wish to achieve.
- Stabilizers: Stabilizers are essential for larger keys to prevent wobbling and ensure consistent keypresses. Consider the type of stabilizers, such as screw-in or snap-in, and their compatibility with your chosen keycap set.
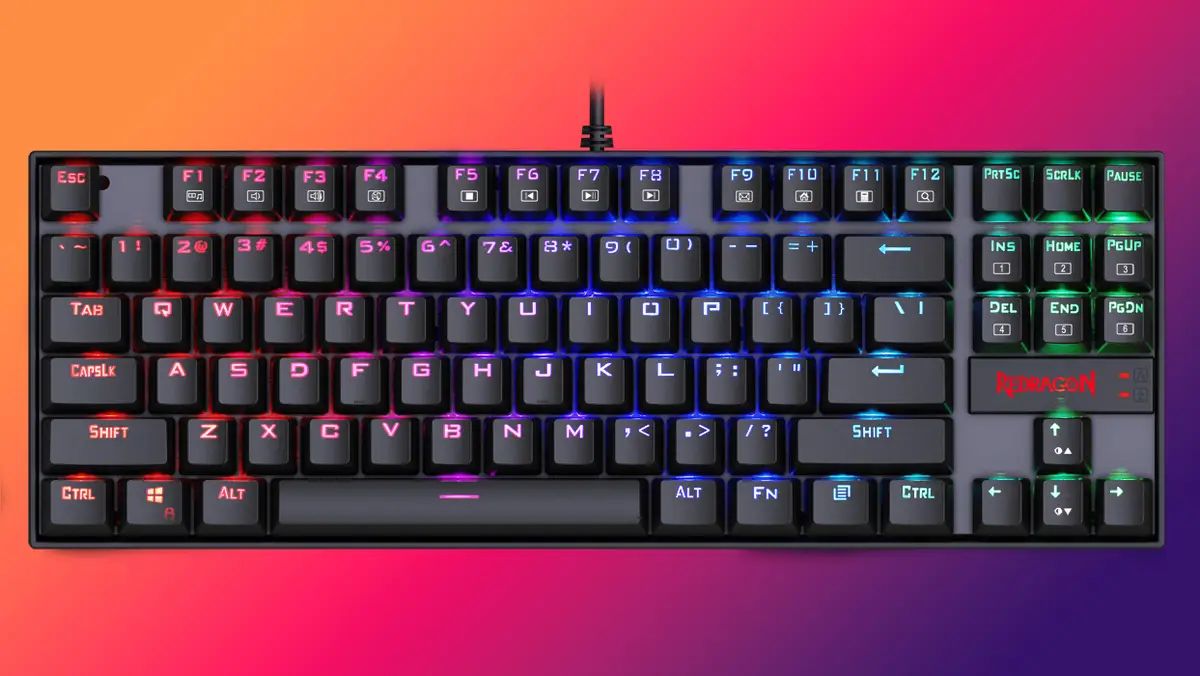
- Case: The case not only encloses the keyboard assembly but also contributes to its overall aesthetics. Whether you prefer a sleek, low-profile case or a more angular, eye-catching design, the case material and construction play a significant role in the visual appeal of your custom keyboard.
By carefully considering each component and its impact on the keyboard’s performance and aesthetics, you can curate a set of components that align with your preferences and create a truly personalized plate-mounted mechanical keyboard.
Preparing the Plate and PCB
Before delving into the assembly process, it’s essential to prepare the plate and printed circuit board (PCB) for the installation of switches and other components. This phase involves ensuring the compatibility of the plate and PCB, as well as making any necessary modifications to accommodate the selected components.
Plate Preparation: Begin by inspecting the plate to confirm its compatibility with the chosen switches and layout. If the plate supports switch top removal, take this opportunity to customize the switches by lubing the internal components or swapping the springs to achieve your desired typing experience. Additionally, ensure that any stabilizer cutouts on the plate align with the intended keycap layout to accommodate the stabilizers effectively.
PCB Inspection: Carefully examine the PCB for any visible defects or damage. Check the solder joints, traces, and components to ensure they are intact and free from any anomalies. If the PCB features RGB lighting or underglow, verify that the corresponding components are functional and undamaged.
Layout Compatibility: Verify that the layout of the PCB aligns with the desired keycap and plate configuration. Some PCBs offer multiple layout options, allowing for flexibility in keycap arrangement and switch compatibility. Select the layout that best suits your preferences and ensures a seamless fit with the plate and keycaps.
Component Alignment: Position the plate and PCB to ensure proper alignment of the switch and stabilizer locations. This step is crucial for ensuring that the switches fit securely within the plate cutouts and align with the corresponding solder points on the PCB. Taking the time to verify the alignment at this stage can prevent issues during the later stages of assembly.
By meticulously preparing the plate and PCB, you set the foundation for a successful and seamless assembly process. This phase not only ensures the compatibility of the components but also allows for any necessary modifications to be made before proceeding to the next steps of mounting the switches and soldering the components.
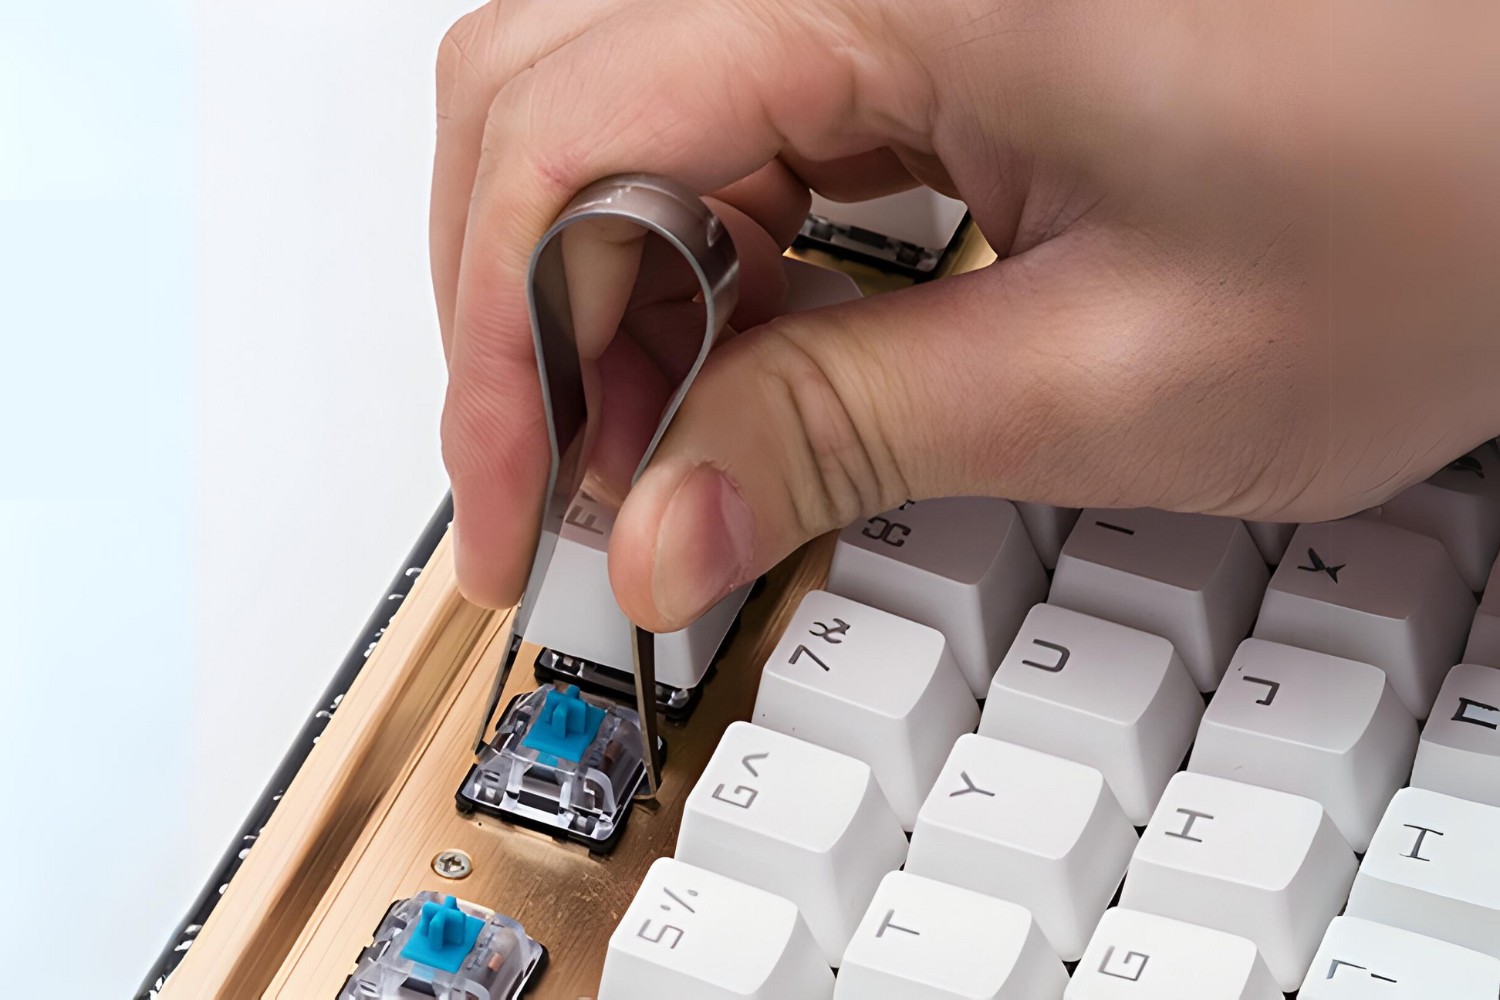
Mounting the Switches
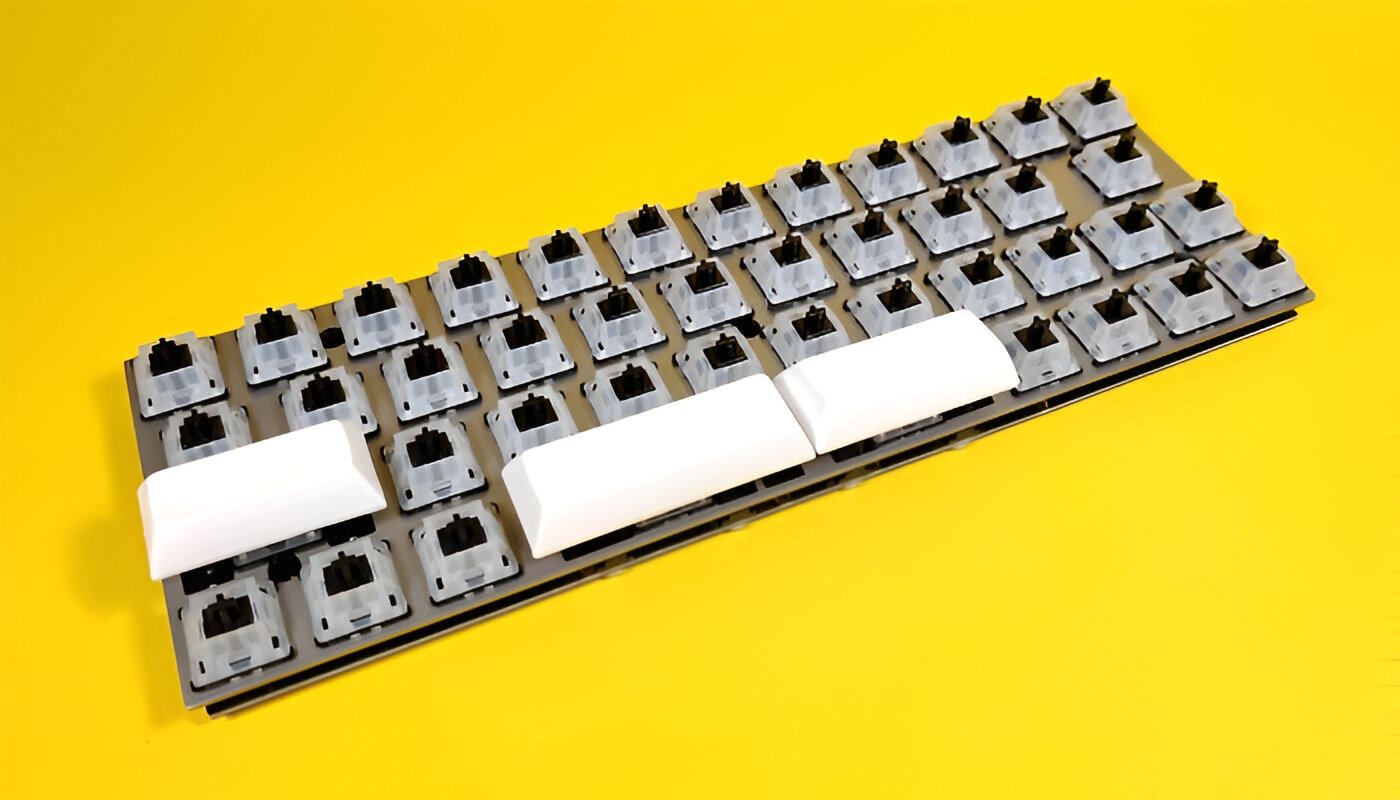
Mounting the switches onto the plate is a pivotal step in the construction of a plate-mounted mechanical keyboard. This process involves carefully securing the switches within the plate cutouts, ensuring proper alignment and stability to create a uniform typing surface. Here’s a detailed guide on how to effectively mount the switches onto the plate:
Plate Compatibility: Begin by confirming that the plate is compatible with the chosen switches. Different switch types may require specific cutouts or modifications on the plate to accommodate their unique configurations. Ensure that the switches fit snugly within the plate cutouts without any excessive play or misalignment.
Switch Orientation: Take note of the orientation of the switches, ensuring that the pins align with the corresponding solder points on the PCB. Most switches feature two plastic pins at the bottom that fit into the plate cutouts, providing stability and alignment during the mounting process. Orient the switches with the pins facing downward to facilitate seamless installation.
Securing the Switches: Carefully insert each switch into its designated position on the plate, applying gentle pressure to ensure a secure fit. The switches should sit flush with the plate, with the top housing resting evenly on the surface. Verify that all switches are aligned and seated uniformly to maintain a consistent typing experience across the keyboard.
Testing the Fit: After mounting several switches, perform a test fit of the keycaps to verify that they align properly with the switches. This step allows you to identify any misaligned switches or irregularities in the plate cutouts before proceeding with the full installation. Make any necessary adjustments to ensure a uniform fit for all switches.
Ensuring Stability: Once all switches are mounted, assess the overall stability of the assembly. Gently press down on each switch to confirm that it remains secure within the plate cutout. Any loose switches should be reseated to prevent instability during the soldering process and prolonged use of the keyboard.
By meticulously mounting the switches onto the plate, you establish a solid foundation for the subsequent soldering process. This phase sets the stage for the seamless integration of the electrical components and paves the way for the assembly of a fully functional plate-mounted mechanical keyboard.
Soldering the Components
Soldering the components is a critical phase in the construction of a plate-mounted mechanical keyboard, as it involves establishing the electrical connections between the switches and the printed circuit board (PCB). This process requires precision and attention to detail to ensure reliable and consistent electrical contact throughout the keyboard. Here’s a comprehensive guide to effectively soldering the components of your custom keyboard:
Preparation and Safety: Before beginning the soldering process, ensure that you are working in a well-ventilated area with appropriate safety measures in place. Prepare your soldering iron by allowing it to reach the optimal operating temperature, typically around 350°C (662°F) for lead-based solder or 250°C (482°F) for lead-free solder. Additionally, have a damp sponge or brass wire tip cleaner on hand to keep the soldering iron tip clean and free of oxidation.
Tinning the Soldering Iron: Prior to soldering, “tin” the soldering iron tip by applying a small amount of solder to the tip and then wiping it on the damp sponge or wire cleaner to create a clean, shiny surface. This process ensures optimal heat transfer and improves the efficiency of soldering the components.
Soldering Technique: With the switches mounted on the plate and aligned with the corresponding solder points on the PCB, carefully apply the soldering iron to the exposed metal pads on the PCB. Heat the pad and the switch pin simultaneously, then touch the solder to the junction of the pin and pad. Allow the solder to flow evenly, forming a smooth and shiny fillet around the joint. Avoid excessive solder, as it can lead to bridging between adjacent pads and compromise the electrical connections.
Consistency and Precision: Maintain a steady hand and consistent soldering technique throughout the process to ensure uniform and reliable connections. Take your time to solder each switch, verifying the quality of the joints and addressing any irregularities promptly. Consistent soldering practices contribute to the longevity and performance of the keyboard’s electrical connections.
Quality Control: After soldering all the switches, visually inspect the solder joints to confirm that they are smooth, shiny, and free from any solder bridges or cold joints. A magnifying glass or a macro lens can aid in closely examining the solder joints for any imperfections. Address any substandard joints by reflowing the solder to achieve optimal electrical connections.
By meticulously soldering the components, you establish reliable electrical connections that form the backbone of your custom keyboard’s functionality. This phase is a testament to the precision and craftsmanship involved in creating a fully operational plate-mounted mechanical keyboard.
Assembling the Keyboard
Assembling the components of your plate-mounted mechanical keyboard marks the exciting culmination of the construction process, bringing together the meticulously prepared parts to create a fully functional and personalized keyboard. This phase involves integrating the plate, switches, printed circuit board (PCB), stabilizers, and case to form a cohesive and visually appealing keyboard assembly. Here’s a detailed guide to effectively assembling your custom keyboard:
Switch Alignment: Begin by ensuring that all switches are uniformly aligned and seated securely within the plate cutouts. Verify that the switch pins are aligned with the corresponding solder points on the PCB, facilitating seamless electrical connections when the components are integrated.
Stabilizer Installation: If your keyboard layout includes larger keys such as the spacebar, enter key, or shift keys, install the stabilizers to ensure consistent and wobble-free keypresses. Position the stabilizers in their designated locations on the PCB and secure them to the plate to provide stability and uniform key actuation.
PCB Integration: Carefully position the PCB over the mounted switches, aligning the switch pins with the corresponding solder points on the PCB. Gently press the PCB onto the switches, ensuring that each switch is fully inserted and seated within the PCB, establishing reliable electrical connections.
Case Enclosure: Once the plate and PCB are integrated, encase the assembly within the selected keyboard case. Align the mounting points of the case with the corresponding standoffs or screw holes on the plate and PCB, securing the components within the case to create a sturdy and unified keyboard structure.
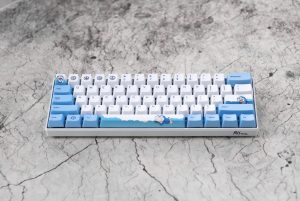
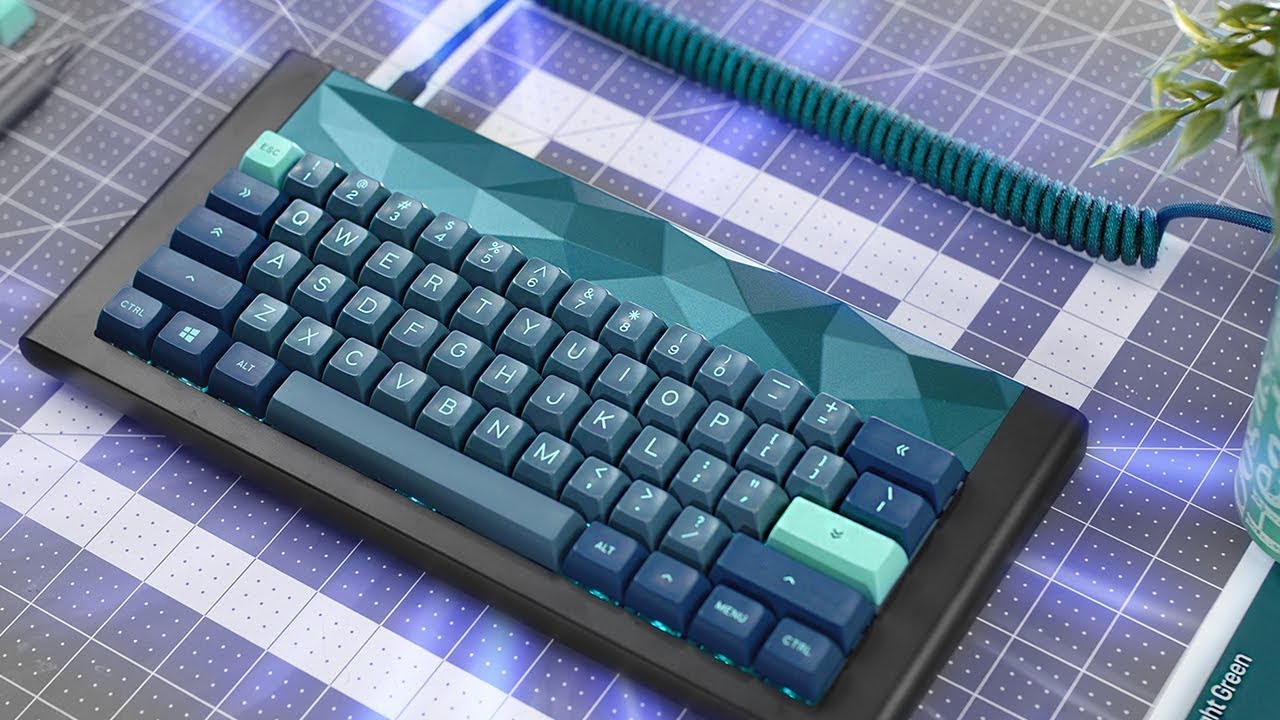
Keycap Installation: With the keyboard assembly complete, install the keycaps onto the switches, ensuring that each keycap aligns with its respective switch and stabilizer. Take this opportunity to personalize the keyboard’s aesthetic by selecting keycaps that complement the overall design and layout of the keyboard.
Case Fastening: Secure the keyboard case by fastening any screws or fasteners to ensure that the components remain firmly enclosed within the case. This step contributes to the structural integrity of the keyboard and provides a polished and professional finish to the assembly process.
By meticulously assembling the keyboard components, you bring your custom plate-mounted mechanical keyboard to life, culminating in a fully functional and visually captivating input device. This phase represents the culmination of your efforts, resulting in a keyboard that reflects your unique preferences and embodies the craftsmanship and artistry of custom keyboard construction.
Testing and Troubleshooting
Upon completing the assembly of your plate-mounted mechanical keyboard, thorough testing is essential to ensure its functionality and address any potential issues that may arise during the initial operation. This phase involves validating the electrical connections, key responsiveness, and overall performance of the keyboard, followed by troubleshooting any anomalies that may impede its optimal functionality. Here’s a comprehensive guide to effectively test and troubleshoot your custom keyboard:
Electrical Testing: Begin by connecting the keyboard to a computer or a dedicated testing device to verify that all keys register correctly. Use a key testing tool or open a text editor to type on the keyboard and confirm that each keypress corresponds to the intended input. This step ensures that the soldered connections and electrical pathways are functioning as intended.
Stabilizer Functionality: Test the larger keys equipped with stabilizers, such as the spacebar and enter key, to ensure that the stabilizers effectively mitigate key wobbling and provide consistent actuation. Verify that the stabilizers function smoothly and do not impede the keypress experience.
Keycap Alignment: Inspect the alignment and stability of the keycaps, ensuring that they are securely seated on the switches and provide a uniform typing experience across all keys. Address any misaligned or unstable keycaps to maintain a cohesive and reliable typing surface.
LED and Backlight Testing (If Applicable): If your keyboard features LED backlighting or underglow, confirm that the lighting functions as intended. Test the lighting modes and configurations to ensure that the visual enhancements align with your preferences and contribute to the overall aesthetic of the keyboard.
Key Remapping and Programming (If Applicable): If your keyboard supports programmability, explore the key remapping and macro programming features to customize the keyboard’s functionality according to your specific workflow and preferences. Ensure that the programmed functions are accurately executed during operation.
Troubleshooting Anomalies: If any keys exhibit inconsistent actuation, unresponsiveness, or unintended input, carefully inspect the affected areas for potential soldering issues, debris, or misaligned components. Address any anomalies by reflowing solder, cleaning the affected areas, or adjusting the component alignment to rectify the issues.
Feedback and Iteration: Solicit feedback from your typing experience and make note of any areas for improvement or refinement. Whether it’s adjusting the actuation force of the switches, fine-tuning the stabilizer tension, or refining the keycap selection, iteratively enhance the keyboard to align with your ideal typing experience.
By meticulously testing and troubleshooting your custom keyboard, you ensure that it not only meets your performance expectations but also reflects the craftsmanship and attention to detail invested in its construction. This phase is instrumental in fine-tuning the keyboard to deliver a seamless and gratifying typing experience tailored to your unique preferences.