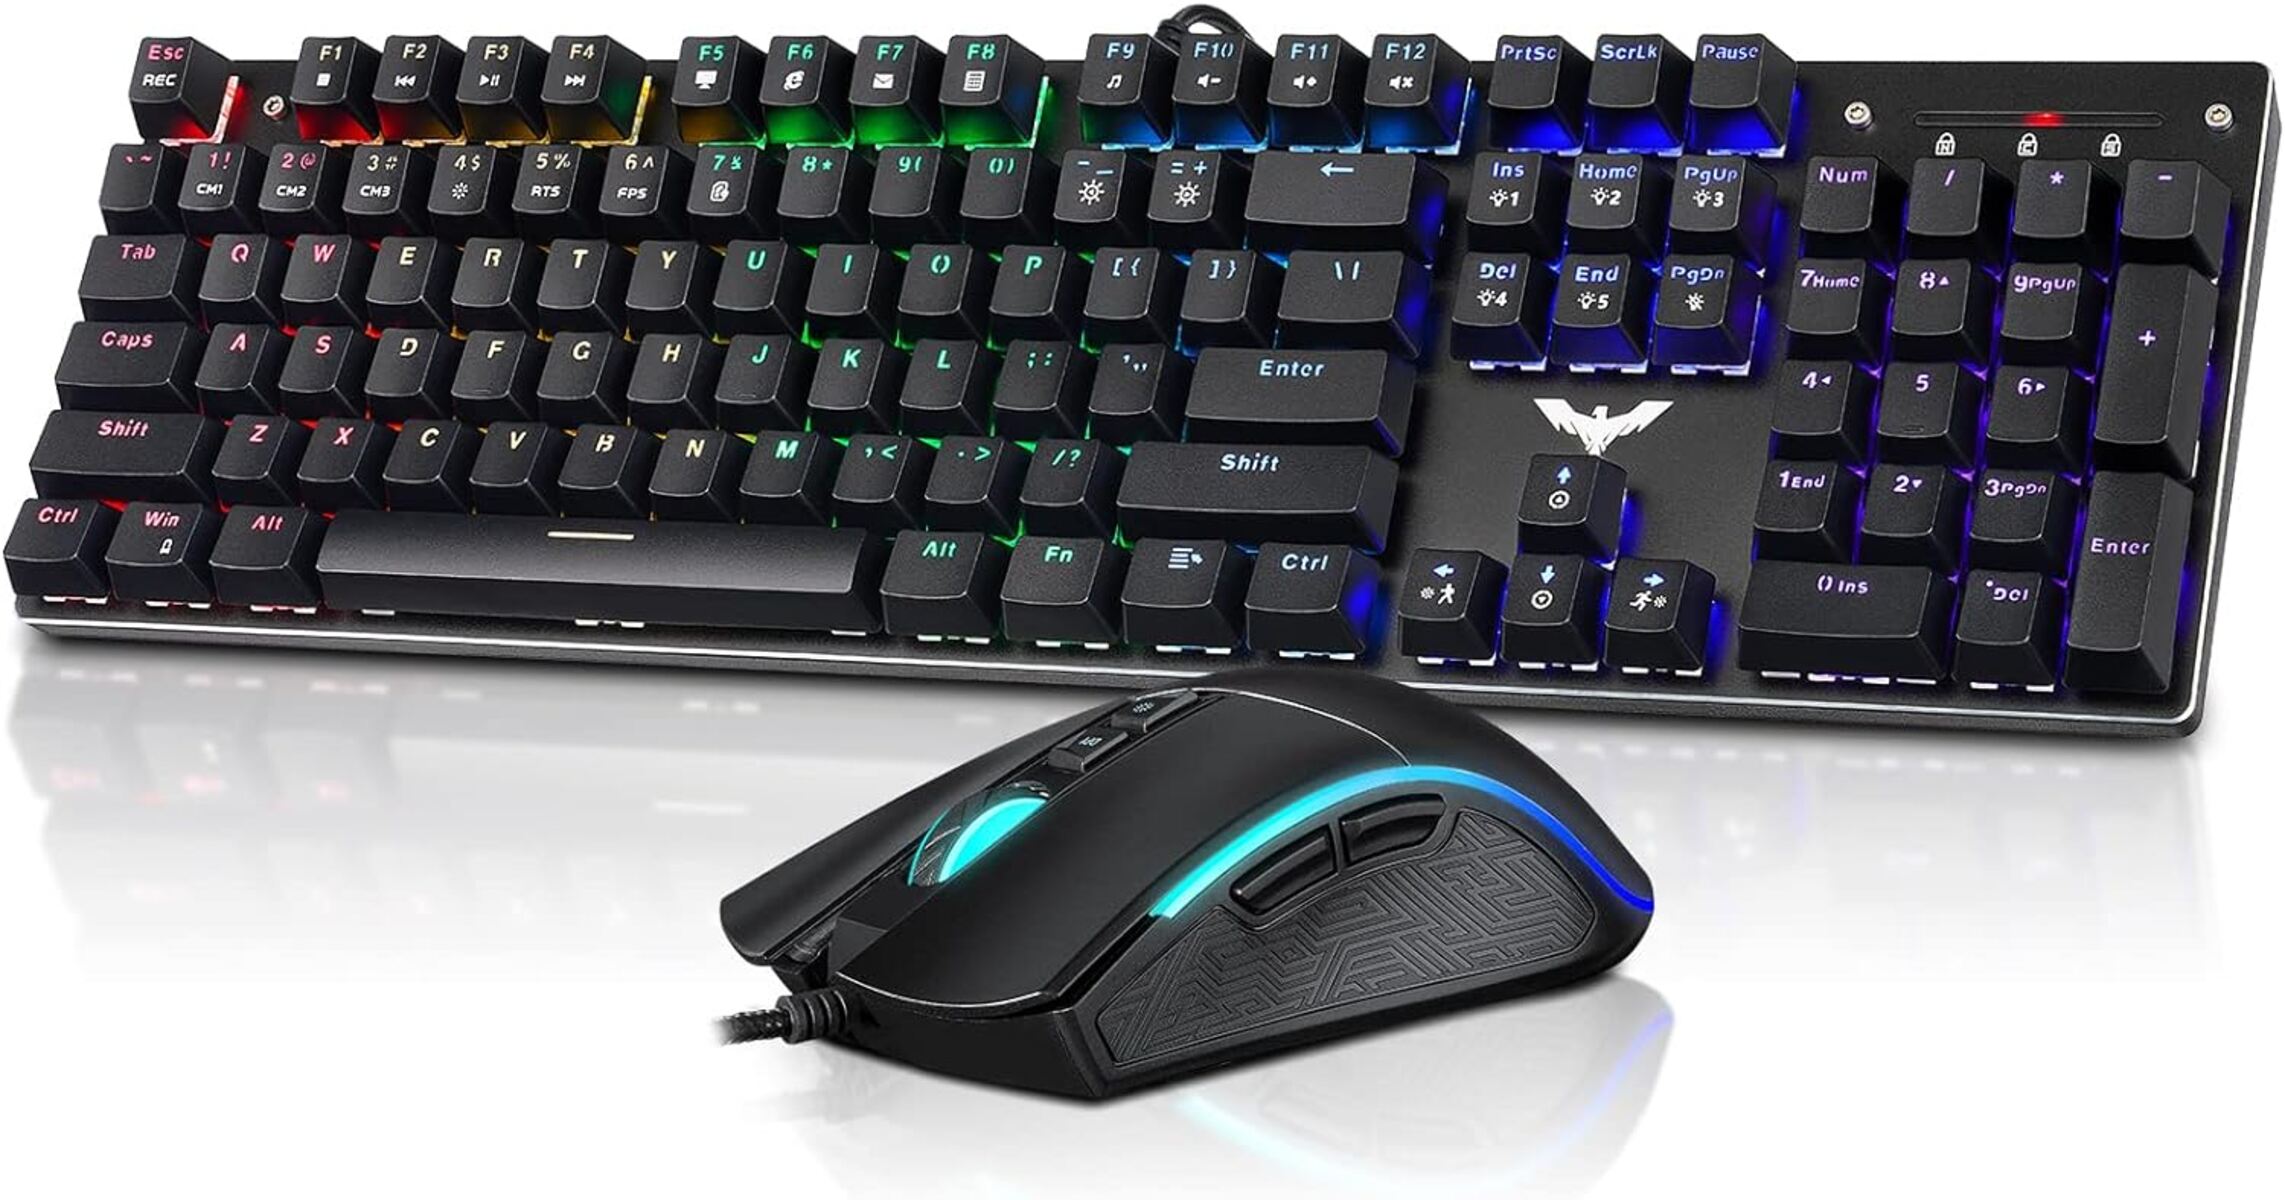
Introduction
If you're an avid typist or a gaming enthusiast, you likely understand the value of a high-quality mechanical keyboard. Eagletec mechanical keyboards are renowned for their durability, tactile feedback, and overall performance. However, there may come a time when you need to disassemble your Eagletec mechanical keyboard for cleaning, maintenance, or customization purposes. While the idea of dismantling a keyboard might seem daunting at first, with the right guidance and tools, the process can be straightforward and rewarding.
In this comprehensive guide, we will walk you through the step-by-step process of disassembling an Eagletec mechanical keyboard. Whether you're looking to clean the key switches, replace keycaps, or modify the keyboard layout, understanding how to take apart your keyboard is essential. By following this guide, you can gain valuable insights into the internal components of your Eagletec mechanical keyboard, empowering you to perform various maintenance tasks with confidence.
Taking apart your Eagletec mechanical keyboard can also provide a deeper appreciation for the craftsmanship and engineering that goes into these devices. As you uncover the intricate mechanisms and components within the keyboard, you'll develop a greater understanding of how each element contributes to its overall functionality.
By the end of this guide, you'll be equipped with the knowledge and skills to disassemble and reassemble your Eagletec mechanical keyboard effectively. So, gather your tools and let's embark on this enlightening journey into the inner workings of your beloved keyboard.
Tools and Materials Needed
Before diving into the disassembly process, it’s essential to gather the necessary tools and materials to ensure a smooth and efficient experience. Here’s a list of items you’ll need to have on hand:
- Keycap Puller: This tool is crucial for removing the keycaps without causing damage to the switches or the keycaps themselves. Keycap pullers come in various designs, including wire-style and ring-style pullers, so choose one that best suits your keyboard.
- Phillips Head Screwdriver: Most mechanical keyboards are held together by screws, typically Phillips head screws. A screwdriver with the appropriate size and head type will be necessary for removing these screws.
- Flathead Screwdriver (Optional): In some cases, a flathead screwdriver may be needed to pry open the keyboard case or assist in separating certain components. While not always necessary, it can be helpful to have one nearby.
- Compressed Air or Keyboard Cleaning Brush: Cleaning the internal components of the keyboard may require compressed air or a specialized keyboard cleaning brush to remove dust, debris, and other particles from hard-to-reach areas.
- Container or Ziplock Bags: It’s advisable to have a container or ziplock bags to store the keycaps, screws, and other small components during the disassembly process. This helps prevent loss and confusion when reassembling the keyboard.
- Workspace and Lighting: Ensure you have a well-lit and spacious workspace to comfortably disassemble the keyboard. Good lighting is essential for seeing small components and ensuring precision during the process.
By having these tools and materials at your disposal, you’ll be well-prepared to tackle the disassembly of your Eagletec mechanical keyboard. With the right equipment in hand, you can proceed with confidence, knowing that you have everything you need to complete the task effectively.
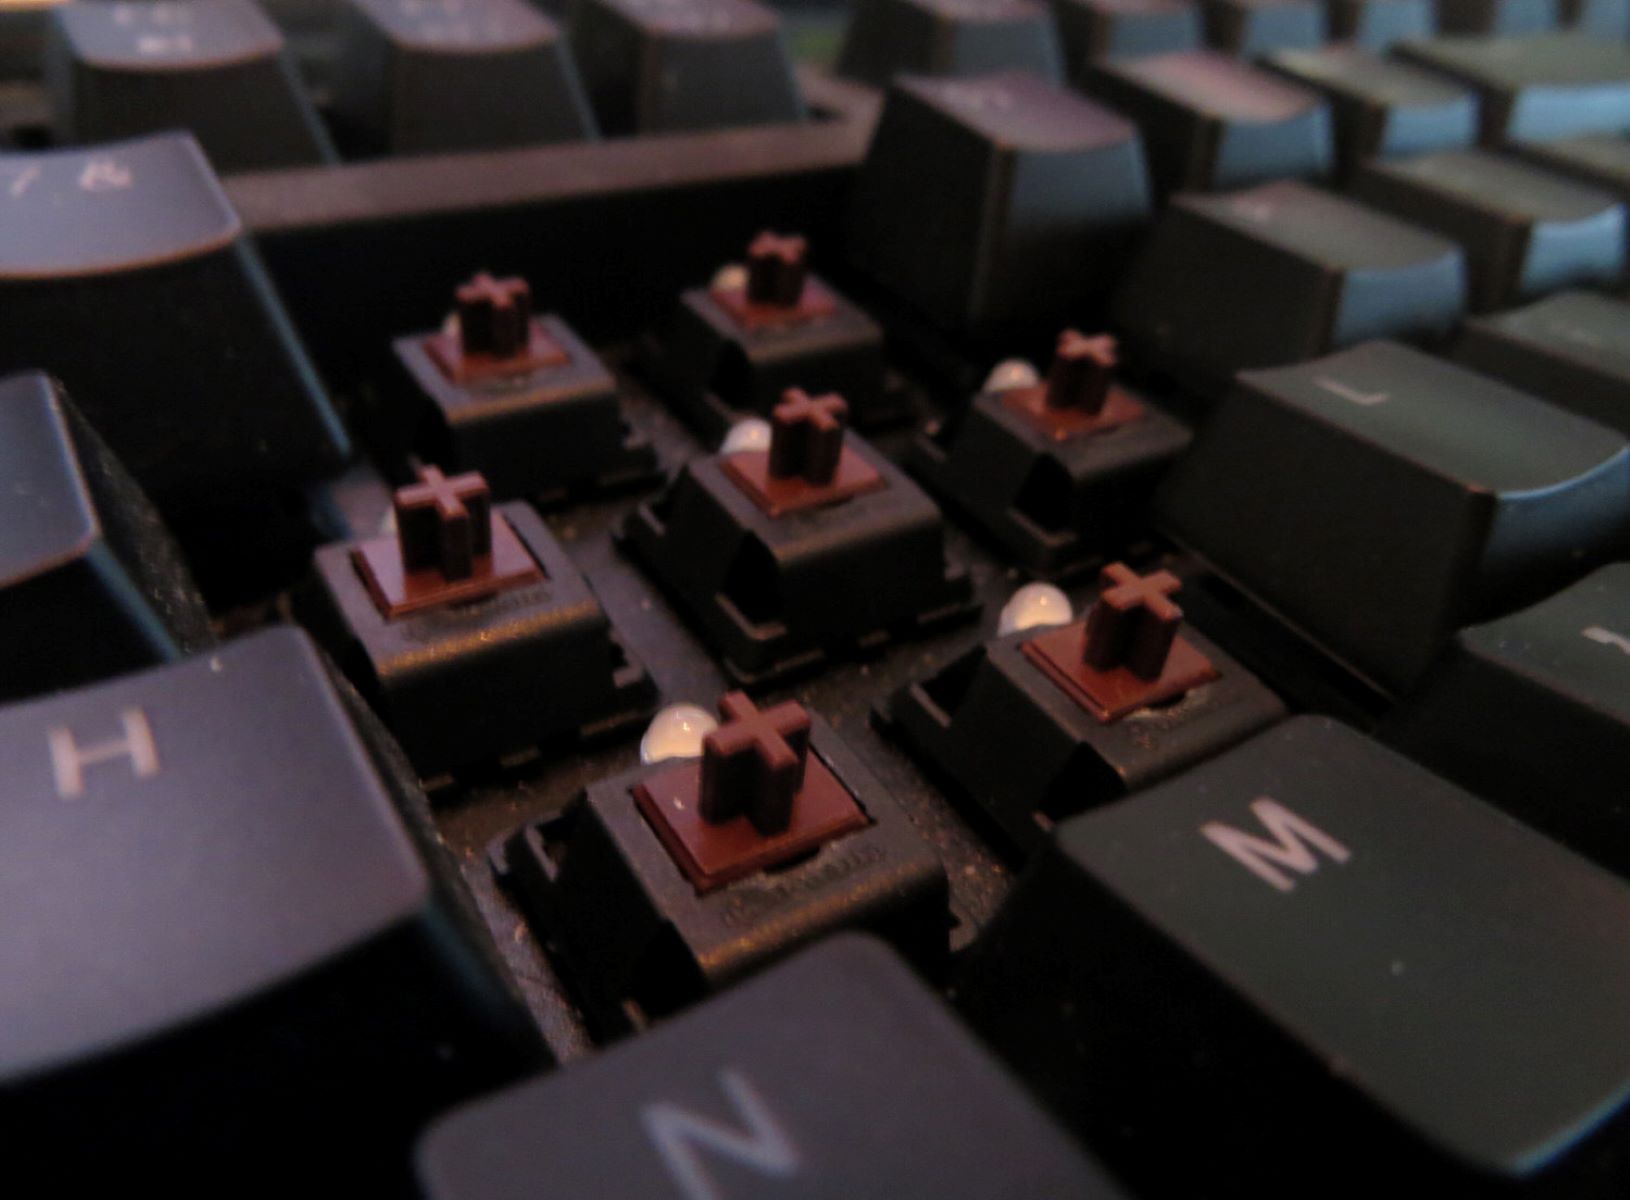
Removing Keycaps
Before delving into the internal components of the keyboard, it’s essential to start with the keycaps. These are the individual keys that cover the switches and are integral to the keyboard’s functionality and aesthetics. Here’s a step-by-step guide to removing the keycaps from your Eagletec mechanical keyboard:
- Prepare Your Workspace: Find a clean and well-lit area to work on the keyboard. Having a clutter-free workspace will make it easier to keep track of the keycaps and prevent them from getting lost.
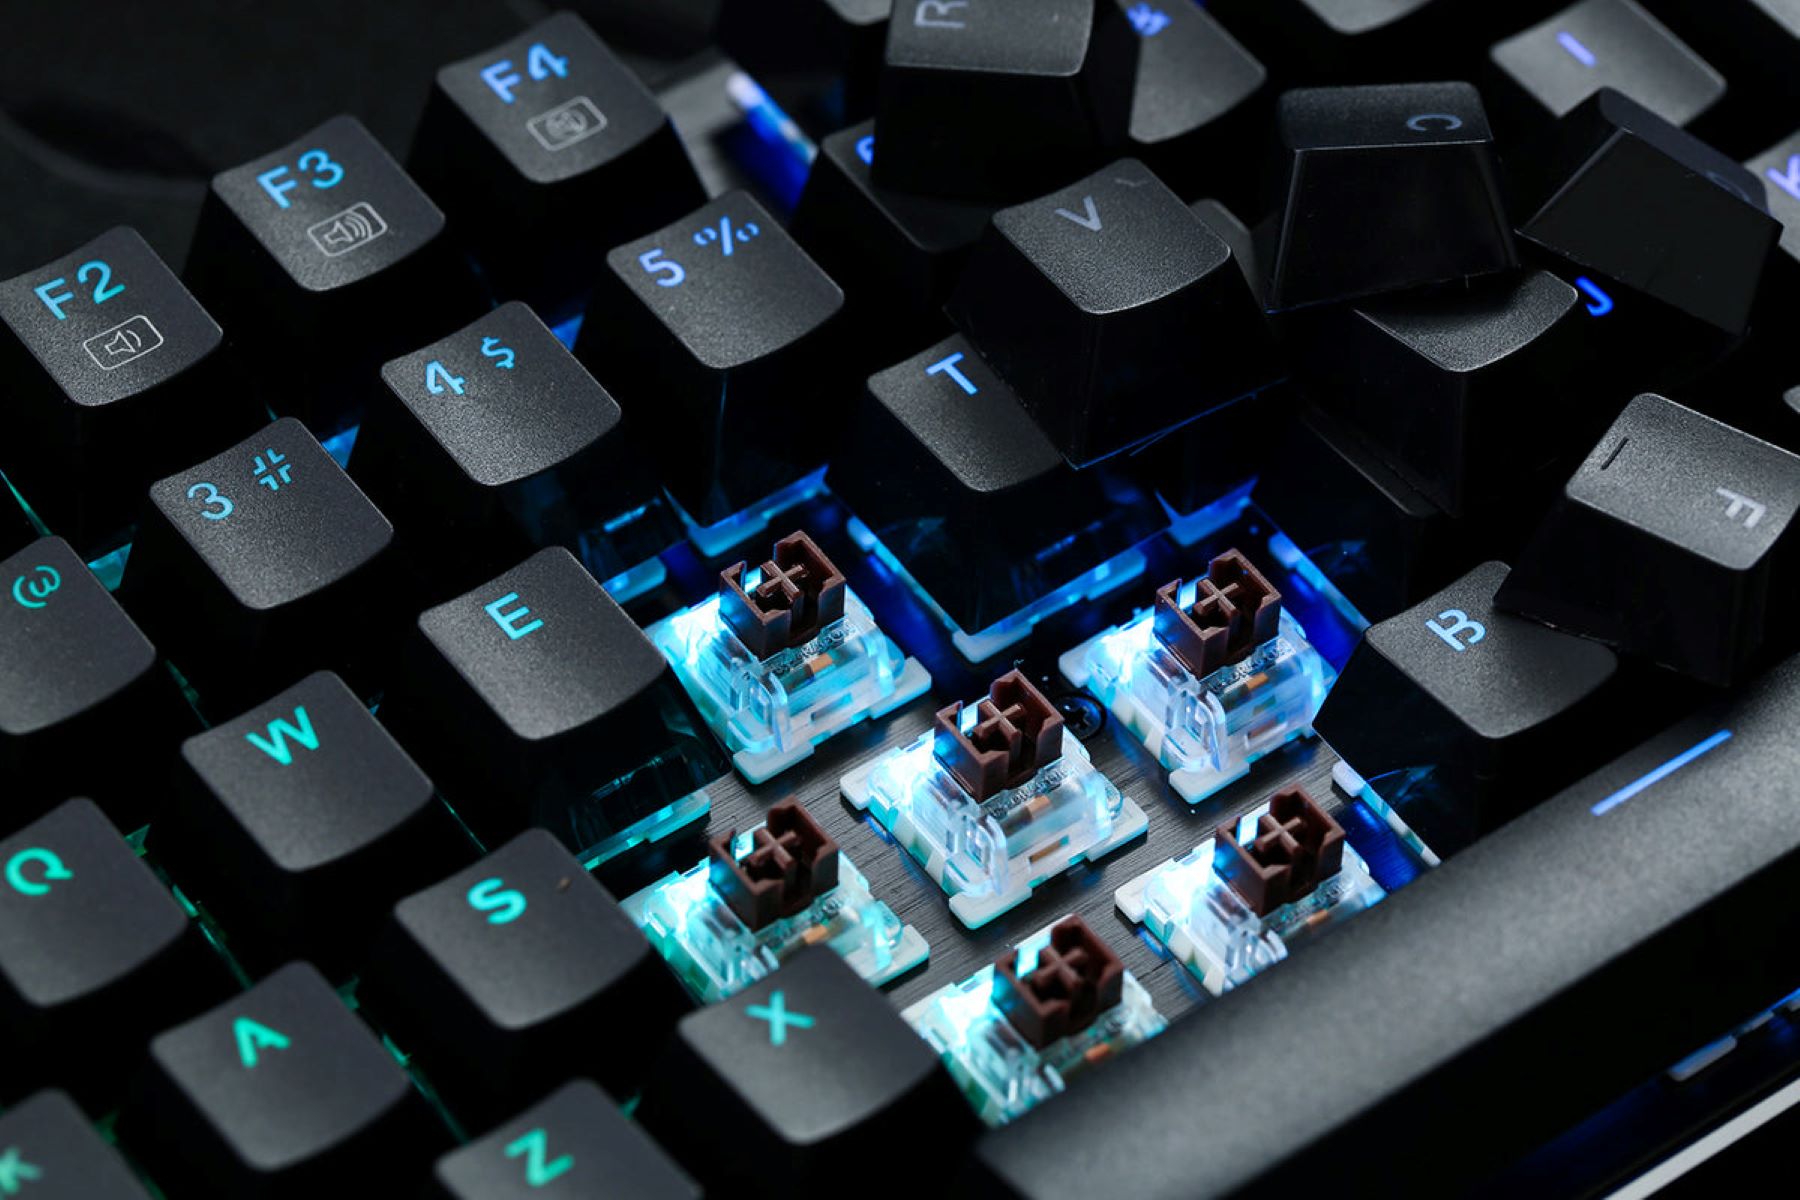
- Use the Keycap Puller: Depending on the design of your keycap puller, position it over the keycap you wish to remove. Apply gentle, even pressure and pull upwards to release the keycap from the switch. Repeat this process for each keycap you want to remove.
- Organize the Keycaps: As you remove the keycaps, consider organizing them in a container or ziplock bags according to their respective rows or sections on the keyboard. This will simplify the reassembly process later on.
- Inspect for Stabilizers: Some larger keys, such as the spacebar and shift keys, may have stabilizer bars or mechanisms underneath. Take note of their orientation and placement as you remove these keycaps, as they will need to be reattached correctly during reassembly.
- Handle with Care: When removing the keycaps, handle them gently to avoid damaging the switches or the keycaps themselves. Additionally, be mindful of any delicate components or stabilizers that may be attached to certain keycaps.
By following these steps, you can safely and methodically remove the keycaps from your Eagletec mechanical keyboard. Taking the time to handle the keycaps with care and organization will streamline the disassembly process and set the stage for the subsequent steps in dismantling the keyboard.
Opening the Keyboard Case
Once the keycaps have been removed, the next phase involves accessing the internal components of the keyboard by opening the keyboard case. Here’s a guide to safely and effectively open the case of your Eagletec mechanical keyboard:
- Assess the Case Design: Take a moment to examine the perimeter of the keyboard case. Some keyboards have snap-on cases, while others may be secured with screws or a combination of both. Understanding the case’s design will inform the approach you need to take.
- Identify Snap-Fit Points: If the case is secured with snap-fit points, gently pry open the case using a flathead screwdriver or a plastic opening tool. Start at one corner and work your way around the edges, applying even pressure to release the snaps without causing damage to the case.
- Locate and Remove Screws: For keyboards with screws securing the case, use a Phillips head screwdriver to carefully remove the screws. Keep track of the screws and consider storing them in a designated container or ziplock bag to prevent misplacement.
- Exercise Caution: As you work to open the keyboard case, exercise caution to avoid applying excessive force or causing damage to the case or its internal components. Take your time and proceed methodically to ensure a smooth and controlled process.
- Document the Process: If possible, consider taking photos or making notes as you open the case. This documentation can serve as a helpful reference when reassembling the keyboard, especially if it has intricate internal components or a unique layout.
By following these steps, you can safely open the case of your Eagletec mechanical keyboard, granting access to the internal components for cleaning, maintenance, or customization. Taking a deliberate and cautious approach to this phase of the disassembly process will set the stage for the subsequent steps in dismantling the keyboard.
Removing the Screws
With the keyboard case open, the next crucial step in the disassembly process is removing the screws that secure the internal components in place. These screws are typically located on the keyboard’s printed circuit board (PCB) and may also fasten other elements such as the mounting plate. Here’s a detailed guide to effectively remove the screws from your Eagletec mechanical keyboard:
- Identify Screw Locations: Take note of the locations and types of screws present on the PCB and mounting plate. They may vary in size and threading, so it’s important to distinguish between them to ensure proper reassembly later.
- Use the Correct Screwdriver: Select a Phillips head screwdriver that fits snugly into the screw heads to prevent stripping or damaging the screws. Applying gentle, consistent pressure will help loosen the screws without causing harm to the surrounding components.
- Keep Screws Organized: As you remove each screw, consider placing them in a designated container or using a magnetic mat to keep them organized and prevent misplacement. Maintaining a clear distinction between screws from different areas of the keyboard will simplify the reassembly process.
- Exercise Precision: When removing the screws, ensure that the screwdriver is perpendicular to the screw heads to prevent slippage. This will minimize the risk of damaging the screws or the surrounding components, preserving the integrity of the keyboard’s internal structure.
- Inspect for Hidden Screws: Some keyboards may have hidden screws beneath adhesive labels or rubber feet. Carefully lift these labels or feet to reveal any concealed screws that need to be removed before proceeding further.
By following these steps, you can systematically remove the screws from your Eagletec mechanical keyboard, preparing the internal components for separation and maintenance. Taking a meticulous and organized approach to this phase of the disassembly process will ensure that the keyboard’s components can be accessed and serviced effectively.
Separating the Components
With the screws removed, the keyboard’s internal components are now ready to be separated, granting access to the individual elements for cleaning, maintenance, or customization. Carefully navigating this phase of the disassembly process is essential to ensure that the components are handled with precision and care. Here’s a detailed guide to effectively separate the components of your Eagletec mechanical keyboard:
- Assess Component Interconnections: Take note of any cables, connectors, or ribbon cables linking the keyboard’s PCB to other components, such as the controller board or backlighting elements. Carefully disconnect these interconnections by gently releasing the connectors or detaching the cables as needed.
- Handle with Care: As you separate the components, handle them with delicacy and avoid applying excessive force. Components such as the PCB, mounting plate, and switches are intricate and sensitive, requiring careful maneuvering to prevent damage.
- Document Cable Routes: If applicable, document the routes and orientations of any cables or connectors as you disconnect them. This documentation will serve as a valuable reference during reassembly, ensuring that the components are reconnected accurately.
- Utilize Anti-Static Precautions: To protect the sensitive electronic components from static discharge, consider working on an anti-static mat and grounding yourself by touching a grounded metal object before handling the PCB or other electronic parts.
- Organize Disconnected Components: As you separate the components, consider organizing them in a systematic manner to facilitate the reassembly process. Using small containers or labeled bags for different components and their associated screws can prevent confusion during reassembly.
By following these steps, you can effectively separate the components of your Eagletec mechanical keyboard, paving the way for thorough cleaning, inspection, or modification. Taking a methodical and cautious approach to this phase of the disassembly process will ensure that the keyboard’s internal components are handled with the utmost care and precision.
Reassembling the Keyboard
After completing the necessary cleaning, maintenance, or customization tasks, reassembling your Eagletec mechanical keyboard is the final step in the disassembly process. Proper reassembly is crucial to ensure that the keyboard functions optimally and retains its structural integrity. Here’s a comprehensive guide to effectively reassemble your keyboard:
- Refer to Documentation: If you documented the disassembly process, use your notes or photos as a reference to guide the reassembly. This can be particularly helpful for reconnecting cables, aligning components, and identifying the correct placement of screws.
- Connect Components Carefully: Reconnect any cables, ribbon cables, or connectors that were detached during the disassembly process. Ensure that they are aligned properly and securely fastened to their respective ports or sockets.
- Align Mounting Plate and PCB: If the keyboard features a separate mounting plate and PCB, align them carefully before securing them together. Ensuring proper alignment is essential for the keyboard’s overall stability and functionality.
- Secure Components with Screws: Using the organized screws you set aside during disassembly, reattach the mounting plate, PCB, and any other components that require fastening. Exercise caution to avoid overtightening the screws, as this can damage the components or the keyboard’s case.
- Reinstall Keycaps: Once the internal components are secured, begin reinstalling the keycaps in their respective positions. Use a keycap puller if necessary to ensure that the keycaps are seated evenly and securely on the switches.
- Test Keyboard Functionality: Before fully enclosing the keyboard case, test the functionality of the keys, switches, and any additional features such as backlighting. This allows you to identify and address any issues before completing the reassembly.
By following these steps, you can successfully reassemble your Eagletec mechanical keyboard, ensuring that each component is correctly positioned and secured. Taking a meticulous and methodical approach to the reassembly process will help maintain the keyboard’s performance and longevity, allowing you to resume using it with confidence.