Introduction
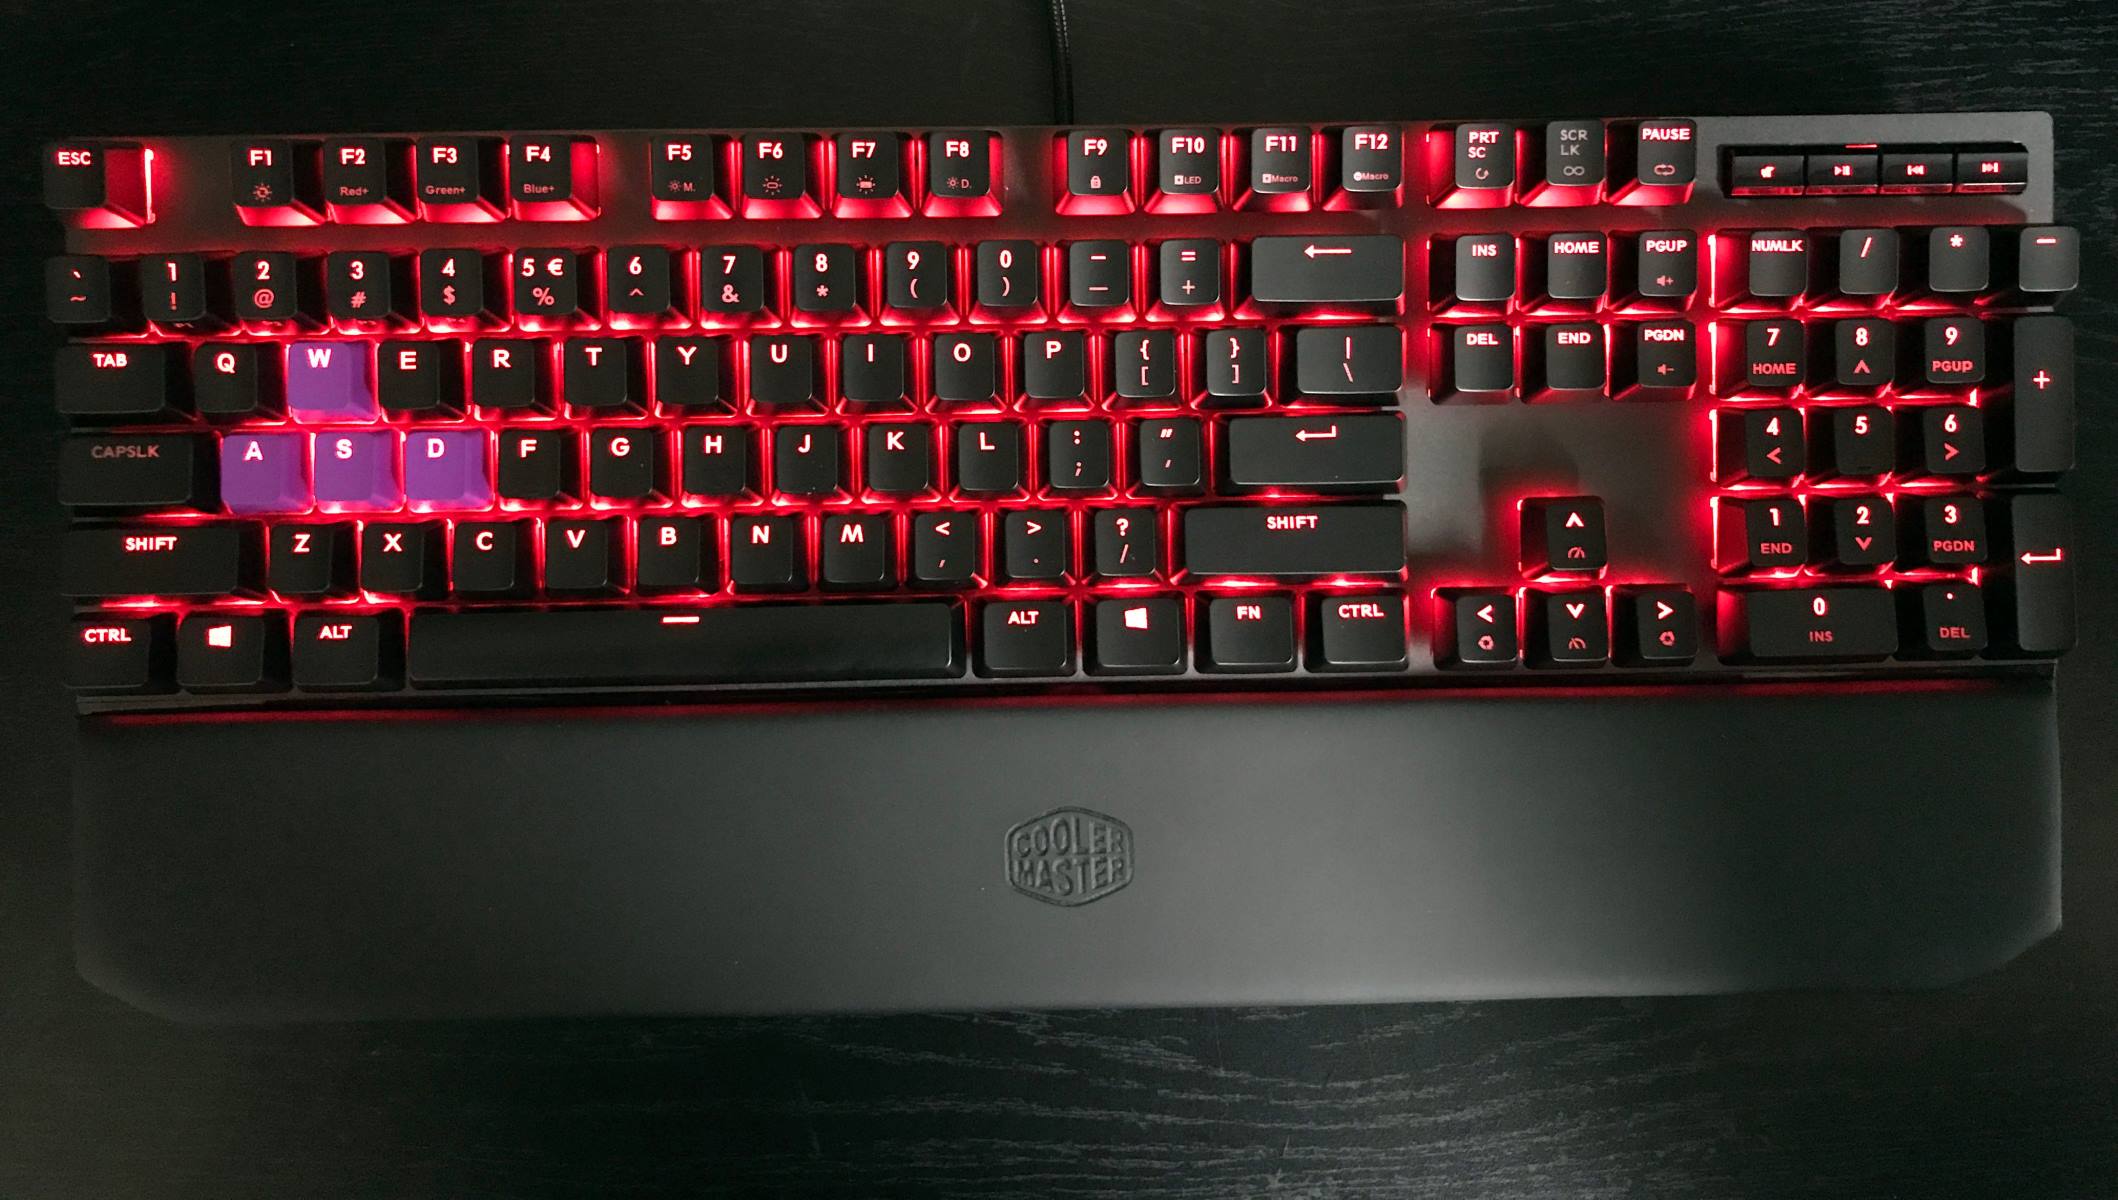
Are you ready to delve into the inner workings of your Cooler Master mechanical keyboard? Whether you're seeking to customize the keycaps, perform maintenance, or simply satisfy your curiosity, understanding how to disassemble and reassemble your keyboard is a valuable skill for any enthusiast. This step-by-step guide will walk you through the process, providing insights into the keyboard's construction and empowering you to undertake this task with confidence.
Disassembling a mechanical keyboard may seem daunting at first, but armed with the right tools and knowledge, it can be a rewarding and enlightening experience. By gaining a deeper understanding of the components and mechanisms within your keyboard, you'll develop a greater appreciation for its craftsmanship and functionality. Additionally, knowing how to disassemble and clean your keyboard can help prolong its lifespan and maintain its optimal performance.
Throughout this guide, we'll explore the essential tools needed for disassembly, the meticulous process of removing keycaps, the careful disassembling of the keyboard itself, the best practices for cleaning the components, and the precise reassembly of the keyboard. By the end, you'll be equipped with the expertise to confidently disassemble, clean, and reassemble your Cooler Master mechanical keyboard, ensuring it remains a reliable and enjoyable part of your computing setup.
So, grab your tools and get ready to embark on a journey into the inner workings of your mechanical keyboard. Let's dive into the fascinating process of disassembling and reassembling your Cooler Master keyboard, unlocking a world of insight and understanding along the way.
Tools Needed
Before embarking on the disassembly of your Cooler Master mechanical keyboard, it’s essential to gather the necessary tools to ensure a smooth and efficient process. Here’s a comprehensive list of the tools you’ll need:
- Keycap Puller: This specialized tool is designed to safely remove keycaps from the keyboard without causing damage. It typically features wire loops or prongs that fit beneath the keycap, allowing for easy removal.
- Flathead Screwdriver: A small flathead screwdriver can be useful for prying apart the keyboard’s casing or accessing internal components.
- Phillips Head Screwdriver: Depending on your keyboard model, a Phillips head screwdriver may be required to remove screws securing the keyboard’s casing or internal components.
- Cotton Swabs: These are ideal for cleaning hard-to-reach areas and removing dust or debris from the keyboard’s switches and casing.
- Isopropyl Alcohol: A cleaning solution such as isopropyl alcohol can be used to effectively clean the keycaps and internal components of the keyboard.
- Microfiber Cloth: Utilize a soft, lint-free microfiber cloth to wipe down and dry the components after cleaning.
- Tweezers: Precision tweezers can aid in removing any stubborn debris or reaching inaccessible areas during the cleaning process.
- Compressed Air Duster: This can be used to gently remove dust and debris from the keyboard’s switches and crevices.
By ensuring you have these essential tools on hand, you’ll be well-prepared to tackle the disassembly, cleaning, and reassembly of your Cooler Master mechanical keyboard. With the right tools at your disposal, you can proceed with confidence, knowing that you have everything necessary to maintain and customize your keyboard to your satisfaction.
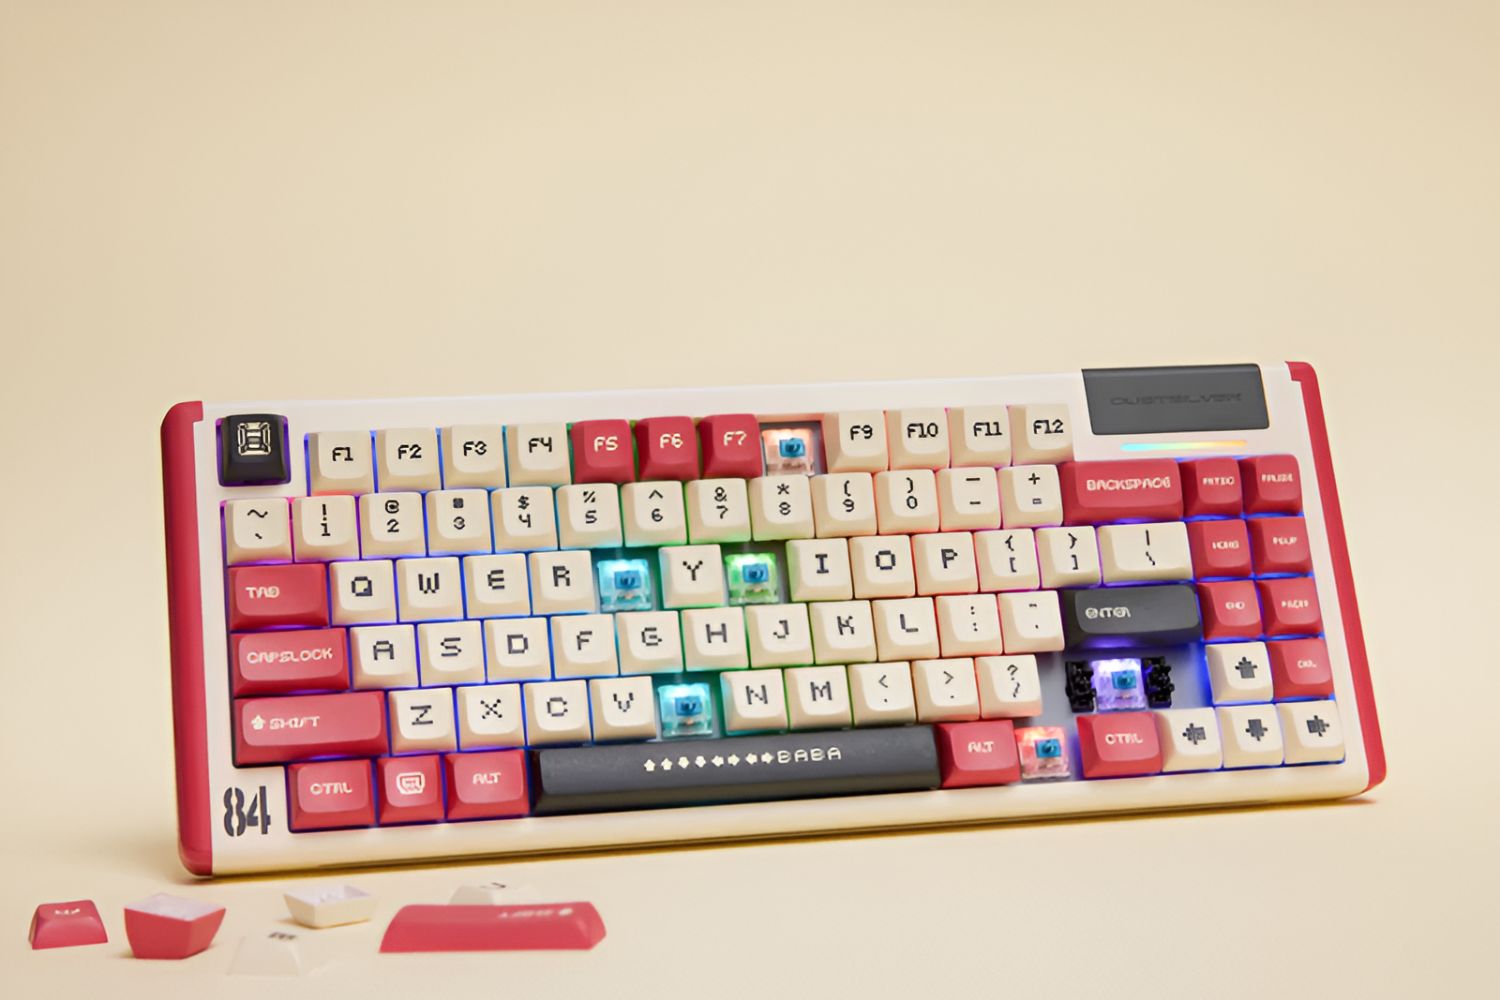
Removing Keycaps
Before delving into the disassembly of the keyboard itself, it’s essential to start with the meticulous process of removing the keycaps. This step is crucial for accessing the keyboard’s switches and underlying components, whether for maintenance, customization, or cleaning. Here’s a detailed guide on how to effectively remove the keycaps from your Cooler Master mechanical keyboard:
- Prepare Your Workspace: Find a well-lit and spacious area to work in, ensuring that you have ample room to organize the keycaps and tools. It’s advisable to work on a clean, soft surface to prevent any damage to the keycaps or keyboard.
- Use a Keycap Puller: Begin by utilizing a keycap puller to gently and evenly remove the keycaps from the switches. Position the keycap puller over the keycap and apply even pressure to pull it straight up. Avoid twisting or applying excessive force, as this could damage the switches or keycaps.
- Work Methodically: Start from one end of the keyboard and systematically remove the keycaps, keeping them organized to facilitate reassembly. You may find it helpful to arrange the keycaps in a segmented container or use a keycap map to keep track of their original positions.
- Inspect for Stabilizers: Some larger keycaps, such as the spacebar or shift keys, may be equipped with stabilizer bars or mechanisms. Take note of their orientation and attachment to ensure proper reassembly later on.
- Handle with Care: As you remove the keycaps, handle them with care to avoid damage to the stems or clips. Additionally, be mindful of any small components or springs that may be present on certain keycaps.
By following these steps, you can safely and methodically remove the keycaps from your Cooler Master mechanical keyboard, paving the way for the subsequent disassembly and cleaning processes. With the keycaps removed, you’ll gain access to the switches and underlying components, allowing for thorough maintenance or customization as desired.
Disassembling the Keyboard
Now that the keycaps have been carefully removed, the next stage involves disassembling the keyboard itself to access its internal components. This process requires precision and attention to detail to ensure that the keyboard is safely and effectively taken apart. Here’s a systematic approach to disassembling your Cooler Master mechanical keyboard:
- Locate and Remove Screws: Depending on the model of your Cooler Master keyboard, there may be screws securing the top plate or casing. Use the appropriate screwdriver to carefully remove these screws, keeping them in a secure location for reassembly.
- Separate the Top Plate: Once the screws have been removed, gently separate the top plate or casing from the keyboard’s main body. Take care to note any clips or latches that may need to be disengaged to avoid damaging the components.
- Handle with Caution: As you disassemble the keyboard, handle the components with care to prevent any undue stress or damage. Pay attention to any cables or ribbon connectors that may be attached to the top plate, ensuring they are safely detached before proceeding.
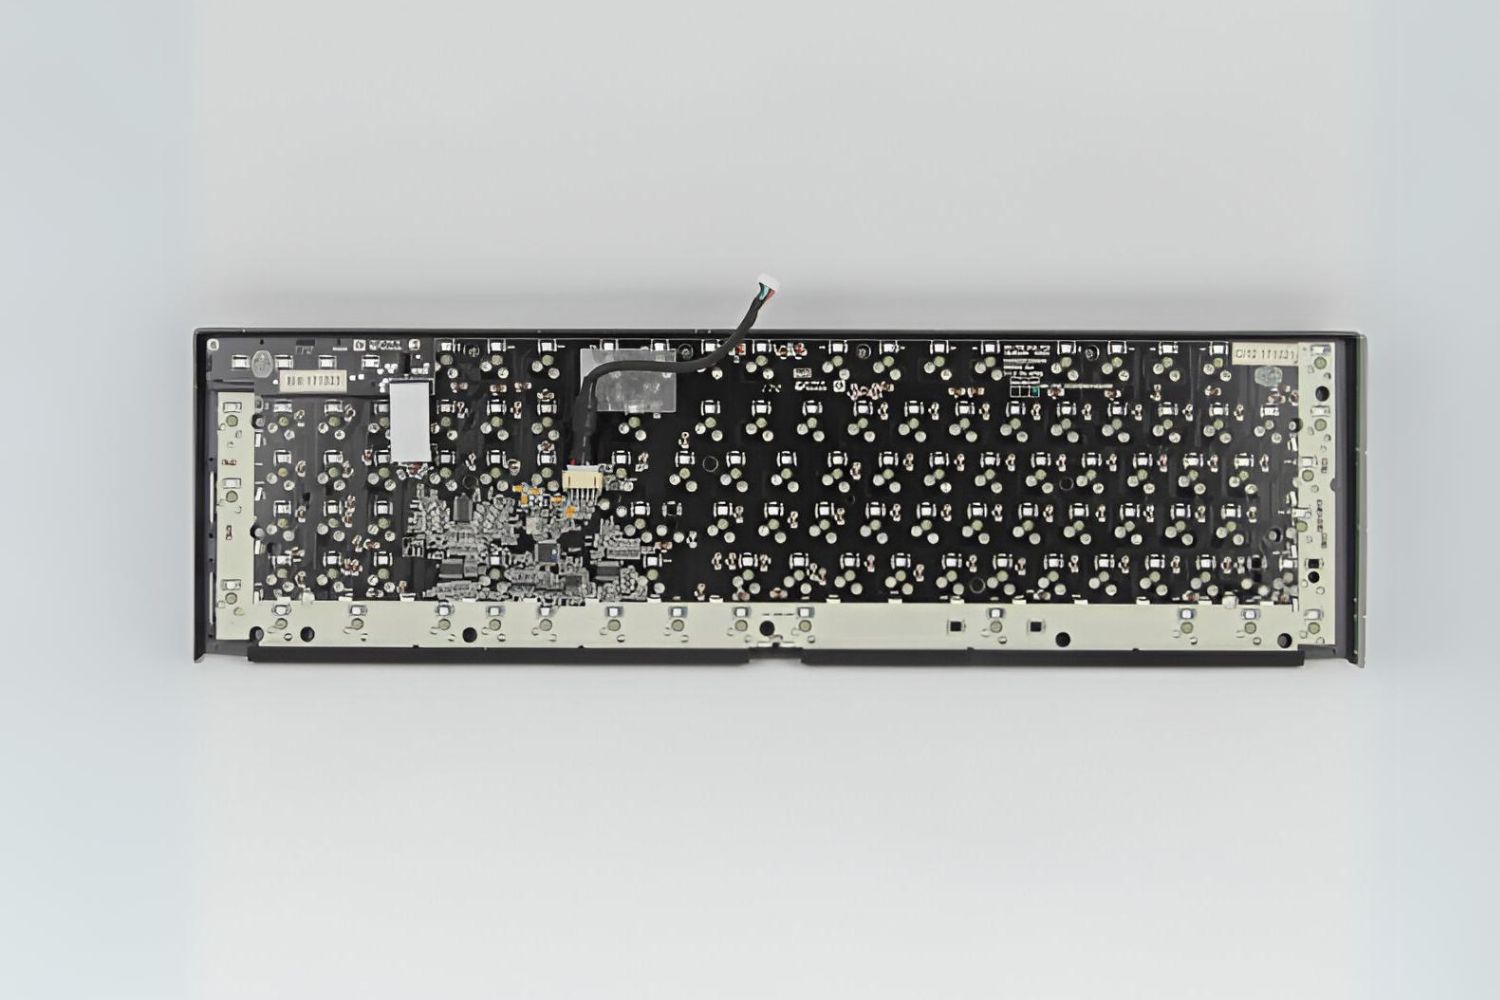
- Accessing the Switches: With the top plate removed, you’ll gain access to the switches and underlying PCB (printed circuit board). Take this opportunity to inspect the switches and PCB for any debris, dust, or signs of wear that may require attention.
- Organize and Secure Components: As you disassemble the keyboard, keep the removed components organized and secure to facilitate the reassembly process. Utilize small containers or labeling to keep track of screws, cables, and any detached components.
By following these steps, you can effectively disassemble your Cooler Master mechanical keyboard, gaining access to its internal components for maintenance, cleaning, or customization. With a methodical approach and attention to detail, the disassembly process can be executed smoothly, setting the stage for the subsequent cleaning and reassembly stages.
Cleaning the Keyboard
Once the keyboard has been disassembled, it’s essential to embark on a thorough cleaning process to ensure the components are free from dust, debris, and any buildup that may affect performance. Cleaning your Cooler Master mechanical keyboard can help maintain its functionality and aesthetics. Here’s a comprehensive guide to effectively clean the keyboard components:
- Inspecting the Components: Before cleaning, carefully inspect the switches, keycaps, and PCB for any visible debris, dust, or residue. Take note of any areas that require targeted cleaning or attention.
- Using Compressed Air: Begin by using a can of compressed air to gently blow away any loose dust or debris from the switches, PCB, and crevices within the keyboard. Ensure the keyboard is held at an angle to allow the dislodged particles to fall away from the components.
- Cleaning the Keycaps: Submerge the keycaps in a bowl of warm water mixed with a mild detergent or keycap cleaning solution. Use a soft-bristled brush to gently scrub each keycap, removing any grime or residue. Rinse the keycaps thoroughly and allow them to air dry completely before reinstallation.
- Wiping the Components: Use a microfiber cloth lightly dampened with isopropyl alcohol to gently wipe down the switches, PCB, and internal surfaces of the keyboard. Exercise caution to avoid excess moisture and ensure that all components are thoroughly dried before reassembly.
- Detailing the Casing: If the keyboard’s casing or top plate requires cleaning, use a slightly dampened microfiber cloth to wipe away any smudges or marks. Ensure that no moisture seeps into the internal components or switches.
- Reassembling with Care: Once the cleaning process is complete and all components are dry, proceed with the reassembly of the keyboard, ensuring that each part is securely in place and any cables or connectors are properly reattached.
By diligently following these cleaning procedures, you can effectively restore your Cooler Master mechanical keyboard to a pristine state, free from dust and debris that may compromise its performance or appearance. A clean keyboard not only enhances the overall user experience but also contributes to the longevity and reliability of the mechanical switches and components.
Reassembling the Keyboard
With the cleaning process complete, it’s time to carefully reassemble your Cooler Master mechanical keyboard, ensuring that each component is securely and correctly positioned for optimal functionality. Reassembly is a critical phase that demands attention to detail and precision. Here’s a step-by-step guide to effectively reassemble your keyboard:
- Organize the Components: Before reassembly, ensure that all cleaned and dried components, including the keycaps, switches, PCB, and casing, are organized and readily accessible. Verify that any screws, cables, or connectors are accounted for and prepared for use.
- Attaching the Top Plate: If the keyboard features a separate top plate, carefully position it over the switches and PCB, ensuring that any clips or latches are engaged securely. Take care to align the top plate with the keyboard’s main body before proceeding.
- Securing Screws and Fasteners: If screws were removed during disassembly, use the appropriate screwdriver to reattach them, securing the top plate or casing to the keyboard’s main body. Exercise caution to avoid over-tightening the screws, which could potentially damage the components.
- Reinstalling the Keycaps: Begin the process of reinstalling the keycaps, referring to any keycap map or organizational system used during removal. Ensure that each keycap is pressed evenly and firmly onto the corresponding switch, with the legends or characters aligned correctly.
- Verifying Connections: If any cables or ribbon connectors were detached during disassembly, carefully reattach them to their respective ports, ensuring a secure and proper connection without undue strain on the components.
- Testing Functionality: Before completing the reassembly, perform a quick functional test of the keyboard to ensure that all keys register correctly and that the switches are responsive. This allows for immediate identification and rectification of any potential issues.
By following these meticulous steps, you can successfully reassemble your Cooler Master mechanical keyboard, ensuring that each component is securely and accurately positioned for optimal performance. A methodical and attentive approach to reassembly is crucial for maintaining the keyboard’s functionality and longevity, setting the stage for continued enjoyment and reliable operation.
Conclusion
Congratulations! You’ve successfully navigated the intricate process of disassembling, cleaning, and reassembling your Cooler Master mechanical keyboard. By undertaking this endeavor, you’ve not only gained valuable insights into the keyboard’s construction and inner workings but also contributed to its longevity and optimal performance.
Throughout this journey, you’ve harnessed essential tools, exercised precision and care in removing keycaps, meticulously disassembled the keyboard, conducted a thorough cleaning process, and methodically reassembled each component to its rightful place. This hands-on experience has not only deepened your understanding of mechanical keyboards but has also empowered you to maintain and customize your keyboard to your preferences.
As you reassemble the keyboard and test its functionality, take pride in the meticulous attention you’ve devoted to this process. Your efforts have not only rejuvenated the keyboard’s appearance but also contributed to its continued reliability and responsiveness. Whether you embarked on this endeavor for maintenance, customization, or simply to explore the inner workings of your keyboard, the knowledge and skills you’ve acquired are invaluable.
Moving forward, you can enjoy the enhanced tactile experience and personalized aesthetics of your meticulously maintained Cooler Master mechanical keyboard. By periodically undertaking cleaning and maintenance, you’ll ensure that your keyboard remains a dependable and enjoyable tool for your computing endeavors.
So, as you resume your typing adventures, take a moment to appreciate the craftsmanship and precision that define your mechanical keyboard. Your newfound expertise has unlocked a world of possibilities, allowing you to maintain, customize, and cherish this essential peripheral for years to come.