Introduction
Introduction
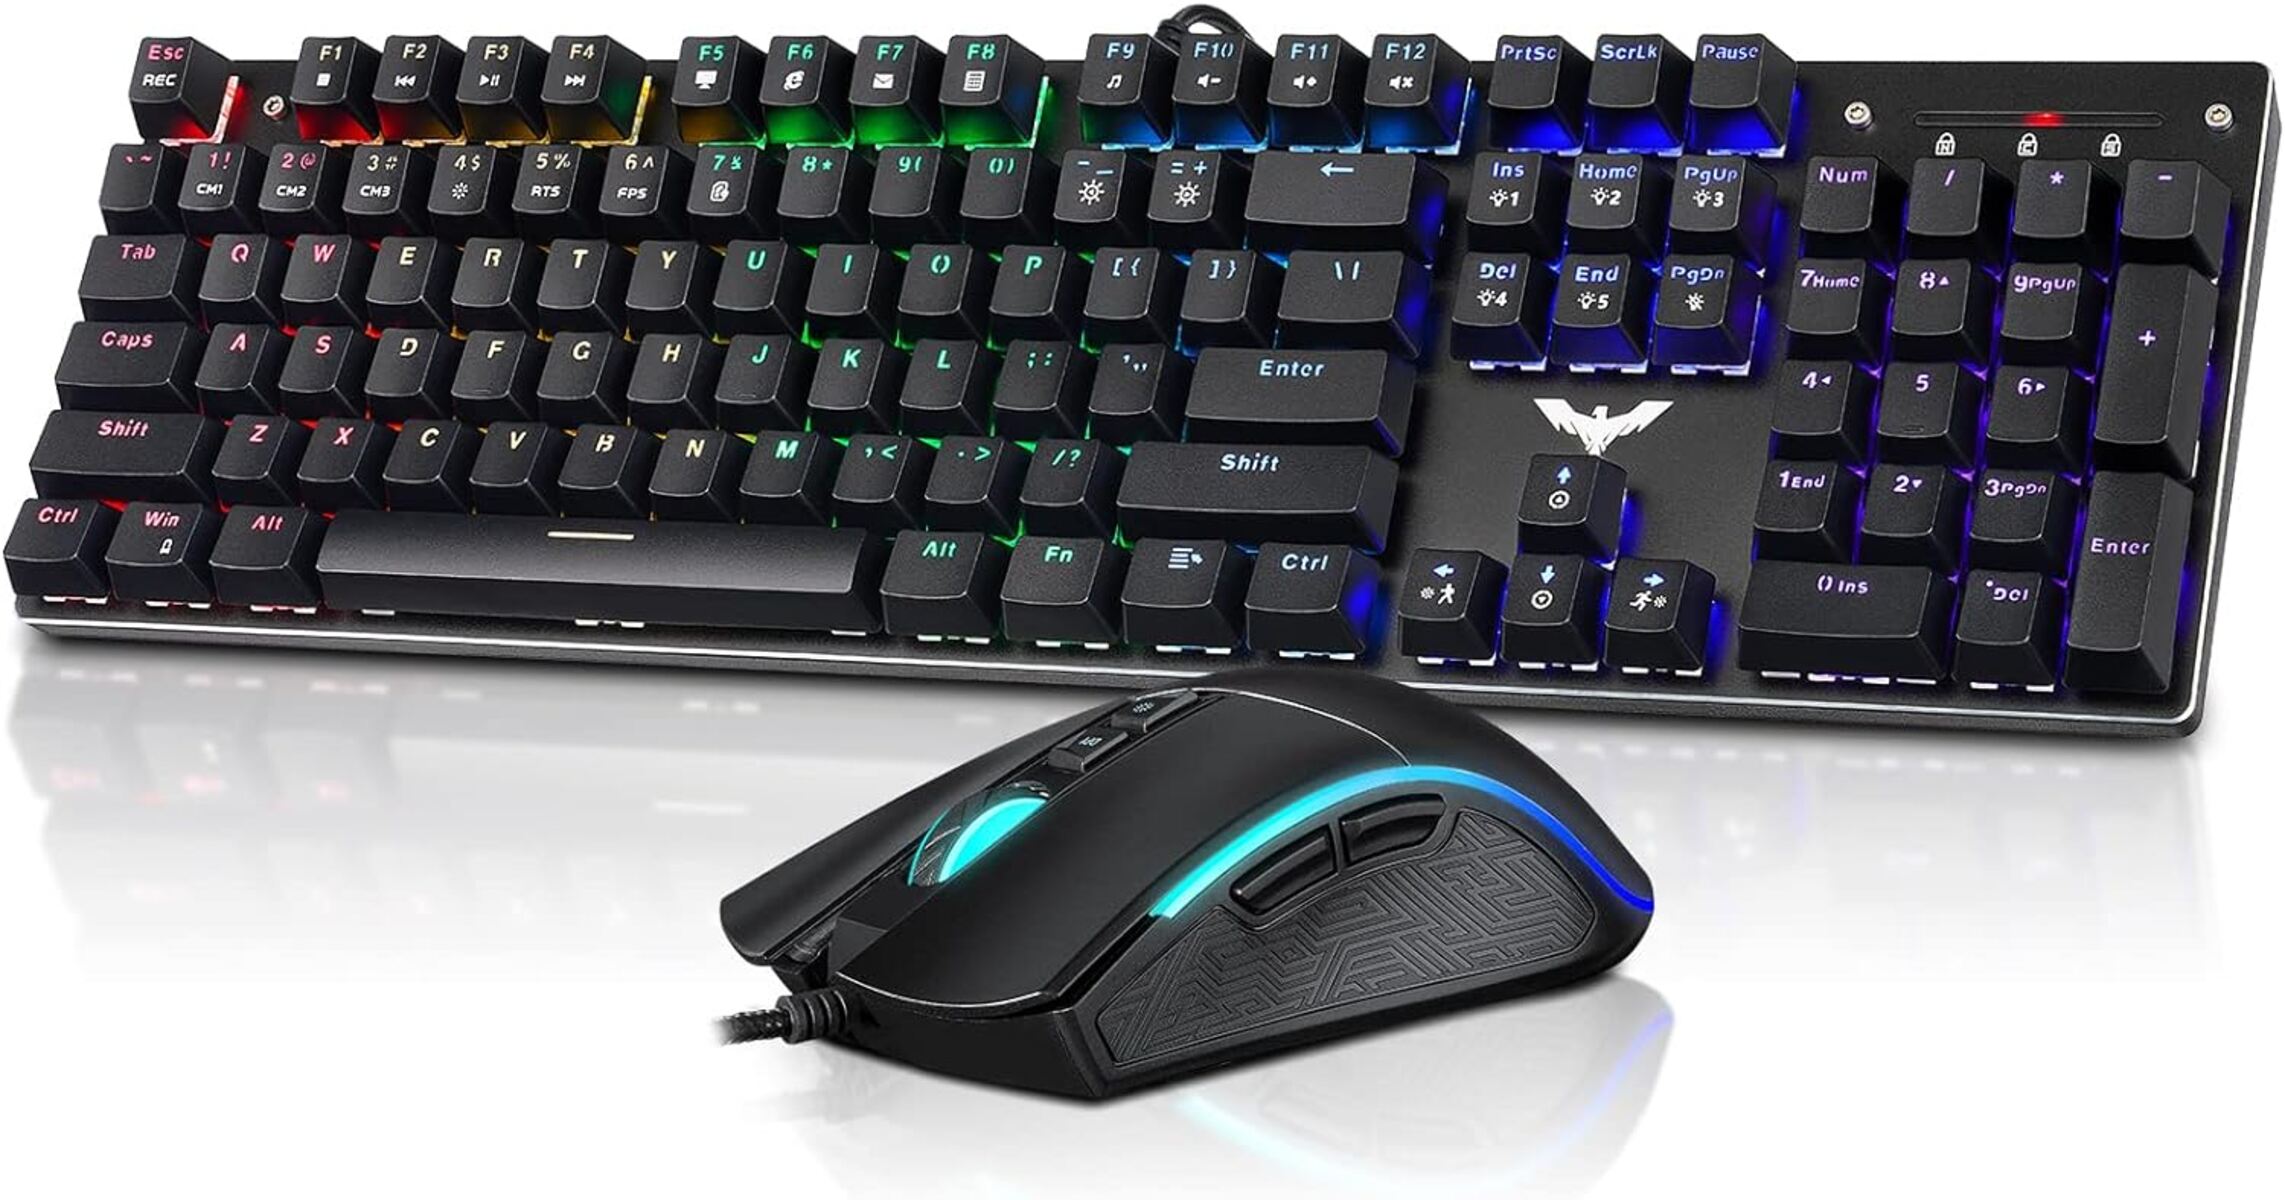
Welcome to the exciting world of customizing your Eagletec gaming mouse! Whether you're looking to add a personal touch, match your setup's color scheme, or simply switch things up for a change, altering the color settings on your 5-button Eagletec gaming mouse can breathe new life into your gaming experience. By following a few simple steps, you can transform the visual appeal of your gaming mouse to suit your preferences.
Customizing the color of your gaming mouse is a great way to express your individuality and make your gaming setup truly your own. With the Eagletec gaming mouse, you have the flexibility to choose from an array of vibrant colors, allowing you to create a gaming environment that reflects your unique style and personality.
In the following guide, we'll walk you through the step-by-step process of changing the color on your 5-button Eagletec gaming mouse. Whether you're an experienced gamer or just starting out, this guide is designed to be easy to follow, ensuring that you can effortlessly customize your mouse to your liking. Let's dive in and explore how you can bring a personal touch to your gaming setup through the power of color customization.
Step 1: Install Eagletec Software
Before you can begin customizing the color settings on your 5-button Eagletec gaming mouse, you'll need to install the Eagletec software. This software serves as the control center for your mouse, providing you with the tools to personalize its appearance and functionality. Here's how you can get started:
-
Visit the Eagletec Website: Head to the official Eagletec website to locate the software download section. Look for the dedicated software for your specific gaming mouse model, ensuring that you download the correct version compatible with your device.
-
Download and Install: Once you've located the software for your 5-button Eagletec gaming mouse, proceed to download and install it on your computer. Follow the on-screen instructions to complete the installation process, and make sure to grant any necessary permissions for the software to function optimally.
-
Launch the Software: After the installation is complete, launch the Eagletec software to familiarize yourself with its interface. Take a moment to explore the various features and settings available, as this will help you navigate the software more efficiently when customizing your gaming mouse.
Step 2: Open Eagletec Software
Now that you have successfully installed the Eagletec software, it’s time to open the application and prepare to customize the color settings of your 5-button Eagletec gaming mouse. Here’s how you can easily access the software and get ready to personalize your gaming experience:
-
Locate the Installed Software: Navigate to your computer’s installed programs or applications and find the Eagletec software. You can typically find it in the list of installed programs, or you may have a shortcut icon on your desktop for quick access.
-
Double-Click to Open: Once you’ve located the Eagletec software, double-click on the icon to launch the application. Alternatively, you can single-click if you have a shortcut icon on your desktop. This action will open the software and present you with its user interface.
-
Login or Connect Your Mouse: Depending on the software’s requirements, you may need to log in using your Eagletec account credentials or simply connect your 5-button Eagletec gaming mouse to your computer. Follow the prompts to ensure that the software recognizes your mouse and establishes a connection.
By following these simple steps, you can easily open the Eagletec software and prepare to embark on the exciting journey of customizing the color settings of your gaming mouse. With the software now accessible, you’re one step closer to creating a personalized and visually captivating gaming setup that truly reflects your unique style and preferences.
Step 3: Select the Mouse
With the Eagletec software open and ready, the next step in customizing the color settings of your 5-button Eagletec gaming mouse is to select the specific device within the software interface. This crucial step ensures that any changes you make will be applied to the correct mouse. Follow these straightforward instructions to select your gaming mouse within the Eagletec software:
-
Navigate to Device Selection: Look for a section or tab within the Eagletec software’s interface that allows you to manage connected devices. This may be labeled as “Device Selection,” “Connected Devices,” or something similar. Click on or navigate to this section to proceed.
-
Locate Your Gaming Mouse: Within the device selection area, you should see a list of connected devices or a specific section dedicated to gaming mice. Look for your 5-button Eagletec gaming mouse in the list of devices displayed. It may be identified by its model name or a unique identifier.
-
Select Your Mouse: Once you’ve located your gaming mouse within the software, click on it to select it as the active device for customization. This action ensures that any color changes or settings adjustments will be applied to your 5-button Eagletec gaming mouse specifically.
By following these simple steps, you can easily select your gaming mouse within the Eagletec software, setting the stage for seamless and personalized color customization. With your mouse now identified and ready for customization, you’re well on your way to infusing your gaming setup with a vibrant and personalized visual appeal that matches your unique style.
Step 4: Choose Color Options
Now that you’ve selected your 5-button Eagletec gaming mouse within the Eagletec software, it’s time to delve into the exciting realm of color customization. The software provides a range of color options, allowing you to tailor the appearance of your gaming mouse to your exact preferences. Follow these steps to explore and select the color options available for your mouse:
-
Access Color Settings: Look for a dedicated section or tab within the Eagletec software’s interface that pertains to color customization. This may be labeled as “Color Options,” “LED Settings,” or something similar. Click on or navigate to this section to access the available color settings for your gaming mouse.
-
Explore Color Palette: Once you’ve accessed the color settings, you’ll likely encounter a vibrant color palette showcasing an array of hues and shades. Take a moment to explore the palette and familiarize yourself with the available color options. You may find standard colors, custom shades, or even dynamic lighting effects to choose from.
-
Select Your Preferred Color: With the color palette before you, choose your preferred color by clicking on the corresponding option. Whether you opt for a bold, attention-grabbing hue or a subtle, understated tone, the choice is entirely yours. Experiment with different colors to find the perfect match for your gaming setup.
-
Adjust Additional Settings: Depending on the software’s capabilities, you may have the opportunity to adjust additional settings related to the chosen color. This could include brightness levels, lighting patterns, or even synchronized effects with other compatible peripherals in your setup.
By following these steps, you can seamlessly navigate the color options within the Eagletec software, empowering you to transform the visual aesthetic of your 5-button Eagletec gaming mouse with ease. With a myriad of color choices at your fingertips, you’re poised to create a captivating and personalized gaming experience that reflects your individual style and preferences.
Step 5: Save Settings
After customizing the color options for your 5-button Eagletec gaming mouse, it’s essential to save your settings to ensure that your preferred color scheme is retained and activated whenever you use your mouse. Follow these straightforward steps to save your customized color settings within the Eagletec software:
-
Locate the Save Option: Look for a designated “Save” or “Apply” button within the color customization section of the Eagletec software’s interface. This button is typically positioned near the color settings and allows you to preserve your chosen color options.
-
Click to Save: Once you’ve located the “Save” or “Apply” button, click on it to initiate the saving process. This action ensures that your customized color settings are stored within the software and will be activated whenever your gaming mouse is in use.
-
Confirm the Changes: After clicking the save button, you may receive a confirmation message indicating that your color settings have been successfully saved. Take note of any prompts or notifications to ensure that your preferences have been accurately retained.
-
Test Your Mouse: To confirm that your customized color settings have been applied, test your 5-button Eagletec gaming mouse by using it in your preferred applications or games. You should see the chosen color scheme illuminating your mouse, adding a personalized touch to your gaming experience.
By following these steps, you can effectively save your customized color settings within the Eagletec software, ensuring that your 5-button gaming mouse reflects your desired color scheme each time you engage in gaming sessions or general computer use. With your settings securely stored, you can enjoy a visually captivating and personalized gaming experience tailored to your unique style and preferences.


