Do you want to know how to build a custom gaming keyboard? Nowadays, many gamers already know how to replace their keycaps and customize their existing keyboards. It’s part of the fun of customizing every aspect of your desk setup to make it your own.
However, keyboard enthusiasts might not be satisfied with just that and want to take things a step further. How do you even begin? Don’t worry. It’s not going to be easy, but it isn’t impossible. Here is everything you need to know about building a custom gaming keyboard for the first time.
What Is a Custom Gaming Keyboard?
If you’ve been a long-time PC gamer, you’re probably already familiar with the standard gaming keyboard. These (usually) mechanical keyboards are great for gaming because they prevent accidental presses, provide dedicated controls, and have more features.
On the other hand, a custom gaming keyboard is simply a gaming keyboard that you’ve built by hand. Of course, this doesn’t mean you have to create a custom circuit board or 3D print the keycaps yourself. You can simply make it “custom” by buying the parts you want to include and then assembling everything yourself.
Through this process, you can create the best gaming keyboard to fit all of your gaming needs. With it, you can truly call a custom gaming keyboard your own without competing with anyone.
Types of Custom Keyboards
Making a custom gaming keyboard isn’t exactly a new thing. There are tons of custom gaming keyboard enthusiasts out there creating entirely new designs with new layouts, aesthetics, and more. That’s why it’s kind of impossible to classify custom keyboards by type. However, there are a few key features that might differentiate one mechanical keyboard from the next.
The first and most visible distinguishing feature is probably the layout. For example, some custom gaming keyboard builds might have a numeric pad, while others don’t. On the other hand, many layouts vary the size depending on the keys they choose to keep or leave out.
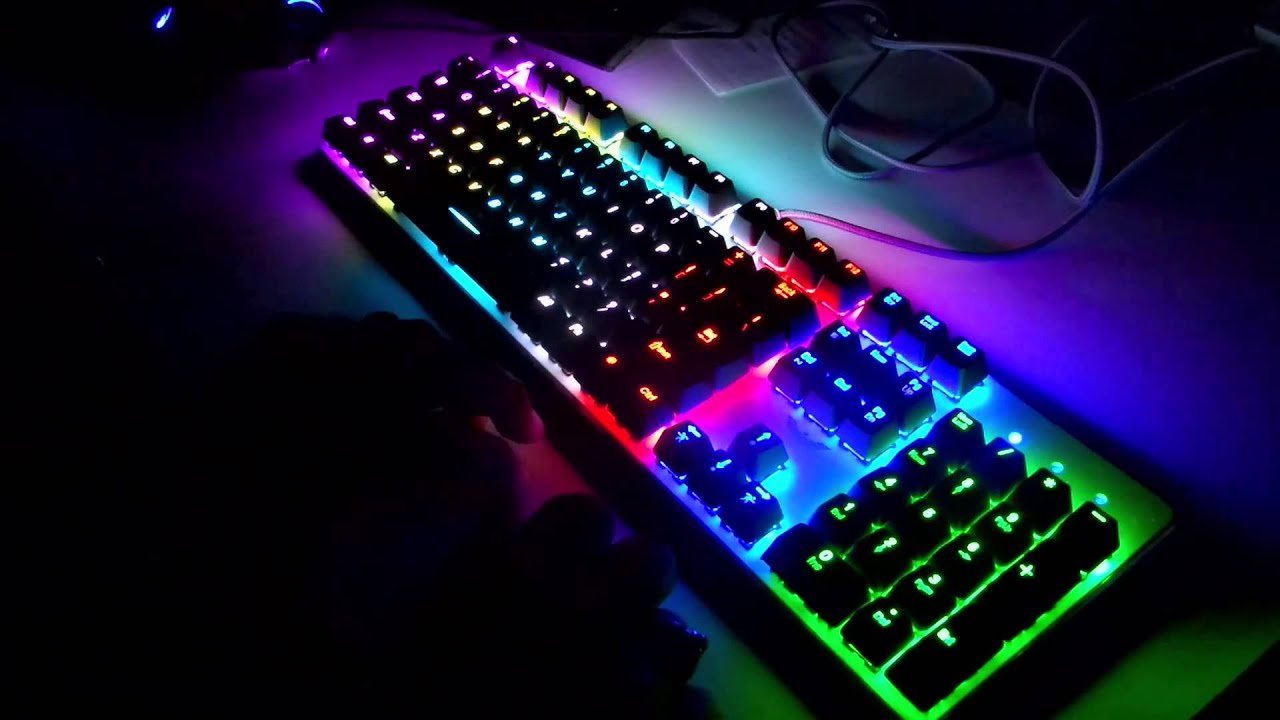
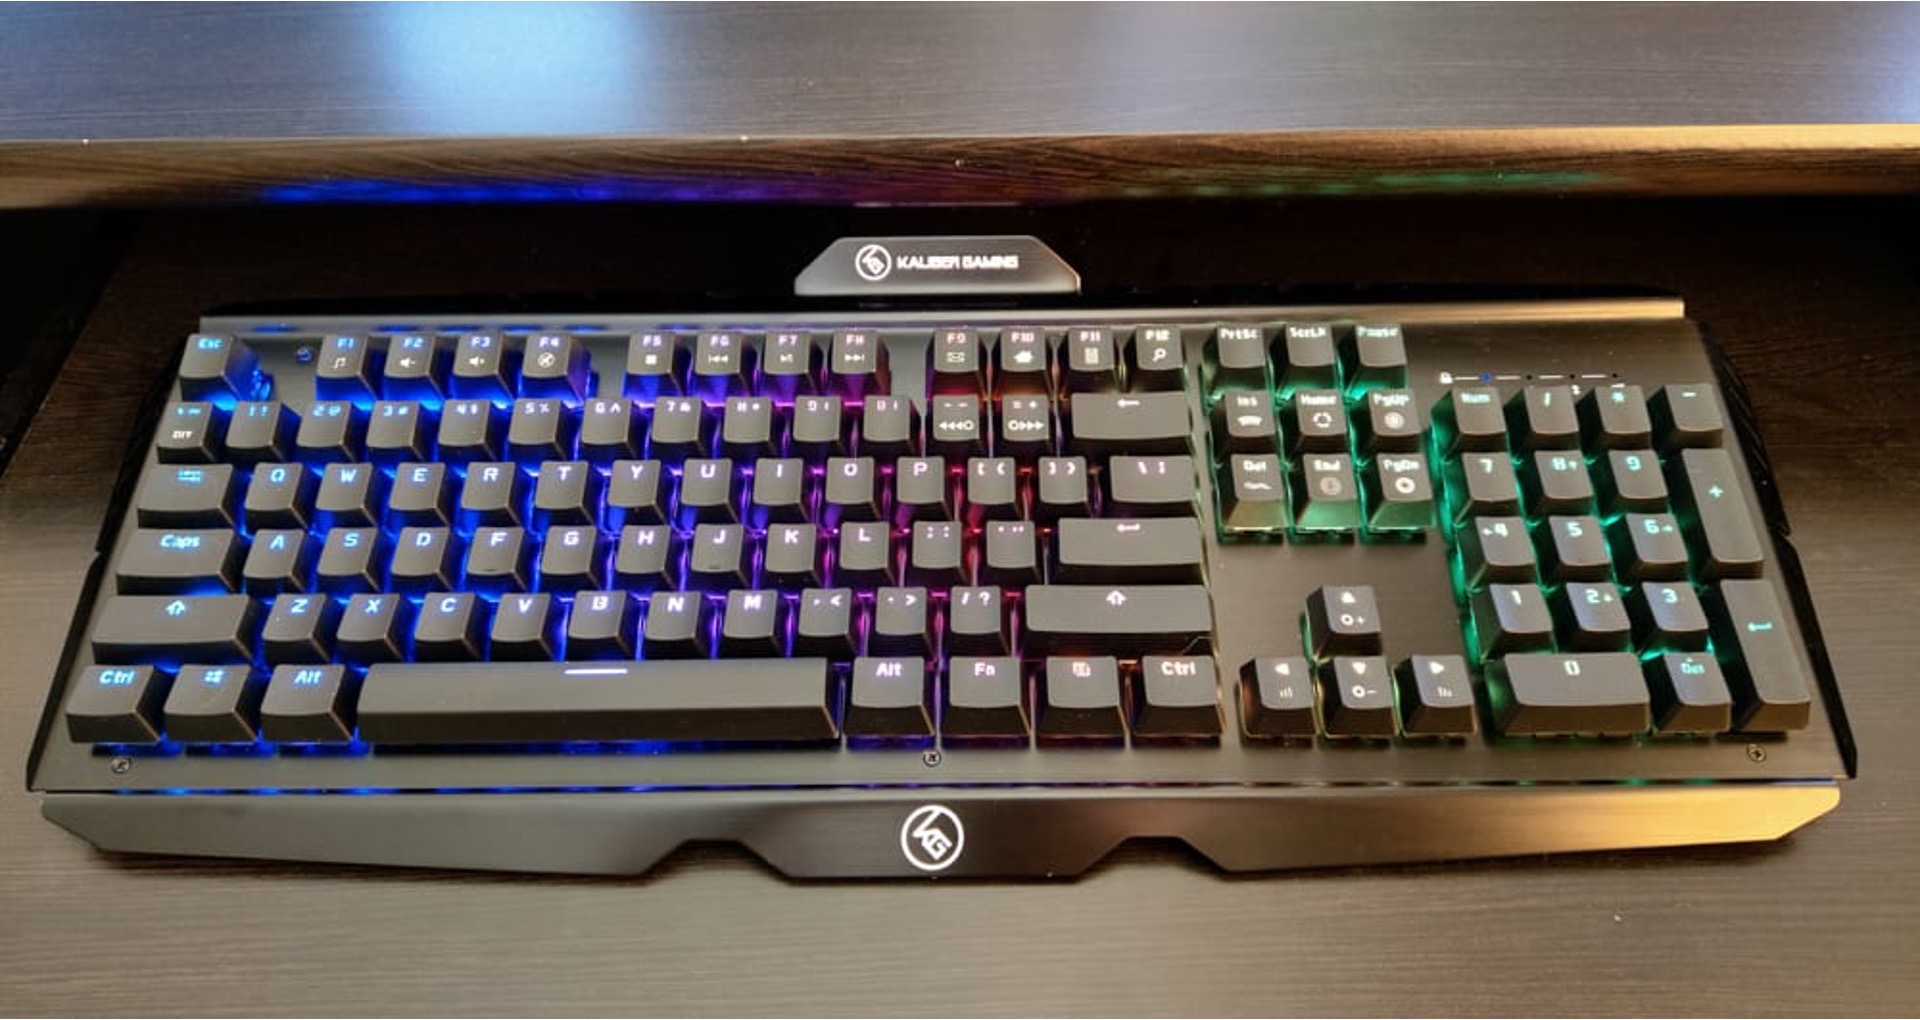
Secondly, the peripheral designs should also help you distinguish custom keyboards as well. For example, some keyboards have RGB lights while others don’t. Moreover, some DIY keyboard kits even allow you to install a TrackPoint or provide an ergonomic case.
Overall, most of these custom gaming keyboard builds usually vary by design and functionality. It all boils down to the parts (or DIY kits) that you buy for your custom gaming keyboard.
Things to Consider Before Building a Custom Gaming Keyboard
As with anything DIY, there are a few things to think about before building a custom gaming keyboard. Make sure to consider the following and think them through before you make a purchase.
Custom Kit
Creating a custom mechanical keyboard isn’t easy. Knowing exactly which parts to purchase for your build can be overwhelming, especially if it’s your first time. Therefore, we highly recommend buying a DIY custom gaming keyboard kit if you’re a complete beginner.
These kits often include the right parts already, including the case, PCB, stabilizers, foam, and other peripherals. Using them eliminates the headache of knowing which part to buy for what build and streamlines the purchasing process.
Moreover, there are tons of websites you can visit to buy these custom gaming keyboard kits. A few examples would be Drop, KBDFans, YMDK, and Epomaker. However, do note that these kits usually require you to buy separate keycaps and switches for your build.
Layout
On the other hand, one of the largest decisions you have to make is deciding on a layout. Customizable mechanical keyboards and keyboard kits have quite a few that you can choose from. These are:
- Full Size: what you find on an average keyboard, and it includes all the keys you’re familiar with. However, not many custom gaming keyboard retailers offer this size.
- 96%: includes most of the full-sized keys but removes tons of space to squeeze them together. Often, you can only find these layouts from group buys.
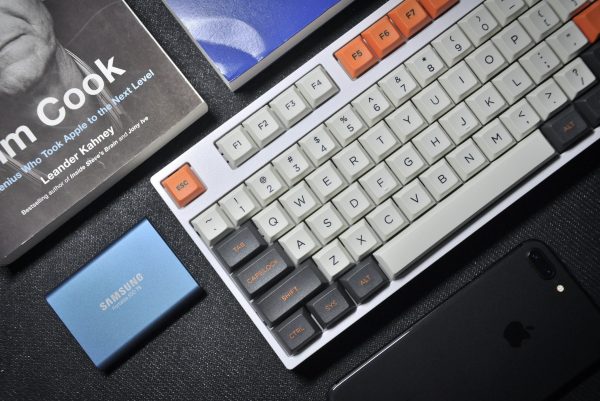
- Tenkeyless (80%): removes the number pad altogether but sticks to everything else.
- 75%: takes the tenkeyless layout but adjusts the spacing in the navigational clusters to keep things compact.
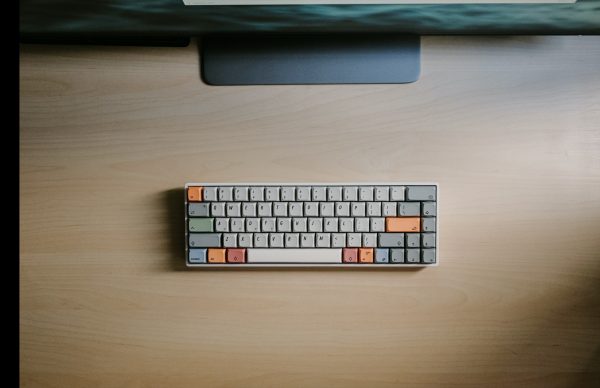
- 65%: takes the 75% layout but removes the function row and some navigational keys. However, it retains the arrow keys, unlike the smaller layouts.
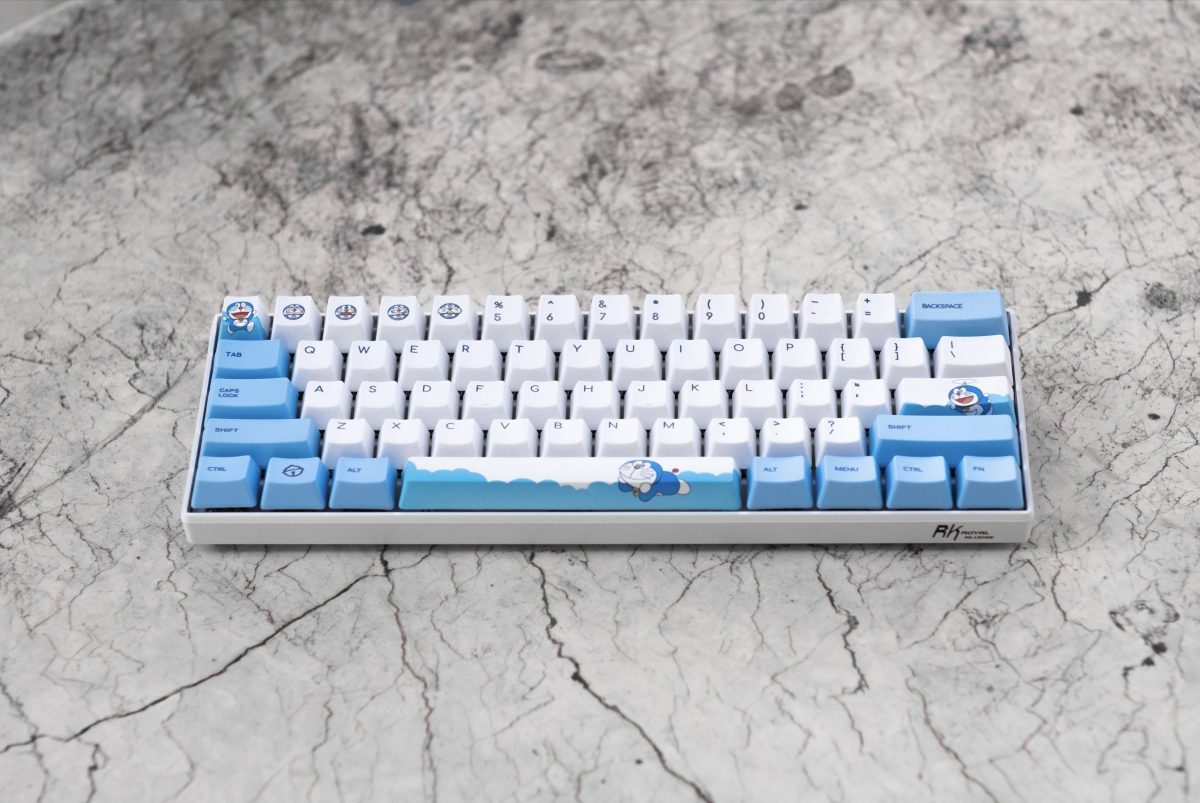
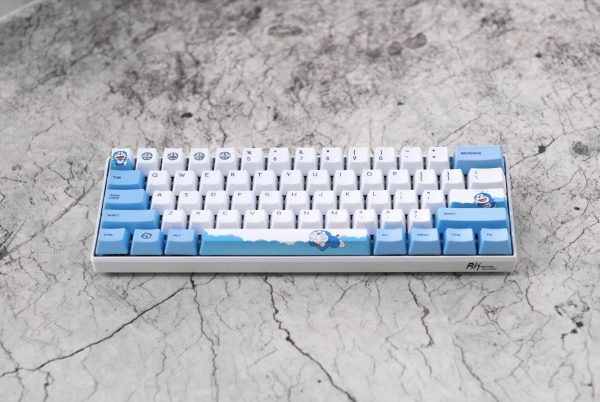
- 60%: removes the function keys, arrow keys, and navigational cluster. However, it’s the most common custom gaming keyboard layout you will find on websites.
- 40%: the smallest layout of the bunch and takes the 60% layout without numeric keys. It’s fairly difficult to type on and has a high learning curve.
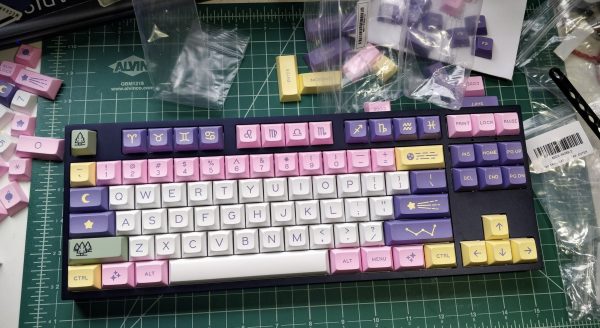
Keycaps
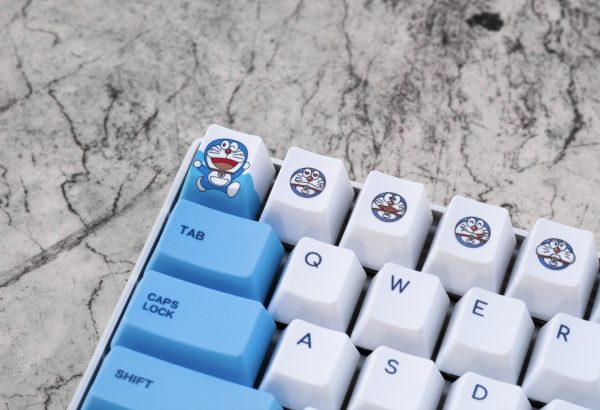
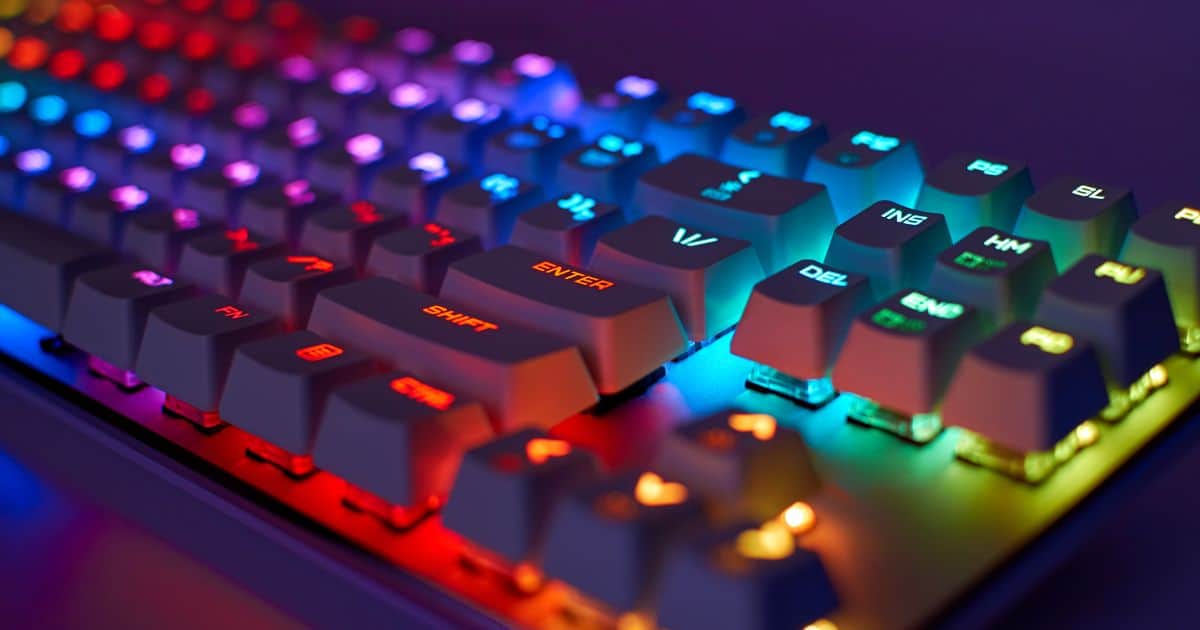
One of the most prominent parts of a custom gaming keyboard is undoubtedly the keycaps. The keycaps for keyboard builds usually make or break an aesthetic and can vary by profile, durability, and design. More often than not, though, gamers tend to choose keycaps based on pure aesthetics. However, durability and how each one is made are also some things to consider before purchasing.
By far, the determining factor when it comes to durability is the plastic the keycaps are made of. Usually, companies use ABS, whether it’s a higher-end keycap or something on the lower end of the scale. However, a high-quality ABS keycap is more likely to offer vivid colors compared to alternatives.
On the other hand, some manufacturers also use PBT. This plastic type is denser and doesn’t become shiny after an extended period, unlike ABS. However, the colors on PBT keycaps are usually less vibrant. Moreover, large PBT keycaps tend to warp a lot more than ABS ones. Nonetheless, they’re still a good choice if you can get Doubleshot or dye-sublimated ones for letters that don’t fade.
Printed Circuit Board (PCB)
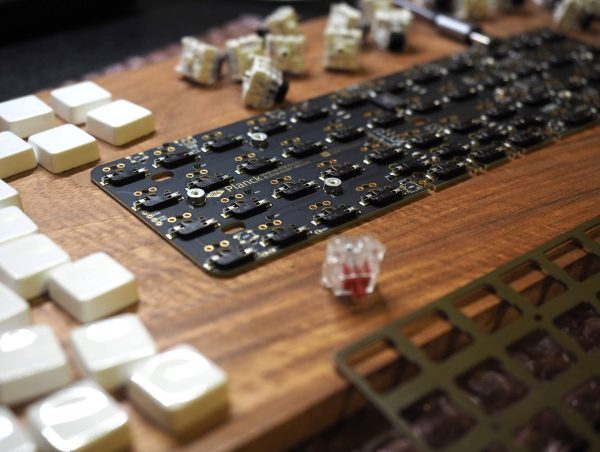
Of course, a custom keyboard won’t work with just the keycaps alone. To give life to each stroke, you have to purchase a Printed Circuit Board (PCB). This is the information hub of your custom gaming keyboard that delivers your computer’s instructions. Moreover, its size and shape also determine your custom gaming keyboard layout and features, so it’s important to choose wisely.
For the PCB, you’ll encounter three main types: Standard, Hot-Swappable, and Through-Hole. The Standard PCB is what you’ll find on a majority of keyboards. These require you to solder the PCB and switches together. However, it provides tons of flexibility when it comes to placing keys.
On the other hand, Hot-Swappable PCBs are those that don’t require any type of soldering. With these, you simply place the switches properly on the PCB. This makes it easy to swap out keys when it’s time to replace them. However, they provide little flexibility when it comes to varying the layout.
Lastly, Through-Hole PCBs are the hardest to deal with because they require tons of soldering. You not only have to solder the switches but also the diodes, resistors, ports, and more. It’s not recommended for beginners, but it is great if you want to customize your keyboard display fully.
Casing
The case is what holds all of your components together and protects the sensitive parts of the custom gaming keyboard. There are tons of materials to choose from, including plastic, aluminum, and acrylic.
Plastic types are the most common and cheapest to acquire. They’re usually made of ABS and often use metal plates as a support mechanism. However, they also tend to be more unstable and less durable, unlike metal cases.
Aluminum cases are heavy, sturdy, and durable. They’re great if you’re more heavy-handed and rugged when you use your keyboard. However, they’re not as flexible, and the build quality will depend on the grading and manufacturer.
Lastly, acrylic cases are, essentially, also made of plastic. However, what makes them unique is that the plastic feels more glass-like than other polymers. They’re lightweight and usually allow for RGB lighting to shine through. However, they’re less durable than other materials, so they aren’t always practical.
Of course, these aren’t the only material types that cases have. There are others, including wood, steel, brass, and polycarbonate. However, these types tend to be more difficult to get a hold of.
Switch Mounting Plate
The mounting plate is the skeleton that holds all the other components together. While they do provide proper structure, they’re also not always needed. Some custom gaming keyboard builds can go perfectly fine without a plate. However, the difficulty with that method is that the custom keyboard and its switches will tend to be less stable.
Most experts recommend installing a mounting plate if you can. Likewise, it also comes in various materials, including brass, carbon fiber, aluminum, steel, and more. As a general rule of thumb, more rigid materials make for easier installation. However, flexible materials provide a better typing experience with more bounce. Hence, it’s up to you to strike a balance between these two.
On the other hand, you can also vary the mounting plate’s color for added character in your custom gaming keyboard. Of course, it’ll depend on the aesthetic you’re going for, so it’s also all up to your preferences. Just make sure to purchase the plate along with your PCB and case so that they all fit together well.
Stabilizers
Of course, what’s a good custom gaming keyboard without proper stability? To achieve this, getting suitable stabilizers is key. These help keep your large keys from wobbling all around the body and can make or break your typing experience.
Like other components, stabilizers come in different mounting styles. The first style is plate-mounted — which is also the type you see in most pre-made keyboards. These stabilizers simply attach to the metal plate that’s on top of the PCB. However, they aren’t the best if you value a good typing experience.
On the other hand, there are also screw-in stabilizers, which simply screw right into your PCB. They’re the best type if you want stability, security, and a good typing experience.
Lastly, there are also snap-in stabilizers, which snap into your PCB, as the name implies. They’re good enough if you want something easy. However, they’re a little shakier compared to screw-in stabilizers.
On the other hand, regardless of which you like best, choosing a stabilizer depends on your choice of PCB/plate. For example, hot-swappable PCBs tend to need plate-mounted stabilizers. Hence, make sure to keep these in mind when you’re making a purchasing decision.
Switches
Lastly, we have the ever-famous switches. Now, this aspect is where keyboard enthusiasts usually go nuts. That’s because there are tons of options available, and they influence your typing experience a lot.
Generally, switches come in three types: clicky, tactile, and linear. Clicky switches mostly feature a small bump on each keystroke and create a loud clicking noise. On the other hand, Tactile keys also have that small bump, but they create a more moderate noise. Lastly, Linear keys are smooth and consistent, providing the quietest typing experience out of all of them.
On the other hand, some switches also come with peripheral features. For example, some switches can make way for RGB backlights. Hence, it’s important to keep your overall design in mind before you land on a decision.
How to Build a Custom Gaming Keyboard
Now that you’ve considered all the factors, it’s time to learn how to customize a mechanical keyboard. Without further ado, here’s everything you need to know, including the materials, optional parts, and steps.
Things You Need
Of course, you’ll have to have all the necessary (and compatible) components at hand first. These include everything from the case to the switches and keycaps. Once you’ve got all of those, it’s time to purchase the other tools required to do the job.
Adjustable Soldering Iron
Firstly, you’ll need an adjustable soldering iron. You’ll need this to solder the switches (and desolder them for mistakes) and assemble everything. Of course, this isn’t required if you’re going with a hot-swappable keyboard. However, it’s essential for other types, so make sure to buy a good one (we recommend the TS100).
Solder Sucker
Secondly, a solder sucker is essential, especially for beginners who might make more mistakes. For this, we recommend the Engineer SS-02 because it’s easy to use and maintain — plus, it’s fairly affordable.
Solder Wire
Thirdly, you’ll need a solder wire to help you desolder switches. The Kester 63/37 SN/PB would be a good option because it has a nice size.
Switch Puller
You’ll also need to purchase a switch puller for tons of switch-related work later on. We recommend the antistatic extractor tool if you don’t already have a pair on hand.
Screwdrivers
Next, you’ll need all the necessary screwdrivers on hand. If you want to make this easier, we recommend purchasing a separate precision screwdriver kit. This comes with tons of bit varieties and should be helpful even for other projects.
Wire Keycap Puller
Lastly, you’ll need a wire keycap puller. These should help you pull your keycaps without scratching or damaging them.
Optional Parts
Of course, there are also optional parts that you can use to make your life much easier. They’re not required, but they can save you headaches when you’re working on your custom gaming keyboard.
These include the soldering sand, heat-insulated mat, and magnetic holding trays. The soldering sand is excellent for keeping your soldering iron safe when you’re not using it.
On the other hand, the heat-insulated mat provides an excellent protective surface where you’ll do all your work. Lastly, magnetic holding trays are great for storing smaller screws and keeping them from getting lost.
Step 1: Switch Lubing
The first step is to lube your switches. Now, many people regard this as an optional step, so you don’t necessarily have to do it. However, this step is great if you want an upgraded typing experience. That’s because lubing creates fewer spring ping sounds, reduces scratchiness, provides a better sound, and smoothes out your keystrokes.
If you want to lube your custom gaming keyboard switches, it’s simple. Just disassemble each switch and add lube to the lower and upper housing, as well as the stem and spring. However, this can take hours to do, so make sure you have enough time.
Step 2: Testing the Circuit Board
The best mechanical keyboards rely on a good PCB to make everything work. That’s why it’s important to test your PCB just to make sure everything is working. To do this, simply plug your PCB into your PC and test every switch using tweezers. You can check out this key test platform to test if every key lights up. Otherwise, your PCB may be defective.
Step 3: Stabilizers Assembly and Mounting
Afterward, it’s time to assemble and install your stabilizers. Usually, they come disassembled, so you’ll need to put each piece together before installation. These stabilizers come in three components: housing, stem, and wire.
Each stabilizer has one wire, two stems, and two housings. The housing is the biggest component which you should use to encase the stem. Simply insert the stem into the housing’s bottom. Keep in mind that the dual-holed side should face the housing front.
Afterward, slot the wires into the stem’s lower holes and snap them into the housing to keep them in place. The wire should go through the stem’s body and shouldn’t go out the bottom.
Step 4: Installing Plate-Mounted Stabilizers
Once assembled, it’s time to install each stabilizer. For this part, it’s a little tricky since you have to make sure each stabilizer is in the correct location. To do this, you can use the stabilizer keycaps as a guide. Simply place them on the areas they’re supposed to sit on to map out each stabilizer’s location.
Afterward, install each stabilizer into the right slot. Screw-in stabilizers will use a smaller hole for its stab and use the bigger one of the clip. On the other hand, snap-in stabilizers should have big holes on the same side as the wire.
Step 5: Mechanical Switches Installation
Now it’s time for the switches. For this, the mounting plate should first be on top of the PCB. You can do this by lining up the plate and fitting it over the stabilizers. Next, screw the plate in place.
Afterward, press each switch into the plate to let the pins enter the PCB. Make sure not to bend any pins while doing this. Otherwise, you’ll have to use tweezers to straighten them and try again.
Next, it’s time to solder the switches in place. Of course, this isn’t a necessary step if you’re using a hot-swappable PCB. However, it’s crucial for other types. For this step, make sure you’re in a well-ventilated place and prepare all the tools needed.
To solder switches, simply solder the two metal pins on each switch onto the PCB. Dot this carefully for each switch. Afterward, re-do step 2 to make sure the PCB is working with each switch attached.
Step 6: Prepping the Case, Foam, and Gaskets
Now, it’s time to prepare the case. First, you’ll want to apply rubber feet if they aren’t pre-installed. This step will vary per custom gaming keyboard kit, so make sure to follow the manufacturer’s instructions. Afterward, you can add the foam.
In reality, foam is an optional component, but it should make your keyboard sound better. We recommend using pre-cut case foams if they’re available. On the other hand, you can also use regular packing foam or Sorbothane to do this. However, this will require some measuring and cutting on your part, with the shape depending on your specific components. Afterward, simply slide the foam in, and you can proceed.
Step 7: Mounting the PCB
It’s time to put things together and install the PCB into the case. Of course, this will vary depending on your case’s mounting style. Usually, this will just mean screwing things in place in designated areas. Just make sure the PCB is centered and doesn’t wobble. Check your manufacturer’s manual for more specific instructions.
Step 8: Case Assembly
As the step’s name implies, simply reassemble your case. Usually, this requires more screwing and regular assembly of the two halves of the case. However, this can also vary depending on the manufacturer.
Step 9: Keycap Installation
At this point, we’re near the end, and it’s time to install the keyboard keycaps. Each switch should have a plastic cross called the stem. This is where you should attach your keycap’s cutout to put them in the proper position. Simply press down on each keycap to install them.
Step 10: Testing Pins and Switches
Now, it’s time to test your custom gaming keyboard once again and press on each key. You can refer to step 2 again and check the same website for this. If the test doesn’t work well, there’s probably a bent key or an incorrectly soldered component underneath. In that case, you’ll have to take things apart to recheck everything.
Step 11: Programming the Custom Keyboard
Lastly, it’s time to learn how to program custom designs into gaming keyboards. Of course, this is also an optional step because you can stop once your custom gaming keyboard already works well. However, programming your custom gaming keyboard is fun, letting you remap keys and tailor everything to your gaming experience.
To do this, most manufacturers use the QMK Firmware, which is open-source and free to use. However, some manufacturers will come with proprietary software that you can install and operate separately.
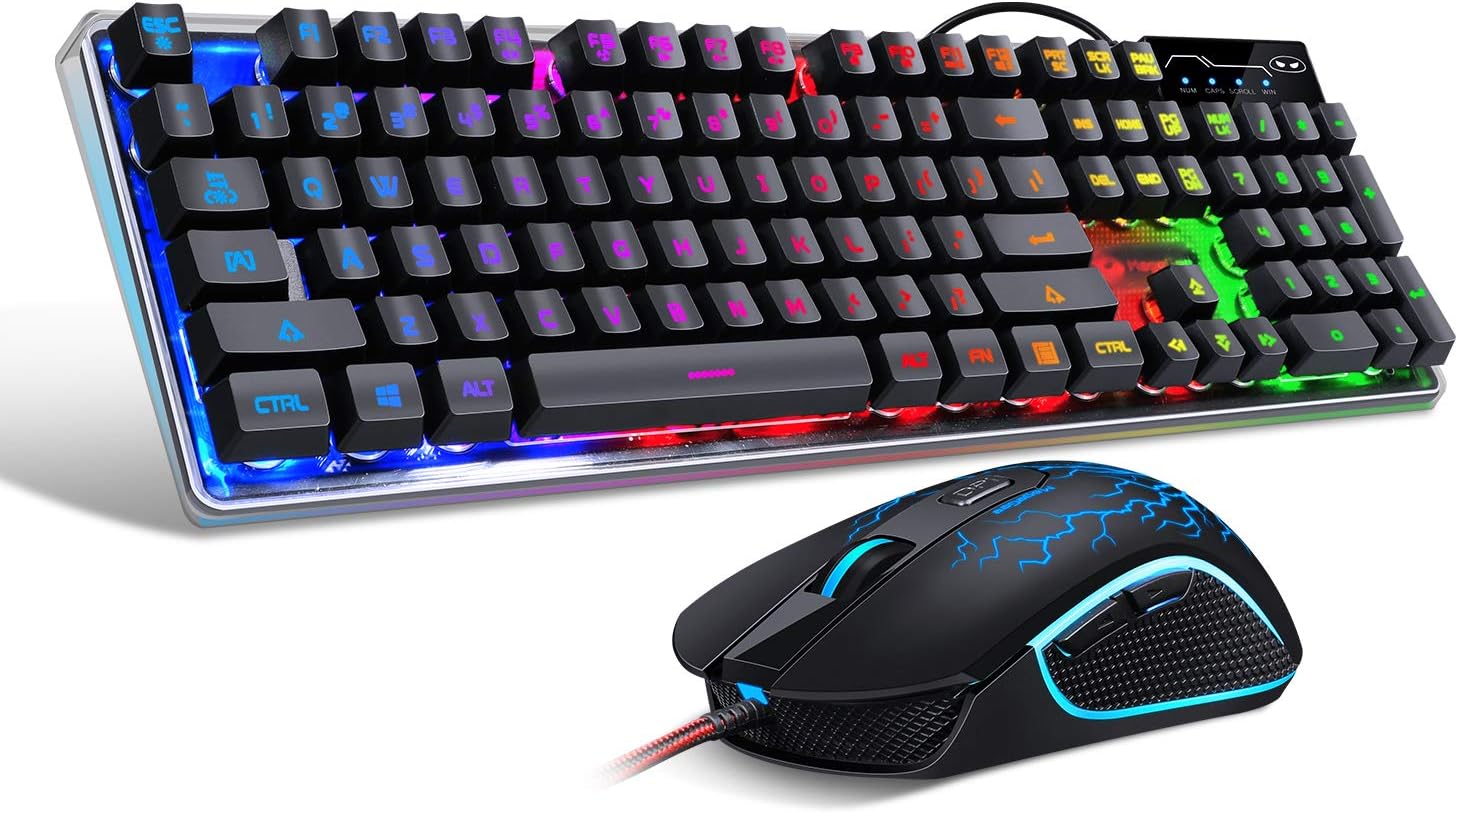
Why Build a Custom Gaming Keyboard?
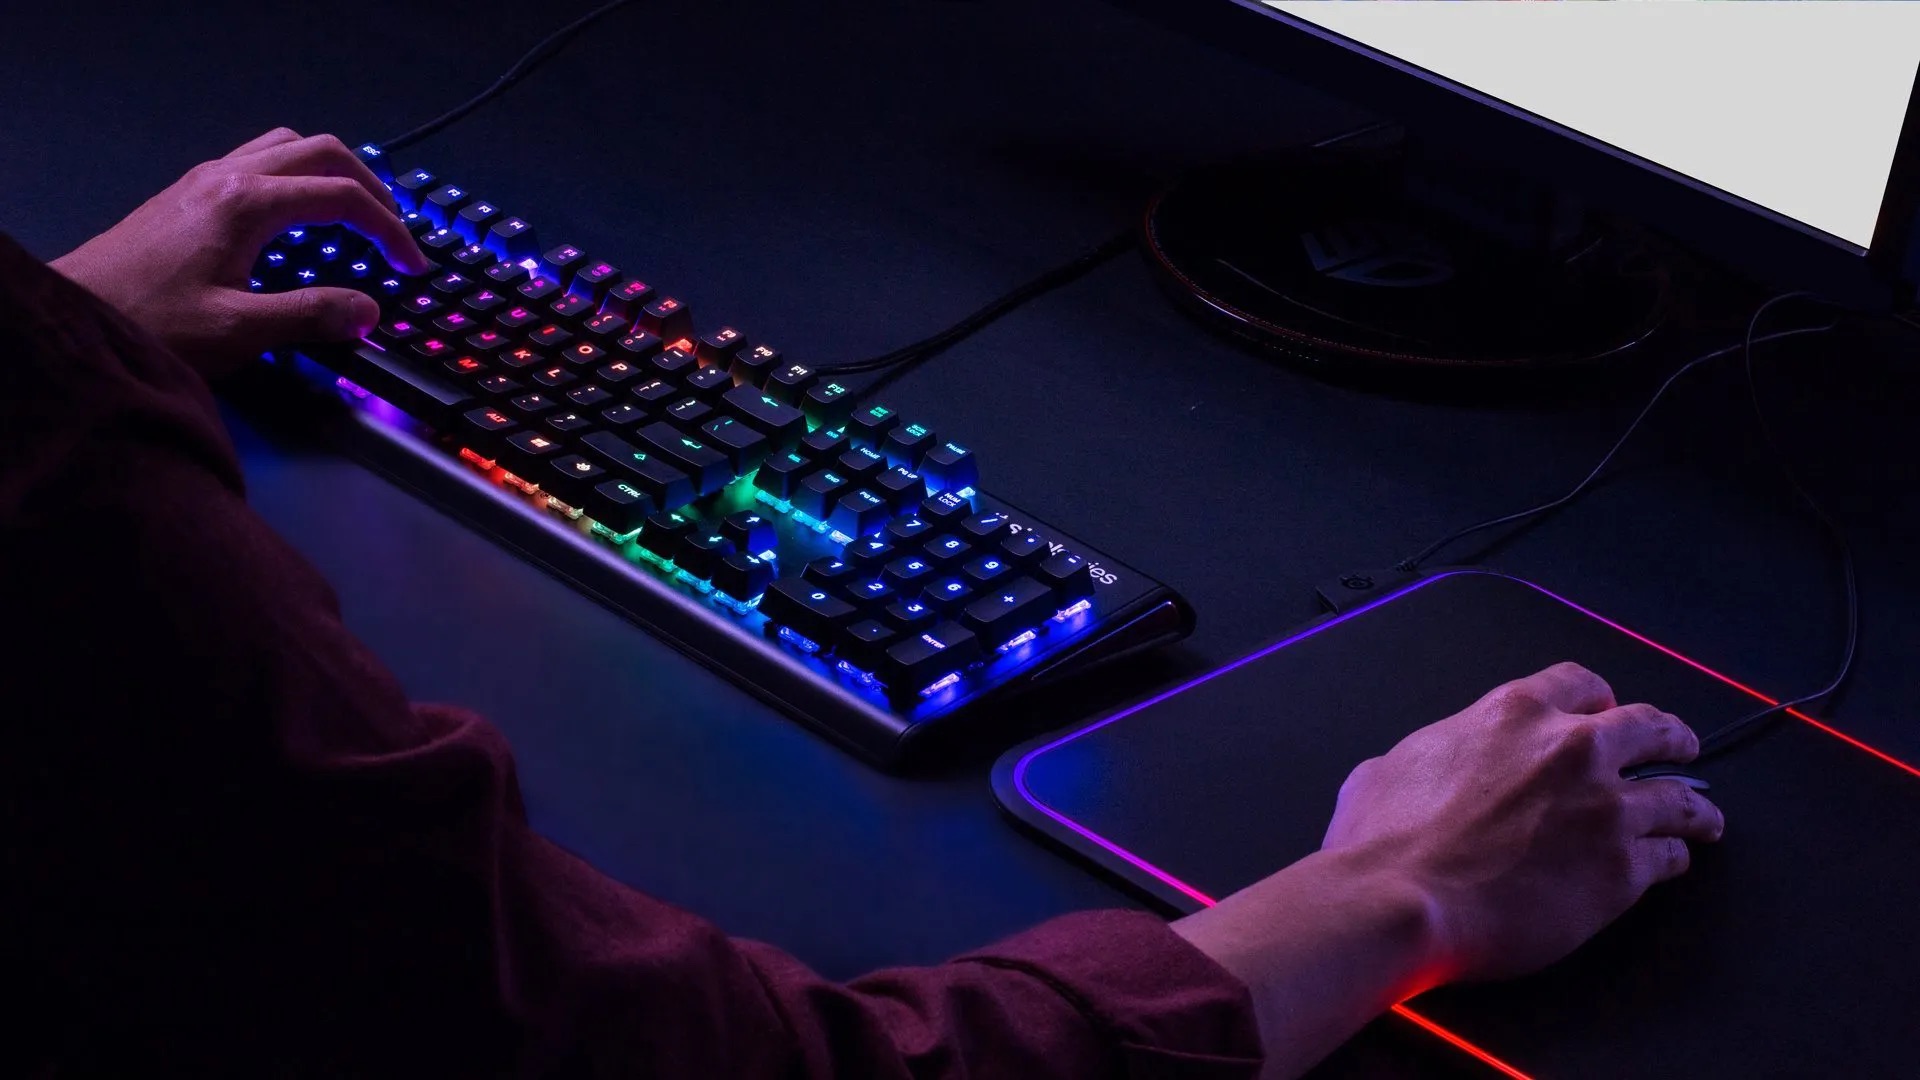
Buying a regular gaming keyboard and mouse is fine for regular gamers who want a good experience. However, if you’re a keyboard enthusiast, creating a custom gaming keyboard is more fun than buying something pre-built. Moreover, it’s also a great way to customize your experience and tailor every tiny detail according to your needs.
For example, regular gaming keyboards don’t always come with a split spacebar. However, you can scratch that itch if you build a custom gaming keyboard. Moreover, creating something custom means you can also include all the features you like. Can’t find the proper RGB setup with the right switches or layout? Build it yourself!
Of course, you could also be doing this for fun — or as a side, hustle to earn money from. Regardless, building a custom gaming keyboard is as fun as it is intimidating. Just make sure to be careful while you’re doing it.
Final Thoughts
Building a custom gaming keyboard can be difficult for the average person. However, it’s not impossible to do it yourself since there’s a whole community out there dedicated to the act. Moreover, building a custom gaming keyboard has become extremely popular nowadays. Hence, more and more manufacturers are sure to spring up and provide even more custom kits for enthusiasts. All you need is to dive in and take the plunge!