Introduction
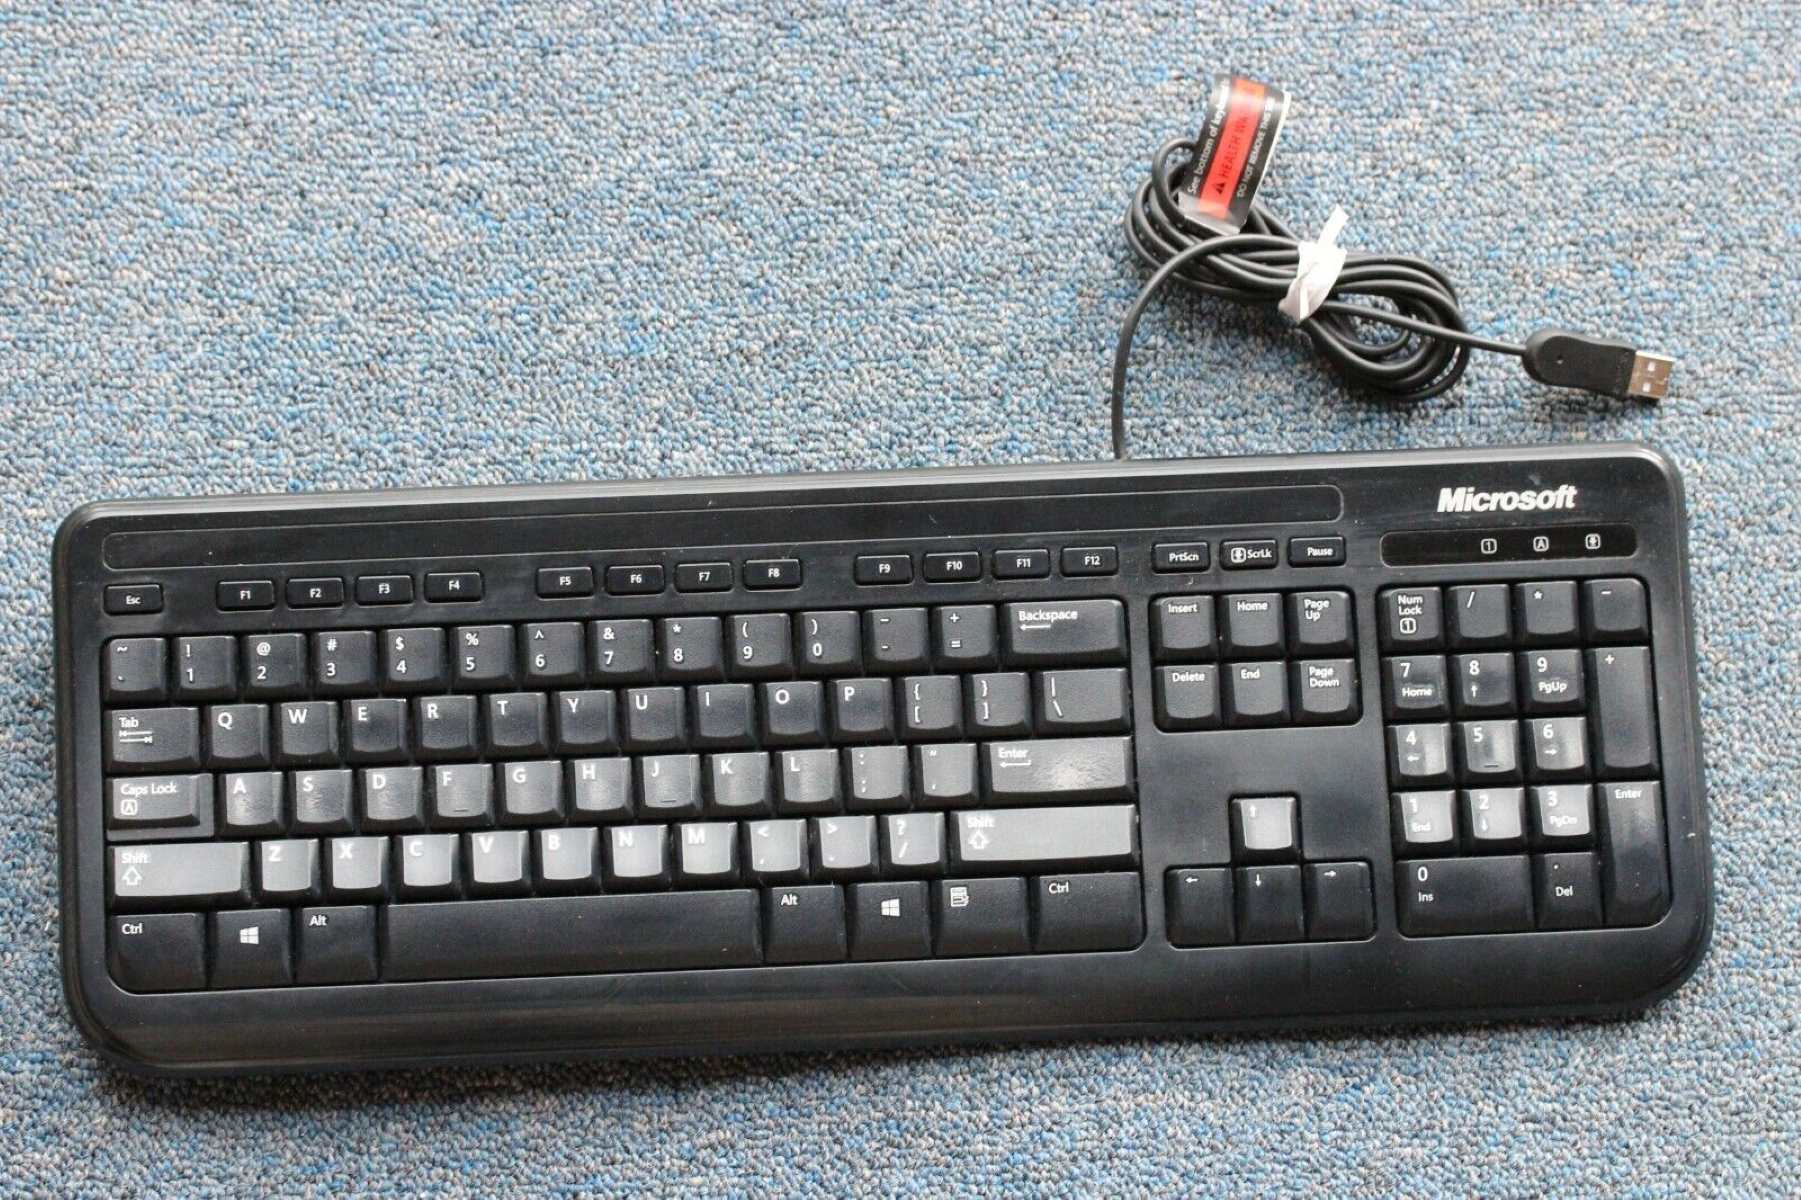
Connecting a mechanical keyboard to a laptop can greatly enhance your typing experience, providing a more tactile and responsive input method. Whether you're a gaming enthusiast, a programmer, or simply prefer the feel of a mechanical keyboard, the process of connecting it to your laptop is relatively straightforward. In this guide, we will walk you through the steps to seamlessly connect your mechanical keyboard to your laptop, allowing you to enjoy its benefits without any hassle.
Mechanical keyboards are prized for their durability, satisfying key presses, and customizable features, making them a popular choice for many users. By connecting a mechanical keyboard to your laptop, you can personalize your typing experience and potentially boost your productivity. Whether you're a writer looking for a more comfortable typing experience or a gamer seeking precise and responsive key presses, integrating a mechanical keyboard with your laptop can be a game-changer.
In the following steps, we will cover the necessary cables and adapters you may need, the process of physically connecting the keyboard to your laptop, and ensuring that the appropriate drivers are installed. Additionally, we will guide you through testing the keyboard connection to ensure that everything is functioning as expected.
With these simple steps, you can seamlessly integrate a mechanical keyboard with your laptop, unlocking a more enjoyable and efficient typing experience. Let's dive into the process of connecting your mechanical keyboard to your laptop and elevate your typing and gaming endeavors.
Step 1: Gather the Necessary Cables and Adapters
Before connecting your mechanical keyboard to your laptop, it’s essential to ensure that you have the appropriate cables and adapters on hand. The specific requirements may vary depending on the type of keyboard and the ports available on your laptop. Here are the key considerations to keep in mind:
- USB-C or USB-A Cable: Most mechanical keyboards utilize a USB connection for data transfer and power. Determine whether your keyboard uses a USB-C or USB-A connector, and ensure that you have a compatible cable available. If your laptop features USB-C ports, a USB-C to USB-C cable may be necessary. Alternatively, if your laptop has USB-A ports, a USB-A to USB-C or USB-A to USB-A cable may be required.
- USB-C Adapter (if applicable): If your mechanical keyboard uses a different USB connector type than your laptop, such as USB-C to USB-A or vice versa, you may need a suitable adapter to bridge the connection. This ensures seamless compatibility between the keyboard and your laptop’s ports.
- Driver Installation Tools: Depending on the keyboard model and your laptop’s operating system, you may need to download specific drivers or software to enable full functionality. Check the manufacturer’s website for any required driver downloads or configuration tools.
By gathering the necessary cables and adapters in advance, you can streamline the process of connecting your mechanical keyboard to your laptop. This proactive approach minimizes potential compatibility issues and ensures that you have all the essential components at your disposal.
Step 2: Connect the Keyboard to the Laptop
Once you have gathered the required cables and adapters, it’s time to physically connect your mechanical keyboard to your laptop. Follow these steps to establish a reliable connection:
- Locate Available USB Ports: Identify the available USB ports on your laptop. Depending on the model, you may have USB-A, USB-C, or a combination of both. Choose a port that matches the connector type of your mechanical keyboard.
- Insert the USB Cable: With the laptop powered on, carefully insert the USB cable from your mechanical keyboard into the selected USB port on your laptop. Ensure that the connection is secure to prevent any intermittent connectivity issues.
- Use Adapters if Necessary: If your mechanical keyboard and laptop utilize different USB connector types, such as USB-C and USB-A, use the appropriate adapter to bridge the connection. This allows you to seamlessly connect the keyboard to your laptop, regardless of connector variations.
- Wait for Recognition: Once the keyboard is connected, your laptop should recognize the new input device. Depending on your operating system, you may see a notification indicating that a new keyboard has been detected and is ready for use.
By carefully following these steps, you can establish a reliable physical connection between your mechanical keyboard and your laptop. Ensuring that the connection is secure and compatible with your laptop’s USB ports is crucial for a seamless integration process.
Step 3: Install Any Necessary Drivers
After physically connecting your mechanical keyboard to your laptop, it’s important to address any driver requirements to enable full functionality and customization. Here’s how to ensure that the necessary drivers are installed:
- Check Manufacturer’s Website: Visit the official website of the mechanical keyboard’s manufacturer to find the latest drivers and software for your specific model. Look for a dedicated support or downloads section where you can access the required files.
- Download and Install Drivers: Locate the appropriate drivers or software for your mechanical keyboard and laptop operating system. Download the files and follow the installation instructions provided by the manufacturer. This may involve running an installer or following specific setup procedures.
- Customization Tools: Some mechanical keyboards come with customization software that allows you to configure key assignments, lighting effects, and other advanced features. Install any included customization tools to unlock the full potential of your keyboard and tailor it to your preferences.
- Reboot if Necessary: After installing the drivers and customization software, consider rebooting your laptop to ensure that the changes are fully integrated. This can help prevent any potential conflicts and ensure that the keyboard operates seamlessly with your laptop.
By proactively installing the necessary drivers and customization tools, you can maximize the capabilities of your mechanical keyboard and leverage its full feature set. This step is essential for fine-tuning the keyboard’s performance and accessing any advanced functionalities it offers.
Step 4: Test the Keyboard Connection
Once you have connected your mechanical keyboard to your laptop and installed any required drivers, it’s crucial to test the keyboard’s functionality to ensure that the connection is stable and all features are operational. Follow these steps to verify the keyboard connection:
- Typing Test: Open a text editor or any application where you can input text. Begin typing on the mechanical keyboard to confirm that all keys register accurately and that there are no issues with key presses or responsiveness.
- Special Functions: If your mechanical keyboard includes special functions, such as media control keys or programmable shortcuts, test each of these features to ensure that they are functioning as intended. This may involve adjusting volume, media playback, or accessing programmable macros.
- Customization Validation: If you have installed customization software for your keyboard, validate that any customized settings, such as lighting effects or key assignments, are applied correctly. Make adjustments as needed to tailor the keyboard to your preferences.
- Gaming and Typing Experience: If you are a gamer or a frequent typist, spend some time using the mechanical keyboard in your preferred activities. Assess the overall comfort, responsiveness, and tactile feedback to gauge how the keyboard enhances your gaming or typing experience.
By systematically testing the keyboard connection and its various features, you can ensure that the integration with your laptop is successful and that the mechanical keyboard operates optimally. Identifying and addressing any issues early on can prevent potential frustrations during extended use.
Conclusion
Connecting a mechanical keyboard to your laptop can significantly elevate your typing and gaming experiences, providing a tactile, customizable, and responsive input method. By following the steps outlined in this guide, you can seamlessly integrate your mechanical keyboard with your laptop, unlocking its full potential and enhancing your productivity and enjoyment.
From gathering the necessary cables and adapters to testing the keyboard’s functionality, each step plays a crucial role in ensuring a smooth and reliable connection. By proactively addressing compatibility considerations and installing required drivers, you can optimize the performance of your mechanical keyboard and tailor it to your preferences.
Once your mechanical keyboard is successfully connected to your laptop, take the time to explore its features, customize its settings, and immerse yourself in an enhanced typing or gaming experience. The satisfaction of using a high-quality mechanical keyboard tailored to your needs is a rewarding outcome of the integration process.
Whether you’re a professional seeking a more comfortable typing experience, a gamer aiming for precise and responsive inputs, or an enthusiast looking to personalize your setup, the integration of a mechanical keyboard with your laptop opens up a world of possibilities.
With the right cables, adapters, drivers, and a methodical testing approach, you can seamlessly connect your mechanical keyboard to your laptop and embark on a more satisfying and efficient computing journey.


