Background Information
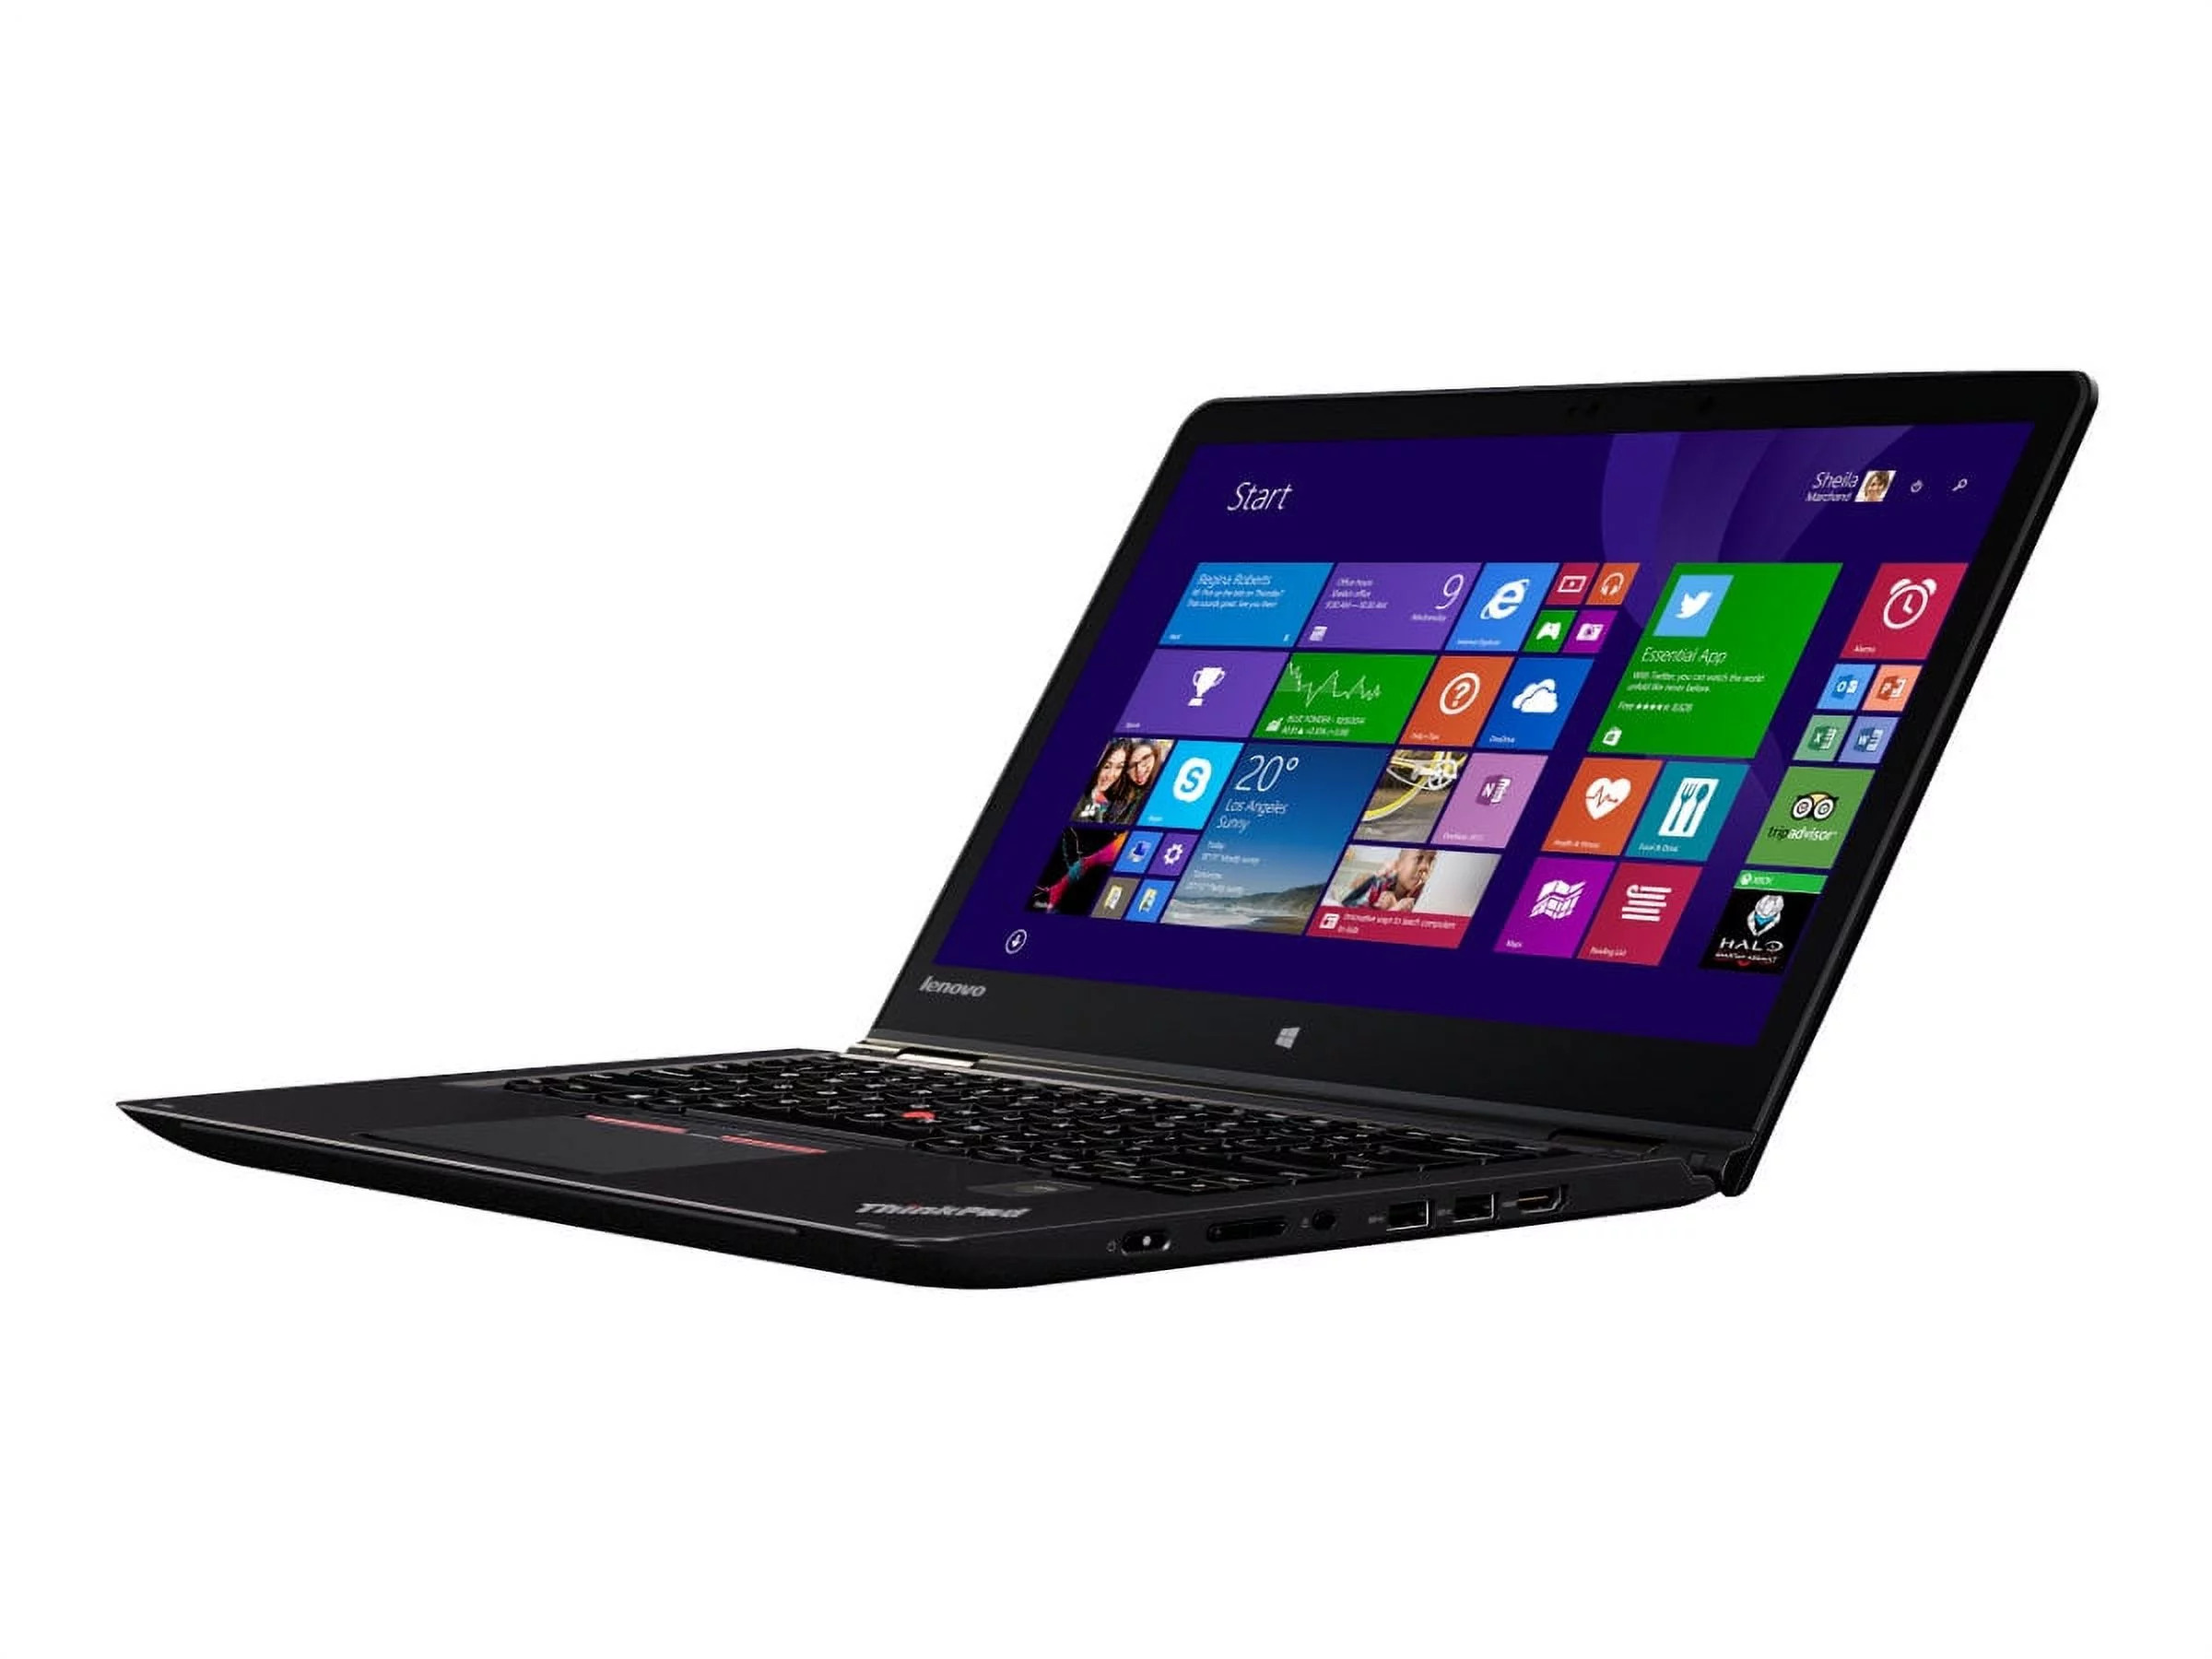
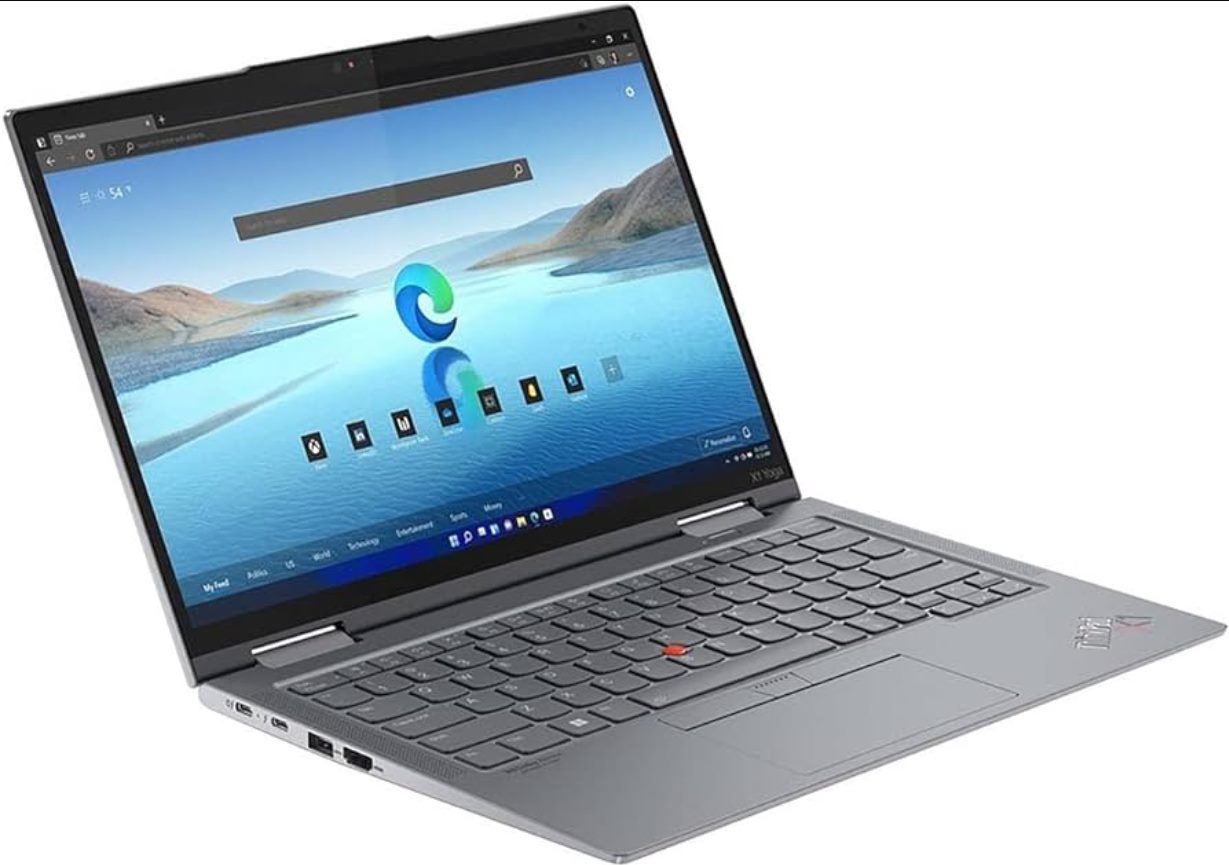
Before diving into the process of disassembling your Lenovo Yoga Ultrabook, it’s essential to have some background information about the device. The Lenovo Yoga Ultrabook series is known for its sleek and slim design, making it a popular choice among users who value portability and style.
This series features a 2-in-1 convertible design, allowing you to use it as both a laptop and a tablet. It comes equipped with a touchscreen display that can be rotated 360 degrees, providing flexibility and ease of use in various scenarios.
The Lenovo Yoga Ultrabook incorporates cutting-edge technology and powerful hardware to deliver an exceptional computing experience. It typically boasts an Intel processor, ample RAM, and solid-state drive (SSD) storage options.
Disassembling your Lenovo Yoga Ultrabook may be necessary for a variety of reasons. It could be to replace a faulty component, upgrade the existing hardware, or perform routine maintenance. Whatever the reason, it is crucial to follow proper disassembly procedures to avoid damaging the internal components and ensure a successful reassembly process.
Keep in mind that disassembling your laptop may void the warranty, so it’s essential to proceed with caution and consult the manufacturer’s guidelines or seek professional assistance if you are unsure about the process.
In the following sections, we will guide you step-by-step on how to disassemble your Lenovo Yoga Ultrabook, providing clear instructions and tips to make the process as smooth as possible.
Tools Needed
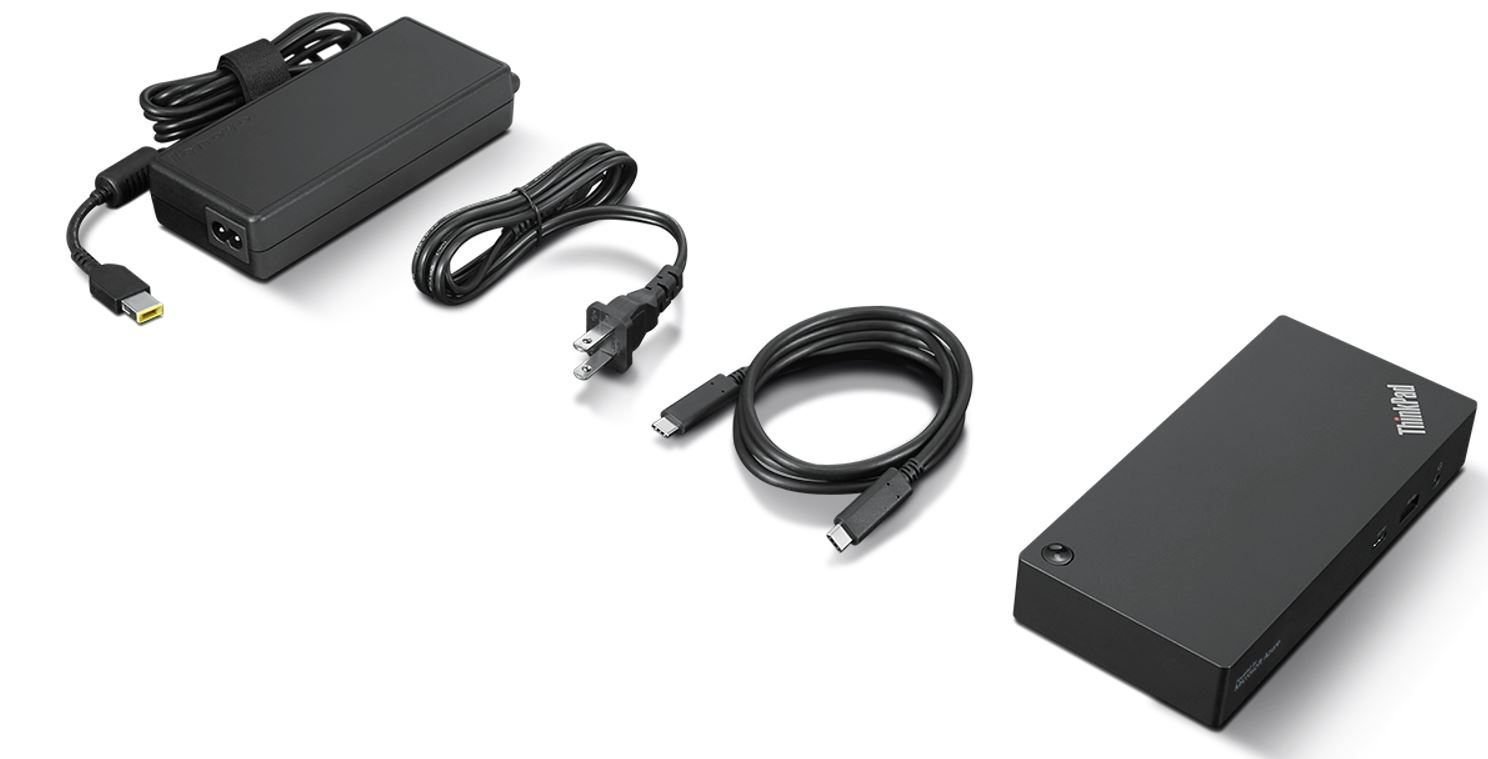
Before you begin disassembling your Lenovo Yoga Ultrabook, make sure you have the necessary tools at hand. Having the right tools will help you complete the disassembly process efficiently and safely. Here are the essential tools you will need:
- Screwdriver set: A screwdriver set with various sizes and types of screw heads is essential for removing screws from the laptop.
- Plastic pry tool: A plastic pry tool helps to separate and lift the components without scratching or damaging them. It is specifically designed for delicate electronics disassembly.
- Tweezers: Tweezers are useful for grasping and handling small components, cables, or connectors with precision and care.
- Anti-static wrist strap: An anti-static wrist strap helps to discharge any static electricity from your body, preventing accidental damage to sensitive electronic components.
- Cleaning cloth: A soft, lint-free cleaning cloth is handy to wipe down surfaces, remove dust, and keep the internal components clean during the disassembly process.
- Labeling stickers: Labeling stickers are useful for marking and organizing screws and components as you remove them. This ensures that you can easily identify and place them correctly during reassembly.
- Plastic storage containers or trays: Having plastic storage containers or trays can help you keep track of small screws and components, preventing them from getting lost or mixed up.
Make sure you have these tools ready before starting the disassembly process. It’s always a good idea to work in a well-lit and clean workspace, free from any static or magnetic interference. Keep track of the screws and small components you remove, label them if necessary, and take your time to ensure a successful disassembly and reassembly of your Lenovo Yoga Ultrabook.
Step 1: Prepare the Workspace
Before you start disassembling your Lenovo Yoga Ultrabook, it’s important to prepare your workspace to ensure a safe and organized disassembly process:
- Find a clean and well-lit area: Choose a spacious and clutter-free area to work on your laptop. A well-lit environment will help you see the small components and labels more clearly.
- Disconnect the power supply: Unplug the power cord from your laptop and remove the battery if it is easily removable. This will prevent any accidental power-on while you are working on the device.
- Gather the necessary tools: Collect all the tools you will need for the disassembly process, as mentioned in the previous section. Having everything within reach will save time and minimize the chances of misplacing small components.
- Ground yourself: To prevent any static electricity discharge that could potentially damage the sensitive electronic components, wear an anti-static wrist strap and connect it to a grounded surface.
- Organize your workspace: Clear a space to lay down the laptop and keep it stable. Use an anti-static mat or a soft surface, like a clean towel or a foam pad, to protect the laptop from scratches or accidental drops.
By preparing your workspace appropriately, you create an ideal environment for a smooth and safe disassembly process. Taking these precautions will minimize the risk of damaging any internal components and ensure that you can easily keep track of the screws and small parts you remove throughout the disassembly process.
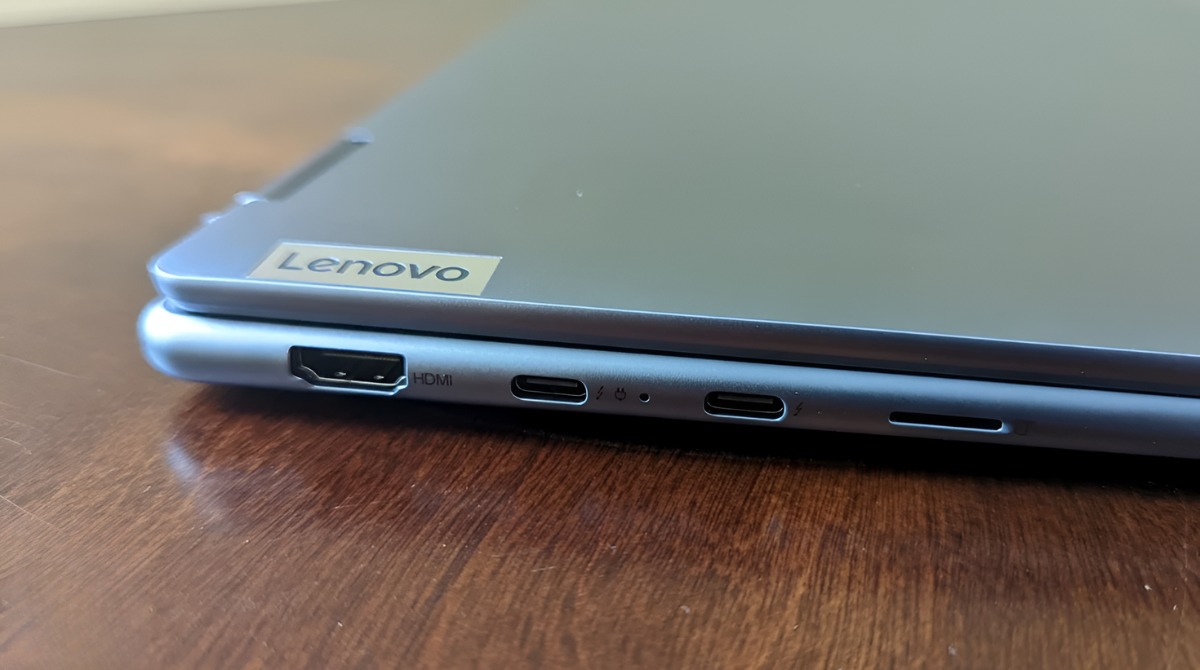
Step 2: Remove the Back Cover
Once you have prepared your workspace, it’s time to start the disassembly process by removing the back cover of your Lenovo Yoga Ultrabook. Follow the steps below:
- Turn off your laptop and disconnect all cables and peripherals.
- Place your laptop upside down on a flat surface, with the hinges facing away from you.
- Locate the screws securing the back cover. They are usually located around the edges of the laptop or underneath rubber feet. Use a screwdriver to carefully remove these screws.
- Once the screws are removed, gently lift the back cover, starting from one corner. You may need to use a plastic pry tool to help separate the cover from the laptop’s body.
- As you lift the back cover, be aware of any cables or connectors attached to it. Slowly lift the cover and check for any cable connections. Carefully disconnect the cables by gently pulling the connectors away from their sockets. Remember to handle the connectors with care to avoid damaging them.
- After disconnecting all the necessary cables, you should be able to lift the back cover completely and set it aside.
By successfully removing the back cover, you have gained access to the internal components of your Lenovo Yoga Ultrabook. Take a moment to observe the exposed components and identify the various parts and connections. This will help you navigate the following steps of the disassembly process more effectively.
Step 3: Disconnect the Battery
After removing the back cover, the next step in disassembling your Lenovo Yoga Ultrabook is to disconnect the battery. Follow the steps below:
- Locate the battery connector on the motherboard. It is usually a small plug connected to the motherboard and labeled as “battery” or “power”.
- Gently detach the battery connector from its socket by using your fingers or a pair of tweezers. Be careful not to apply too much force or damage the connector.
- If there are any additional cables or connectors attached to the battery, disconnect them as well. These might include power cables or data cables. Take note of their positions and how they are connected for later reassembly.
- Once the battery is disconnected, set it aside in a safe place away from any liquids or heat sources.
Disconnecting the battery is an important safety measure during the disassembly process. It prevents any accidental power-on and reduces the risk of electrical shock. Remember to handle the battery with care, as it may still have some charge remaining.
With the battery disconnected, you can now proceed with the further disassembly of your Lenovo Yoga Ultrabook. Each step will bring you closer to accessing and upgrading or replacing specific components.
Step 4: Remove the Keyboard
Now that you have disconnected the battery, you can move on to removing the keyboard of your Lenovo Yoga Ultrabook. The keyboard removal process may vary slightly depending on the specific model, but the following steps will give you a general guideline:
- Locate the screws or clips securing the keyboard to the laptop’s body. These are usually found on the top edge of the keyboard, underneath the top cover or bezel.
- Carefully remove the screws or unclip the keyboard from its position. If there are screws, use a screwdriver to remove them. If there are clips, use a thin plastic pry tool to gently release them.
- Once the keyboard is free from the retaining mechanism, tilt it forward to expose the ribbon cable or connection underneath.
- Take note of how the ribbon cable is connected to the motherboard or keyboard controller before disconnecting it. Some ribbon cables have a locking mechanism that needs to be released before you can unplug the cable.
- Disconnect the ribbon cable by gently pulling it out or releasing the locking mechanism, depending on the connector type.
- With the ribbon cable released, you can now fully remove the keyboard from the laptop’s body. Set the keyboard aside, ensuring it is placed in a safe and clean area.
Removing the keyboard allows you to access other components or perform repairs or upgrades, such as replacing a damaged keyboard or cleaning the internal parts. Make sure to handle the keyboard with care to avoid any damage to the keys or connectors.
Keep track of the screws or clips you removed during this step, as you will need them for reassembly later. It’s also a good idea to label and organize the components or cables you disconnect for easier reinstallation.
Step 5: Disconnect the Display
After removing the keyboard, the next step in disassembling your Lenovo Yoga Ultrabook is to disconnect the display. Follow the steps below:
- Locate the display connector. This is usually a flat ribbon cable or a multi-pin connector located near the hinge of the laptop.
- If the connector has a locking mechanism, gently release it by flipping up the latch or pushing aside the retention clip.
- Once the locking mechanism is released, carefully pull out the display connector. Take note of its orientation for reassembly later on.
- If there are any additional cables or connectors attached to the display, such as the webcam or Wi-Fi antenna cables, disconnect them as well. Again, take note of their positions and how they are connected.
- Gently lift the display panel to an upright position. Be cautious of any cables that may still be connected to the display.
- After ensuring no cables are obstructing, lift the display panel completely away from the laptop’s body and set it aside in a safe place.
Disconnecting the display allows you to access other components or perform maintenance tasks such as replacing a damaged display or upgrading to a higher resolution screen. Take your time and handle the display and its cables with care to avoid any unnecessary damage.
Remember to keep track of any screws, clips, or connectors you remove during this step and label them if necessary. This will help you during the reassembly process to ensure everything is correctly positioned and secured.
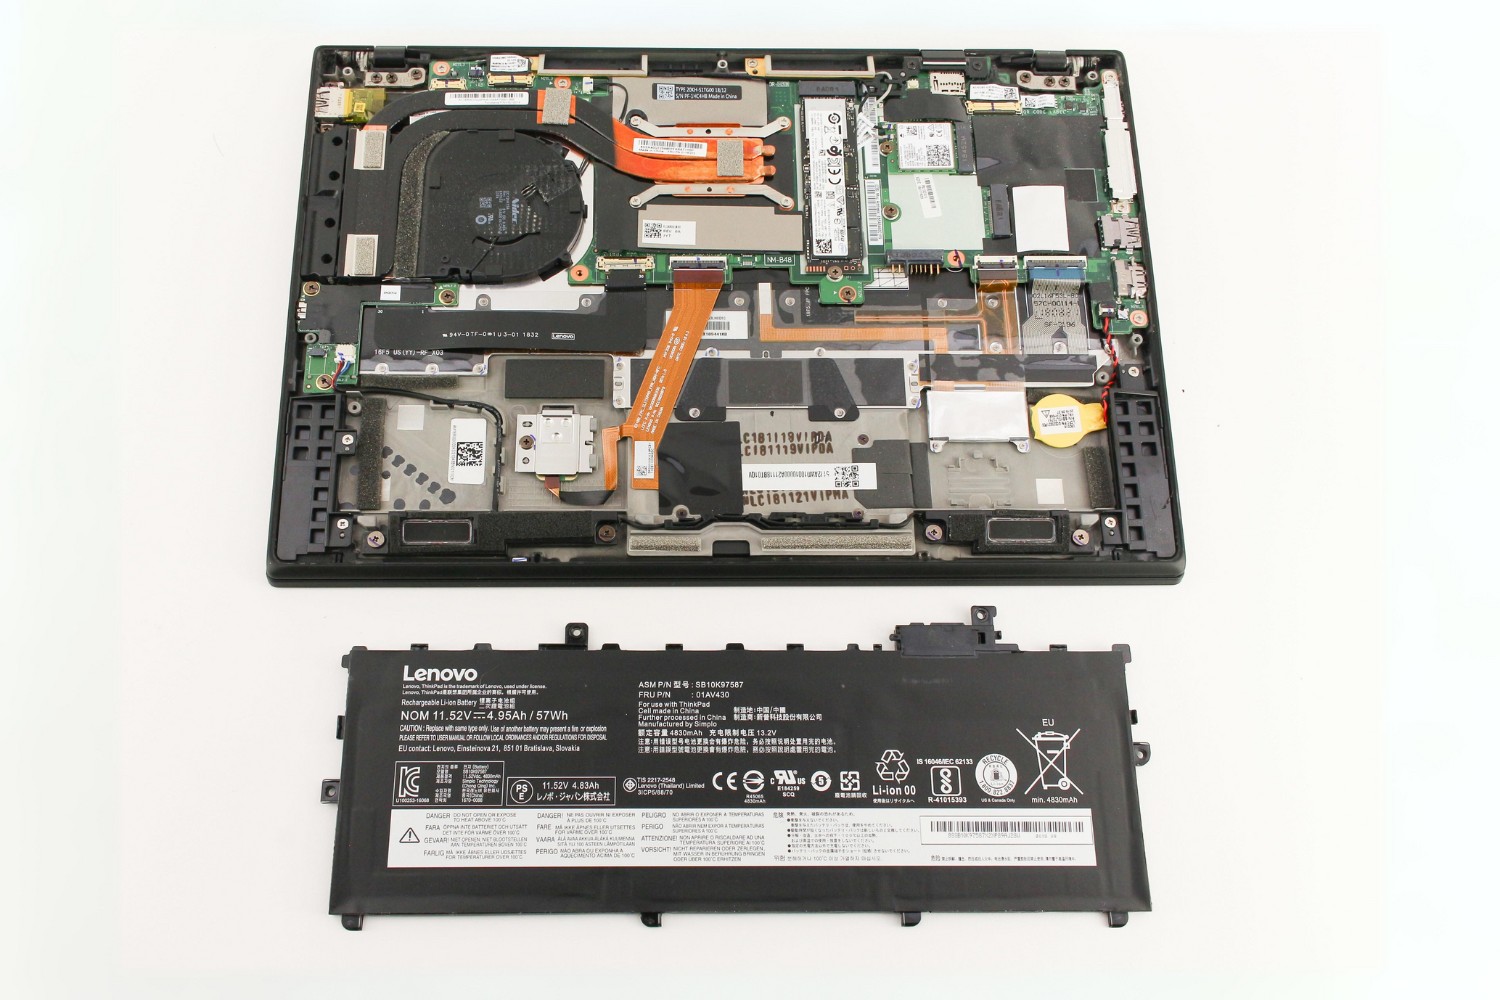
Step 6: Remove the Motherboard
With the keyboard and display disconnected, you can now proceed to remove the motherboard of your Lenovo Yoga Ultrabook. The motherboard houses various crucial components of the laptop. Here’s how you can remove it:
- Identify the screws or clips securing the motherboard to the laptop’s chassis. These are typically located around the edges or in the corners of the motherboard.
- Using a screwdriver, carefully remove the screws or unclip the motherboard from its position. Take note of the screw locations and sizes to ensure proper reassembly later on.
- Before completely removing the motherboard, disconnect all cables and connectors attached to it. These may include power cables, data cables, ribbon cables, or any other cable connecting peripheral components to the motherboard.
- Take your time and gently disconnect each cable or connector, ensuring not to apply excessive force. Pay close attention to any latches or locking mechanisms that need to be released before unplugging the cables.
- Once all the cables and connectors are disconnected, gently lift the motherboard from the laptop’s chassis. Be cautious of any remaining screws or clips that may still be holding it in place.
- Set the motherboard aside in a safe and clean area away from electrostatic discharge hazards.
Removing the motherboard provides access to various components, such as the CPU, RAM modules, and other peripheral connectors. It also allows for repairs or upgrades to be made, like replacing a faulty motherboard or upgrading to a higher performance one.
As you remove the motherboard, keep track of the screws, clips, and cables you disconnect. Labeling them or noting their positions can make the reassembly process much simpler. Take care to handle the motherboard delicately to avoid any damage to the sensitive electronic components.
Step 7: Access the SSD/HDD
With the motherboard removed, you can now access the SSD (Solid State Drive) or HDD (Hard Disk Drive) of your Lenovo Yoga Ultrabook. Follow these steps to access the storage device:
- Locate the SSD/HDD compartment. It is usually located near the bottom of the laptop, secured with screws or clips.
- Use a screwdriver to remove the screws or unclip the compartment cover, exposing the storage device.
- If your laptop has both an SSD and an HDD, they may be located in separate compartments. Identify the correct compartment for the drive you wish to access.
- Gently disconnect the cables or connectors attached to the storage device. Some SSDs/HDDs may be connected with a SATA or M.2 connector, while others may have a ribbon cable connection.
- Once the cables are disconnected, carefully remove the SSD or HDD from its slot. If it is secured with screws, unscrew them before removing the drive.
- If you are replacing the drive, insert the new SSD or HDD into the appropriate slot and secure it with screws if necessary.
- Reconnect the cables or connectors to the new drive, ensuring they are firmly attached.
- Place the SSD/HDD compartment cover back onto the laptop and secure it with screws or clips.
By accessing the SSD or HDD, you can replace a faulty drive, upgrade to a larger storage capacity, or switch to a faster SSD for improved performance. Make sure to handle the storage device and its cables with care to prevent any damage.
Throughout this process, keep track of the screws, clips, and cables you remove. Proper labeling and organization will make reassembly easier later on.
Step 8: Replace/Upgrade Components
With the necessary disassembly steps completed, you can now proceed to replace or upgrade components of your Lenovo Yoga Ultrabook. Here are the general guidelines to follow:
- CPU (Central Processing Unit): If you wish to replace the CPU, check if it is socketed or soldered onto the motherboard. If socketed, gently lift the CPU retention arm, carefully remove the old CPU and replace it with the new one following the manufacturer’s instructions.
- RAM (Random Access Memory): To upgrade or replace the RAM modules, locate the memory slots on the motherboard. Release the retention clips, remove the old RAM, and insert the new modules firmly, ensuring they are properly aligned.
- Graphics Card: Not all laptops have dedicated graphics cards. If yours does and you want to upgrade it, it’s essential to check if it is soldered onto the motherboard or if there is a dedicated slot for it. If it is soldered, upgrading the graphics card may not be feasible.
- Wireless Card: Locate the wireless card on the motherboard and disconnect any cables or connectors attaching it. Gently remove the card and replace it with a compatible new one if desired.
- SSD/HDD: Refer to the previous step (Step 7) for accessing and replacing the SSD or HDD. Upgrade to a larger capacity drive or switch to an SSD for faster data access and improved performance.
It’s important to note that not all components may be replaceable or upgradable in your specific laptop model. Verify compatibility and availability of replacement parts before proceeding with any upgrades.
Throughout the process, handle the components with care, ensuring they are properly aligned and securely connected. Follow the manufacturer’s instructions and guidelines for each component to ensure a successful replacement or upgrade.
After replacing or upgrading the desired components, you can move on to the final step: reassembling your Lenovo Yoga Ultrabook.
Step 9: Reassemble the Laptop
After completing the necessary component replacements or upgrades, it’s time to reassemble your Lenovo Yoga Ultrabook. Follow these steps to ensure a successful reassembly:
- Start by carefully reattaching the SSD or HDD if it was removed during the disassembly process. Place the drive back into its slot and secure it with screws if necessary. Reconnect any cables or connectors to the drive.
- Next, position the motherboard back into the laptop’s body. Ensure that it aligns correctly with the screw holes and peripheral connectors. Gently press the motherboard down, making sure it is evenly seated.
- Reconnect all the cables and connectors to the motherboard, following the notes or labels you made during the disassembly process. Double-check that all cables are securely connected.
- If you removed the keyboard, position it back into its original position and secure it with screws or clips. Reconnect any ribbon cables or connectors to the keyboard.
- Carefully reattach the display panel, aligning it with the hinges and the connector on the motherboard. Connect the display connector and secure it in place, ensuring it is fully seated.
- Place the back cover back onto the laptop’s body and press it down gently to snap it into place. Secure the cover with screws, following the original screw locations.
- Double-check that all components are properly connected, seated, and secured. Ensure that no cables or connectors are pinched or obstructing any other components.
- Once everything is in place, power on your Lenovo Yoga Ultrabook to ensure that all the components are functioning correctly.
By carefully reassembling your laptop, you ensure that all the components are correctly installed and connected. Take your time, be patient, and refer to any documentation or labels you created during the disassembly process to ensure a smooth reassembly.
After successful reassembly, you can enjoy the benefits of any replaced or upgraded components and start using your Lenovo Yoga Ultrabook as desired.
Conclusion
Disassembling and reassembling your Lenovo Yoga Ultrabook can be a rewarding and cost-effective way to repair or upgrade its components. By following the steps outlined in this guide, you can confidently navigate the disassembly process and gain access to various internal components, such as the keyboard, display, motherboard, and storage drives.
Remember to take necessary precautions, such as preparing your workspace, using the appropriate tools, and grounding yourself against static electricity. Additionally, handle the components with care to prevent any damage and keep track of screws, connectors, and cables for easy reassembly.
Whether you’re replacing a faulty component or upgrading to improve performance, each step in the disassembly process brings you closer to achieving your desired outcome. Be sure to consult your laptop’s user manual or seek professional assistance if you encounter any difficulties or have concerns about voiding the warranty.
Once you have successfully reassembled your Lenovo Yoga Ultrabook, you can enjoy the benefits of any component replacements or upgrades. The renewed functionality and improved performance will enhance your overall computing experience.
Always remember to exercise caution and perform a thorough inspection before powering on the laptop to ensure that all components are properly connected and functioning as expected. If you encounter any issues during the reassembly process or notice any abnormalities after powering on your laptop, consult a professional for assistance.
With proper care and maintenance, your Lenovo Yoga Ultrabook can continue to meet your computing needs and provide an enjoyable user experience for years to come.