Introduction
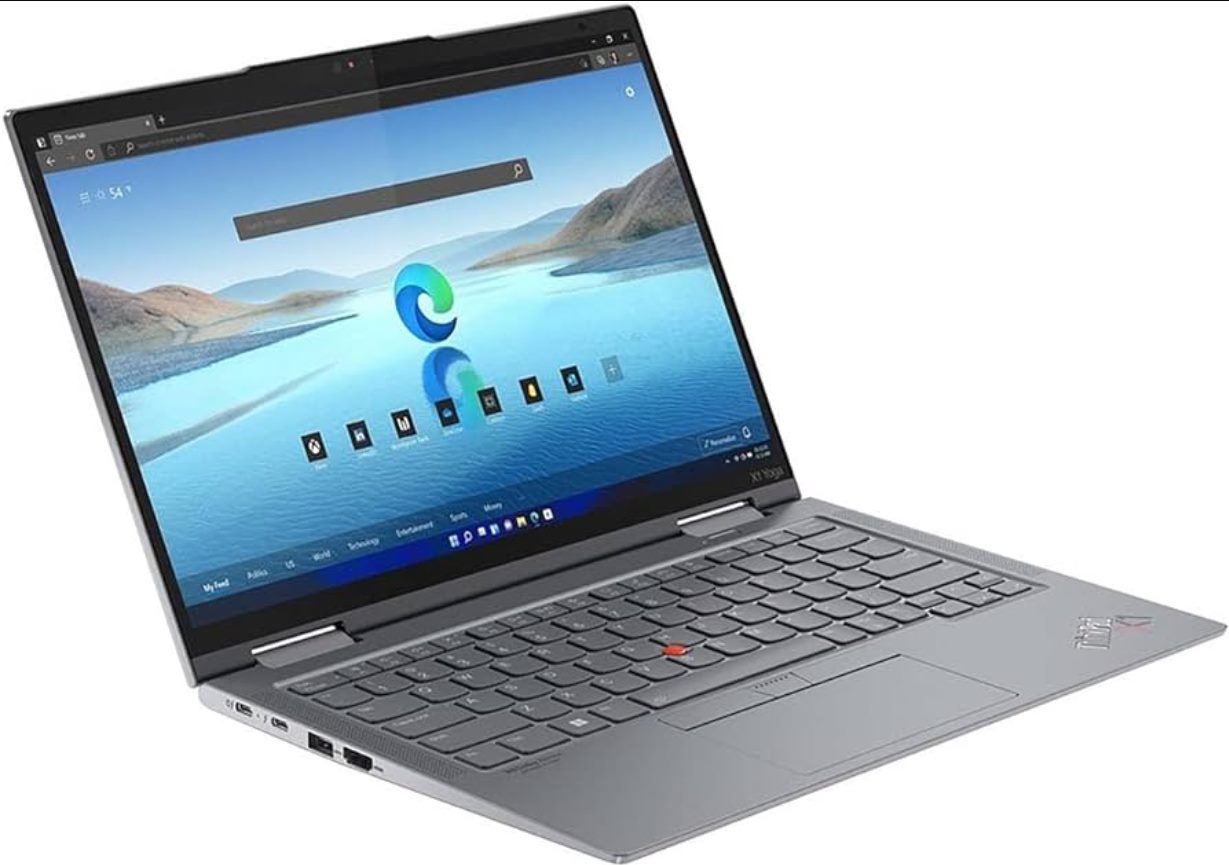
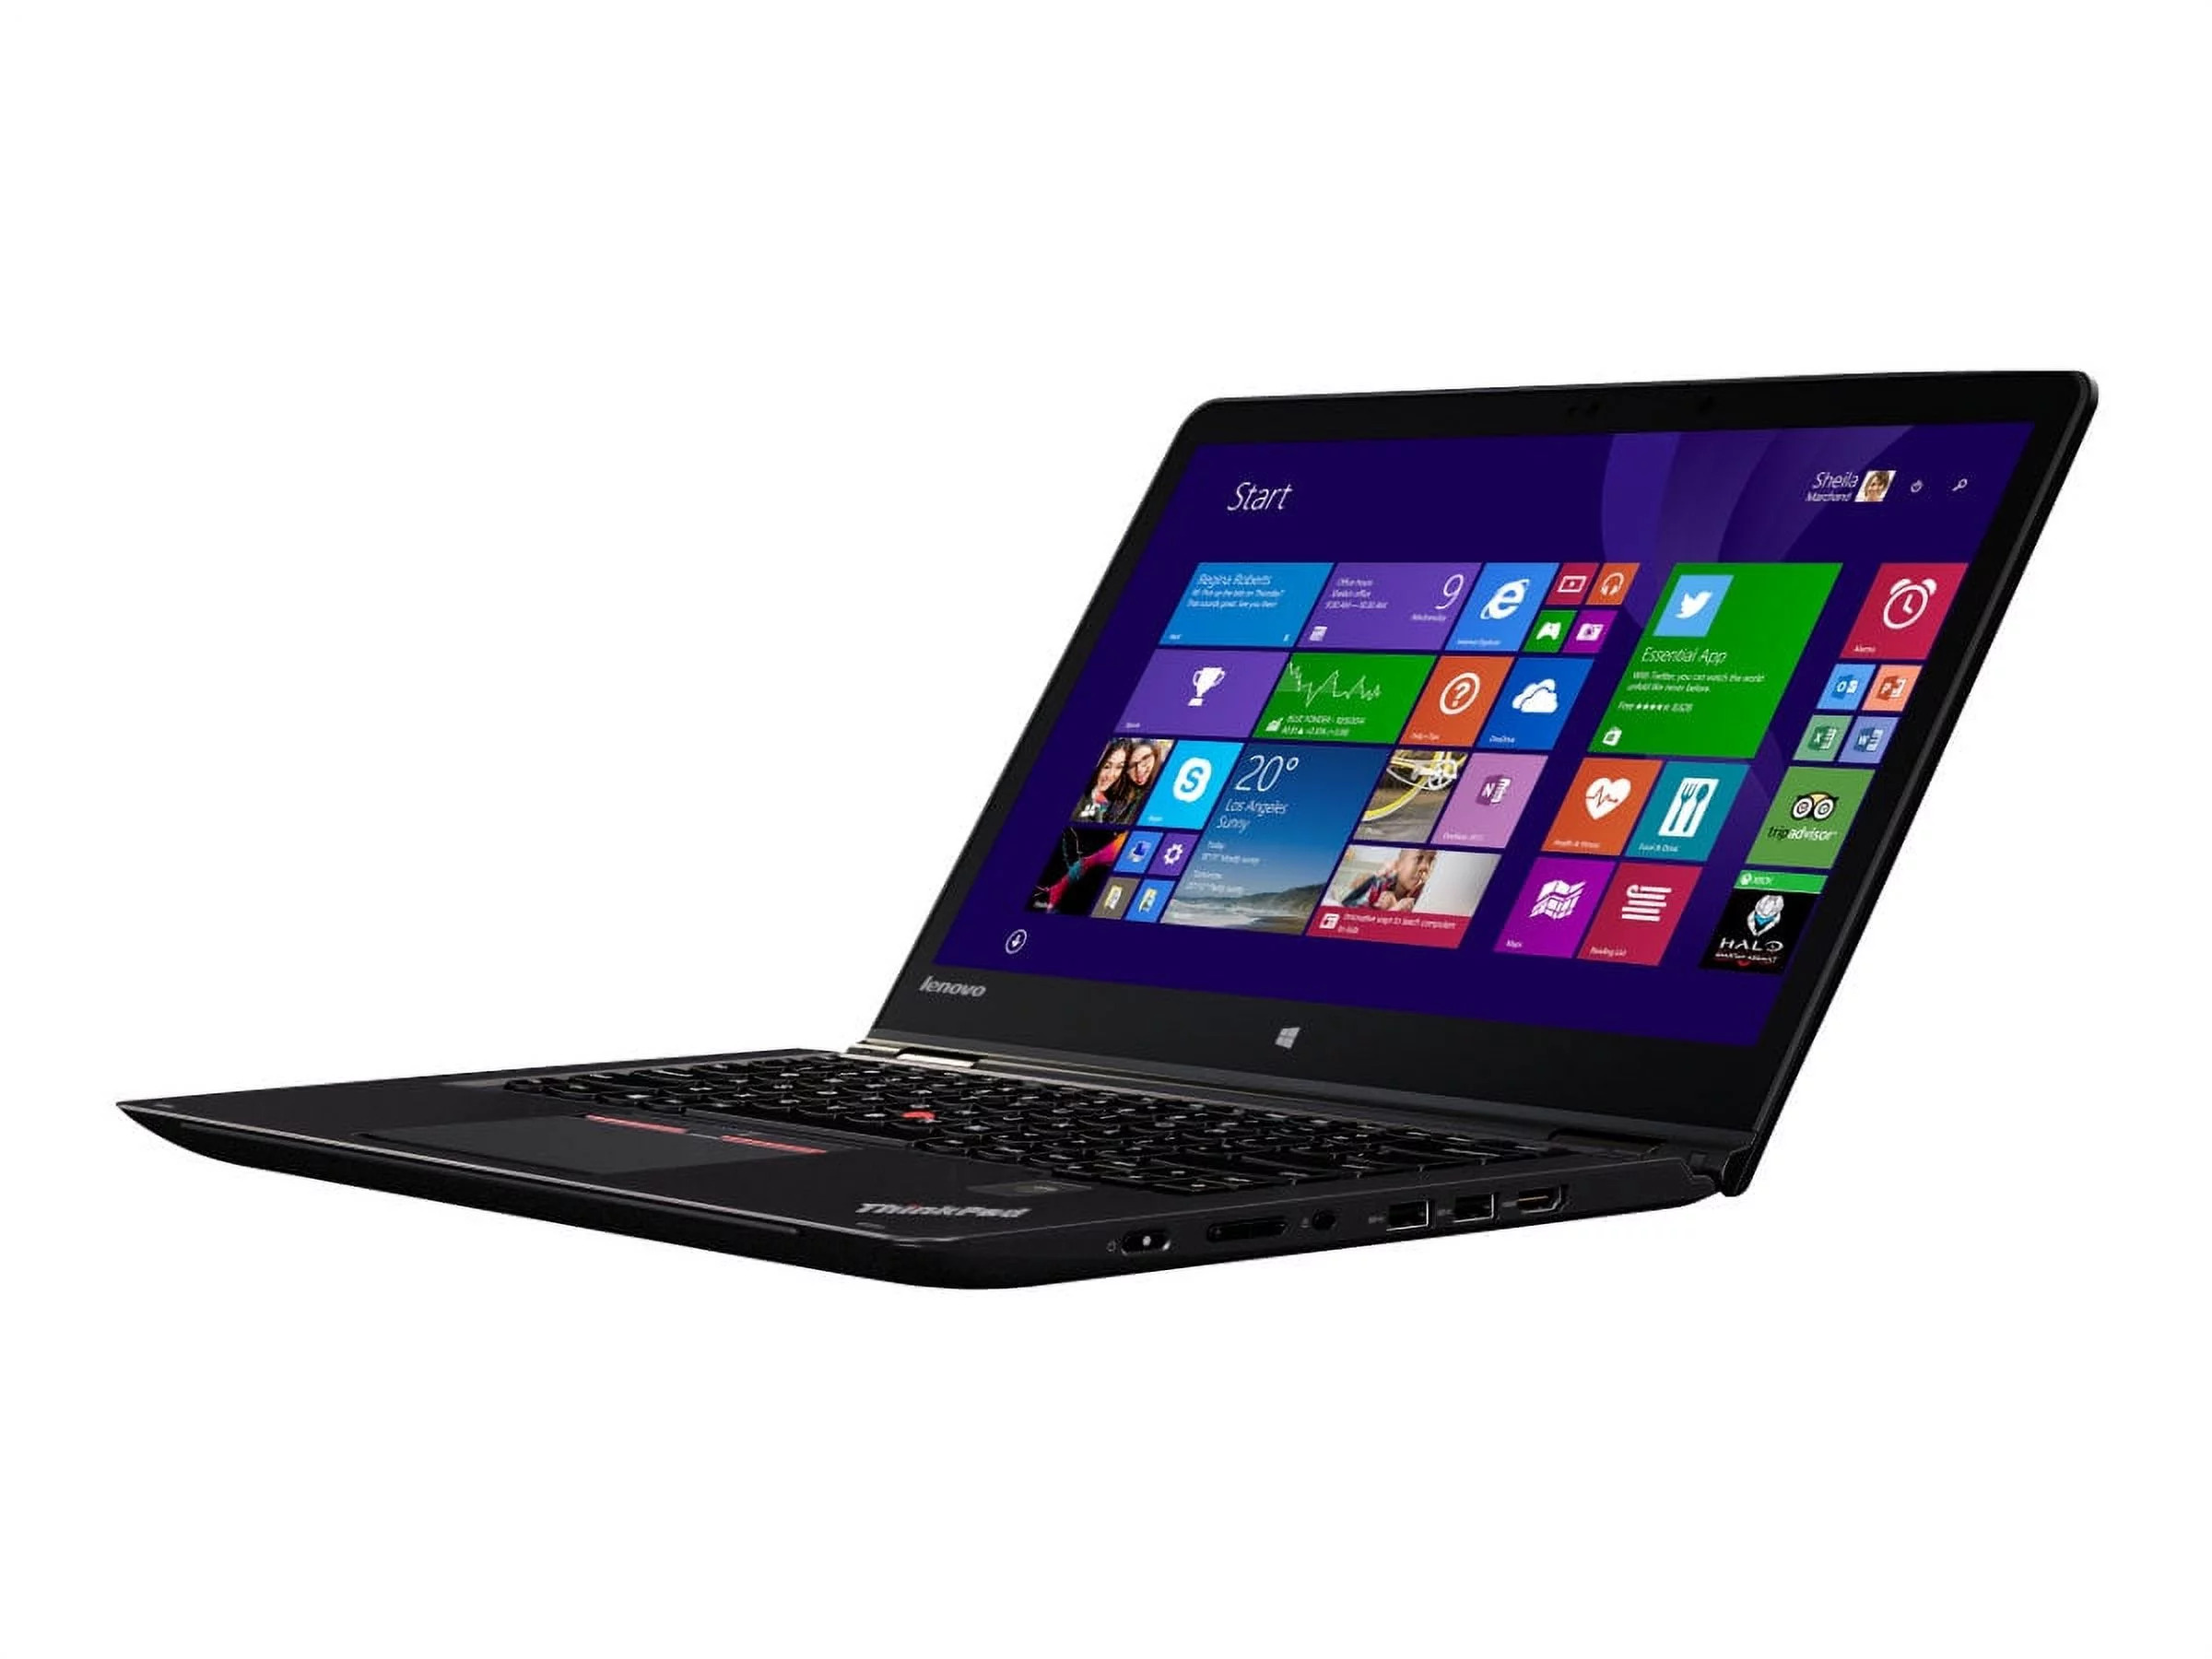
Welcome to the world of the Lenovo Yoga 14 Ultrabook! This powerful device combines sleek design, portability, and impressive performance to provide you with a seamless computing experience. Whether you’re a student, professional, or casual user, the Lenovo Yoga 14 Ultrabook offers a range of features that will enhance your productivity and entertainment.
With its Intel Core i5 processor, you can expect lightning-fast speed and efficient multitasking capabilities. The 14-inch display delivers crisp visuals and vibrant colors, making it ideal for watching movies, editing photos, or working on creative projects. Additionally, the Yoga 14 Ultrabook’s innovative 360-degree hinge allows you to seamlessly switch between laptop, tablet, tent, and stand modes, adapting to your needs and preferences.
In this guide, we will explore the various functionalities and features of the Lenovo Yoga 14 Ultrabook, helping you make the most of your device. From powering on and off to troubleshooting common issues, we’ve got you covered. Let’s dive in and discover the endless possibilities this Ultrabook has to offer!
Before we begin, it’s important to note that the instructions and settings discussed in this guide are specific to the Lenovo Yoga 14 Ultrabook. While some concepts may apply to other devices, it’s always best to consult the user manual or support resources for your specific model to ensure accurate and relevant information.
Now, without further ado, let’s embark on this exciting journey of exploring the amazing features and functionalities of your Lenovo Yoga 14 Ultrabook!
Powering On and Off
Powering on and off your Lenovo Yoga 14 Ultrabook is a simple process. To turn on your device, locate the power button, typically located on the side or top-right corner of the device. Press and hold the power button for a few seconds until the laptop boots up and the Lenovo logo appears on the screen.
When you’re ready to shut down your Ultrabook, click on the “Start” button, usually located on the bottom-left corner of the screen. From the Start menu, select “Shut down” to initiate the shutdown process. Your Ultrabook will close all programs and processes and power off completely. Wait for a few moments before closing the lid or disconnecting any peripherals to ensure a proper shutdown.
If you need to restart your Ultrabook, you can do so by clicking on the “Start” button and selecting “Restart.” This option is useful when you want to apply system updates or when your Ultrabook is not functioning correctly and requires a fresh start.
Remember to save any unsaved work before shutting down or restarting your Lenovo Yoga 14 Ultrabook to avoid data loss. Regularly powering off your device also helps to conserve battery life and keep your Ultrabook running efficiently.
In situations where your Ultrabook becomes unresponsive and none of the usual shutdown methods work, you can try performing a force shutdown. To do this, locate the small pinhole at the bottom or side of your device. Straighten out a paperclip or any small, pointed object and gently press it into the pinhole until you feel a click. Hold it in for about 10 seconds, and your Ultrabook should power off.
Powering your Lenovo Yoga 14 Ultrabook on and off correctly is essential for efficient usage and device longevity. By following these simple steps, you’ll be able to start and shut down your Ultrabook effortlessly, ensuring a smooth computing experience without any interruptions.
Navigating the Start Menu
The Start menu on your Lenovo Yoga 14 Ultrabook serves as a central hub for accessing your favorite apps, settings, and files. Learning how to navigate and utilize the Start menu effectively will greatly enhance your productivity and make it easier to find what you need.
To access the Start menu, click on the Windows icon located at the bottom-left corner of the screen, or simply press the Windows key on your keyboard. The Start menu will open, presenting you with a variety of options and tiles.
At the top of the Start menu, you’ll find a search bar. This allows you to quickly search for specific apps, files, or settings by simply typing in keywords. As you type, the Start menu will display relevant results, making it easy to locate what you’re looking for.
Beneath the search bar, you’ll see a series of tiles representing your most-used or recently-installed apps. These tiles can be rearranged, resized, or removed to customize your Start menu according to your preferences. To open an app from the tile, simply click on it, and it will launch.
Scrolling down the Start menu will reveal additional sections such as “Recently added” and “Most used.” These sections provide quick access to newly installed apps or frequently used programs, allowing you to open them with just a click.
On the left-hand side of the Start menu, you’ll find a list of pre-installed apps, system settings, and power options. This section, known as the app list, can be expanded to view all the apps installed on your Ultrabook. Simply click on “All apps” to see the complete list, and click on any app to launch it.
If you want to customize the Start menu further, you can right-click on any tile or app and choose options such as resizing, uninstalling, or pinning to the taskbar. These customization options allow you to personalize your Start menu to suit your needs and workflow.
Exploring and familiarizing yourself with the Start menu is crucial to maximize the efficiency of your Lenovo Yoga 14 Ultrabook. By utilizing the search function, arranging tiles, and accessing the app list, you’ll be able to quickly launch apps and access important settings, streamlining your workflow and saving valuable time.
Connecting to Wi-Fi
Connecting your Lenovo Yoga 14 Ultrabook to a Wi-Fi network is essential to access the internet and enjoy online capabilities. Here’s how you can easily connect to a Wi-Fi network:
- Click on the network icon in the taskbar, typically located on the bottom-right corner of the screen. It looks like a series of bars or a Wi-Fi symbol.
- A drop-down menu will appear, showing the available Wi-Fi networks in your vicinity. Select the network you want to connect to by clicking on it.
- If the network is secured with a password, you will be prompted to enter it. Type in the password correctly, ensuring that the case is consistent, and click “Connect.”
- Wait a few seconds for your Lenovo Yoga 14 Ultrabook to establish a connection to the Wi-Fi network. Once connected, you will see a notification confirming the successful connection.
If you are unable to see any available Wi-Fi networks, ensure that your Wi-Fi is activated. Sometimes, laptops have a physical switch or a function key combination that toggles the Wi-Fi on or off. Check your Ultrabook’s user manual or keyboard for the appropriate keys or switches to enable Wi-Fi.
If your Wi-Fi network is not listed or if you are experiencing issues with the connection, try the following troubleshooting steps:
- Restart your Ultrabook and your Wi-Fi router to refresh the network connection.
- Ensure that you are within range of the Wi-Fi signal and that there are no obstructions blocking the connection.
- Check if other devices can connect to the Wi-Fi network. If they can, the issue may be specific to your Ultrabook.
- Update the wireless network adapter driver on your Ultrabook. Visit the Lenovo website or use the device manager to check for driver updates.
- If all else fails, contact your internet service provider or seek help from Lenovo customer support for further assistance.
Connecting to Wi-Fi on your Lenovo Yoga 14 Ultrabook is a straightforward process, allowing you to stay connected and access the internet wirelessly. With a stable and reliable Wi-Fi network, you can browse the web, stream media, download files, and enjoy all the online activities your Ultrabook has to offer.
Using the Touchpad and Keyboard
The touchpad and keyboard are two essential input methods on your Lenovo Yoga 14 Ultrabook that allow you to navigate, type, and interact with your device. Here are some tips and tricks for using them effectively:
Touchpad:
1. Cursor Movement: Use one finger to move the cursor on the screen by gliding your finger smoothly across the touchpad surface. The cursor will follow your finger’s movements.
2. Left-Click: To perform a left-click on an item or icon, simply tap the touchpad with one finger. This is equivalent to clicking with the left button of a traditional mouse.
3. Right-Click: To perform a right-click, tap the touchpad with two fingers simultaneously. This will bring up a context menu for additional options.
4. Scrolling: Place two fingers vertically on the touchpad and move them up or down to scroll through documents, web pages, or other content.
5. Gestures: Take advantage of touchpad gestures to navigate and control your Ultrabook more efficiently. For example, you can use a pinch gesture to zoom in or out on a web page or image.
Keyboard:
1. Typing: The keyboard layout on the Lenovo Yoga 14 Ultrabook follows the standard QWERTY format. Familiarize yourself with the layout to type quickly and accurately. Additionally, make use of the tactile feedback from the keys to enhance your typing experience.
2. Function Keys: The function keys, located at the top row of the keyboard, provide quick access to various system functions such as adjusting volume, screen brightness, and Wi-Fi settings. Use the appropriate function key in combination with the Fn key to activate these shortcuts.
3. Keyboard Shortcuts: Take advantage of keyboard shortcuts to navigate your Ultrabook efficiently. For example, pressing “Ctrl + C” copies selected text, while “Ctrl + V” pastes the copied content.
4. Backlit Keyboard: If your Lenovo Yoga 14 Ultrabook model has a backlit keyboard, you can adjust the brightness of the backlighting to suit your preference. Look for the appropriate function key with a backlight symbol and use the Fn key in combination with it to toggle the backlight settings.
Experiment with the touchpad and keyboard settings in the Control Panel to customize their behaviors and gestures according to your preferences. You can adjust sensitivity, scrolling speed, and other options to optimize your interaction with the Ultrabook.
Mastering the touchpad and keyboard functions will greatly enhance your productivity and overall user experience on the Lenovo Yoga 14 Ultrabook. Practice using these input methods to become more efficient and comfortable with your device.
Adjusting Display Settings
The display settings on your Lenovo Yoga 14 Ultrabook allow you to customize the visual experience to your liking. Whether you prefer a brighter screen, larger text, or a specific screen resolution, adjusting these settings will ensure that your display is tailored to your needs. Here’s how to do it:
Screen Brightness:
To adjust the screen brightness, locate the brightness keys on your keyboard. They are typically denoted by a sun icon and can be found on the function key row or as dedicated keys. Press the corresponding key in combination with the Fn key to increase or decrease the brightness. Alternatively, you can adjust the brightness through the Windows settings by right-clicking on the desktop, selecting “Display settings,” and using the brightness slider.
Resolution:
The resolution determines the number of pixels displayed on the screen. To change the resolution, right-click on the desktop, select “Display settings,” and scroll down to the “Resolution” section. Here, you can choose the resolution that best suits your needs. Keep in mind that higher resolutions provide sharper images but may make text and icons appear smaller, while lower resolutions may result in a less detailed display but with larger text and icons.
Display Orientation:
If you prefer a different orientation for your display, you can adjust it by right-clicking on the desktop and selecting “Display settings.” Scroll down to the “Orientation” section and choose either landscape, portrait, landscape (flipped), or portrait (flipped) depending on your preference. This feature is particularly useful if you want to use your Ultrabook in different modes like tent or tablet.
Night Light:
The Night Light feature reduces blue light emissions from your screen, which can help reduce eye strain and improve sleep quality. To enable Night Light, go to the “Display settings” and click on the “Night Light” tab. From here, you can adjust the intensity or schedule Night Light to activate automatically based on the time of day.
Scaling and Text Size:
If you find that text and icons are too small on your screen, you can increase the scaling or text size to make them more comfortable to read. In the “Display settings,” click on the “Scale and layout” or “Advanced scaling settings” option to adjust the scaling percentage. You can also change the text size by selecting “Advanced display settings” and clicking on “Advanced sizing of text and other items.”
By adjusting the display settings on your Lenovo Yoga 14 Ultrabook, you can create a personalized visual experience that matches your preferences. Experiment with different settings to find the optimal combination that enhances your comfort and productivity.
Installing and Updating Applications
Installing and updating applications on your Lenovo Yoga 14 Ultrabook allows you to expand its functionality and stay up to date with the latest features and improvements. Here’s how you can easily install and update applications:
Installing Applications:
1. Microsoft Store: The Microsoft Store is the official marketplace for applications on Windows devices. To install applications from the Microsoft Store, open the Store app on your Ultrabook. Browse through the different categories or use the search function to find the app you want. Click on the app and then click on the “Install” button to initiate the installation process. Once the installation is complete, you can launch the app from the Start menu or the app list.
2. Third-Party Sources: Apart from the Microsoft Store, you can also install applications from third-party sources. Visit the developer’s website or trusted software repositories to download the installation file (usually in the .exe or .msi format). Double-click on the downloaded file, follow the on-screen instructions, and the application will be installed on your Ultrabook. Be cautious when downloading from third-party sources and ensure that the website is secure and reputable.
Updating Applications:
1. Microsoft Store: For applications installed from the Microsoft Store, updates are usually handled automatically. The Store app will check for updates in the background and install them when available. However, you can also manually check for updates by opening the Microsoft Store, clicking on the three-dot menu icon at the top-right corner, and selecting “Downloads and updates.” From there, click on the “Get updates” button to update all the apps that have pending updates.
2. Third-Party Applications: Updates for third-party applications are usually managed within the application itself. Look for an “Update” or “Check for updates” option in the settings or preferences of the application. Click on it to search for and install any available updates. Some applications may also provide automatic update options, allowing you to stay up to date without manual intervention.
Keeping your applications updated ensures that you have access to the latest features, security patches, and bug fixes. Regularly check for updates to enhance the performance and stability of the applications installed on your Lenovo Yoga 14 Ultrabook.
Remember, installing applications from trusted sources and keeping them updated is crucial to maintaining a secure computing environment. Be cautious when downloading from unknown sources and always use reliable software repositories to minimize the risk of malware or malicious applications.
By following these simple steps, you can install new applications and keep them updated on your Lenovo Yoga 14 Ultrabook, ensuring that you have access to the latest and most optimized software available.
Saving and Accessing Files
Knowing how to save and access files on your Lenovo Yoga 14 Ultrabook is essential for organizing your work, maintaining data integrity, and ensuring easy retrieval. Here’s a guide on how to effectively save and access files:
Saving Files:
1. File Explorer: The primary tool for managing files on your Ultrabook is File Explorer. To save a file, open the application you are working in (such as Microsoft Word or Adobe Photoshop). Click on “File” in the top menu bar and select “Save” or “Save As.” File Explorer will open, allowing you to choose the location where you want to save the file, provide a name, and select the file format if applicable. Click on “Save” to save the file to the chosen location.
2. Default Location: By default, most applications will save files to the user’s Documents folder on the Ultrabook’s internal storage. However, you can choose a different default location if needed. In File Explorer, navigate to the desired folder, right-click on it, and select “Properties.” In the Properties window, click on the “Location” tab and choose a new default location for your files.
3. Cloud Storage: Utilizing cloud storage services like Dropbox, OneDrive, or Google Drive can provide additional flexibility and accessibility for your files. Install the cloud storage application of your choice, sign in with your account, and choose a folder location on your Ultrabook. Any files saved in this folder will automatically sync with the cloud, allowing you to access them from other devices or share them with others.
Accessing Files:
1. File Explorer: To access your files, open File Explorer by clicking on the folder icon in the taskbar or by pressing the Windows key + E on your keyboard. From there, you can navigate through the different folders and drives to find your desired files. Use the search bar at the top-right corner to quickly locate specific files or folders by name. Double-click on a file to open it with the associated application.
2. Recent Files: The Start menu often includes a section that displays your recent files, making it convenient to access your most recently used files. Simply click on the “Start” button and look for the “Recent” or “Recent files” section. Clicking on a file in this list will open it with the associated application.
3. Cloud Storage: If you have stored files in a cloud storage service, you can access them on your Ultrabook by installing the respective cloud application or by using a web browser to log in to the associated website. Once logged in, navigate to the desired file or folder, and download or open it as needed.
Remember to regularly back up your important files to an external hard drive or utilize cloud storage services to prevent data loss in case of hardware failure or other unexpected events. Additionally, keep your file organization tidy by creating folders and using descriptive file names to easily locate and manage your documents, images, videos, and other files.
By following these guidelines, you’ll be able to effortlessly save and access files on your Lenovo Yoga 14 Ultrabook, ensuring a seamless workflow and effective data management.
Connecting External Devices
Your Lenovo Yoga 14 Ultrabook offers various ports and connectivity options that allow you to connect a wide range of external devices. Whether you need to transfer files, connect peripherals, or expand your display, here’s a guide on how to connect external devices to your Ultrabook:
USB Devices:
1. USB Ports: The Lenovo Yoga 14 Ultrabook typically features USB ports that allow you to connect devices like external hard drives, USB flash drives, printers, smartphones, and more. Locate the USB ports on your Ultrabook and insert the USB connector of the device into the port. Windows will automatically detect and install the necessary drivers in most cases.
2. USB Hubs: If you require additional USB ports, you can use a USB hub. Connect the USB hub to one of the USB ports on your Ultrabook, and then connect the devices to the available USB ports on the hub. This way, you can expand the number of devices you can connect simultaneously.
Display Devices:
1. HDMI Port: Your Lenovo Yoga 14 Ultrabook may have an HDMI (High-Definition Multimedia Interface) port. This port allows you to connect external displays such as monitors or projectors for an extended or mirrored display. Simply connect one end of an HDMI cable to your Ultrabook’s HDMI port and the other end to the HDMI input on the display device. Ensure that the external display is set to the correct input source for the HDMI connection.
2. USB-C or Thunderbolt 3 Port: If your Lenovo Yoga 14 Ultrabook is equipped with a USB-C or Thunderbolt 3 port, you can use an appropriate adapter or cable to connect to various display devices including HDMI, DisplayPort, or VGA. These ports provide versatility and enable you to connect to a wide range of external displays.
Audio Devices:
1. Audio Jack: The Ultrabook typically features an audio jack that allows you to connect headphones, external speakers, or microphones. Simply plug in the audio device’s connector into the audio jack to establish an audio connection. Windows should automatically switch the audio output to the connected device.
2. Bluetooth: If your audio device supports Bluetooth connectivity, you can pair it with your Lenovo Yoga 14 Ultrabook. Open the Bluetooth settings on your Ultrabook, ensure that Bluetooth is turned on, and follow the pairing instructions provided by your audio device.
Other Devices:
1. Ethernet: If you require a stable and high-speed internet connection, you can connect your Ultrabook to a wired network using an Ethernet cable. Locate the Ethernet port on your Ultrabook and connect one end of the Ethernet cable to the port and the other end to a wired network source, such as a router or modem.
2. Other Peripheral Devices: Different peripherals such as external keyboards, mice, webcams, and scanners can also be connected to the appropriate ports on your Ultrabook. These can include USB, Bluetooth, or even wireless connections, depending on the device’s specifications and compatibility.
Ensure that you disconnect external devices properly by safely removing them from the system to avoid data corruption or hardware damage. To do this, use the “Safely Remove Hardware” feature in the system tray or right-click on the device in File Explorer and select “Eject.”
By following these guidelines, you can easily connect a variety of external devices to your Lenovo Yoga 14 Ultrabook, expanding its capabilities and improving your overall computing experience.
Managing Battery Life
Effectively managing the battery life of your Lenovo Yoga 14 Ultrabook is essential for prolonging usage time and ensuring optimal performance. By implementing a few simple practices, you can maximize the battery life of your Ultrabook. Here are some tips to help you manage your Ultrabook’s battery:
1. Adjust Power Settings: Windows provides power management options that allow you to customize the power usage of your Ultrabook. To access these settings, click on the battery icon in the taskbar and select “Power & sleep settings.” From there, you can choose between different power modes such as “Battery saver” or “Better battery,” which prioritize energy efficiency over performance.
2. Reduce Screen Brightness: The display panel is one of the most power-consuming components of your Ultrabook. Lowering the screen brightness or using the adaptive brightness feature can significantly extend battery life. Adjust the brightness to a comfortable level while still conserving power.
3. Manage Background Processes: Close any unnecessary applications or processes running in the background. Background processes, especially resource-intensive ones, drain the battery faster. Use the Task Manager (Ctrl + Shift + Esc) to identify and close any unwanted processes that may be affecting battery life.
4. Use Battery Optimization Features: Some Ultrabooks, including the Lenovo Yoga 14, come equipped with battery optimization features. These features often allow you to limit system resources for specific applications or adjust battery usage based on your needs. Explore the settings or software provided by Lenovo to make use of these built-in optimization features.
5. Enable Power Saving Features: Take advantage of power-saving features such as auto sleep, which puts your Ultrabook into a low-power state after a specified period of inactivity. Adjust the sleep or hibernation settings to optimize battery performance when not in use.
6. Disconnect Unnecessary Devices: USB devices, external hard drives, and peripherals that are not in use draw power from your Ultrabook. Disconnect any devices that are not actively being used to conserve battery life.
7. Update Drivers and Firmware: Regularly check for driver and firmware updates provided by Lenovo. These updates often include improvements and optimizations that can enhance battery life and overall performance. Visit the Lenovo website or use the Lenovo Vantage software to keep your Ultrabook up to date.
8. Replace Aging Battery: Over time, the battery capacity of your Ultrabook may diminish. If you notice a significant decrease in battery life, consider replacing the battery with a genuine replacement from Lenovo to restore optimal performance.
It’s important to note that battery life can vary depending on usage, settings, and system configurations. When using resource-intensive applications or performing tasks that require heavy processing, battery life may be reduced. Additionally, battery life is influenced by external factors such as screen brightness, Wi-Fi usage, and connected devices.
By implementing these battery-saving practices, you can effectively manage the battery life of your Lenovo Yoga 14 Ultrabook, allowing you to make the most out of your usage time and ensuring optimal performance when on the go.
Troubleshooting Common Issues
While the Lenovo Yoga 14 Ultrabook is a reliable and high-performance device, encountering occasional issues is not uncommon. Understanding how to troubleshoot common problems can help you resolve them quickly and get back to using your Ultrabook without interruptions. Here are some common issues and their potential solutions:
1. Frozen or Unresponsive Screen:
If your screen becomes unresponsive or freezes, try pressing the Ctrl + Alt + Delete keys simultaneously. This will bring up the Task Manager, where you can close any unresponsive applications. If the issue persists, try restarting your Ultrabook or perform a forced shutdown by pressing and holding the power button for 10 seconds. This will power off the device completely.
2. Wi-Fi Connection Issues:
If you are experiencing Wi-Fi connection issues, first try restarting your router and modem. Verify that your Ultrabook’s Wi-Fi is turned on and that you are within range of the network. If the problem persists, right-click on the network icon in the taskbar, select “Troubleshoot problems,” and follow the on-screen prompts to diagnose and fix the issue.
3. Battery Not Charging:
If you notice that your battery is not charging, ensure that the AC adapter is securely connected to both your Ultrabook and a power source. Try plugging the AC adapter into a different power outlet to rule out any issues with the electrical supply. If the problem persists, try using a different AC adapter or contact Lenovo customer support for further assistance.
4. Slow Performance:
If your Lenovo Yoga 14 Ultrabook is running slowly, first check for any pending software updates. Outdated software or drivers can impact performance. It’s also a good idea to close any unnecessary applications or processes running in the background using the Task Manager. Additionally, consider optimizing your Ultrabook’s performance by performing disk cleanup, removing unwanted programs, and disabling unnecessary startup items.
5. Overheating:
If your Ultrabook becomes excessively hot, ensure that the ventilation vents are not obstructed or clogged with dust. Use compressed air to clean the vents if necessary. Avoid using the Ultrabook on soft surfaces that can block airflow. If the issue persists, it may be helpful to use a laptop cooling pad to improve airflow and decrease temperatures.
6. Blue Screen of Death (BSOD):
If you encounter a blue screen error on your Ultrabook, note down the error message displayed. Restart your Ultrabook and search for the specific error code online for potential solutions. If the issue recurs frequently, consider updating your drivers, running a malware scan, or performing a system restore to a previous stable point.
7. No Sound:
If you are not getting any sound from your Ultrabook, first check the volume settings and ensure that the speakers or headphones are properly connected. Verify that the correct audio device is selected in the sound settings. Update the audio driver through the Lenovo website or the device manager. If the problem persists, try using different speakers or headphones to determine if the issue is with the external device or the Ultrabook itself.
Remember, if you’re unable to resolve the issue on your own, don’t hesitate to reach out to Lenovo customer support or consult the user manual for further assistance. They can provide specific troubleshooting steps or arrange for repairs if necessary. Troubleshooting common issues allows you to quickly resolve problems and get back to enjoying the full functionality of your Lenovo Yoga 14 Ultrabook.
Conclusion
Congratulations! You now have a comprehensive understanding of how to make the most of your Lenovo Yoga 14 Ultrabook. From powering on and off to troubleshooting common issues, you’re equipped with the knowledge and skills to navigate through the various functionalities of your Ultrabook and resolve any problems that may arise.
By following the steps outlined in this guide, you can effectively power on and off your Ultrabook, navigate the Start menu, connect to Wi-Fi networks, utilize the touchpad and keyboard, adjust display settings, install and update applications, save and access files, connect external devices, manage battery life, and troubleshoot common issues. These insights will enhance your productivity, performance, and overall computing experience.
Remember to explore the user manual and support resources specific to your Lenovo Yoga 14 Ultrabook model for additional information and guidance. Regularly update your software, drivers, and firmware to ensure optimal performance and security. Additionally, keep up-to-date with the latest industry trends and best practices to further optimize your usage and explore new possibilities with your Ultrabook.
Enjoy the versatility, portability, and power of your Lenovo Yoga 14 Ultrabook. Whether you’re a student, professional, or casual user, this device is designed to meet your computing needs and elevate your digital experience. With its sleek design, impressive performance, and innovative features, the Lenovo Yoga 14 Ultrabook is sure to become an indispensable tool in your daily life.
Make the most of your Ultrabook, unleash your creativity, and stay connected with the world around you. Harness the power of technology and let your Lenovo Yoga 14 Ultrabook be your gateway to endless possibilities, productivity, and entertainment.