Introduction
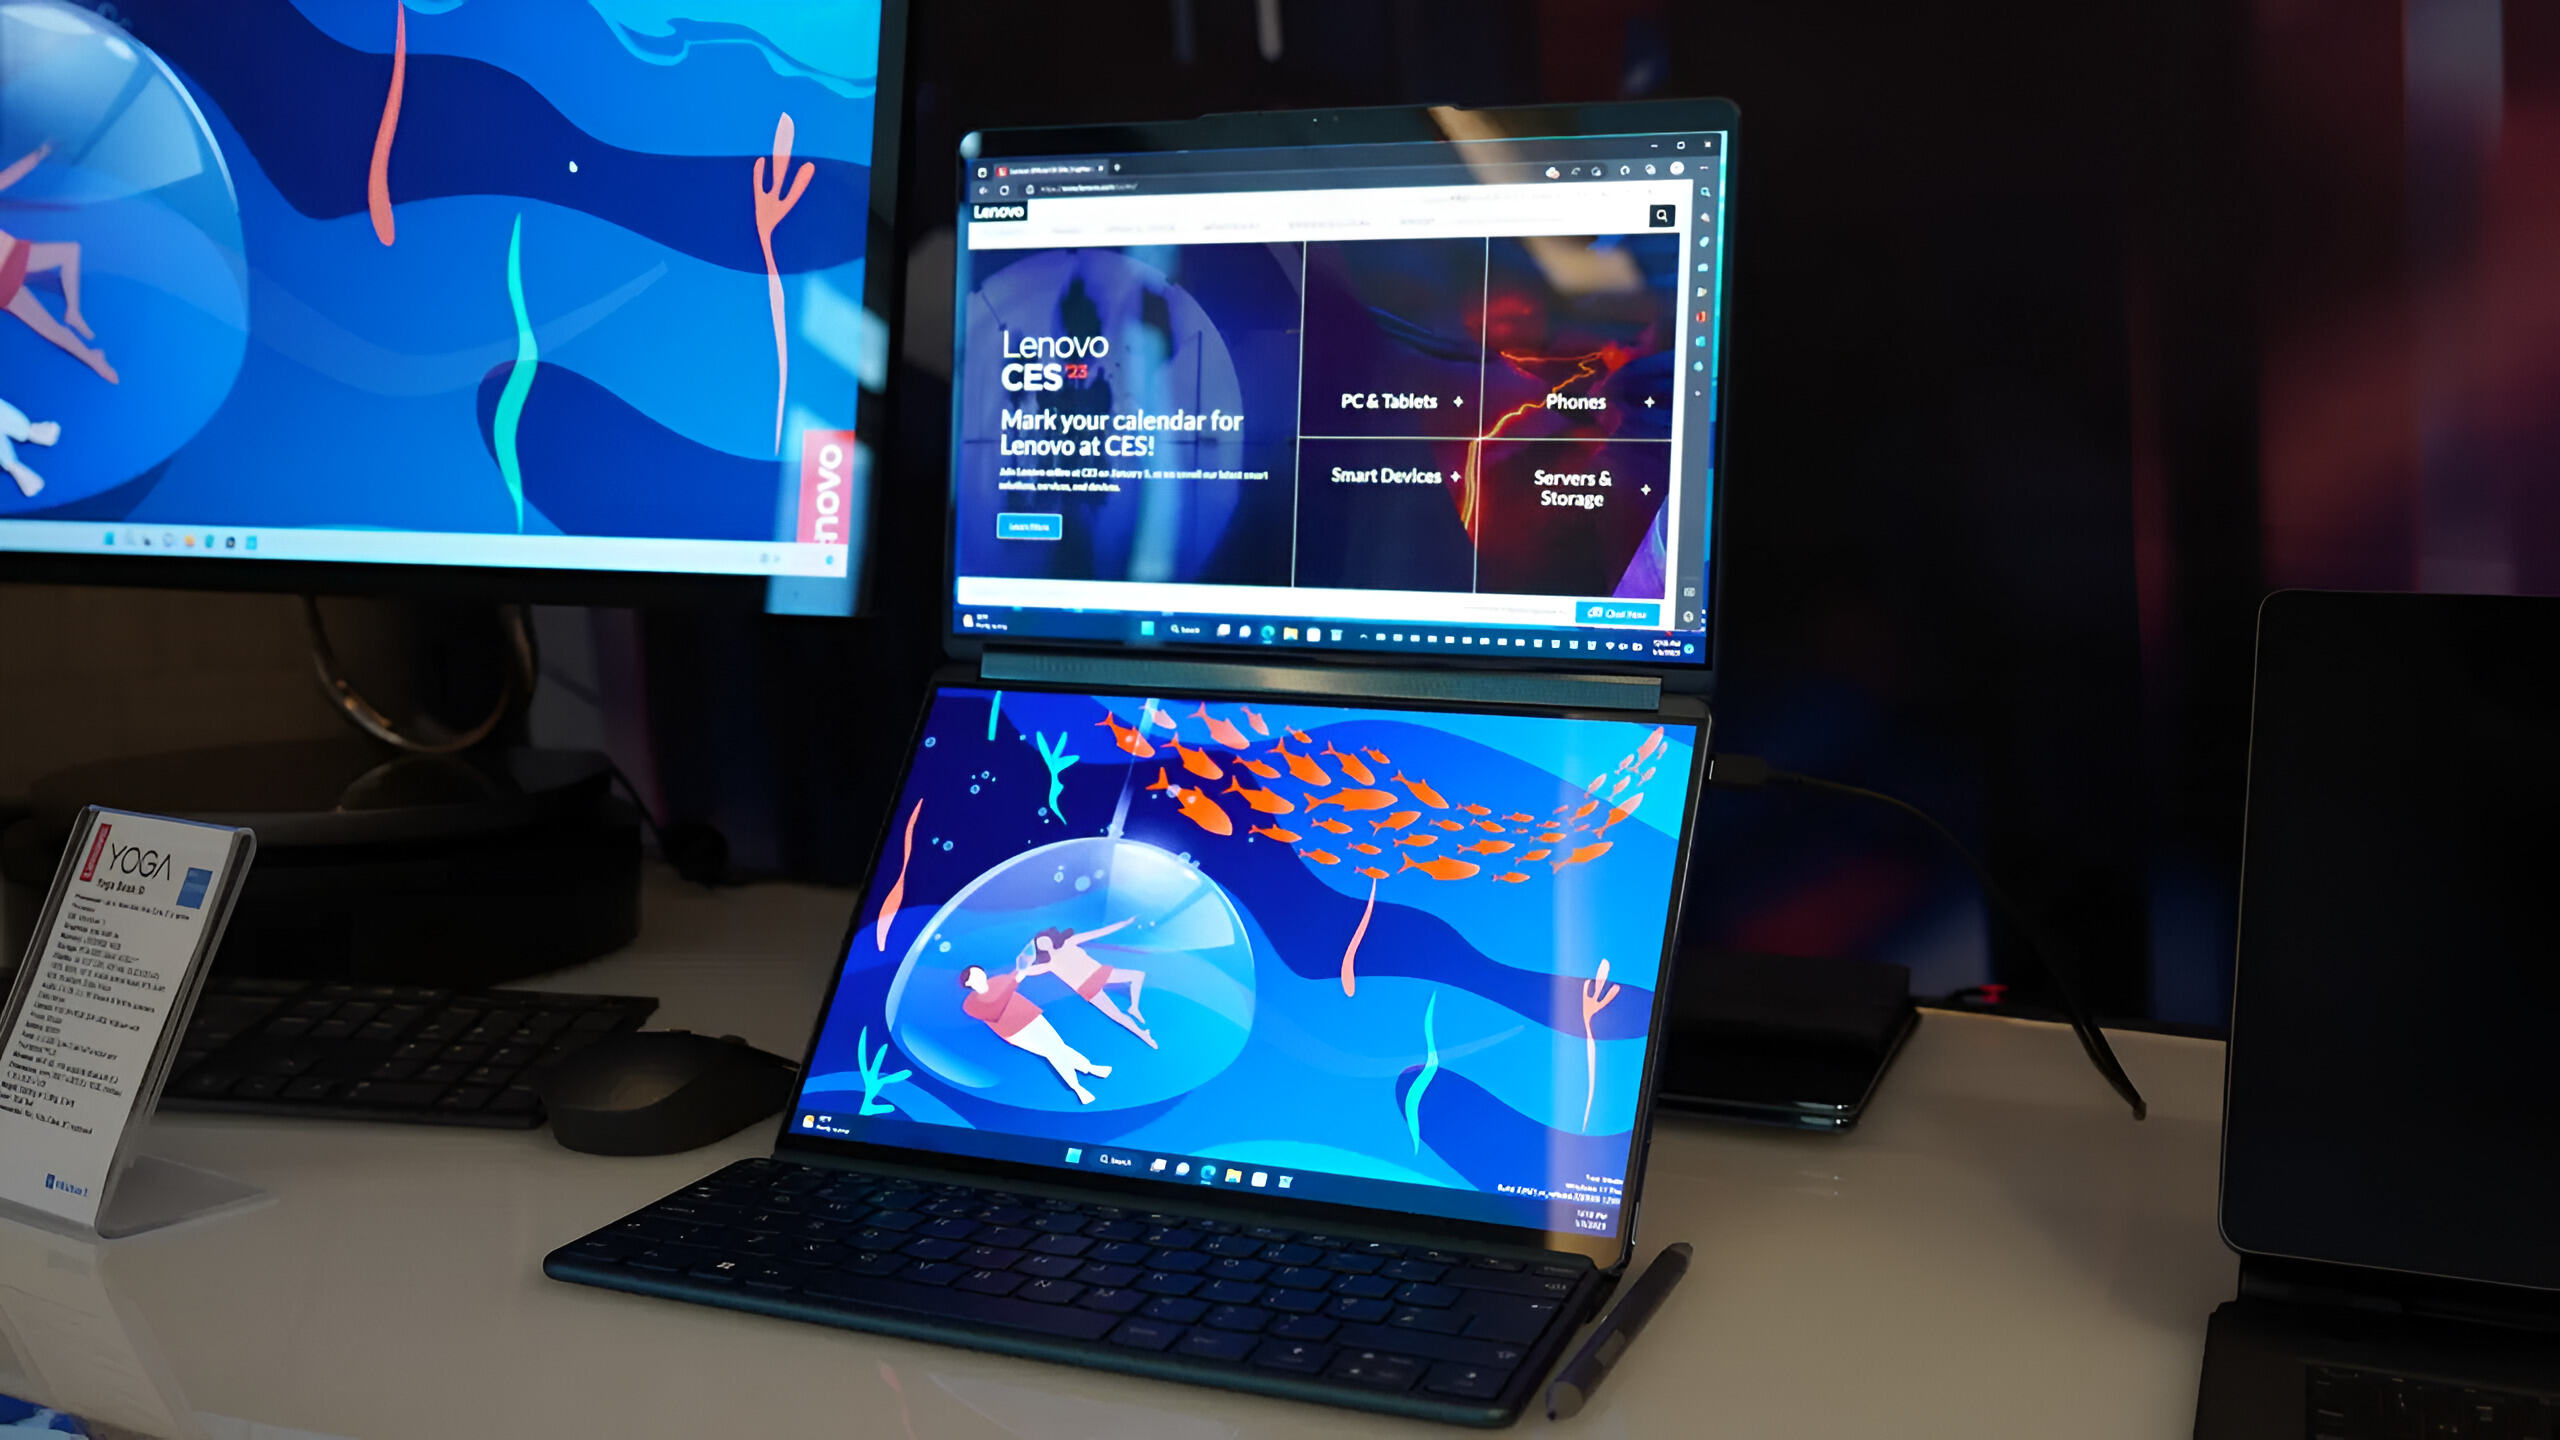
Do you ever find yourself wishing you could have more screen real estate on your Lenovo Ultrabook? Fortunately, with the right setup, you can easily connect multiple displays to your Ultrabook and take your productivity to the next level. Whether you need multiple screens for multitasking, gaming, or simply to have a larger workspace, having dual or even triple monitor setups can greatly enhance your computing experience.
In this guide, we will take you through the process of setting up and using multi-screen on your Lenovo Ultrabook. We’ll walk you through the steps of connecting additional monitors, adjusting display settings, and utilizing various display modes. By the end of this guide, you’ll have a clear understanding of how to make the most of multiple displays on your Lenovo Ultrabook.
Setting up multiple displays can be a game-changer for many productivity-driven individuals. No longer limited to a single screen, you can easily divide your tasks and work on different applications simultaneously. Whether you’re a graphic designer, programmer, or data analyst, having the ability to see more at once can significantly boost your efficiency and effectiveness.
But the benefits of multi-screen setups aren’t limited to work-related activities. Gamers can also benefit from extended displays, immersing themselves in expansive gaming worlds and gaining a wider field of view. Watching movies or videos becomes more enjoyable as you can have the main content on one screen and additional information, such as subtitles or comments, on another.
So, if you’re ready to unlock the potential of multiple screens on your Lenovo Ultrabook, let’s dive into the step-by-step process of setting up and using multi-screen configurations. Grab your additional monitors, and let’s get started!
Setting up multiple displays
Before you can start enjoying the benefits of a multi-screen setup on your Lenovo Ultrabook, you’ll need to ensure that you have the necessary hardware and software requirements in place. Here’s what you need to do to get started:
1. Check your Ultrabook’s video output ports: Identify the available video output ports on your Lenovo Ultrabook. Common ports include HDMI, DisplayPort, and VGA. Make sure you have the appropriate cables and adapters to connect your additional monitors.
2. Determine the number of displays you can connect: The number of displays you can add to your Ultrabook depends on the graphics capabilities of your device. Check the specifications of your Ultrabook or consult the manufacturer’s documentation to find out the maximum number of displays it supports.
3. Install the necessary drivers: Ensure that your Lenovo Ultrabook has the latest graphics drivers installed. You can download the drivers from the Lenovo website or use Lenovo’s System Update utility to automatically update your drivers.
With the hardware and drivers in place, you can now proceed with connecting your additional monitors to your Lenovo Ultrabook. Here’s how:
1. Power off your Ultrabook and all external displays.
2. Connect one end of the video cable to the video output port on your Ultrabook and the other end to the corresponding input port on the external monitor.
3. Power on your Ultrabook and the external monitor.
4. Repeat the above steps for each additional monitor you want to connect.
Once you have connected your additional displays, your Lenovo Ultrabook should automatically detect them. However, if the displays are not detected, you may need to manually configure the display settings in the operating system.
Now that you have successfully connected your additional displays to your Lenovo Ultrabook, it’s time to move on to the next section to learn how to adjust the display settings and make the most of your multi-screen setup.
Connecting additional monitors
Now that your Lenovo Ultrabook is ready to support multiple displays, let’s dive into the process of connecting additional monitors. The steps may vary slightly depending on the specific model and operating system you’re using, but the general principles remain the same. Here’s how you can connect your additional monitors:
1. Identify the available video ports: Take a look at the external monitor to determine which video ports it supports, such as HDMI, DisplayPort, or VGA. Make sure you have the necessary cables or adapters to connect your Ultrabook to the monitor.
2. Connect the video cable: Once you have the proper cables and adapters, connect one end of the cable to the video output port on your Lenovo Ultrabook and the other end to the corresponding input port on the external monitor. Ensure that the connections are secure.
3. Power on the monitor: After the video cable is connected, power on the external monitor. Depending on the monitor, you may need to press a power button or use a remote control to turn it on.
4. Detect and configure the monitor: Your Lenovo Ultrabook should automatically detect the connected monitor. In most cases, the monitor will display the extended or mirrored desktop. However, if the display doesn’t appear or is not configured correctly, you may need to adjust the display settings.
5. Repeat for additional monitors: If you have more than one monitor to connect, repeat the above steps for each additional monitor. You can connect multiple monitors by using the available video ports on your Ultrabook or by using a docking station that supports multiple displays.
Once you’ve connected all the additional monitors, you can configure their positions and resolutions to suit your preferences. This can be done through the display settings in your operating system. Adjusting the monitor arrangement allows you to control the sequence in which the displays appear and their relative placement.
Note that the specific steps for adjusting the display settings may vary depending on your operating system. Generally, you can access the display settings by right-clicking on the desktop and selecting the “Display settings” or “Screen resolution” option. From there, you can change the resolution, orientation, and arrangement of your connected monitors.
With your additional monitors connected and configured, you now have a powerful multi-screen setup on your Lenovo Ultrabook. In the next section, we will explore different display modes and how to make the most of them for various tasks.
Adjusting display settings
Once you have connected your additional monitors to your Lenovo Ultrabook, it’s time to adjust the display settings to optimize your multi-screen setup. This will ensure that the monitors are functioning correctly and displaying the content as desired. Here are the key aspects to consider when adjusting the display settings:
1. Resolution: The resolution determines the number of pixels displayed on each monitor. Higher resolutions provide more screen real estate, while lower resolutions may result in larger text and icons. Adjust the resolution settings in your operating system to find the best balance between screen size and clarity.
2. Orientation: You can choose to set your monitors in landscape or portrait mode, depending on your preferences and workflow. Landscape mode is the default orientation, with a wider display horizontally. Portrait mode, on the other hand, rotates the display vertically, allowing for more vertical space on screen.
3. Arrangement: In a multi-monitor setup, you can arrange the monitors to match their physical placement on your desk. This ensures that you can seamlessly move your mouse cursor between the screens. You can also choose to position one monitor above, below, or to the side of the other monitors.
4. Scaling: Adjusting the scaling settings ensures that the content on your additional monitors appears sharp and legible. Some monitors may require different scaling settings to match the primary display. Experiment with different scaling options until you find a balance that is comfortable for your eyes.
5. Color calibration: It’s important to calibrate the color settings of your monitors to ensure accurate and consistent color representation. Using a color calibration tool or the built-in color calibration settings in your operating system, you can adjust brightness, contrast, and color temperature to achieve optimal visual quality.
Each operating system provides different methods for adjusting display settings. In Windows, you can access the display settings by right-clicking on the desktop and selecting “Display settings.” On macOS, go to “System Preferences” and click on “Displays.” From there, you can make the necessary adjustments to suit your preferences.
Take some time to experiment with different display settings to find what works best for your workflow and visual comfort. Keep in mind that it may take a little trial and error to achieve the perfect balance.
Now that you have adjusted the display settings for your multiple monitors, it’s time to explore the different display modes available to you. In the next section, we will delve into the options for extending or mirroring the desktop across your screens.
Extending the desktop
One of the most useful features of a multi-screen setup on your Lenovo Ultrabook is the ability to extend the desktop across multiple monitors. This allows you to have a larger workspace and work on different applications simultaneously. Here’s how you can enable and make the most of the extended desktop feature:
1. Adjust the display settings: Ensure that all the connected monitors are detected and configured correctly. Use the display settings in your operating system to arrange the monitors in the desired order. You can drag and drop the monitors to match their physical placement on your desk.
2. Enable extended desktop: In most operating systems, you can enable the extended desktop mode by going to the display settings. Look for an option that allows you to choose between “Extend these displays” or “Extend desktop to this display”. Select this option to activate the extended desktop mode.
3. Arrange windows across screens: Once the extended desktop mode is enabled, you can start dragging windows and applications across the screens. To move a window from one monitor to another, simply click and drag the title bar of the window to the desired monitor. You can maximize, minimize, or resize windows independently on each monitor.
4. Customize taskbar and shortcuts: With multiple monitors, you may want to customize the taskbar to better manage your applications across screens. In some operating systems, you can choose to show the taskbar on all monitors or only on the primary monitor. You can also customize shortcuts and hotkeys to quickly switch between windows and move them across screens.
5. Take advantage of multitasking: The extended desktop mode allows you to multitask more efficiently. You can have your email client open on one monitor while working on a document or spreadsheet on another. Designers can have their design software open on one screen and reference images or tools on another. This way, you can streamline your workflow and increase productivity.
Remember to experiment with different window arrangements and monitor setups to find what works best for you. You can also take advantage of virtual desktops or workspaces to further organize your applications across screens.
Extending the desktop across multiple monitors on your Lenovo Ultrabook opens up a whole new level of productivity and flexibility. In the next section, we will explore another useful display mode – mirroring the screen – and when it can be beneficial to use.
Mirroring the screen
In addition to extending the desktop across multiple monitors, you also have the option to mirror the screen on your Lenovo Ultrabook. Mirroring allows you to duplicate the content from your primary display onto one or more external monitors. Here’s how you can enable and utilize the mirroring feature:
1. Access display settings: Open the display settings on your operating system. Look for an option that allows you to mirror the display or duplicate the screen. This option may vary depending on the operating system you’re using.
2. Select the mirroring option: Enable the mirroring option to duplicate the content from your primary display onto the external monitor(s). This can be useful in situations where you want to share your screen with others, such as during presentations or meetings.
3. Adjust resolution and positioning: Once the mirroring feature is enabled, you may need to adjust the resolution and positioning of the external monitor(s). Use the display settings to ensure that the mirrored content appears correctly on the additional display(s).
4. Present and collaborate: With the screen mirrored, you can present slideshows, videos, or any other content on the external monitor(s) while viewing it on your primary display. This makes it easier to share information with others or collaborate on projects that require a shared view.
5. Control and interact: When the screen is mirrored, any action or input on your Lenovo Ultrabook will be mirrored on the external monitor(s) as well. This includes moving the mouse, opening applications, or typing on the keyboard. Keep this in mind when presenting or collaborating, as any actions you take will be visible to others.
Mirroring the screen is particularly useful in scenarios where you need to display the same content on multiple screens simultaneously. Whether you’re giving a presentation, conducting a training session, or simply need to share your screen with others, mirroring provides a convenient solution.
It’s important to note that mirroring the screen limits you to the resolution and aspect ratio of the primary display. If you have higher resolution external monitors, the mirrored content may appear stretched or distorted. In such cases, it may be more beneficial to use the extended desktop mode to make full use of the additional screen real estate.
Now that you’re familiar with mirroring the screen, let’s explore the next section, which covers arranging and rearranging displays for optimal productivity.
Arranging and rearranging displays
When working with multiple displays on your Lenovo Ultrabook, arranging and rearranging the displays can help you optimize your workflow and maximize productivity. Whether you want to position your monitors in a specific order or change the primary display, here are the key steps to consider:
1. Access display settings: Open the display settings on your operating system. Look for an option that allows you to manage the arrangement or rearrangement of displays. This option may vary depending on the operating system you’re using.
2. Identify the displays: Understand the identification of each connected display, which is usually represented by a number or a name. This will help you determine the specific arrangement you want to achieve.
3. Arrange displays: Drag and drop the displays in the display settings window to arrange them according to your physical setup. This ensures that the virtual display order matches the actual placement of your monitors on your desk.
4. Change the primary display: If you have multiple displays and want to designate one as the primary display, look for an option in the display settings to set the primary monitor. The primary display will serve as the main screen for launching applications and displaying the Windows taskbar.
5. Save and apply changes: Once you have arranged the displays and defined the primary display, save and apply the changes. Your operating system will reconfigure the displays accordingly to reflect the new arrangement.
Rearranging displays to best suit your workflow is a personal preference. You may prefer to have your primary display in a specific position, such as on the left or right, or in the center. Experiment with different arrangements to find what works best for you in terms of ergonomics and ease of use.
Keep in mind that the arrangement of your displays affects how the mouse cursor moves across screens. By arranging the displays in a specific order, you can ensure a smooth and intuitive cursor movement as you navigate between applications and windows.
Remember that you can always revisit the display settings to make adjustments and refinements to the arrangement as needed. As your workspace or monitor configuration changes, you can easily reorganize the displays to accommodate your evolving needs.
Now that you understand how to arrange and rearrange displays, let’s move on to the next section, which covers changing the primary display and its implications.
Changing the primary display
When working with multiple displays on your Lenovo Ultrabook, you have the flexibility to choose which display serves as the primary display. The primary display is the main screen where the Windows taskbar appears and where newly opened applications typically launch. Changing the primary display can help you optimize your workflow and improve your overall productivity. Here’s how you can change the primary display:
1. Access the display settings: Open the display settings on your operating system. Look for an option that allows you to manage the displays and configure their settings. This option may vary depending on the operating system you’re using.
2. Identify the displays: Take note of the identification of each connected display, which is usually represented by a number or a name. This will help you identify the specific display you want to set as the primary display.
3. Set the primary display: Look for an option in the display settings that allows you to designate a display as the primary display. Select the display you want to set as the primary and apply the changes. Your operating system will update the configuration accordingly.
4. Adjust taskbar and application behavior: With the primary display changed, you may need to adjust the taskbar settings and how applications behave. The taskbar will now appear on the selected primary display, and newly launched applications will appear on that display by default. You can customize these settings in the taskbar and application management options of your operating system.
Changing the primary display can be beneficial in different scenarios. For example, if you prefer to have your main workspace centered on a specific monitor, you can set that monitor as the primary display. If you frequently use a specific application that always launches on the primary display, you can ensure that it opens on your preferred monitor.
It’s important to note that changing the primary display affects the behavior of the Windows taskbar and application launching. You may need to adjust your habits and muscle memory as you navigate through your applications and interact with the taskbar on the new primary display.
If you find that changing the primary display doesn’t suit your workflow, you can always revert to the previous settings and restore the original primary display. The flexibility to change the primary display allows you to adapt your multi-screen setup to your evolving needs and preferences.
Now that you understand how to change the primary display, let’s move on to the next section, which covers useful keyboard shortcuts for multi-screen setups.
Keyboard shortcuts for multi-screen
When working with multiple displays on your Lenovo Ultrabook, utilizing keyboard shortcuts can greatly enhance your efficiency and productivity. Keyboard shortcuts allow you to quickly perform actions such as moving windows between screens, launching applications, or navigating through virtual desktops. Here are some useful keyboard shortcuts for multi-screen setups:
1. Windows key + Shift + Left/Right arrow: This combination allows you to quickly move an active window between monitors. Pressing Windows key + Shift + Left arrow moves the window to the adjacent left monitor, while Windows key + Shift + Right arrow moves it to the adjacent right monitor.
2. Windows key + P: Pressing this combination brings up the “Project” menu, which allows you to quickly switch between different display modes. From here, you can choose options like “Extend,” “Duplicate,” or “Second screen only” to configure how your displays are utilized.
3. Windows key + Tab: This combination opens the Task View, which gives you an overview of all open windows across all displays. You can use the arrow keys or mouse to navigate and select the desired window to bring it to the forefront.
4. Windows key + number (1-9): If you have multiple applications open on different monitors, pressing Windows key along with a number key corresponding to the position of the application on the taskbar will instantly bring it into focus on the selected monitor.
5. Alt + Tab: This classic Windows shortcut allows you to toggle between open applications across multiple displays. Holding down the Alt key and pressing Tab repeatedly cycles through the open applications, and releasing the keys brings the selected application into view.
6. Windows key + Ctrl + D: If you’re using virtual desktops, this shortcut creates a new desktop environment. You can then switch between virtual desktops using the Windows key + Ctrl + Left/Right arrow combination.
7. Windows key + Home: Pressing this combination minimizes all windows except the active window on the current monitor. This can be handy when you want to focus on the task at hand without distractions from other applications.
8. Ctrl + Shift + Esc: This shortcut opens the Task Manager, which allows you to manage processes and monitor system performance across all screens. It can be useful when you need to troubleshoot or end unresponsive programs.
Remember to practice using these shortcuts regularly to familiarize yourself with their functionality. By incorporating these keyboard shortcuts into your workflow, you can streamline your multitasking and navigate between multiple displays with ease.
Now that you have a toolkit of keyboard shortcuts for multi-screen setups, let’s move on to the next section, which provides tips for using multi-screen efficiently.
Tips for using multi-screen efficiently
Working with multiple displays on your Lenovo Ultrabook can significantly improve your productivity, but it’s important to optimize your workflow to make the most out of your multi-screen setup. Here are some tips to help you use multiple screens efficiently:
1. Organize your applications: Assign specific applications to different screens based on your workflow. For example, you can dedicate one monitor for email and communication tools, another for your main work or design software, and a third for reference materials or documentation. This way, you can keep related windows grouped together, reducing clutter and enhancing focus.
2. Use virtual desktops: If you find yourself frequently juggling between applications and windows, consider using virtual desktops. Create separate virtual desktops for different tasks or projects, and switch between them using keyboard shortcuts. This can help you better organize and declutter your workspace, allowing for efficient multitasking.
3. Customize monitor backgrounds: Set individual wallpapers or backgrounds for each monitor. This visual separation can help you instantly recognize which monitor contains certain types of applications or tasks. You can also use different wallpapers to create a more visually appealing and inspirational workspace.
4. Take advantage of snapping and docking features: Many operating systems offer snapping features that enable windows to automatically resize and dock to specific sections of the screen. Use these features to quickly divide your displays into different sections for efficient multitasking.
5. Group related tasks: Instead of scattering different tasks across multiple screens, try to group related tasks on a single screen. For example, if you’re editing a document, have the reference material or browser window open on the same screen for easy access and seamless workflow.
6. Streamline shortcuts and hotkeys: Customize and create your own keyboard shortcuts and hotkeys to streamline common actions across multiple displays. This can include shortcuts for launching specific applications, moving windows between screens, or activating specific features.
7. Manage notifications and distractions: To minimize distractions and interruptions, configure your operating system to display notifications only on the primary monitor or choose a “Do Not Disturb” mode while working on specific screens. This allows you to focus on the task at hand without being constantly pulled away by notifications on secondary screens.
8. Maintain a clean workspace: Avoid cluttering your screens with unnecessary windows or icons. Keep your desktop organized and remove any shortcuts or files that are not needed for immediate access. Maintaining a clean workspace promotes a sense of clarity and helps you stay focused on the task at hand.
By implementing these tips and adapting them to your specific workflow, you can effectively harness the power of your multi-screen setup on your Lenovo Ultrabook, boosting productivity and enhancing your overall computing experience.
Now that you have learned how to use multiple screens efficiently, let’s move on to the next section, which covers common troubleshooting issues and their solutions.
Troubleshooting common issues
While working with multiple displays on your Lenovo Ultrabook, you may encounter some common issues. Fortunately, most issues can be resolved with a few troubleshooting steps. Here are some common issues and their possible solutions:
1. Display not detected: If one or more of your displays are not being recognized by your Ultrabook, check the cable connections and ensure they are securely plugged in. If that doesn’t work, try using different cables or adapters to rule out any connectivity issues. Updating your graphics drivers to the latest version may also help resolve detection problems.
2. No signal on the external monitor: If the external monitor displays a “No signal” message, make sure it is powered on and connected properly. Try pressing the input/source button on the monitor to ensure it is set to the correct input source. If using an adapter, ensure it is compatible with both the Ultrabook and the monitor.
3. Resolution mismatch: If the resolution between your Ultrabook’s display and the external monitors doesn’t match, you may notice stretched or distorted content. Adjust the resolution settings in the display settings of your operating system to match the native resolution of the monitors. Updating your graphics drivers can also help resolve resolution issues.
4. Mouse cursor issues: Sometimes, when moving the mouse cursor between screens, it may get stuck or disappear. This can be caused by discrepancies in the resolution or display scaling settings. Adjust the display settings to ensure consistency in scaling across all monitors. If the issue persists, try reconnecting the monitors or restarting your Ultrabook.
5. Visual artifacts or flickering: If you encounter visual artifacts, such as screen flickering or pixelated images, it could be due to incompatible display drivers or outdated firmware. Update your graphics drivers and firmware to the latest versions provided by Lenovo. If the issue persists, try different display cables or consult Lenovo’s technical support for further assistance.
6. Audio not playing through external monitors: If you’re encountering issues with the audio output through your external monitors, ensure that the audio cable is properly connected and the correct audio source is selected in the sound settings of your operating system. Additionally, verify that the monitor has built-in speakers or supports audio output through HDMI or DisplayPort connections, depending on the cable being used.
7. Performance degradation or lag: If you experience performance degradation or lag when using multiple displays, it could be due to insufficient system resources. Check if your Ultrabook meets the recommended specifications for multiple displays. Close any unnecessary applications or processes that may be consuming system resources. Additionally, optimizing your power settings to prioritize performance over energy saving can help alleviate performance issues.
If these troubleshooting steps don’t resolve the issues or you encounter other difficulties with your multi-screen setup, it’s recommended to consult Lenovo’s support documentation or contact their technical support for further assistance. They can provide tailored guidance and solutions specific to your Lenovo Ultrabook model.
Now that you’re equipped with troubleshooting knowledge, you can confidently resolve common issues that may arise when working with multiple displays on your Lenovo Ultrabook.
Conclusion
Using multiple displays on your Lenovo Ultrabook can greatly enhance your productivity and multitasking capabilities. Whether you’re a professional working on complex tasks or a gamer seeking an immersive experience, having a multi-screen setup provides numerous benefits.
In this guide, we covered the essential aspects of setting up and using multi-screen configurations on your Lenovo Ultrabook. We explored how to connect additional monitors, adjust display settings, extend and mirror the screen, arrange displays, change the primary display, and utilize keyboard shortcuts for efficient navigation.
We also provided tips for optimizing your workflow and troubleshooting common issues that may arise with multi-screen setups, ensuring a seamless experience. Remember to update your drivers, check your connectivity, and adjust settings as needed to maximize the performance of your multi-screen setup.
As you delve into the world of multi-screen productivity, continue experimenting with different configurations, display modes, and workflow strategies to find what works best for you. Customize your setup to suit your specific needs and preferences, whether it’s through arranging displays, utilizing virtual desktops, or creating custom keyboard shortcuts.
By harnessing the power of multiple displays on your Lenovo Ultrabook, you can enjoy increased efficiency, enhanced multitasking, and a more immersive computing experience. Embrace the flexibility, customization options, and productivity gains that multi-screen setups offer, and unlock your full potential.
Now that you’re equipped with the knowledge and tools to make the most of your multi-screen setup, it’s time to connect those additional monitors, adjust those display settings, and embark on a journey towards enhanced productivity and enjoyment on your Lenovo Ultrabook.