Introduction
Welcome to this guide on how to insert a Sony camera SD card into a Toshiba ultrabook. If you are a photography enthusiast, chances are you capture numerous high-quality images and videos on your Sony camera. However, sometimes you may need to transfer these files to another device, such as a Toshiba ultrabook, for editing, storage, or sharing purposes.
Before we delve into the step-by-step process of inserting the SD card into the ultrabook, it is essential to ensure that the Sony camera SD card is compatible with the Toshiba ultrabook. Different devices may support various types and capacities of SD cards, so it’s crucial to check compatibility to avoid any inconvenience.
In this guide, we will walk you through the necessary steps to successfully insert the Sony camera SD card into the Toshiba ultrabook. By following these instructions, you’ll be able to seamlessly transfer your photos and videos, allowing you to edit and organize them with ease.
Now, let’s dive right into the details of checking compatibility and locating the SD card slot in your Toshiba ultrabook.
Step 1: Checking the compatibility between Sony camera SD card and Toshiba ultrabook
The first step in inserting a Sony camera SD card into a Toshiba ultrabook is to ensure that the SD card is compatible with the ultrabook. This involves checking the card type and capacity supported by the ultrabook’s SD card slot. Here’s how you can do it:
- Refer to the user manual: Consult the user manual or specifications of your Toshiba ultrabook to determine the supported SD card types and capacities. This information is usually available in the technical specifications section or under the “storage” or “memory” category.
- Check the SD card type: Examine the Sony camera SD card to identify its type. The most common types are SD, SDHC, and SDXC. Ensure that the ultrabook supports the same card type. If you are unsure about the card type, look for the card’s label or check the documentation that came with your camera.
- Verify the card capacity: Check the storage capacity of the Sony camera SD card. Ultrabooks typically support a range of storage capacities for SD cards. Make sure that the card’s capacity falls within the supported range. This information is usually specified in gigabytes (GB) on the card itself or in the camera’s documentation.
- Explore online resources: If you are still uncertain about the compatibility, you can search for the specific model of your Toshiba ultrabook and the Sony camera SD card online. Many manufacturers provide compatibility lists or forums where users share their experiences with different SD card models and ultrabooks.
It is crucial to double-check the compatibility between the Sony camera SD card and the Toshiba ultrabook to avoid any potential issues. Using an incompatible SD card may lead to errors or the inability to read the card on the ultrabook. Once you have confirmed the compatibility, it’s time to move on to the next step: locating the SD card slot in your Toshiba ultrabook.
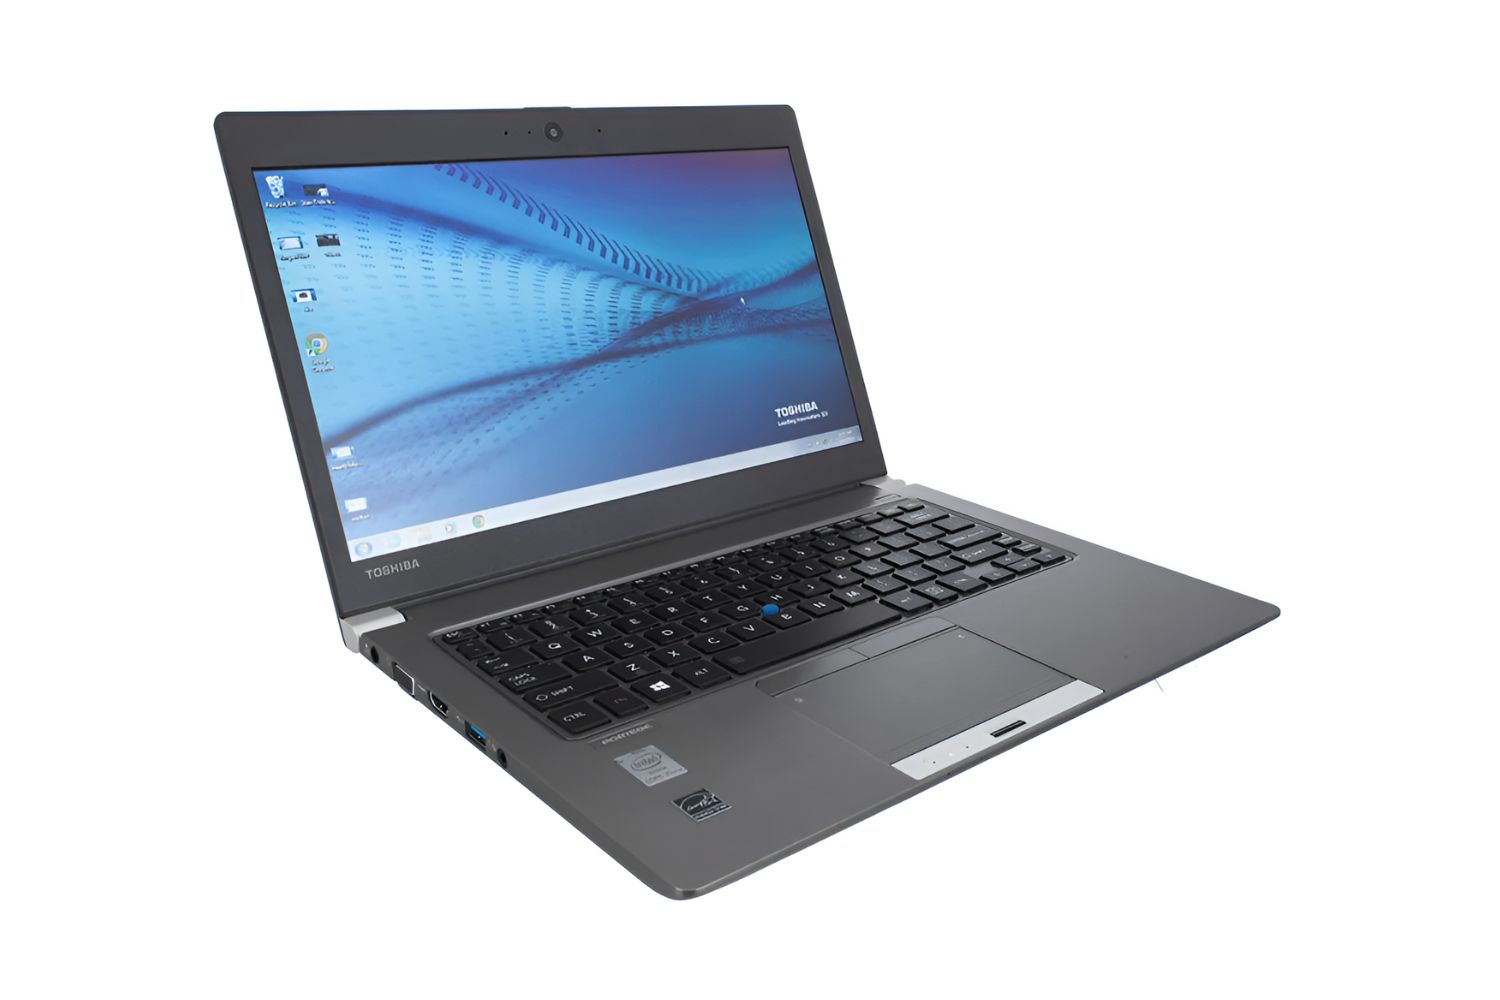
Step 2: Locating the SD card slot in the Toshiba ultrabook
Now that you have confirmed the compatibility between your Sony camera SD card and the Toshiba ultrabook, the next step is to locate the SD card slot. The location of the SD card slot may vary slightly depending on the specific model of your Toshiba ultrabook, but here’s a general guide:
- Look for the SD card icon: Many Toshiba ultrabooks have an SD card icon or label near the slot or on the side of the device. The icon usually looks like a rectangular shape with a notch cut out on one side, indicating where the SD card should be inserted.
- Check the sides of the ultrabook: Inspect the sides of your Toshiba ultrabook for a small slot or flap that may indicate the location of the SD card slot. It is often placed along with other ports like USB or HDMI.
- Refer to the user manual: If you are unable to locate the SD card slot visually, consult the user manual that came with your Toshiba ultrabook. The manual should have detailed instructions on the location and appearance of the various ports and slots.
- Search online resources: If you’re still having trouble finding the SD card slot, you can search online for the specific model of your Toshiba ultrabook. Often, user forums or support pages provide visual guides and descriptions of the exact location of the SD card slot.
Once you have successfully located the SD card slot on your Toshiba ultrabook, it’s time to move on to the next step: inserting the Sony camera SD card.
Step 3: Inserting the Sony camera SD card into the Toshiba ultrabook
Now that you have located the SD card slot on your Toshiba ultrabook, it’s time to insert the Sony camera SD card. Follow these steps to ensure a successful insertion:
- Gently remove any protective caps or covers from the SD card slot. Some ultrabooks may come with a protective cover that needs to be opened before inserting the SD card.
- Hold the Sony camera SD card with the label facing up and the metal contacts facing down.
- Align the notched corner or the indicated side of the SD card with the corresponding notch or indicator on the SD card slot of the Toshiba ultrabook.
- Carefully insert the SD card into the slot, applying gentle pressure until you hear or feel a slight click. This indicates that the SD card is securely inserted into the ultrabook.
- If the SD card does not go in smoothly or if you encounter any resistance, do not force it. Check to ensure that you have aligned the card correctly and try again.
It’s important to handle the SD card with care and avoid touching the metal contacts or exposing it to moisture or static electricity. These precautions will help prevent any damage to the card or the ultrabook.
Now that the Sony camera SD card has been successfully inserted into the Toshiba ultrabook, it’s time to verify the successful insertion in the next step.
Step 4: Verifying the successful insertion of the SD card
After inserting the Sony camera SD card into the Toshiba ultrabook, it is essential to verify whether the insertion was successful. Follow these steps to ensure that the SD card is recognized by the ultrabook:
- Locate the SD card icon on the Windows taskbar or desktop: Once you have inserted the SD card, Windows may display an icon on the taskbar or desktop indicating the presence of a removable storage device. The icon may resemble a memory card or a USB drive.
- Open the File Explorer: Click on the “File Explorer” icon on the taskbar or open it from the Start menu. In the File Explorer window, you should see the SD card listed under the “Devices and drives” section. It may be labeled as “Removable Disk” or “SD Card”.
- Access the contents of the SD card: Double-click on the SD card icon to open it and view its contents. If you see the files and folders from your Sony camera SD card, it means the ultrabook has successfully recognized and mounted the card.
- Copy or transfer files: To ensure the SD card is working properly, you can attempt to copy a file from your Toshiba ultrabook to the SD card or vice versa. If the file transfer completes without any errors, it indicates that the SD card is functioning correctly.
- Safely remove the SD card: Once you have verified the successful insertion and functioning of the SD card, it is important to safely remove it from the Toshiba ultrabook. Right-click on the SD card icon in the File Explorer and select the “Eject” option. Wait until Windows notifies you that it is safe to remove the SD card before physically removing it from the slot.
If you encounter any difficulties in accessing or transferring files from the SD card after verifying the insertion, ensure that you have properly followed the earlier steps and that the SD card is compatible with the Toshiba ultrabook. If the issue persists, you may need to seek further technical assistance.
Congratulations! You have successfully completed the process of inserting a Sony camera SD card into a Toshiba ultrabook. Now you can enjoy easy file transfers and access your precious photos and videos with ease.
Conclusion
In this guide, we have walked you through the step-by-step process of inserting a Sony camera SD card into a Toshiba ultrabook. By following these instructions, you can seamlessly transfer your photos and videos from your Sony camera to your Toshiba ultrabook for editing, storage, or sharing purposes.
We began by emphasizing the importance of checking the compatibility between your Sony camera SD card and the Toshiba ultrabook. With the wide variety of SD card types and capacities available, it is crucial to ensure that the card you are using is compatible with the ultrabook to avoid any compatibility issues.
We then guided you on locating the SD card slot in your Toshiba ultrabook. By referring to user manuals, exploring online resources, and visually inspecting your ultrabook, you can easily find the SD card slot and prepare it for the insertion of the SD card.
Next, we provided detailed instructions on successfully inserting the Sony camera SD card into the Toshiba ultrabook. From removing protective caps to aligning the notch or indicated side of the SD card with the slot, we highlighted the importance of gently inserting the card to avoid causing any damage to the card or the ultrabook.
Finally, we discussed how to verify the successful insertion of the SD card by checking for the SD card icon, accessing the card’s contents in the File Explorer, and performing file transfers. These steps ensure that the ultrabook recognizes the SD card and allows you to use it for storing and accessing your files.
We hope that this guide has been helpful in assisting you with the process of inserting a Sony camera SD card into a Toshiba ultrabook. By following these steps, you can conveniently transfer and manage your photography files, allowing you to edit, organize, and share them with ease.
Remember to handle the SD card with care and follow proper procedures for removing it from the ultrabook to avoid damaging the card or the device. Lastly, if you encounter any difficulties or issues during the process, seek further assistance from technical support or relevant forums.
Now, you can enjoy the convenience of seamlessly transferring your Sony camera files to your Toshiba ultrabook and continue your creative journey with ease!