Introduction
Are you a passionate typist whose trusty mechanical keyboard has seen better days? Perhaps a key has become sticky, unresponsive, or is in dire need of a thorough cleaning. Fear not, for with a few simple tools and a bit of know-how, you can restore your beloved keyboard to its former glory. Whether it's a gaming keyboard, a professional-grade typing tool, or a sleek addition to your workstation, the process of removing and replacing a mechanical keyboard key is a manageable task that can breathe new life into your cherished peripheral.
This guide will walk you through the step-by-step process of removing and replacing a mechanical keyboard key. You'll learn how to safely dislodge the key, clean the keycap and switch, and reassemble the components to ensure smooth functionality. By following these instructions, you can maintain the optimal performance and aesthetics of your mechanical keyboard, prolonging its lifespan and preserving your typing experience.
So, grab your keyboard, gather your tools, and let's embark on this journey to rejuvenate your mechanical keyboard together. Whether you're a seasoned enthusiast or a newcomer to the world of mechanical keyboards, this guide will equip you with the knowledge and confidence to tackle this task with ease. Let's dive in and give your trusty keyboard the care it deserves.
Tools and Materials Needed
Before delving into the process of removing and replacing a mechanical keyboard key, it’s essential to gather the necessary tools and materials. Here’s what you’ll need:
- Keycap Puller: This tool is designed to safely and effectively remove keycaps without causing damage to the keyboard.
- Isopropyl Alcohol: A high-percentage isopropyl alcohol solution is ideal for cleaning keycaps and switches, effectively removing grime and residue.
- Cotton Swabs: These are useful for applying isopropyl alcohol to the keycap and switch surfaces, allowing for precise cleaning.
- Compressed Air: Utilize compressed air to remove dust and debris from the keyboard, ensuring a clean working environment.
- Microfiber Cloth: A soft microfiber cloth is perfect for wiping down keycaps and the keyboard housing, leaving them free of smudges and fingerprints.
- Flat Surface: Prepare a clean, flat surface to work on, providing ample space to organize the keycaps and components during the process.
- Container or Tray: Use a container or tray to hold the keycaps and small components, preventing them from getting misplaced during the procedure.
By having these tools and materials at your disposal, you’ll be well-equipped to carry out the removal and replacement of your mechanical keyboard key with precision and care. With everything in place, you’re ready to proceed to the next steps of this rejuvenation process.
Removing the Key
Now that you have gathered the necessary tools and materials, it’s time to begin the process of removing the mechanical keyboard key. Follow these steps carefully to ensure the safe removal of the keycap:
- Prepare Your Workspace: Find a well-lit and uncluttered area to work in. Lay down a clean, soft cloth to protect the keyboard and provide a comfortable surface for the key removal process.
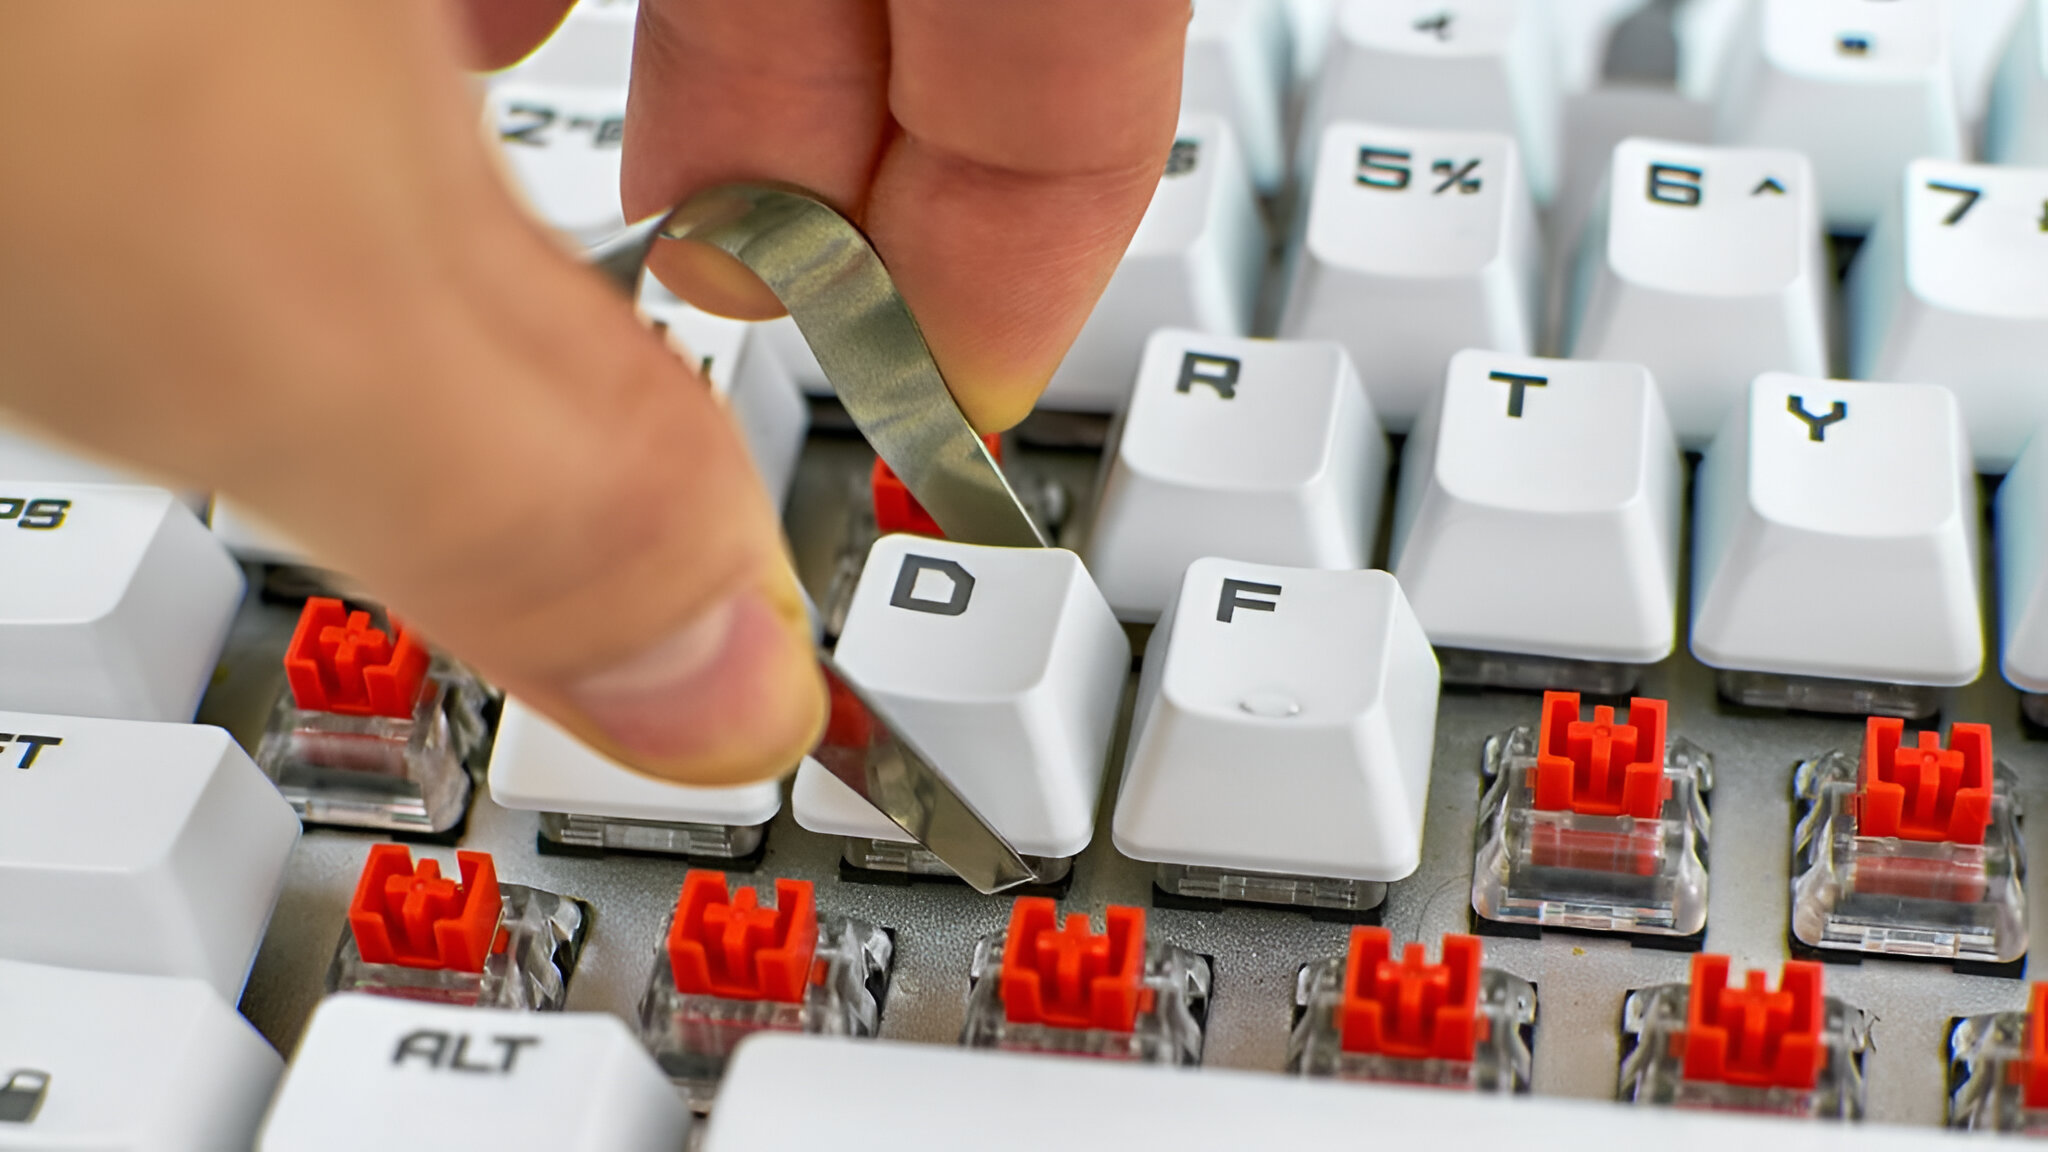
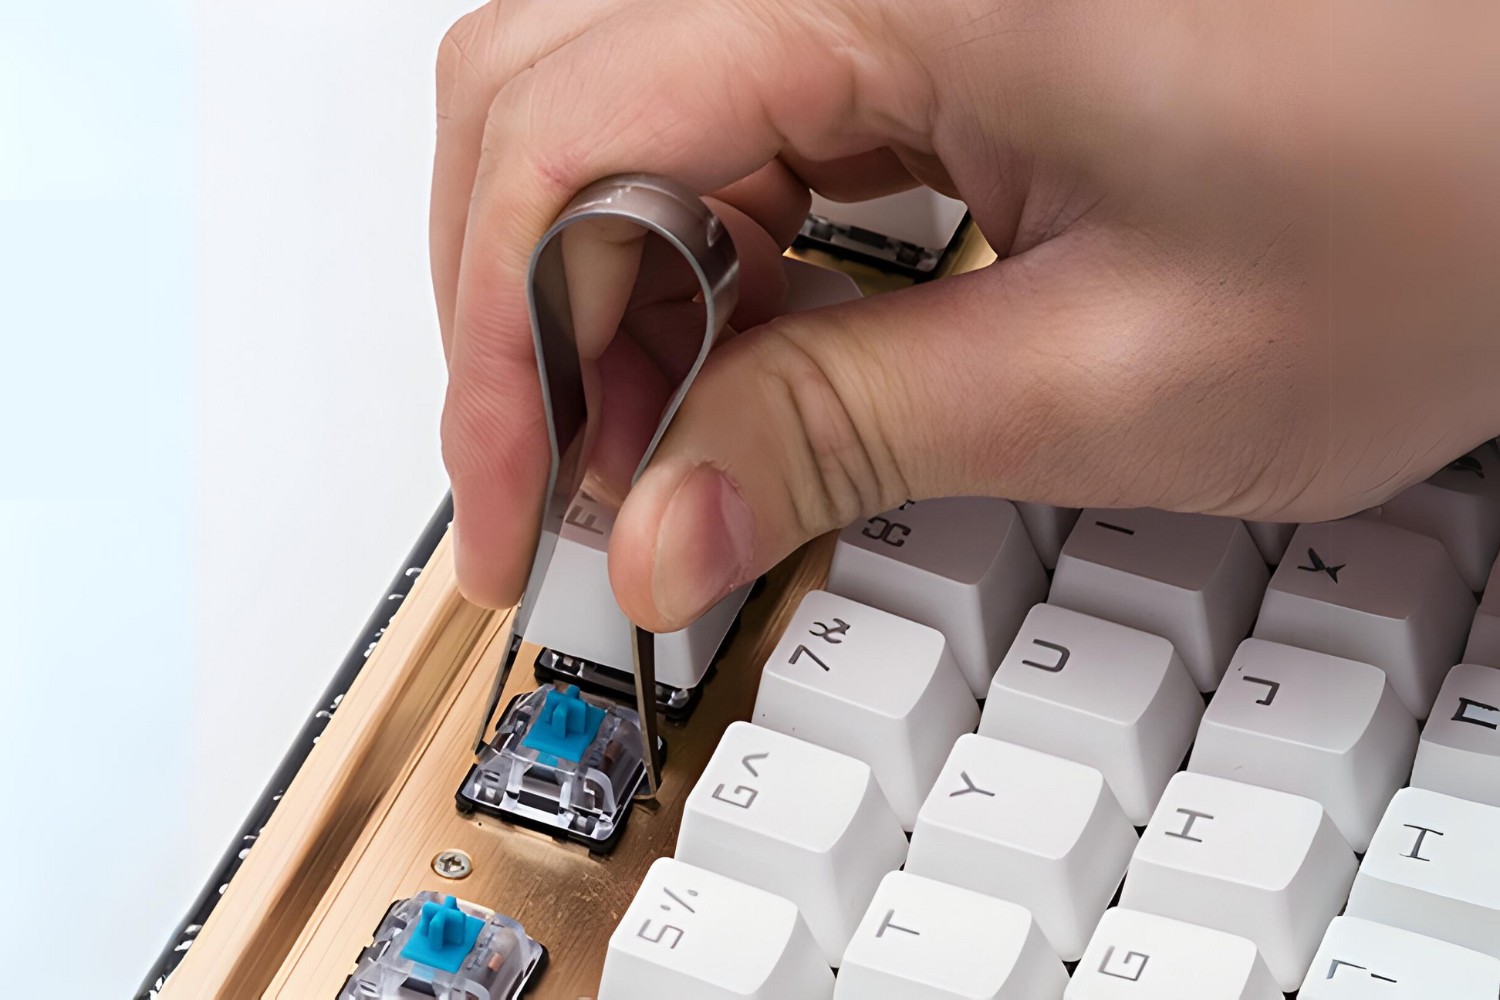
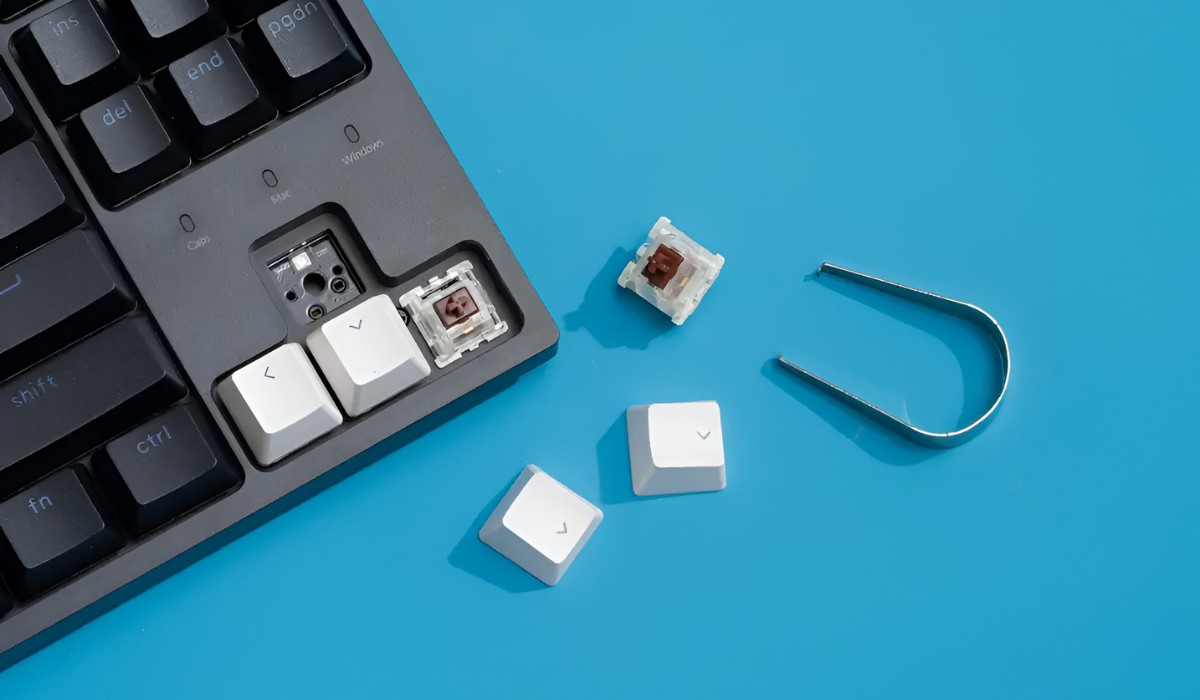
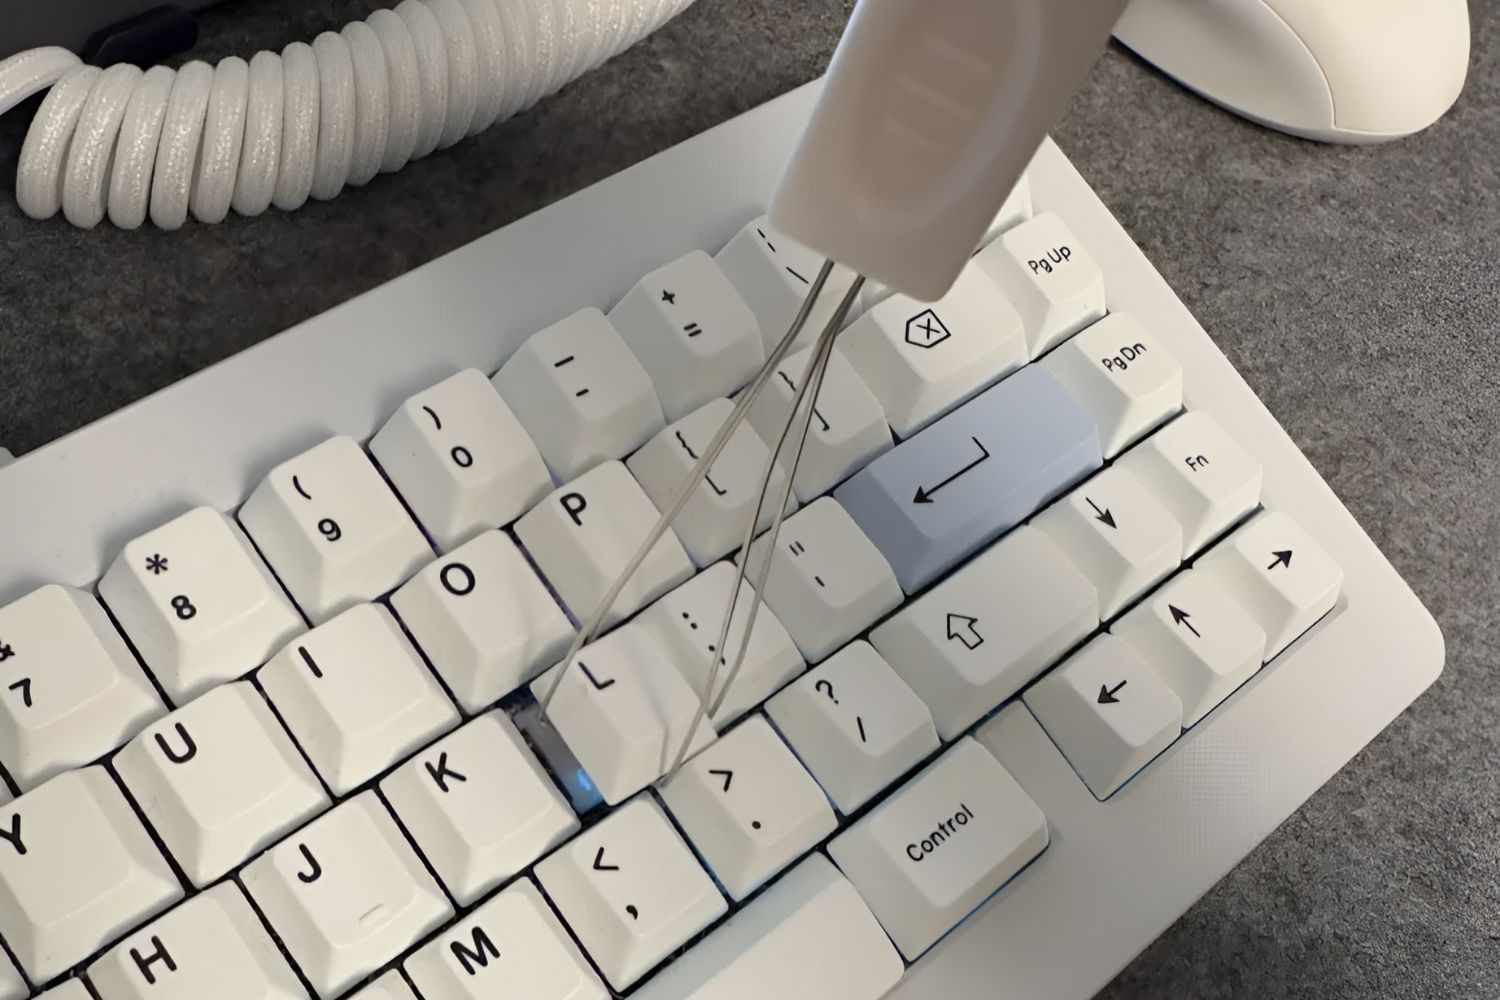
- Use the Keycap Puller: Position the keycap puller around the keycap you wish to remove, ensuring that it is securely attached to the keycap.
- Apply Even Pressure: Gently and evenly pull upward on the keycap puller to dislodge the keycap from the switch. Avoid using excessive force to prevent damage to the key or the switch mechanism.
- Set Aside the Keycap: Once the keycap has been removed, place it in a safe location, such as a designated container or tray, to prevent it from getting lost or damaged.
By following these steps, you can safely remove the mechanical keyboard key without causing any harm to the keyboard or its components. With the keycap successfully detached, you can now proceed to the next phase of this maintenance process: cleaning the keycap and switch to ensure optimal performance and longevity.
Cleaning the Key and Switch
With the keycap successfully removed, it’s time to focus on cleaning both the keycap and the switch to eliminate any accumulated debris and ensure smooth, responsive functionality. Follow these steps to effectively clean the keycap and switch:
- Inspect the Keycap: Examine the underside of the keycap for any dirt, dust, or residue. If visible, use a dry brush or compressed air to gently remove loose particles before proceeding to the next step.
- Prepare the Isopropyl Alcohol Solution: Dampen a cotton swab with isopropyl alcohol, ensuring that it is not dripping. The high percentage of alcohol will effectively dissolve grime and sanitize the surfaces without leaving behind residue.
- Clean the Keycap: Gently swab the keycap’s underside and edges with the dampened cotton swab, focusing on areas with visible dirt or residue. Repeat the process with a dry cotton swab to remove any remaining alcohol and ensure thorough cleaning.
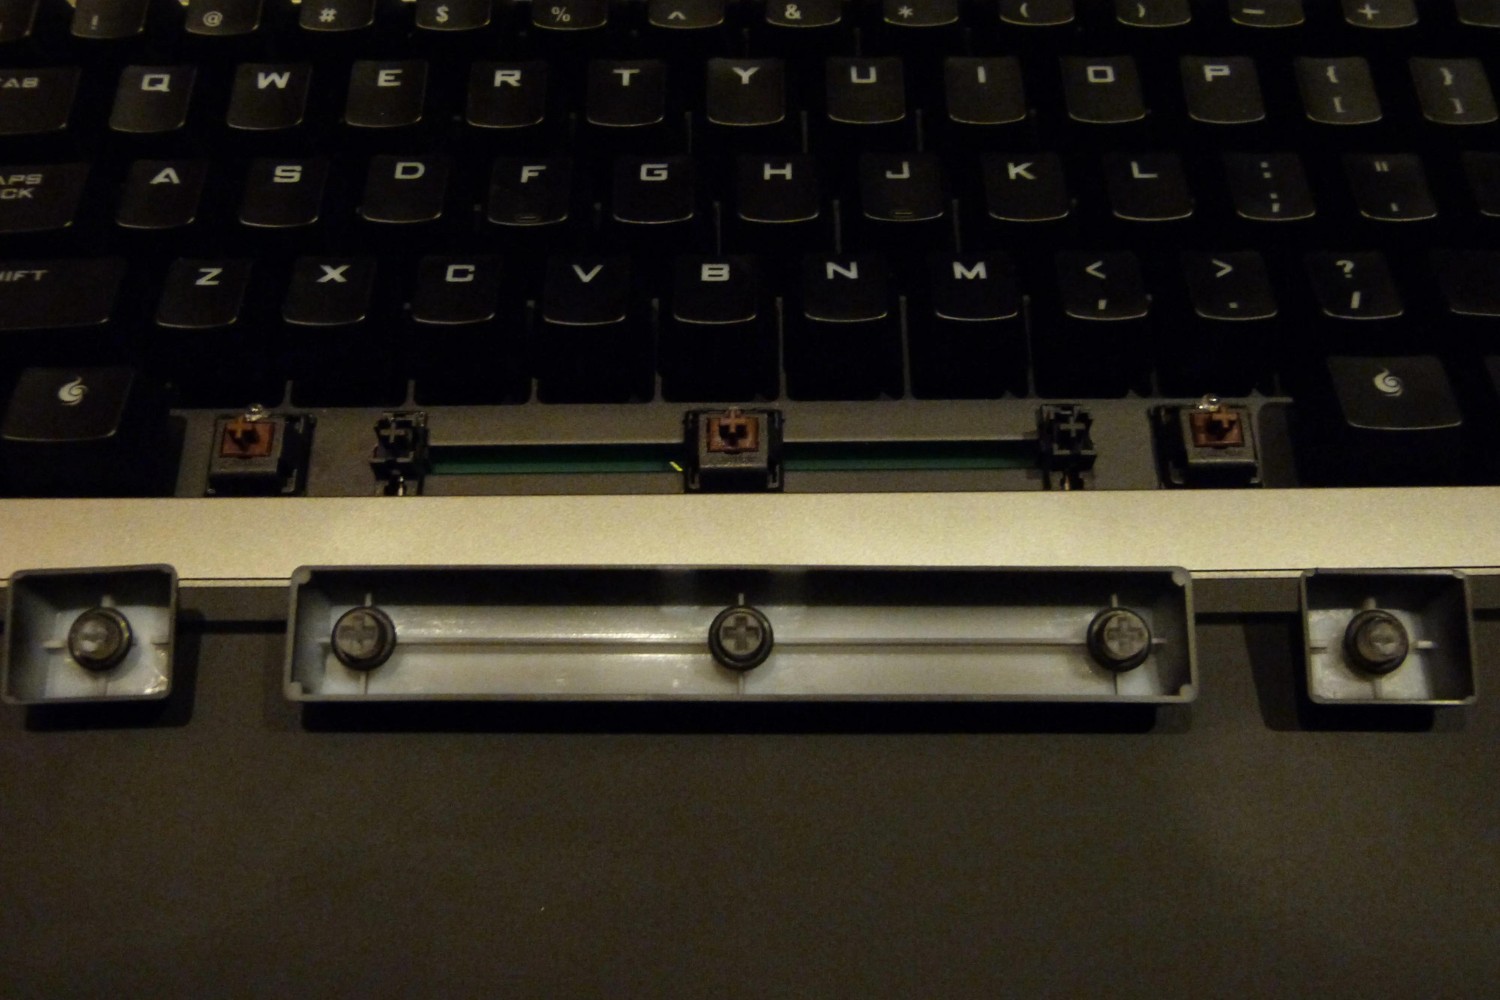
- Clean the Switch Housing: Use a fresh cotton swab lightly dampened with isopropyl alcohol to clean the exposed switch housing, carefully maneuvering around the switch mechanism to remove any accumulated debris.
- Dry the Components: Allow the keycap and switch housing to air dry completely before reassembling the key. This ensures that no moisture is trapped within the components, preventing potential issues during reinstallation.
By meticulously cleaning the keycap and switch, you can effectively eliminate dirt, grime, and residue that may hinder the key’s performance. This process not only restores the visual appeal of the keycap but also promotes the smooth operation of the switch, enhancing your overall typing experience.
Replacing the Key
After cleaning the keycap and switch, it’s time to carefully reassemble the components and securely replace the mechanical keyboard key. Follow these steps to ensure a successful reinstallation:
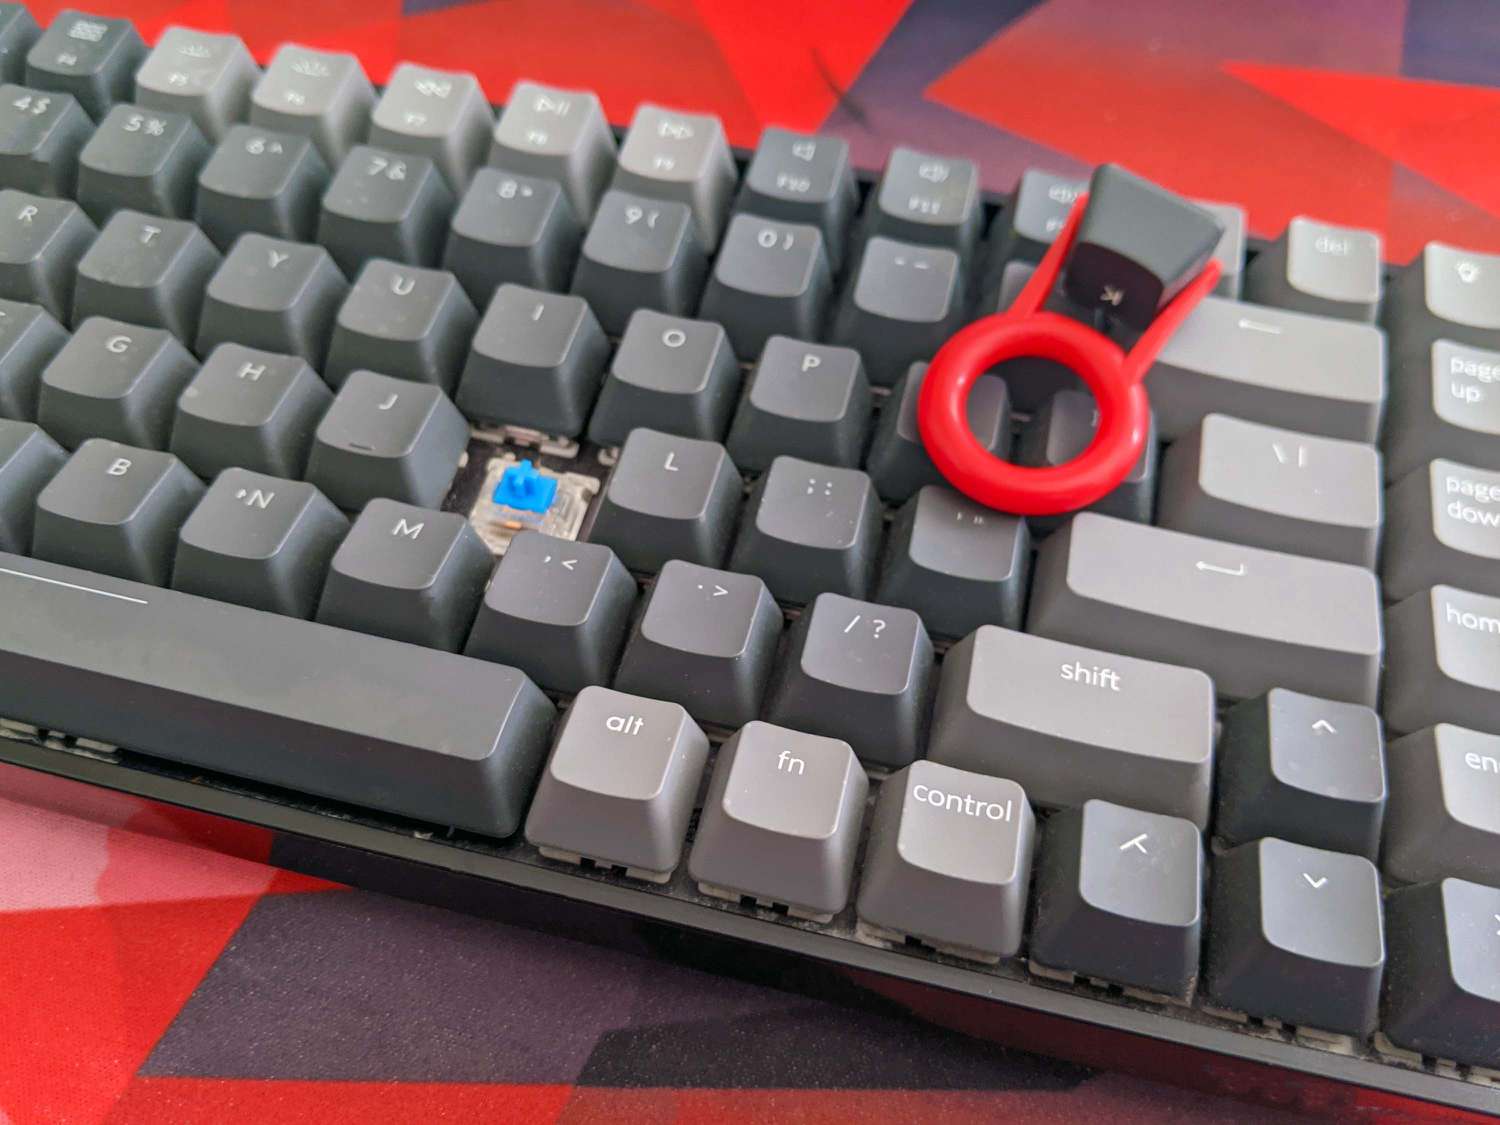
- Position the Keycap Correctly: Identify the correct orientation of the keycap by examining the switch stem and the keycap’s underside. Align the keycap properly to ensure a snug fit and optimal functionality.
- Apply Even Pressure: Gently press down on the keycap, ensuring that it is aligned with the switch and making contact evenly across the entire keycap. Avoid using excessive force to prevent damage to the switch mechanism.
- Confirm Stability: Test the stability of the reattached keycap by pressing it multiple times to ensure that it remains securely in place and registers keystrokes effectively.
By following these steps, you can confidently replace the mechanical keyboard key, ensuring that it is securely reattached and fully functional. With the keycap successfully in place, you are now ready to proceed to the final step: testing the key to verify its responsiveness and performance.
Testing the Key
Once the keycap has been securely replaced, it’s crucial to verify the responsiveness and performance of the key to ensure that it functions as intended. Follow these steps to test the key:
- Keystroke Testing: Press the key multiple times to assess its responsiveness and tactile feedback. Ensure that each keystroke registers accurately without any sticking or unusual behavior.
- Typing Test: Type a few sentences or a short paragraph to evaluate the key’s performance during regular typing. Pay attention to any irregularities, such as inconsistent actuation or unusual sound, that may indicate a need for further adjustment.
- Functional Testing: Test the key within the context of its specific function, especially if it is a modifier key or has unique functionality in gaming or productivity applications. Confirm that it performs its designated role without any issues.
By conducting these tests, you can ensure that the replaced keycap functions seamlessly and enhances your overall typing experience. If any issues are identified during testing, consider revisiting the installation process to address any potential misalignment or inconsistencies. With the key successfully tested and verified, you can now enjoy the renewed functionality and aesthetics of your mechanical keyboard.
Conclusion
Congratulations on successfully navigating the process of removing and replacing a mechanical keyboard key. By following the step-by-step instructions outlined in this guide, you’ve not only rejuvenated your keyboard but also gained valuable insight into maintaining and caring for this essential peripheral.
Remember, the meticulous cleaning and reinstallation of the keycap are vital for preserving the optimal performance and longevity of your mechanical keyboard. Regular maintenance, including cleaning and inspecting individual keys, can prevent issues such as key sticking, inconsistent actuation, and overall degradation of typing experience.
As you continue to enjoy your refreshed mechanical keyboard, consider integrating these maintenance practices into your routine to uphold its functionality and visual appeal. By doing so, you’ll prolong the lifespan of your keyboard and ensure a satisfying and reliable typing experience for the long haul.
Thank you for embarking on this journey to care for your mechanical keyboard. Your commitment to maintaining this essential tool is a testament to your dedication to quality and performance in your daily activities. Keep typing, keep innovating, and keep cherishing the tools that empower you.