Introduction
Welcome to our guide on how to clean sticky keyboard keys! If you spend a lot of time using a computer, you know how frustrating it can be when your keyboard keys become sticky. Sticky keys can affect your typing speed and accuracy, making it difficult to work or play games. Fortunately, with the right tools and techniques, you can easily clean and restore your keyboard keys to their original state.
Whether it’s caused by spills, crumbs, or general grime buildup, sticky keyboard keys are a common problem that many computer users encounter. Ignoring the issue can lead to further damage or even permanent malfunction of the keys. That’s why it’s important to address the problem as soon as you notice stickiness or difficulty in pressing certain keys.
In this guide, we will walk you through the step-by-step process of cleaning sticky keyboard keys. We will discuss the tools you will need, provide detailed instructions for each method, and even offer tips to prevent future stickiness. By following our tips and techniques, you can ensure that your keyboard keys are clean, functional, and ready for optimal typing.
Keep in mind that while cleaning sticky keyboard keys is generally safe and effective, it’s always important to exercise caution when handling electronics. Make sure to power off and unplug your keyboard before cleaning, and take care not to damage any sensitive components. Now, let’s dive into the world of sticky keyboard keys and learn how to give them a thorough and refreshing cleaning!
Why are keyboard keys sticky?
There are several reasons why keyboard keys can become sticky over time. Understanding the common causes of stickiness can help you prevent it from happening in the future and take appropriate measures to clean your keyboard keys effectively.
One of the primary causes of sticky keyboard keys is debris buildup. Dust, lint, hair, and food crumbs can easily find their way into the small crevices between the keys. Over time, these particles can accumulate and cause the keys to stick when pressed. Additionally, liquids or spills that come into contact with the keyboard can seep into the key mechanisms, leading to stickiness.
It’s also worth noting that the material of the keys themselves can contribute to stickiness. Some keyboards have keys made of rubber or silicone, which can become sticky due to natural oils from our fingers or other substances. The texture of the key surface can also play a role in attracting dirt and grime, leading to sticky keys.
Poor maintenance and infrequent cleaning can exacerbate the issue of sticky keyboard keys. If you rarely clean your keyboard or neglect to clean it properly, the accumulation of debris and grime will increase, making your keys stickier over time.
Frequent usage can also contribute to sticky keys. The constant pressure and movement of the keys can wear out the lubrication or cause friction, resulting in keys that stick or don’t spring back as smoothly as they should.
Lastly, environmental factors can play a part in sticky keyboard keys. High humidity levels can increase the stickiness of keys, as moisture in the air can absorb into the key mechanisms and affect their functionality. Therefore, it’s important to keep your workspace environment clean and dry to minimize the chances of sticky keys.
Now that we understand the common reasons for sticky keyboard keys, let’s move on to the tools you will need for effective cleaning.
Tools you will need to clean sticky keyboard keys
Before you can begin cleaning your sticky keyboard keys, it’s important to gather the necessary tools. Having the right tools on hand will make the cleaning process more efficient and effective. Here are the essential tools you will need:
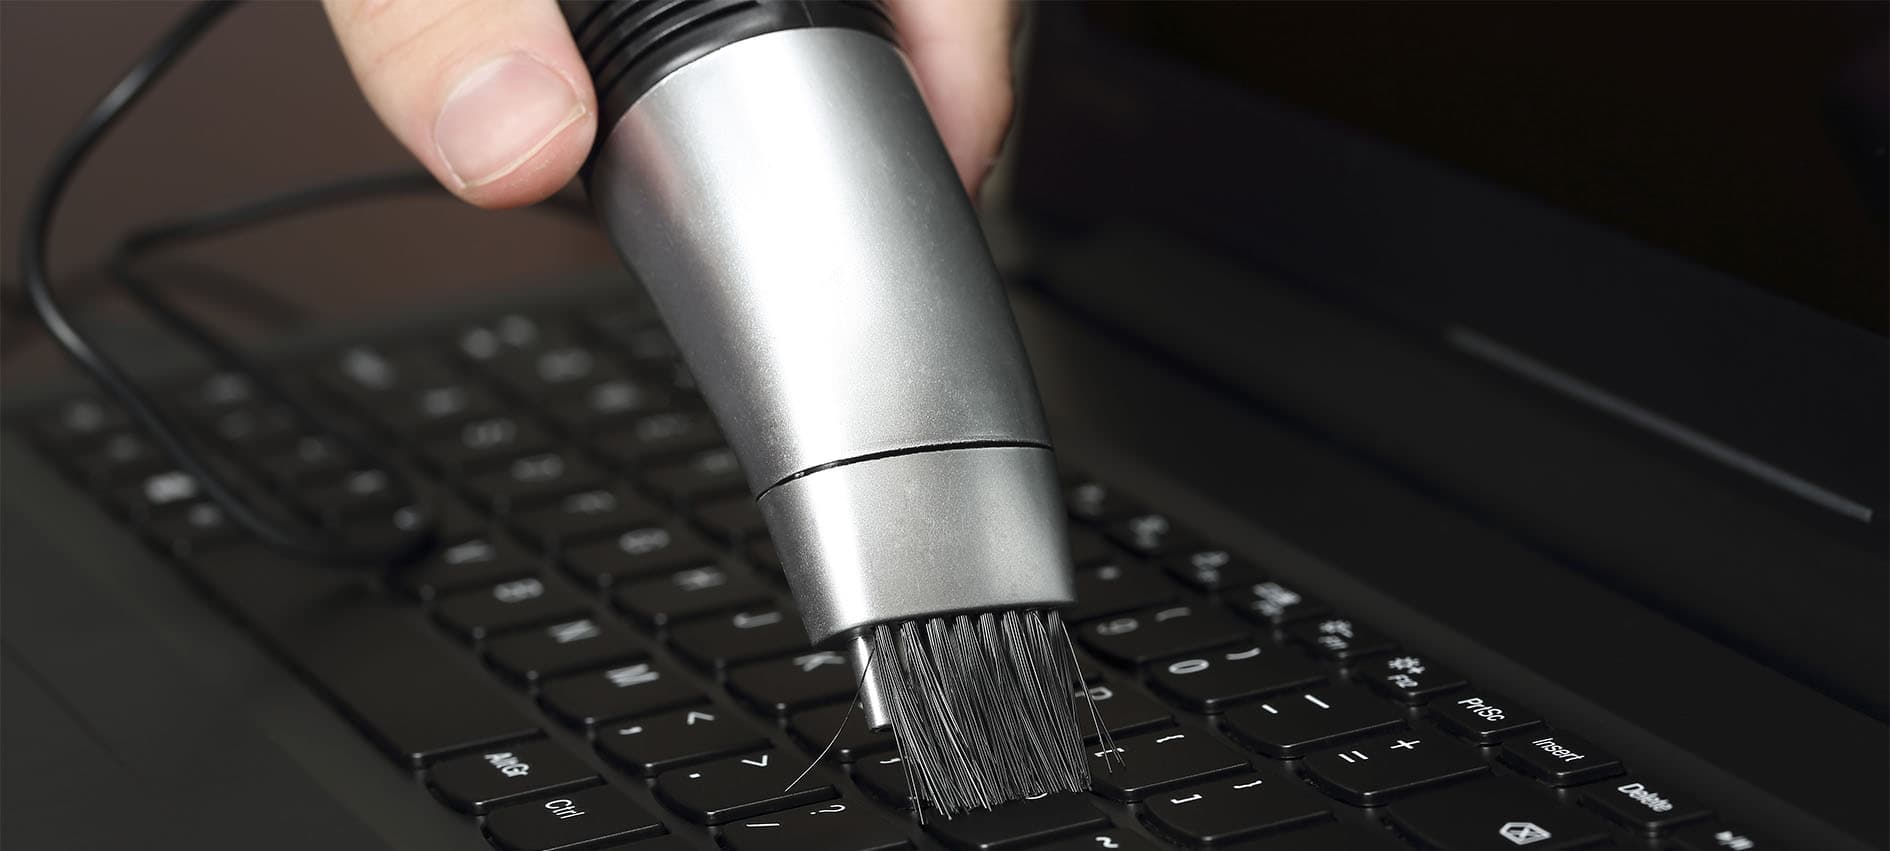
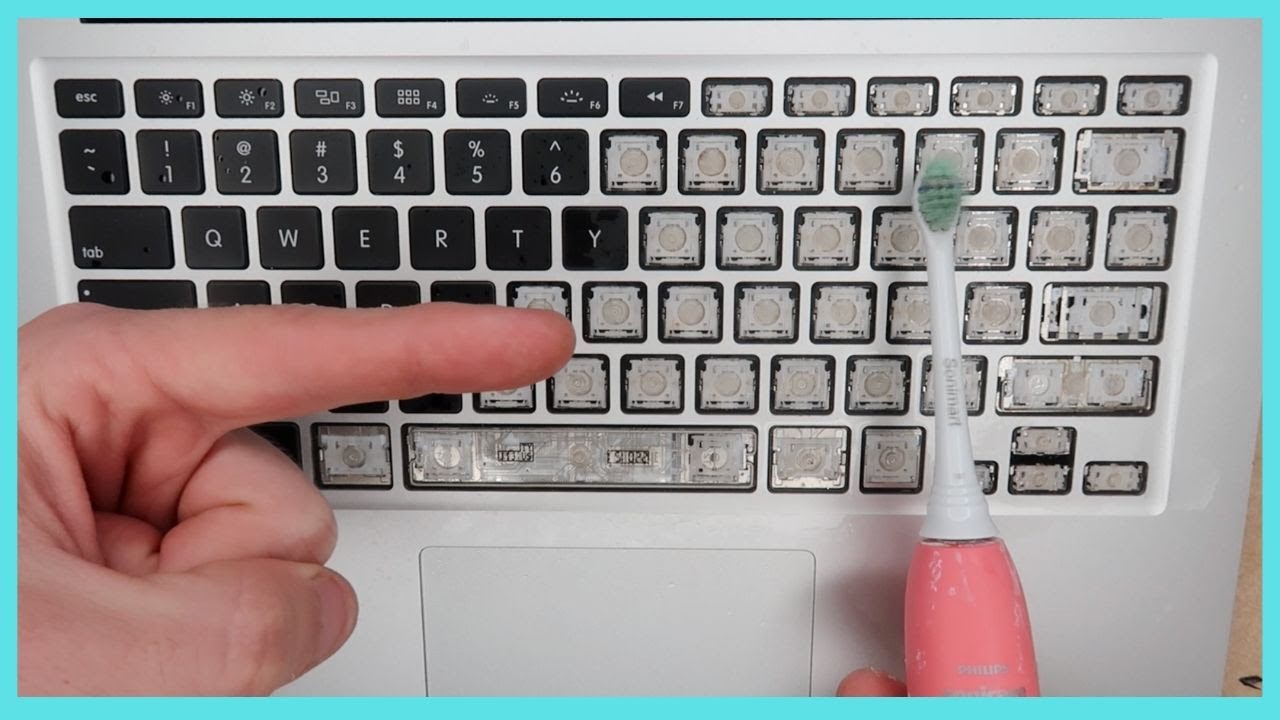
- Cotton swabs or soft-bristle toothbrush: These are useful for reaching small crevices and cleaning between the keys.
- Rubbing alcohol or cleaning gel: These solutions help to dissolve sticky residue and disinfect the keys.
- Microfiber cloth or lint-free cloth: These are ideal for wiping down the keys and removing any remaining debris.
- Can of compressed air: This is helpful for blowing away dust and particles from hard-to-reach areas.
- Isopropyl alcohol wipes: These wipes are an alternative to liquid solutions and can be convenient for quick cleaning.
- Keyboard cleaning putty: This gel-like substance is designed to pick up dirt and debris from the surface of the keys.
Make sure to have these tools readily available before you begin the cleaning process. It’s important to note that not all tools may be necessary for your particular situation. Choose the tools that are most suitable for your keyboard type and the level of stickiness you are dealing with.
Keep in mind that when using liquid solutions, it’s important to use them sparingly and avoid excessive moisture on the keys. Any liquid that seeps into the keyboard can potentially damage the electronics. Therefore, it’s always a good idea to power off and unplug your keyboard before cleaning.
Now that you have your tools ready, let’s move on to the step-by-step process of cleaning sticky keyboard keys.
Steps to clean sticky keyboard keys
Now that you have gathered the necessary tools, let’s dive into the step-by-step process of cleaning sticky keyboard keys. Following these steps will help you restore your keyboard to its optimal working condition:
- Power off and unplug your keyboard: Before you begin cleaning, make sure to turn off your computer and disconnect the keyboard. This precaution is essential to avoid any electrical damage.
- Remove any loose debris: Gently turn your keyboard upside down and shake it to dislodge any loose dust and debris. You can also use a can of compressed air to blow away any stubborn particles.
- Dampen a cotton swab or toothbrush: Dip a cotton swab or toothbrush in rubbing alcohol or cleaning gel. Alternatively, you can use an isopropyl alcohol wipe.
- Clean between the keys: Use the dampened cotton swab or toothbrush to clean between the keys. Gently scrub the surface and edges of each key to remove any sticky residue or dirt buildup.
- Wipe down the keys: Take a microfiber cloth or lint-free cloth and dampen it with rubbing alcohol or cleaning solution. Wipe down the surface of each key, applying gentle pressure to remove any remaining dirt or stickiness.
- Dry the keys: Once you have cleaned the keys, use a clean and dry cloth to wipe away any excess moisture. Allow the keys to air dry completely before reconnecting your keyboard.
- Reconnect your keyboard and test the keys: Once the keys are dry, plug in your keyboard and power on your computer. Test each key to ensure they are no longer sticky and function properly.
These steps should effectively clean your sticky keyboard keys and restore their functionality. However, if your keys are still sticky or not working correctly, you may need to repeat the cleaning process or seek professional assistance.
Remember, prevention is key to maintaining a clean and functional keyboard. Regularly cleaning your keyboard and keeping it free from dust and debris can help prevent future stickiness. Now, let’s explore some additional tips to keep your keyboard keys in top shape.
Using rubbing alcohol to clean sticky keyboard keys
Rubbing alcohol is an effective solution for cleaning sticky keyboard keys. It helps to dissolve sticky residue, disinfect the keys, and evaporates quickly, leaving minimal moisture behind. Follow these steps to clean your keyboard keys using rubbing alcohol:
- Power off and unplug your keyboard: Before you begin cleaning, make sure to turn off your computer and disconnect the keyboard for safety.
- Dampen a cotton swab or lint-free cloth: Pour a small amount of rubbing alcohol onto a cotton swab or dampen a lint-free cloth with rubbing alcohol. Make sure it is not dripping wet, as excessive moisture can damage your keyboard.
- Clean between the keys: Use the dampened cotton swab or cloth to gently clean between the keys. Wipe each key’s surface and edges to remove any sticky residue or dirt buildup. You may need to apply slightly more pressure for stubborn areas, but be careful not to exert too much force.
- Wipe down the keys: Take a clean and dry lint-free cloth and wipe down the surface of each key. This will help remove any remaining dirt or stickiness as well as dry any excess alcohol.
- Dry the keys thoroughly: Allow the keys to air dry completely before reconnecting your keyboard. This will ensure that there is no residual moisture, preventing damage to the electrical components.
- Reconnect your keyboard and test the keys: Once the keys are dry, plug in your keyboard and power on your computer. Test each key to ensure they are no longer sticky and function properly.
While rubbing alcohol is generally safe for cleaning most keyboard types, it’s always a good idea to check your keyboard manufacturer’s recommendations or consult the user manual. Some keyboards may have special coatings or finishes that can be damaged by certain cleaning agents.
If rubbing alcohol is not readily available, you can also use isopropyl alcohol wipes as an alternative. These wipes are convenient and provide similar cleaning properties. Simply follow the same steps, using the alcohol wipes instead of liquid rubbing alcohol.
Now that you know how to clean sticky keyboard keys with rubbing alcohol, let’s explore another method using a keyboard cleaning gel.
Using a keyboard cleaning gel to clean sticky keyboard keys
A keyboard cleaning gel can be a handy and effective tool for removing stickiness and debris from keyboard keys. The gel is designed to pick up dirt, dust, and other particles from the surface of the keys. Follow these steps to clean your sticky keyboard keys using a keyboard cleaning gel:
- Power off and unplug your keyboard: Before you begin cleaning, turn off your computer and disconnect the keyboard to ensure safety.
- Take a small amount of keyboard cleaning gel: Squeeze a small amount of the gel onto a clean, dry cloth. Make sure not to use excessive gel to avoid leaving residue on the keys.
- Apply the gel onto the keys: Gently press the gel onto the keys, ensuring full coverage. The gel will mold and conform to the shape of the keys, making it easier to pick up dirt and debris. You can also use a clean, dry brush or your fingers to spread the gel evenly across the keys.
- Allow the gel to sit: Leave the gel on the keys for a few minutes to allow it to penetrate and absorb dirt and grime effectively.
- Remove the gel: Slowly peel off the gel from the keys, taking care to lift away any trapped debris. The gel should pick up dirt and stickiness from the keys as it is lifted.
- Inspect and clean any remaining residues: Use a cotton swab or a clean, damp cloth to remove any remaining gel residue from the keys. Make sure to thoroughly clean the surface and edges of each key.
- Dry the keys: Allow the keys to air dry completely before reconnecting your keyboard. This will ensure there is no moisture left that could damage the electrical components.
- Reconnect your keyboard and test the keys: Once the keys are dry, plug in your keyboard and power on your computer. Test each key to ensure they are no longer sticky and function properly.
Keyboard cleaning gel is safe to use on most keyboard types, but it’s always a good idea to check your manufacturer’s recommendations or consult the user manual. Avoid using excessive pressure or force while applying the gel to prevent any damage to the keys or keyboard.
Now that you know how to use a keyboard cleaning gel for sticky keyboard keys, let’s move on to another method using a can of compressed air.
Using a can of compressed air to clean sticky keyboard keys
A can of compressed air is a useful tool for cleaning sticky keyboard keys, especially when it comes to removing dust and debris from hard-to-reach areas. Follow these steps to clean your sticky keyboard keys using compressed air:
- Power off and unplug your keyboard: Before you begin cleaning, make sure to turn off your computer and disconnect the keyboard to ensure safety.
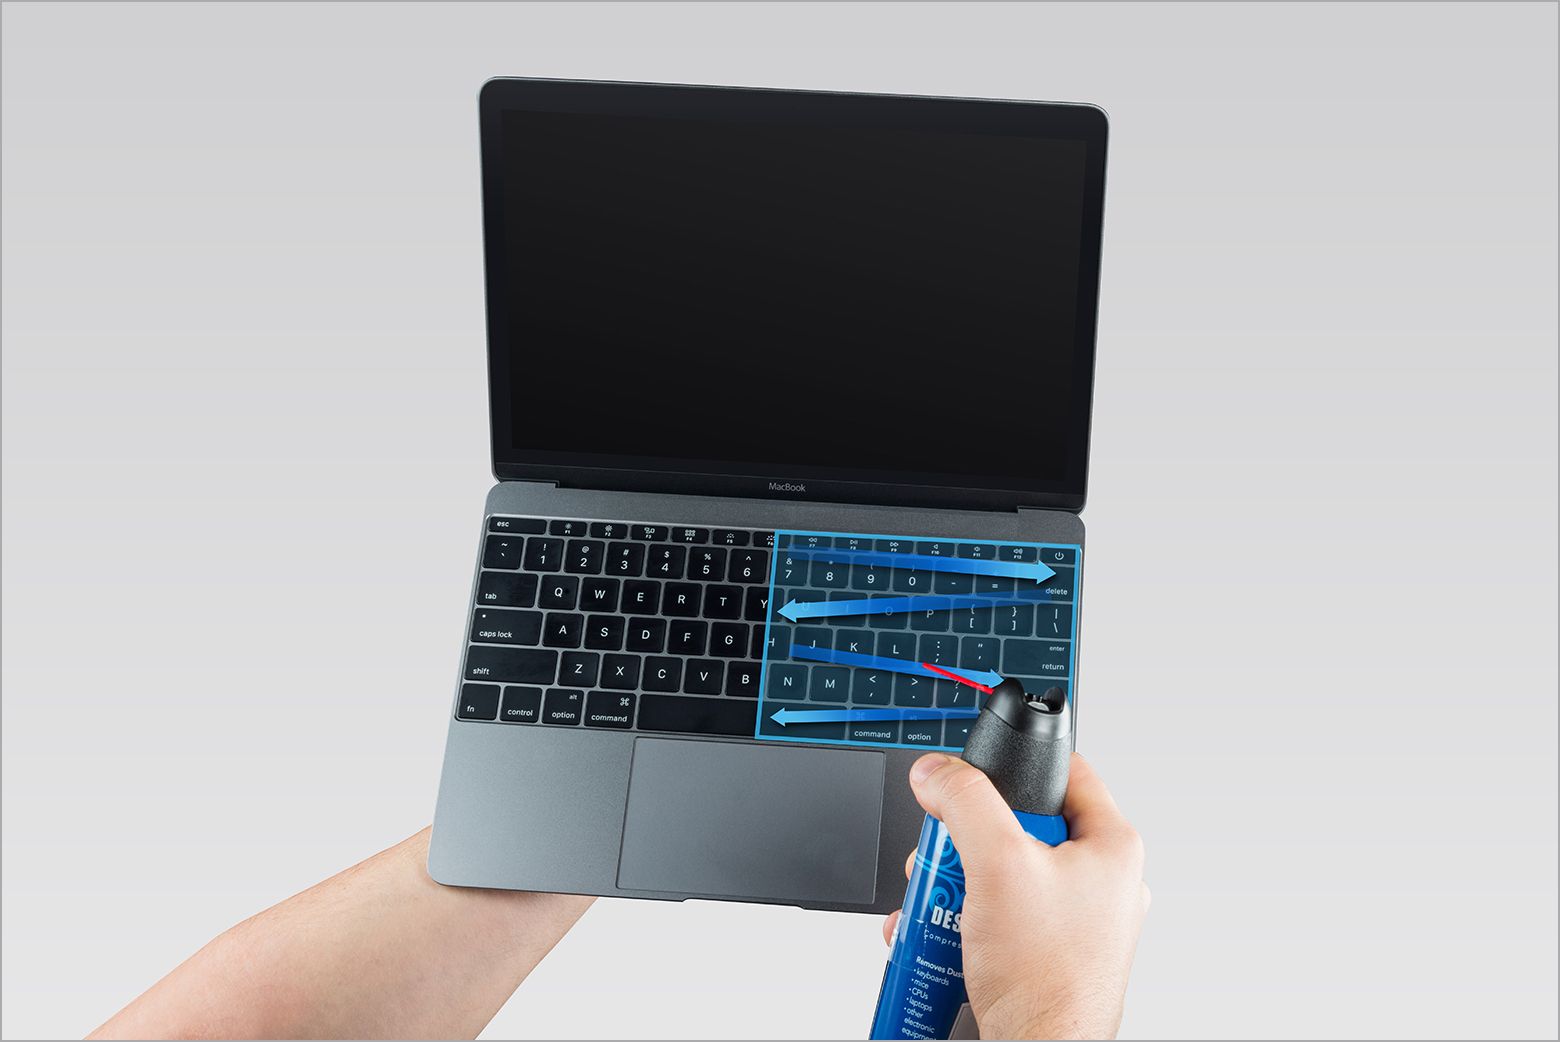
- Hold the can of compressed air upright: It’s important to hold the can of compressed air in an upright position to avoid any liquid from escaping.
- Blow air between the keys: Position the nozzle of the can close to the gaps between the keys and gently press the trigger to release a burst of compressed air. Move along the entire keyboard, targeting areas where dust and debris may be trapped.
- Blow air at an angle: Tilt the keyboard slightly to the side and blow air between the keys at an angle. This allows the airflow to dislodge any particles that are stuck.
- Repeat as necessary: Depending on the level of stickiness and debris, you may need to repeat the process a few times to ensure thorough cleaning.
- Wipe down the keys: After using the compressed air, take a clean, dry cloth and wipe down the surface of each key. This will help remove any loosened debris and ensure a clean finish.
- Dry the keys: Allow the keys to air dry completely before reconnecting your keyboard. This will prevent any potential damage from moisture to the electrical components.
- Reconnect your keyboard and test the keys: Once the keys are dry, plug in your keyboard and power on your computer. Test each key to ensure they are no longer sticky and function properly.
Compressed air is a safe and effective method for cleaning most keyboard types. However, be cautious not to apply too much pressure or get too close to the keys to avoid causing any damage.
Using compressed air is particularly beneficial for removing dust and debris from beneath the keys. It reaches the areas that may be difficult to access with other cleaning methods. For stubborn stickiness, consider using a combination of compressed air and other cleaning techniques.
Now that you know how to clean sticky keyboard keys with compressed air, let’s explore some additional tips to prevent keyboard keys from getting sticky in the future.
Other tips to prevent keyboard keys from getting sticky
Prevention is always better than cure when it comes to keeping your keyboard keys clean and free from stickiness. Here are some additional tips to help prevent your keyboard keys from getting sticky in the future:
- Eat and drink away from your keyboard: Keep food and beverages away from your keyboard to minimize the chances of spills and crumbs finding their way between the keys.
- Use a keyboard cover: Consider using a keyboard cover or skin to provide an extra layer of protection against dirt, dust, and spills. These covers are usually made of silicone or other durable materials and can be easily removed and washed.
- Clean your hands before using the keyboard: Ensure that your hands are clean and free from oils, lotions, or other substances before using the keyboard. This can help reduce the transfer of grime and stickiness to the keys.
- Regularly clean your keyboard: Make it a habit to clean your keyboard regularly to prevent the accumulation of dust and debris. Use a soft brush or compressed air to remove loose particles from the surface and between the keys.
- Avoid excessive force when typing: Typing with excessive force can increase the wear and tear on your keyboard, causing keys to become sticky over time. Type with a gentle touch to prevent unnecessary pressure on the keys.
- Store your keyboard properly: When not in use, protect your keyboard by storing it in a clean and dust-free environment. A keyboard cover or simply placing it in a drawer or cabinet can prevent dust and debris from settling on the keys.
- Keep your workspace clean: Maintain a clean workspace to minimize the amount of dust and debris that can find its way onto your keyboard. Regularly dust your desk, monitor, and other computer peripherals to reduce the chances of particles ending up on your keyboard.
By following these tips, you can help keep your keyboard keys clean and prevent them from becoming sticky. Remember, regular maintenance and good cleaning habits are key to maintaining the functionality and longevity of your keyboard.
Now that you have learned various methods to clean sticky keyboard keys and prevent future stickiness, you are well-equipped to keep your keyboard in optimal condition. So go ahead, apply these techniques, and enjoy a smooth and hassle-free typing experience!
Conclusion
Keeping your keyboard keys clean and free from stickiness is essential for optimal typing and overall functionality. Sticky keyboard keys can hinder your productivity and cause frustration, but with the right tools and techniques, you can easily restore them to their original state.
In this guide, we discussed the common reasons behind sticky keyboard keys, which include debris buildup, poor maintenance, and environmental factors. Understanding these causes can help you take necessary precautions and prevent stickiness in the future.
We then explored different methods to clean sticky keyboard keys. Using rubbing alcohol, keyboard cleaning gel, and compressed air are effective ways to remove stickiness and dirt from the keys. Each method has its advantages, and you can choose the one that works best for your situation and keyboard type.
We also provided additional tips to prevent keyboard keys from getting sticky. By following these tips, such as keeping food and drinks away from your keyboard, using a keyboard cover, and regularly cleaning your keyboard, you can maintain its cleanliness and functionality in the long run.
Remember, when cleaning your keyboard, always exercise caution, power off and unplug it, and use the appropriate tools and cleaning solutions. Follow the step-by-step instructions provided in this guide to ensure safe and effective cleaning.
By taking care of your keyboard and implementing these cleaning practices, you can enjoy a smooth and seamless typing experience. So, say goodbye to sticky keys and hello to a clean and functional keyboard!