Introduction
Replacing a hard disk drive (HDD) in your PlayStation 4 (PS4) can be a daunting task, but with the right tools and a little know-how, it can be a straightforward process. Whether you’re looking to upgrade to a larger capacity drive or need to replace a faulty one, this guide will walk you through the steps to successfully replace your PS4 HDD.
Upgrading your hard drive can provide a variety of benefits, including increased storage space for games and applications, improved performance, and quicker load times. It’s a great way to enhance your gaming experience without purchasing a brand new console.
Before diving into the process, it’s important to note that replacing the HDD in your PS4 will result in data loss. Therefore, it’s crucial to back up your data before starting. This ensures that you won’t lose any saved games, game progress, or personal files during the replacement process.
In this guide, we will walk you through the steps to prepare for the replacement, back up your data, remove the old hard drive, install the new hard drive, format and initialize the new drive, restore your data, and finally, test the new hard drive to ensure it’s functioning properly.
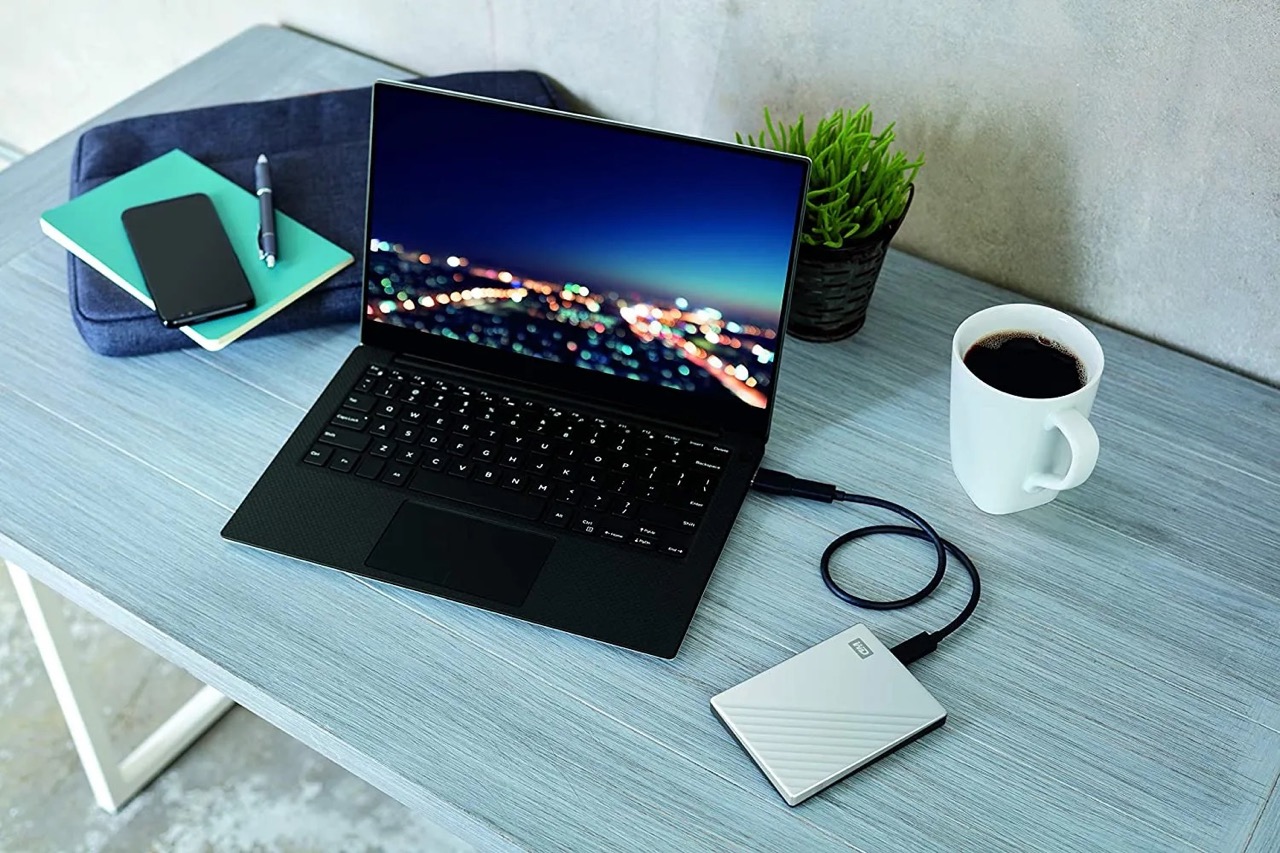
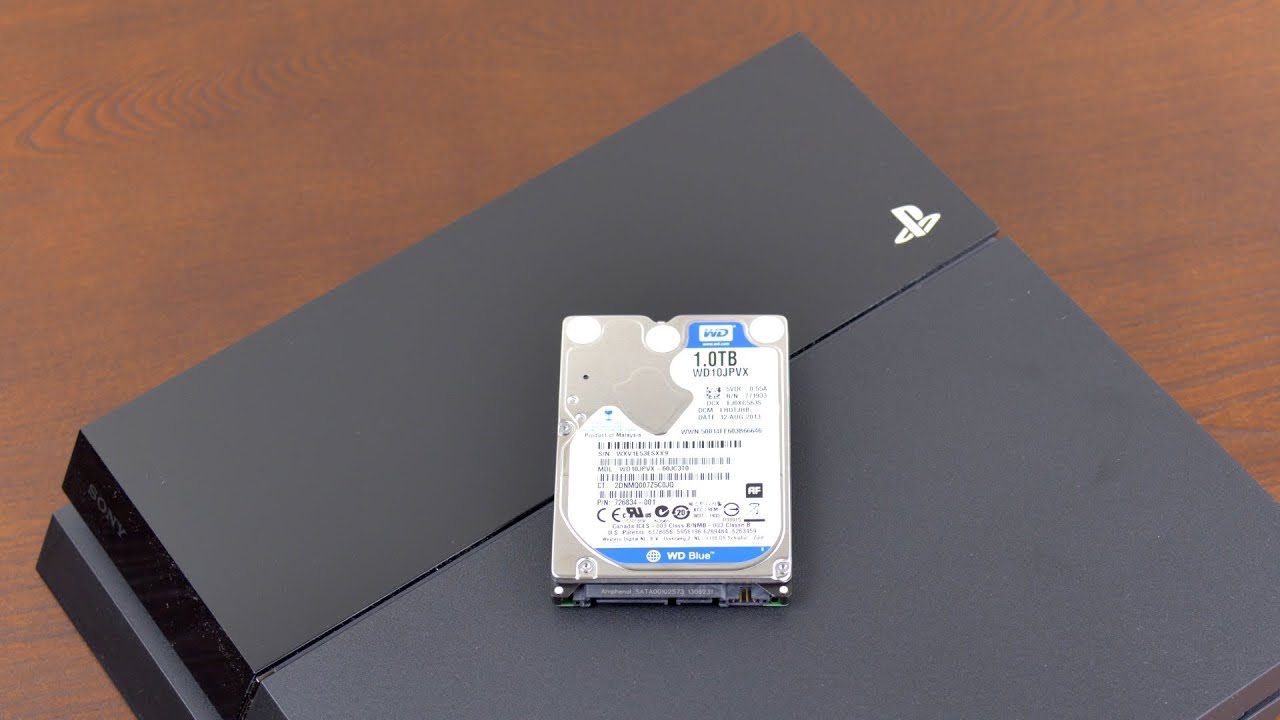
Before starting the replacement process, gather the necessary tools and materials. You’ll need a Phillips screwdriver, a compatible replacement hard drive, and an external storage device to back up your data. It’s important to choose a compatible replacement drive. The PS4 supports 2.5-inch SATA hard drives, with a maximum height of 9.5mm, and a minimum capacity of 250GB.
With everything in place, you’re ready to embark on this exciting journey of replacing your PS4 hard disk drive. So let’s get started!
Tools and Materials Needed
Before you begin the process of replacing your PS4 hard disk drive, it’s important to gather all the necessary tools and materials. Having everything prepared in advance will help the replacement process go smoothly. Here’s a list of what you’ll need:
- Phillips screwdriver
- Compatible replacement hard drive
- External storage device
- USB flash drive or external hard drive
- Computer with internet access
The Philips screwdriver is necessary for removing the screws that hold the PS4 hard drive cover in place. Make sure you have a screwdriver size that fits the screws properly to avoid damaging them.
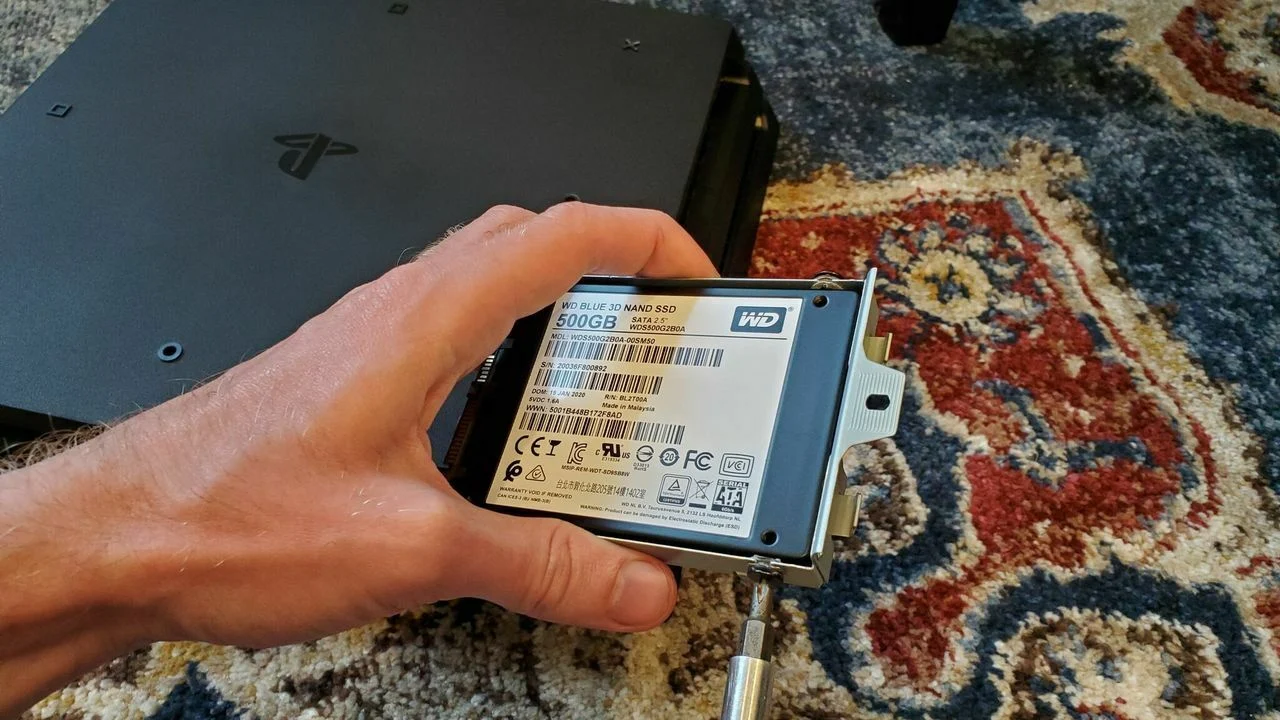
A compatible replacement hard drive is essential for this process. The PS4 supports 2.5-inch SATA hard drives with a maximum height of 9.5mm and a minimum capacity of 250GB. You can choose a higher capacity drive depending on your needs, but make sure it meets the specified requirements.
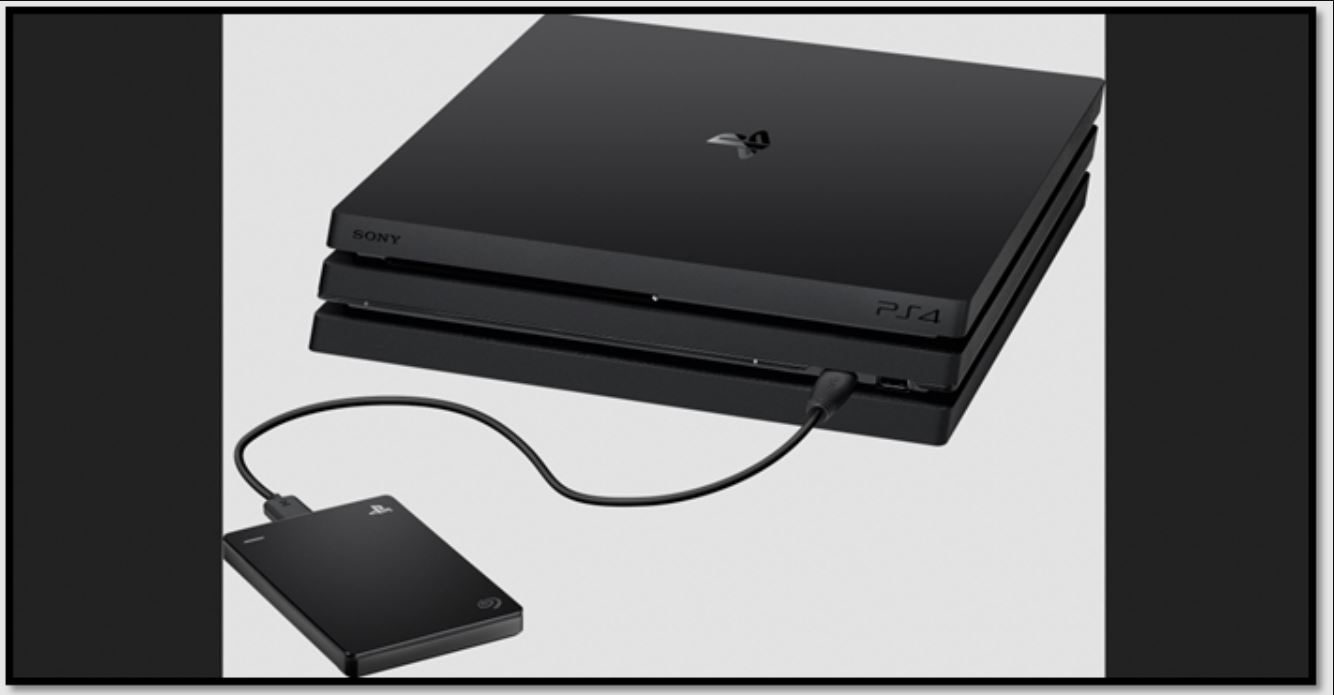
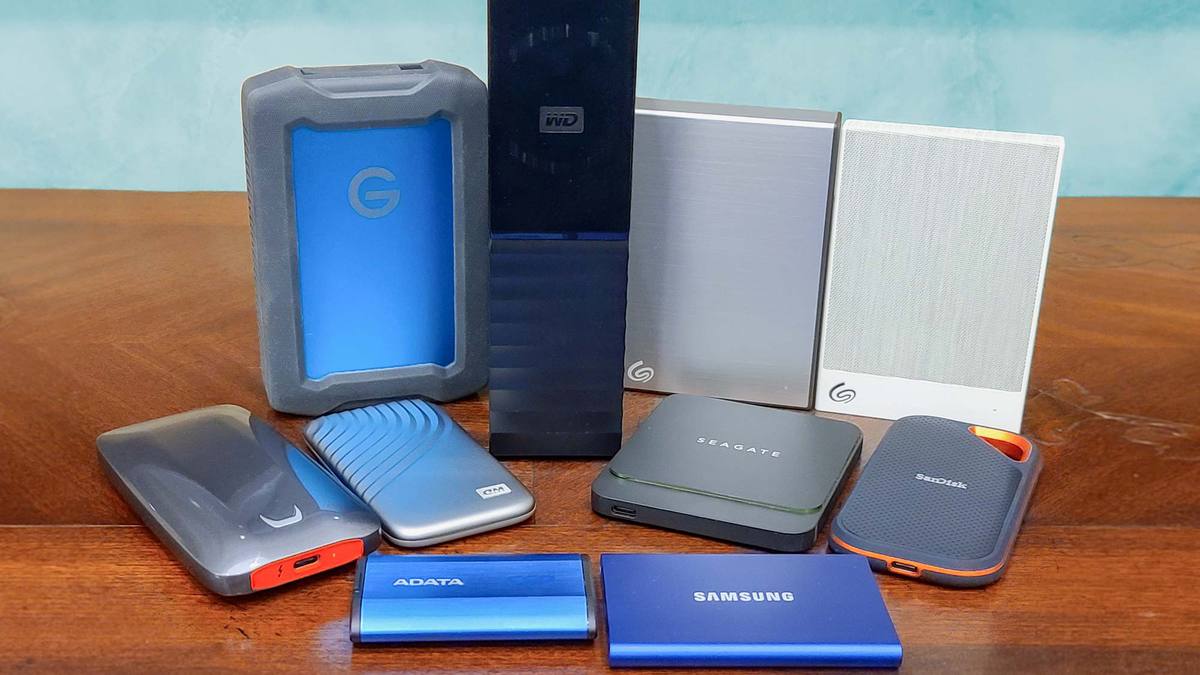
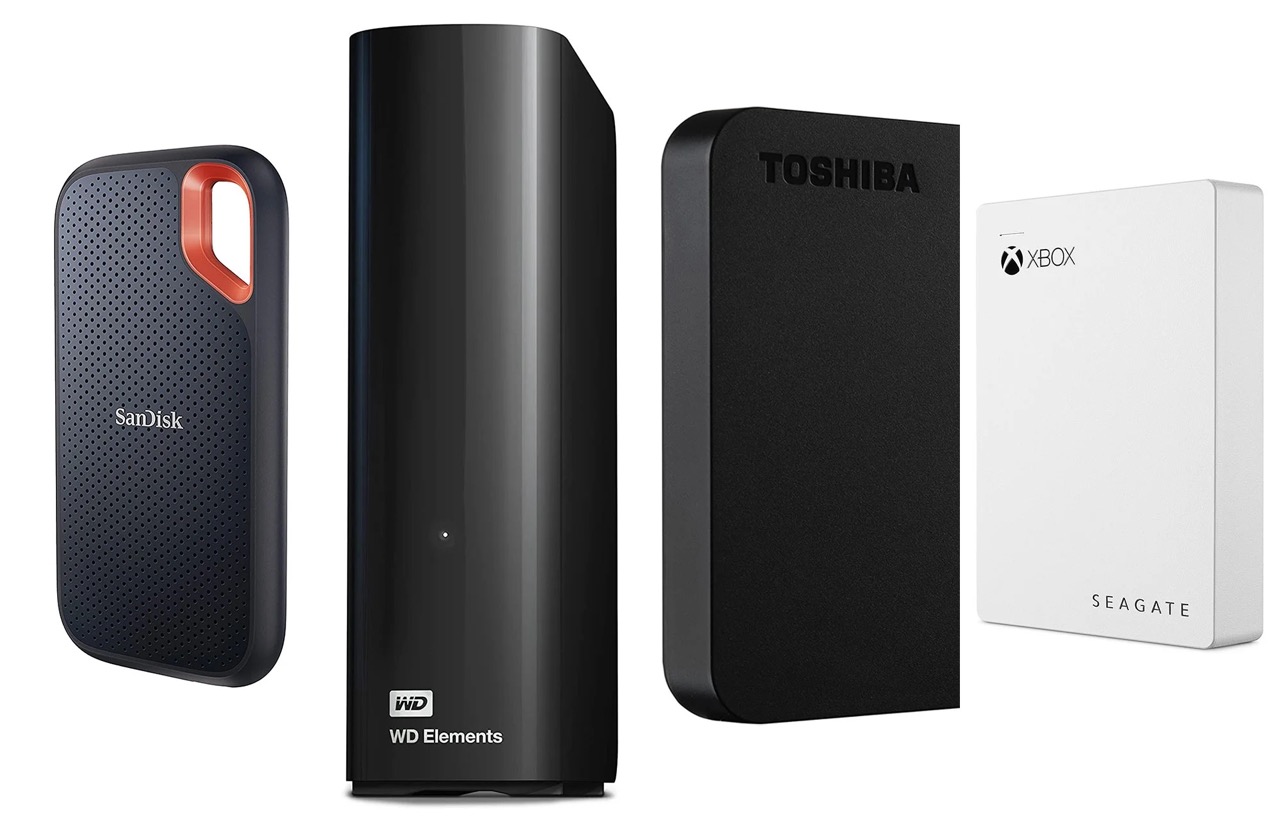
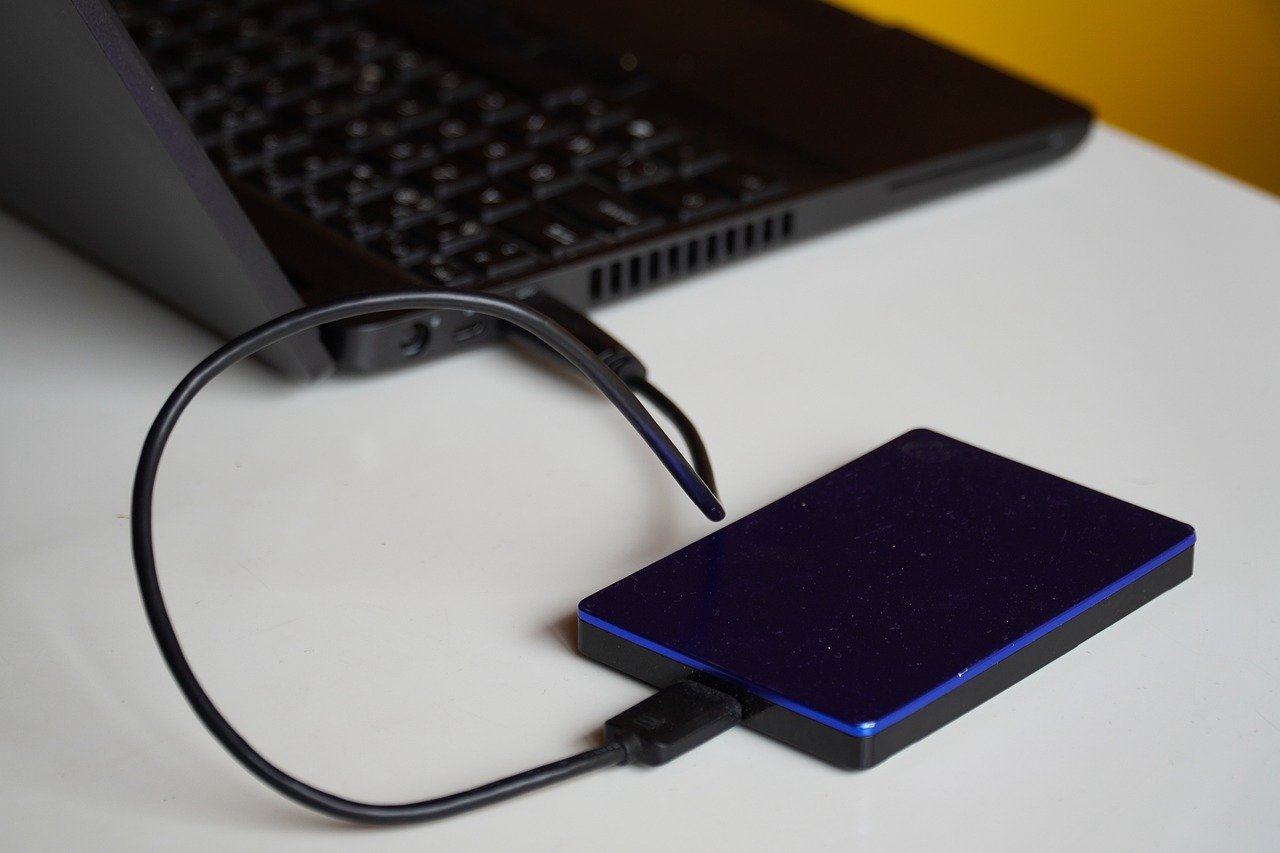
Additionally, you’ll need an external storage device to back up your data. This can be a USB flash drive or an external hard drive, depending on the amount of data you need to transfer. Ensure that the external storage device has enough capacity to hold all your important files.
A computer with internet access is required to download the latest PS4 system software. This software will be used to reinstall the operating system on the new hard drive. Make sure your computer is connected to a stable internet connection before proceeding.
By gathering these tools and materials, you’ll be well-prepared to tackle the PS4 hard disk drive replacement process. Having everything ready will save you time and ensure a smooth transition to the new hard drive.
Preparing for the Replacement
Before you dive into replacing your PS4 hard disk drive, it’s important to take a few preparatory steps to ensure a smooth and successful transition. Here are the key steps to follow:
- Back up your data: As mentioned earlier, replacing the hard drive will result in data loss. It’s crucial to back up your data to avoid losing any saved games, game progress, or personal files. Connect your external storage device to your PS4 and navigate to the Settings menu. From there, go to System > Back Up and Restore to create a backup of your data. Make sure you have enough storage space on your external device to store all the necessary files.
- Prepare your computer and internet connection: To proceed with the replacement process, you’ll need to download the latest PS4 system software from the official PlayStation website. Ensure that your computer is connected to a stable internet connection. Use a web browser to navigate to the PlayStation website and search for the latest PS4 system software. Download it and save it to a USB flash drive or external hard drive. This will be used to reinstall the operating system on the new hard drive.
- Power down your PS4: Safely shut down your PS4 by navigating to the Power menu and selecting “Turn Off PS4.” Make sure to wait until the console has completely powered down before proceeding to the next step.
- Prepare your workspace: Find a clean, well-lit area to carry out the replacement process. Clear off a flat surface and gather all the tools and materials you gathered earlier. Having a clutter-free workspace will make it easier to handle the delicate components of your PS4.
- Remove any peripherals: Disconnect all cables and peripherals from your PS4, including the power cable, HDMI cable, and any USB cables. This will ensure that you have full access to the console and make it easier to handle throughout the replacement process.
By following these preparatory steps, you’ll be ready to move forward with the PS4 hard disk drive replacement process. Taking the time to back up your data and prepare your workspace will give you peace of mind and set you up for success as you embark on this exciting endeavor.
Backing up your Data
Before replacing your PS4 hard disk drive, it’s crucial to back up your data to prevent any loss of important files, game saves, or progress. Here’s how you can back up your data:
- Connect the external storage device: Plug in your USB flash drive or external hard drive into one of the available USB ports on your PS4. Make sure the device has enough storage space to accommodate your data.
- Navigate to the Backup and Restore menu: Power on your PS4 and go to the Settings menu. From there, select “System” and then “Back Up and Restore.”
- Select the files to back up: In the Back Up and Restore menu, you’ll have the option to back up individual files or perform a full system backup. It’s recommended to perform a full system backup to ensure that all your data is safely stored. However, if you only want to back up specific files, you can choose the “Back up Application Data” option.
- Initiate the backup process: Once you’ve selected the files to back up, choose the “Back Up” option. The PS4 will start the backup process, which may take some time depending on the amount of data being transferred. During this time, it’s important to avoid powering off the console or disconnecting the external storage device.
- Verify the backup: Once the backup process is complete, you can verify that your data has been successfully backed up. You can do this by navigating back to the Backup and Restore menu and selecting the “Restore PS4” option. This will display a list of available backups, indicating that your data has been properly saved.
By following these steps, you can ensure that your valuable data is safely backed up before proceeding with the PS4 hard disk drive replacement. It’s always better to be safe than sorry when it comes to protecting your game saves, personal files, and progress in your favorite games.
Removing the Old Hard Drive
Now that you have backed up your data, it’s time to remove the old hard disk drive (HDD) from your PS4. Follow these steps to safely remove the old HDD:
- Power off your PS4: Make sure your PS4 is completely powered off before starting the removal process. This will prevent any damage to the console or the HDD.
- Locate the HDD cover: The HDD cover is located on the rear of the console. It is a plastic panel with a PlayStation logo and a small screw. Remove the screw using a Phillips screwdriver. Set the screw aside in a safe place, as you will need it later.
- Slide off the HDD cover: After removing the screw, slide the HDD cover in the direction indicated by the arrows. It should easily come off, exposing the internal components of the console.
- Identify the HDD bay: Inside the console, you will see a metal bracket holding the HDD in place. Carefully locate the bracket and take note of how the HDD is positioned within it.
- Remove the HDD from the bracket: Gently slide the HDD towards the front of the console, using caution not to apply any force or damage the connectors. Once the HDD is free from the bracket, set it aside in a safe place.
- Disconnect the HDD from the console: You will see a SATA connector and a power connector attached to the HDD. Carefully disconnect both connectors by gently pulling them away from the HDD. Be careful not to pull on the cords themselves.
With these steps, you have successfully removed the old HDD from your PS4. Take a moment to inspect the connectors and cords to ensure everything is in good condition. Store the old HDD in a safe place, as it may contain valuable data or can be used as a backup in the future.
Installing the New Hard Drive
Now that you have successfully removed the old hard disk drive (HDD) from your PS4, it’s time to install the new one. Follow these steps to install the new HDD:
- Prepare the new HDD: Carefully take the new HDD out of its packaging and remove any protective covers. Verify that the new HDD meets the specifications required by your PS4, including the 2.5-inch SATA form factor and the minimum capacity of 250GB.
- Connect the new HDD to the console: Take the new HDD and connect the SATA connector and power connector to the corresponding ports within your PS4. Ensure that the connectors are firmly inserted but avoid using excessive force.
- Secure the new HDD in place: Slide the new HDD into the metal bracket within the console, following the same orientation as the previous HDD. Make sure it is seated properly and securely within the bracket.
- Replace the HDD cover: Position the HDD cover back onto the console and slide it into place. Align the screw hole with the designated spot on the console and use the Phillips screwdriver to secure the cover by tightening the screw. Be careful not to overtighten the screw.
- Power on your PS4: Connect the power cable and any other peripherals that were disconnected earlier. Power on your PS4 and allow it to fully boot up with the new HDD installed.
- Prepare to format the new HDD: When you boot up the console with the new HDD, your PS4 will prompt you to format it. Follow the on-screen instructions to initiate the formatting process. This will prepare the new HDD for use with your PS4.
Once you have completed these steps, you have successfully installed the new hard drive in your PS4. The console should now recognize and be ready to use the new HDD. In the next section, we will cover the process of formatting and initializing the new hard drive to ensure it works seamlessly with your PS4 system.
Formatting and Initializing the New Hard Drive
After successfully installing the new hard disk drive (HDD) in your PS4, the next step is to format and initialize it. This process will prepare the new HDD for use with your PS4 system. Follow these steps to format and initialize the new hard drive:
- Boot up your PS4: Power on your PS4 and wait for it to fully boot up with the new HDD installed. You should see a prompt on the screen asking you to connect a DualShock controller.
- Connect your DualShock controller: Connect your DualShock controller to the USB port on the front of your PS4 using a USB cable. By doing this, you can proceed with the formatting and initializing process.
- Select “Initialize PS4”: Once your DualShock controller is connected, navigate to the Settings menu on your PS4. Scroll down and select “Initialization” and then “Initialize PS4.”
- Choose your initialization method: In the initialization menu, you have two options: “Quick” and “Full.” The “Quick” option will erase all user data on the hard drive, while the “Full” option will perform a deeper wipe that securely erases all data. Choose the way you want to initialize your PS4.
- Confirm the initialization: After selecting your preferred initialization method, you will be prompted to confirm your choice. Double-check that you have backed up all important data, as this process will erase everything on the new HDD.
- Wait for the process to complete: The initialization process may take some time, depending on the size of your new HDD and the selected method. Be patient and avoid interrupting the process by powering off your PS4 or disconnecting any cables.
- Follow the on-screen instructions: Once the formatting and initialization process is complete, your PS4 will guide you through the setup process. Follow the on-screen instructions to configure your system language, network settings, and sign in to your PlayStation Network account.
After completing these steps, your new hard drive will be formatted and initialized, ready to be used with your PS4. In the next section, we will cover how to restore your data from the backup that you created earlier, ensuring that you can continue gaming without losing any important files or progress.
Restoring your Data
Now that you have formatted and initialized your new hard disk drive (HDD), it’s time to restore your data from the backup you created earlier. Follow these steps to restore your data:
- Connect your external storage device: Plug in the USB flash drive or external hard drive that contains your backup data into one of the available USB ports on your PS4.
- Navigate to the Backup and Restore menu: Power on your PS4 and go to the Settings menu. From there, select “System” and then “Back Up and Restore.”
- Select “Restore PS4”: In the Back Up and Restore menu, choose the “Restore PS4” option. This will display a list of available backups.
- Select the backup to restore: Choose the backup that you created earlier from the list. The PS4 will begin the restoration process, which may take some time depending on the size of the backup and the amount of data being restored.
- Follow the on-screen instructions: During the restoration process, you may be prompted to confirm certain settings or actions. Follow the on-screen instructions to complete the restoration seamlessly.
- Verify the restored data: Once the restoration process is complete, verify that your data has been successfully restored. Check your saved games, game progress, and any personal files to ensure that nothing was lost during the transition.
- Reinstall downloaded games and applications: If you had any games or applications downloaded on your previous PS4, you will need to reinstall them from the PlayStation Store. Go to the Library on your PS4 and select the games and applications you want to reinstall. This process may take some time, depending on the size and number of downloads.
By following these steps, you can restore your data and get back to gaming with all your saved games, progress, and personal files intact. Take a moment to double-check that everything is in order before proceeding.
Testing the New Hard Drive
After replacing your PS4 hard disk drive (HDD) and restoring your data, it’s important to test the new HDD to ensure it is functioning properly. Here are some steps you can take to test your new hard drive:
- Power on your PS4: Turn on your PS4 and allow it to fully boot up with the newly installed HDD.
- Check for system stability: Pay attention to the overall performance and stability of your PS4 system. Ensure that the console is booting up smoothly and that you can navigate through the menus without any issues or delays.
- Launch games and applications: Open a few of your favorite games and applications to test the load times and performance. Make sure they are launching as expected and running smoothly without any noticeable lag or glitches.
- Test data accessibility: Check the accessibility of your saved games and personal files. Make sure you can access and load the saved games you restored from your backup. Confirm that your personal files are intact and easily accessible.
- Monitor temperature: Keep an eye on the temperature of your PS4 during gameplay. The new HDD should not significantly impact the temperature of the console. If you notice any unusual heat or excessive fan noise, it may be an indicator of an issue that requires further investigation.
- Run system updates: Check for any system updates and install them if available. Running the latest software updates can help optimize the performance and stability of your PS4 system and the new HDD.
- Repeat the testing process: After the initial testing, it’s a good idea to repeat the process over the course of a few gaming sessions. This allows you to thoroughly evaluate the performance and stability of the new HDD in different scenarios and configurations.
By testing the new hard drive, you can ensure that it is functioning properly and that your PS4 system is running smoothly. If at any point you encounter issues or notice any abnormalities, it may indicate a problem with either the installation or the new HDD itself. In such cases, consult the manufacturer’s instructions or seek professional assistance for further troubleshooting.
Conclusion
Replacing the hard disk drive (HDD) in your PlayStation 4 (PS4) can seem like a challenging task, but with the right tools and guidance, it is an achievable process. By following the steps outlined in this guide, you can successfully replace your PS4 HDD and enjoy the benefits of increased storage space, improved performance, and faster load times.
Remember to take the necessary precautions before starting the replacement process, such as backing up your data and gathering the required tools and materials. Pay attention to detail and carefully follow each step to ensure a smooth and successful transition to the new HDD.
After replacing the HDD, don’t forget to format and initialize it, as well as restore your data from the backup you created. This will enable you to pick up right where you left off, with all your saved games, progress, and personal files intact.
Finally, thoroughly test the new hard drive by checking system stability, launching games and applications, testing data accessibility, monitoring temperature, and running system updates. This will ensure that the new HDD is functioning properly and that your PS4 system is running optimally.
Remember, if at any point you encounter issues or difficulties during the replacement process, it’s always a good idea to consult the manufacturer’s instructions or seek professional assistance. Taking the time to properly replace your PS4 HDD will not only enhance your gaming experience but also prolong the life of your console.
Now that you have the knowledge and guidance to replace your PS4 HDD, go ahead and embark on this exciting journey. Upgrade your storage capacity, improve performance, and get ready to enjoy a seamless gaming experience.