Introduction
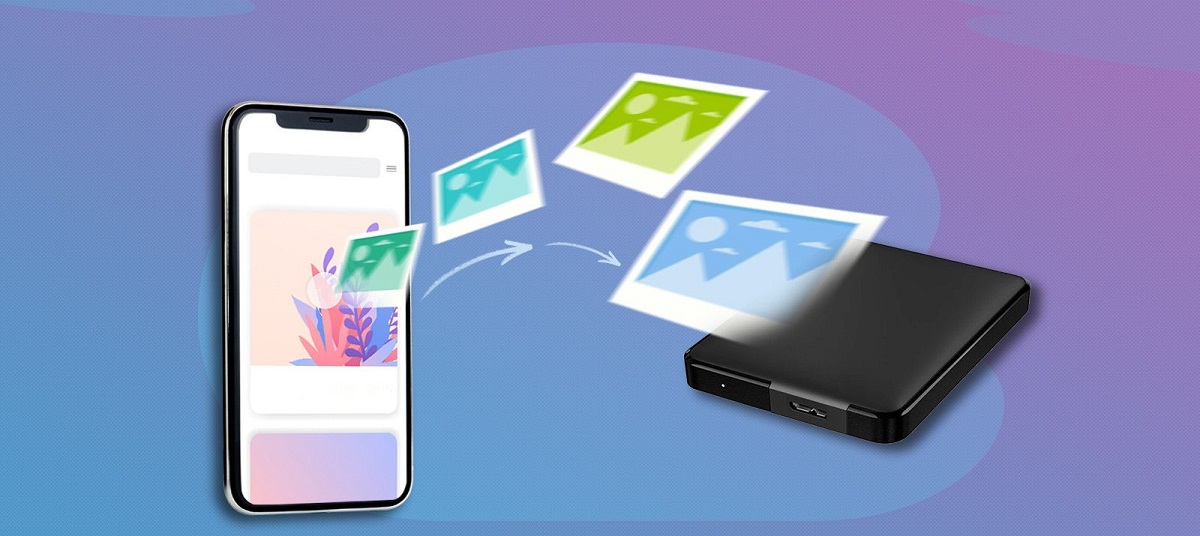
Transferring photos from iCloud to an external hard drive is a practical solution for those who want to free up storage space on their devices or create an extra backup of their precious memories. iCloud provides convenient cloud storage for Apple users, allowing them to access their photos, videos, and files from any device with an internet connection. However, if you have a large photo library, it can quickly consume significant storage space on your devices.
By transferring your iCloud photos to an external hard drive, you can create additional room on your devices without losing any of your valuable memories. It also serves as an extra layer of protection in case anything happens to your iCloud account or devices. In this article, we will guide you through the steps to transfer photos from iCloud to an external hard drive, ensuring that your memories are safe and accessible whenever you need them.
Whether you’re a professional photographer with an extensive collection or just an average user with a growing library of personal snapshots, understanding how to transfer photos from iCloud to an external hard drive is a valuable skill. In the following sections, we will provide a step-by-step guide to help you navigate the process, regardless of whether you’re using a Windows PC or a Mac.
Why Transfer Photos from iCloud to an External Hard Drive?
There are several compelling reasons why you might consider transferring your photos from iCloud to an external hard drive:
- Free up storage space: iCloud provides users with a limited amount of free storage, and if you have a large photo library, it can quickly eat up your available space. By transferring your photos to an external hard drive, you can clear up space on your iCloud account and ensure that you have enough room for other files and data on your devices.
- Create a backup: While iCloud serves as a reliable cloud backup solution for your photos, having an additional backup on an external hard drive adds an extra layer of security. In the event of unforeseen circumstances such as data loss, device failure, or accidental deletion, having a physical backup ensures that your precious memories are not lost forever.
- Access photos offline: Storing your photos on an external hard drive allows you to view and access them offline, even without an internet connection. This can be particularly convenient when traveling or in areas with limited internet access, ensuring that you can enjoy your photo collection wherever you go.
- Organize and manage photos: Transferring your photos to an external hard drive provides you with more flexibility in organizing and managing your photo library. You can create custom folders, arrange files in a way that makes sense to you, and easily transfer or share specific sets of photos with others.
By transferring your photos from iCloud to an external hard drive, you can have more control over your photo library, ensure additional backup protection, and free up valuable storage space on your devices. The process may require a bit of time and effort initially, but the long-term benefits make it worthwhile. In the following sections, we will guide you through the steps to successfully transfer your photos from iCloud to an external hard drive.
Step 1: Set Up Your External Hard Drive
Before you can transfer your photos from iCloud to an external hard drive, you’ll need to ensure that your external hard drive is properly set up and ready to receive the files. Here’s how to do it:
- Select the right external hard drive: Choose an external hard drive that meets your storage needs and is compatible with your computer. Make sure it has enough capacity to accommodate your photo library and any future additions.
- Ensure compatibility: If you are using a Mac, your external hard drive should be formatted to work with macOS. If it is not already formatted correctly, you can easily reformat it using the Disk Utility application. Windows users typically do not need to reformat their external hard drives, as they are commonly formatted to work with Windows by default.
- Connect the external hard drive: Plug your external hard drive into an available USB or Thunderbolt port on your computer. Ensure that it is securely connected and powered on.
- Check the drive’s availability: Once connected, your computer should detect the external hard drive and assign it a drive letter (Windows) or mount it on your desktop (Mac). You should be able to see the external hard drive listed as a separate storage device.
Setting up your external hard drive correctly is essential for a smooth transfer process. Ensure that your external hard drive is compatible with your computer, properly connected, and recognized by your operating system. With your external hard drive ready, you can now proceed to the next steps to transfer your photos from iCloud.
Step 2: Download Photos from iCloud to Your Computer
Before you can transfer your photos from iCloud to your external hard drive, you’ll need to download them to your computer first. Follow these steps to download your photos from iCloud:
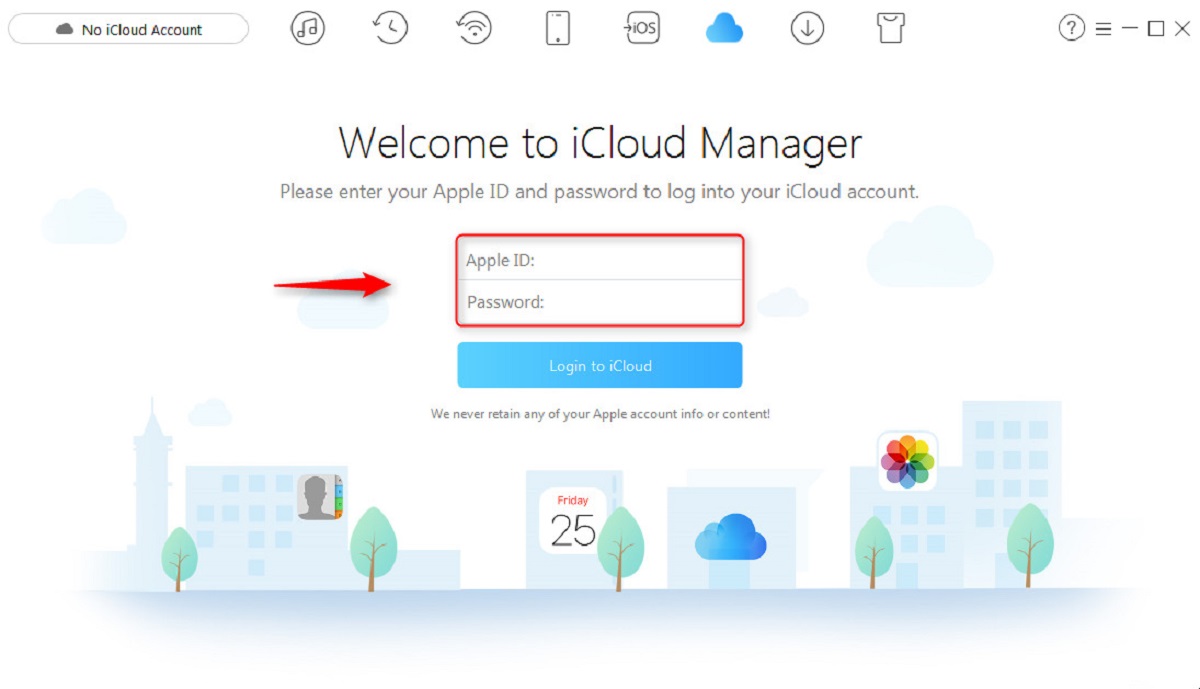
- Open a web browser: Launch your preferred web browser on your computer and go to the iCloud website (www.icloud.com).
- Sign in to your iCloud account: Enter your Apple ID and password to log in to your iCloud account.
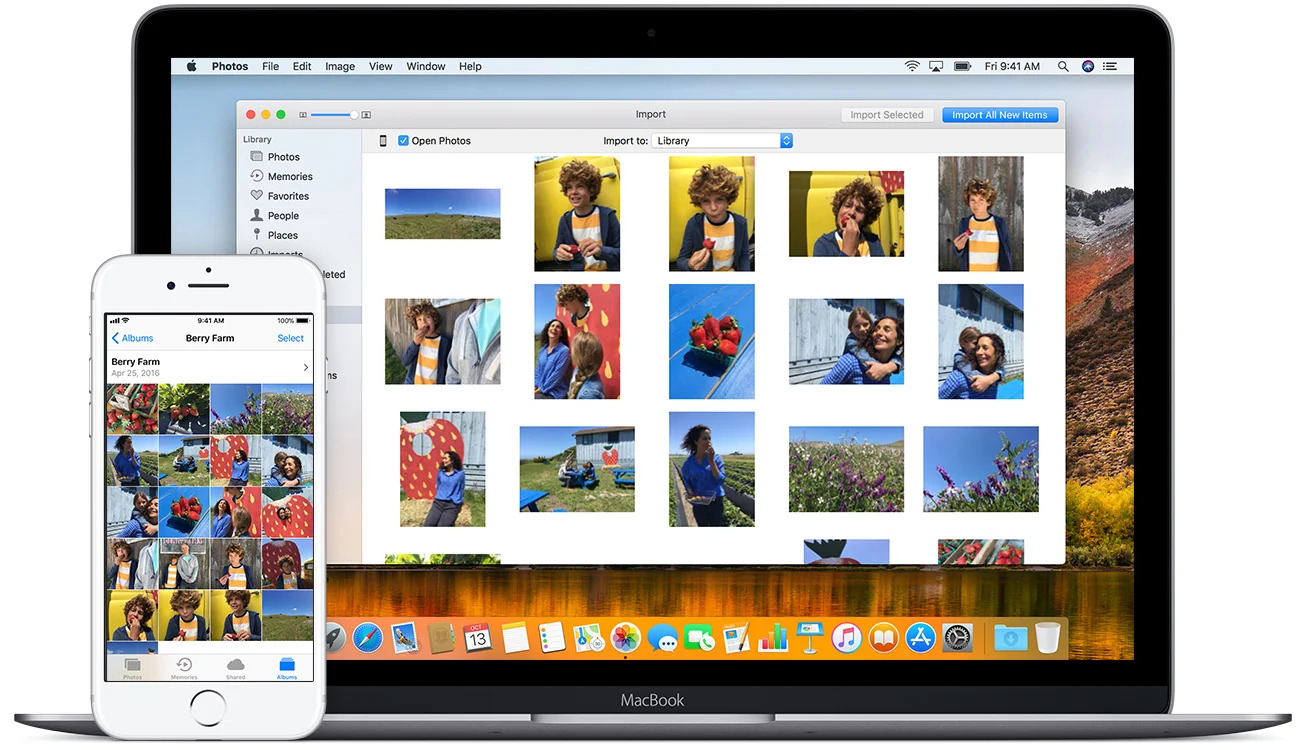
- Access the Photos app: Once you’re logged in, click on the Photos app to open it. This will display your entire iCloud photo library.
- Select the photos you want to download: Browse through your photo library and select the specific photos or albums you want to download. You can hold down the Command (⌘) key (Mac) or the Control key (Windows) and click on multiple photos to select them.
- Click the Download button: Once you’ve made your selection, click on the Download button. This will start the process of downloading the selected photos to your computer. The photos will be downloaded in their original quality and file format.
- Wait for the download to complete: The time it takes to download your photos will depend on the size of your library and the speed of your internet connection. During the download process, ensure that your computer remains connected to the internet and powered on.
Once the download is complete, you will have a local copy of your iCloud photos stored on your computer. This allows you to access and manage them offline, making it easier to transfer them to your external hard drive in the next steps. Make sure to organize your downloaded photos in a location that you can easily find and access.
Step 3: Connect Your External Hard Drive to Your Computer
With your photos downloaded to your computer, it’s time to connect your external hard drive to transfer them. Follow these steps to connect your external hard drive to your computer:
- Locate an available USB or Thunderbolt port: Identify an unused USB or Thunderbolt port on your computer where you can connect your external hard drive.
- Plug in the external hard drive: Take the USB or Thunderbolt cable that came with your external hard drive and connect one end to the drive and the other end to the selected port on your computer. Ensure that the connection is secure.
- Power on the external hard drive: If your external hard drive requires external power, such as through an AC adapter, make sure it is connected and turned on.
- Wait for your computer to recognize the external hard drive: Once connected, your computer should detect the external hard drive and assign it a drive letter (Windows) or mount it on your desktop (Mac).
- Confirm the connection: Open the File Explorer or Finder on your computer and look for the external hard drive in the list of connected devices. It should be listed as a separate storage device.
When your computer recognizes the external hard drive and lists it as a connected device, you are ready to proceed with transferring your photos from your computer to the external hard drive. Ensure that the connection is stable and that the external hard drive is functioning properly before continuing to the next step.
Step 4: Copy and Transfer Photos to Your External Hard Drive
Now that your external hard drive is connected to your computer, it’s time to copy and transfer your downloaded photos. Follow these steps to transfer your photos to your external hard drive:
- Open the folder containing your downloaded photos: Locate the folder on your computer where you downloaded your iCloud photos. It could be in your Downloads folder or any other location you chose.
- Select the photos you want to transfer: Open the folder and select the specific photos or albums that you want to copy to your external hard drive. You can hold down the Command (⌘) key (Mac) or the Control key (Windows) and click on multiple photos to select them.
- Copy the selected photos: Right-click on the selected photos and choose the “Copy” option from the context menu. Alternatively, you can use the keyboard shortcut Ctrl+C (Windows) or Command+C (Mac) to copy the photos.
- Open the external hard drive: Open a new File Explorer (Windows) or Finder (Mac) window and navigate to the location of your external hard drive. This will typically be listed under “Devices” or “External Drives.”
- Create a folder (optional): If you want to organize your photos in a specific folder on your external hard drive, right-click in the external hard drive window and choose the “New Folder” option. Give the folder an appropriate name.
- Paste the copied photos: Right-click inside the external hard drive window and choose the “Paste” option from the context menu. Alternatively, you can use the keyboard shortcut Ctrl+V (Windows) or Command+V (Mac) to paste the photos into the external hard drive.
- Wait for the transfer to complete: The time it takes to transfer the photos will depend on the size of the files and the speed of your computer and external hard drive. Ensure that the transfer process is completed without interruption.
Once the transfer is complete, you will have successfully copied and transferred your photos from your computer to your external hard drive. It’s a good idea to double-check that the transferred photos are intact and accessible on the external hard drive before proceeding to the next step.
Step 5: Safely Eject Your External Hard Drive
After successfully transferring your photos to your external hard drive, it’s important to safely eject the device from your computer to ensure the integrity of the data and prevent any potential data loss. Follow these steps to safely eject your external hard drive:
- Check for any active file transfers: Before ejecting the external hard drive, make sure that there are no ongoing file transfers or operations involving the drive. It’s crucial to wait until all transfers are complete.
- Close all applications: If you have any applications or windows open that are accessing files on the external hard drive, close them to ensure that no files are in use.
- Eject the external hard drive: Locate the icon or name of your external hard drive on your computer’s desktop (Mac) or in the system tray (Windows). Right-click on the icon/name and select the “Eject” or “Safely Remove” option from the context menu.
- Wait for the confirmation: After selecting the eject option, wait for the confirmation message that it is safe to remove the external hard drive. This message will indicate that all read/write operations have been completed, and it is safe to disconnect the device.
- Physically disconnect the external hard drive: Once you receive the confirmation message, gently unplug the USB or Thunderbolt cable from your computer. Make sure to remove it properly without using excessive force.
It is important to follow the proper procedure to safely eject your external hard drive to avoid any potential data corruption or damage. Abruptly disconnecting the drive without proper ejection can lead to data loss or even damage the drive itself.
By safely ejecting your external hard drive, you can ensure that your transferred photos and the drive itself remain in good condition for future use. Remember to store your external hard drive in a safe place to protect it from potential physical damage and keep your precious photos secure.
Conclusion
Transferring photos from iCloud to an external hard drive is a practical and effective solution for managing your photo library, creating additional backup protection, and freeing up storage space on your devices. By following the steps outlined in this guide, you can successfully transfer your photos and ensure they are safely stored on your external hard drive.
Remember to set up your external hard drive correctly, download your photos from iCloud to your computer, establish a connection between your computer and the external hard drive, copy and transfer the photos, and safely eject the external hard drive. Taking these steps will help safeguard your precious memories and provide you with more flexibility in managing your photo collection.
Whether you’re a professional photographer or an everyday user, understanding how to transfer photos from iCloud to an external hard drive is a valuable skill. It allows you to have more control over your photo library, access your photos offline, and create an additional layer of backup protection. Furthermore, it frees up valuable storage space on your devices, enabling you to capture and store even more memories.
Now that you have learned how to transfer photos from iCloud to an external hard drive, why not take the time to organize your photo collection, create folders, and enjoy the convenience of accessing your photos offline? By utilizing the power of an external hard drive, you can ensure the safety and longevity of your precious photographic memories.
So go ahead, follow the steps, transfer your photos, and enjoy the peace of mind knowing that your memories are securely stored and easily accessible whenever you need them. Happy transferring!