Introduction
Are you looking to repurpose an old laptop hard drive that’s gathering dust? Transforming it into an external hard drive is a fantastic way to give it a new lease on life. Not only will you free up some storage space on your laptop, but you’ll also have a portable storage device that can be used with any computer.
In this step-by-step guide, we’ll walk you through the process of turning your laptop hard drive into an external hard drive. Don’t worry if you’re not a tech expert – this is a relatively simple task that anyone can accomplish with a few basic tools and some patience.
Before we get started, it’s important to note that this process may involve opening up your old laptop and potentially damaging the hard drive. If your laptop is still under warranty or you’re uncomfortable with the idea of tinkering with hardware, it’s best to consult a professional or consider purchasing an external hard drive instead.
Now, let’s dive in and discover how to repurpose your laptop hard drive into a functional external storage solution.
What You Will Need
Before you embark on the journey of turning your laptop hard drive into an external hard drive, make sure you have the following items ready:
- Laptop Hard Drive: Find the old laptop hard drive you wish to repurpose. Make sure it’s compatible with the enclosure you plan to use.
- External Hard Drive Enclosure: This is the device that will house your laptop hard drive and convert it into an external hard drive. Choose an enclosure that matches the size and interface (SATA or IDE) of your hard drive.
- Enclosure Power Adapter and Cable: Depending on the enclosure you choose, it may require a power adapter and cable to provide power to the hard drive.
- Screwdriver: You’ll need a screwdriver that fits the screws on your hard drive and enclosure. This will be used to secure the hard drive inside the enclosure.
- USB Cable: Select a USB cable that matches the appropriate connection on your external hard drive enclosure (usually USB 3.0 or USB-C).
- Computer: You’ll need a computer to format and initialize the hard drive once it’s connected to the enclosure.
- Data Backup: Before you start, it’s essential to back up any important data from your laptop hard drive. This ensures that you won’t lose any precious files during the process.
With these items at your disposal, you’re ready to begin the transformation process and turn your old laptop hard drive into an external hard drive that offers convenience and extra storage capacity.
Step 1: Gather Your Materials
Before you begin the process of turning your laptop hard drive into an external hard drive, it’s crucial to gather all the necessary materials. Here’s what you’ll need:
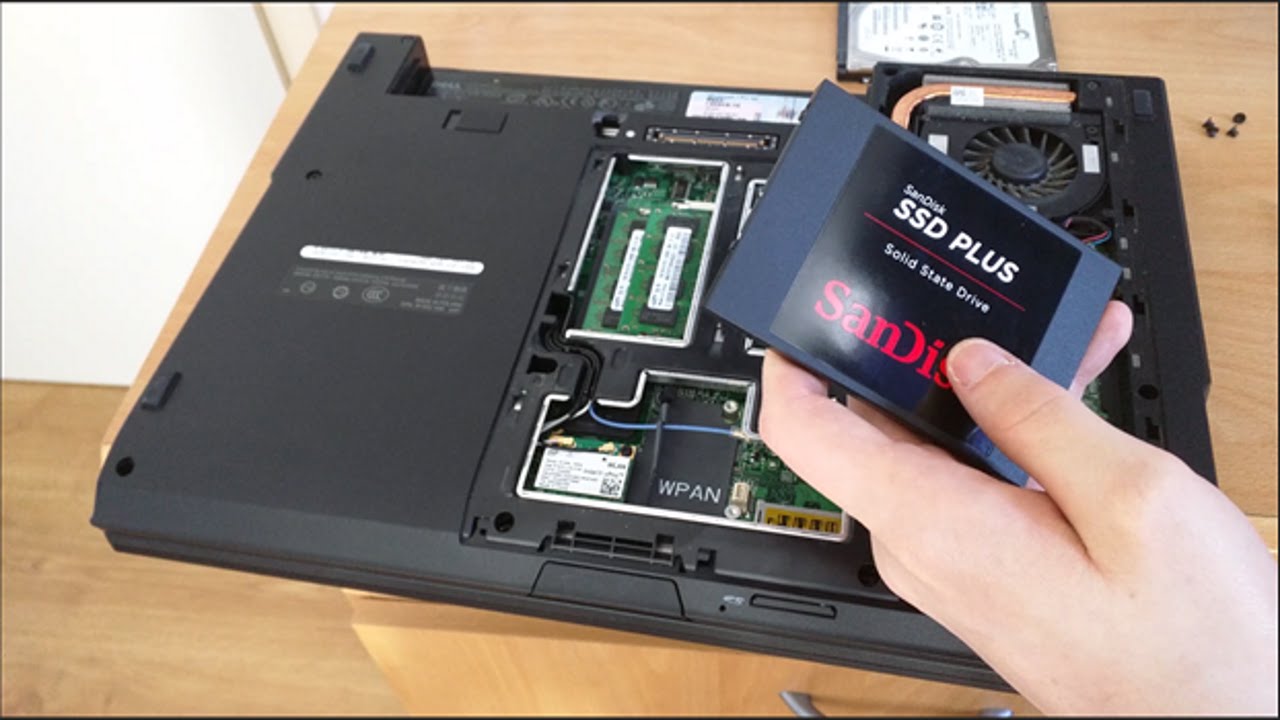
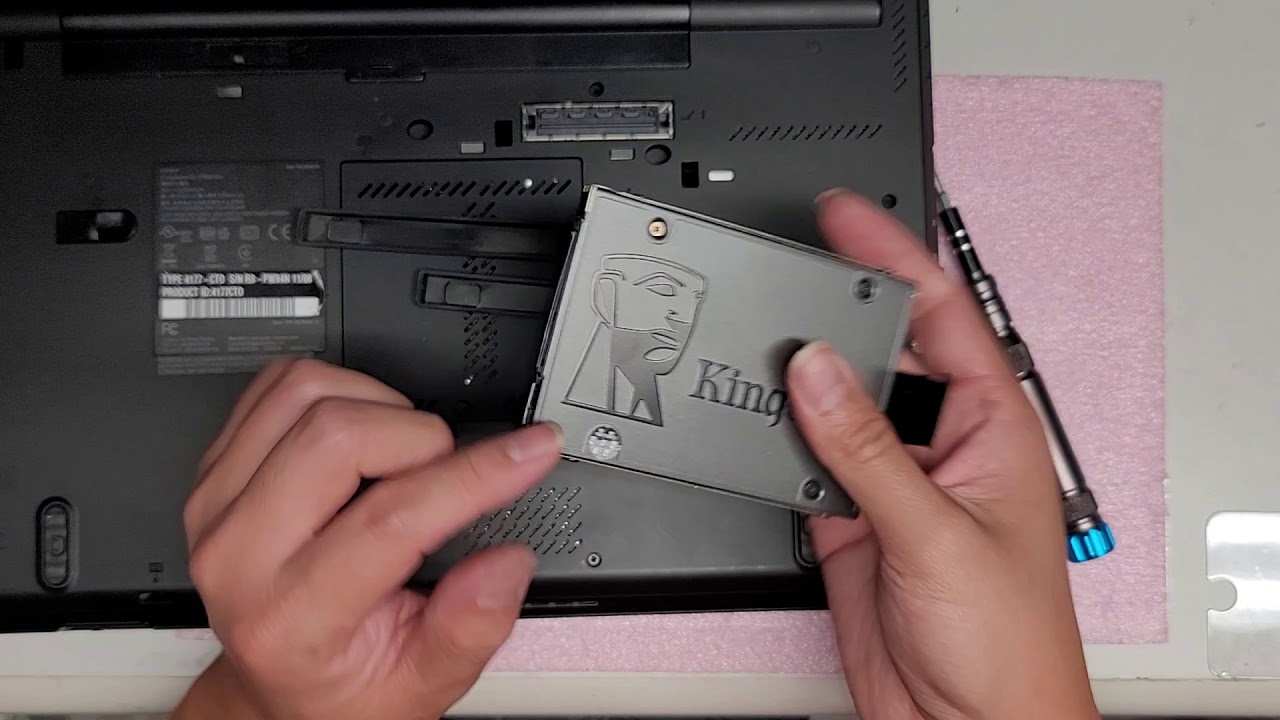
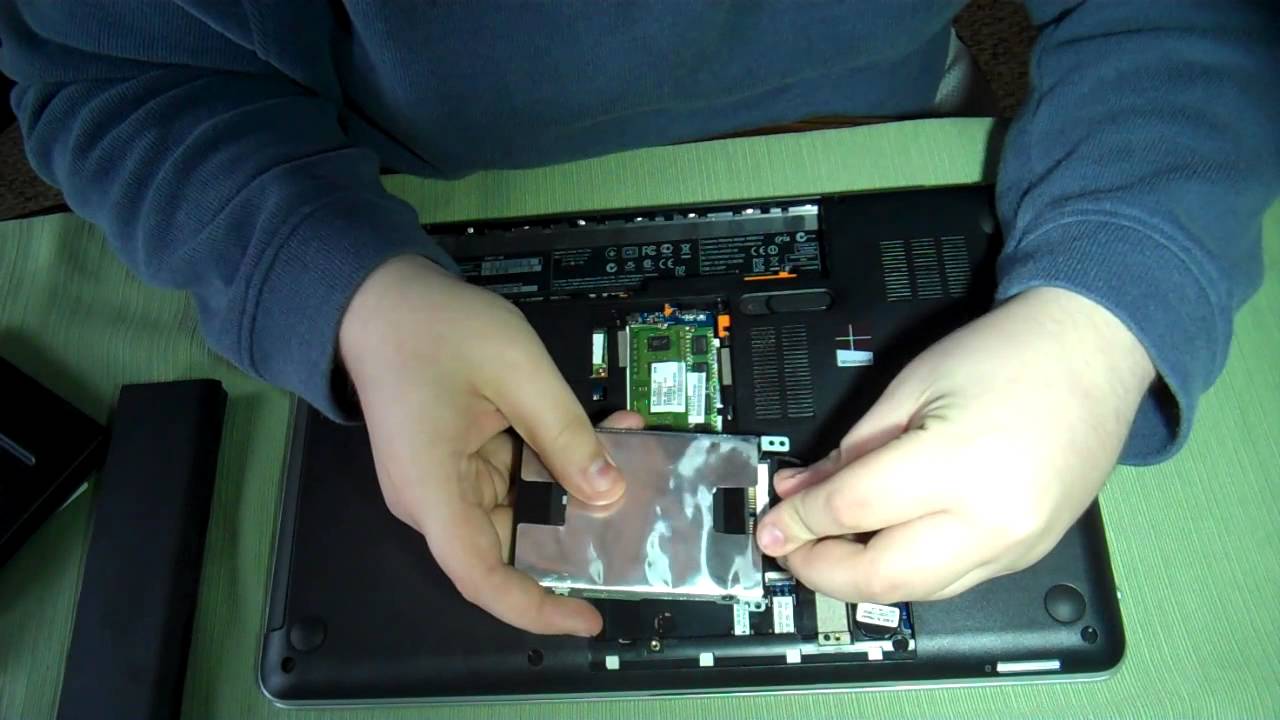
- Laptop Hard Drive: Locate the laptop hard drive that you want to repurpose. Ensure that you have removed it from the laptop and have access to it.
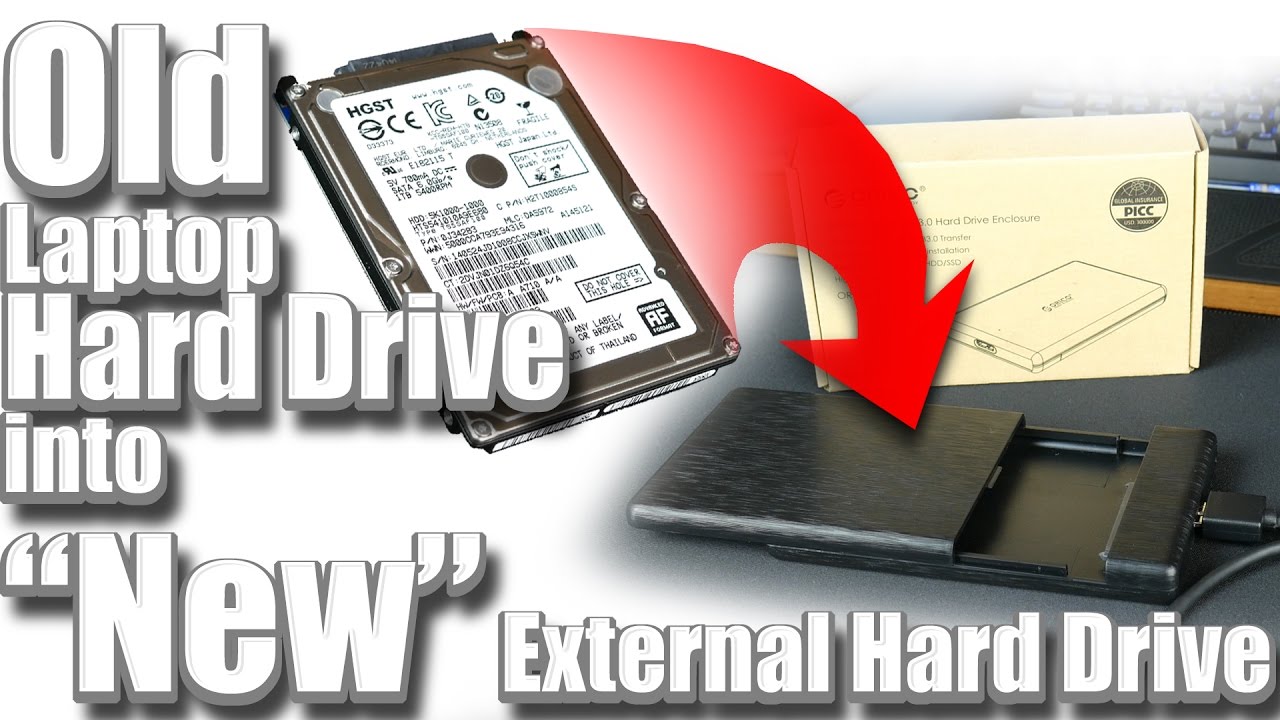
- External Hard Drive Enclosure: Choose an external hard drive enclosure that is compatible with your laptop hard drive in terms of size and interface (SATA or IDE). It should come with a case, a circuit board, and ports for power and data transfer.
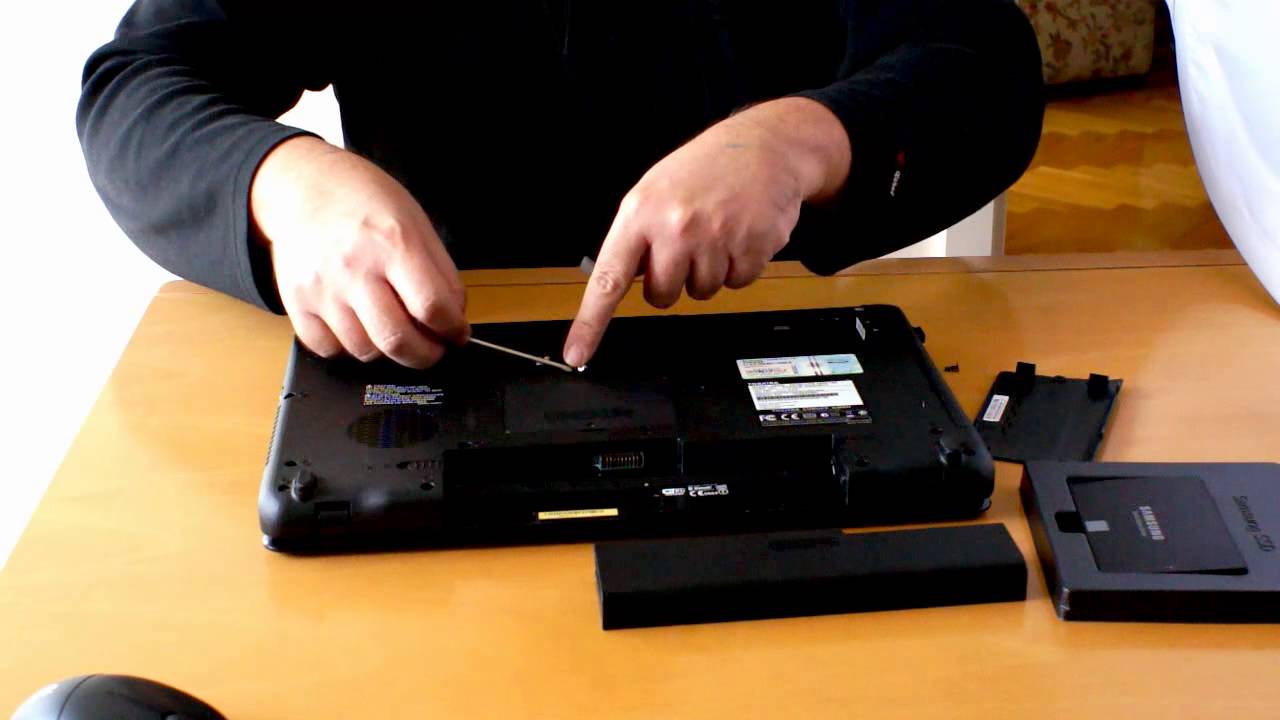
- Screwdriver: Depending on the enclosure, you may need a screwdriver to open up the case and secure the hard drive inside.
- USB Cable: Determine the cable required to connect the external hard drive to your computer. USB 3.0 or USB-C are commonly used connections, but check the specifications of your enclosure to be sure.
- Data Backup: Take the time to backup any important data on the laptop hard drive that you don’t want to lose. This step ensures that your files are safe before proceeding with the conversion process.
It’s important to have all these materials ready before moving on to the next steps. This ensures a smooth and uninterrupted process, saving you time and frustration. Once you have gathered these materials, you’re ready to move on to the next step: preparing the hard drive for installation into the enclosure.
Step 2: Prepare the Hard Drive
Now that you’ve gathered all the necessary materials, it’s time to prepare the laptop hard drive for installation into the external hard drive enclosure. Follow these steps:
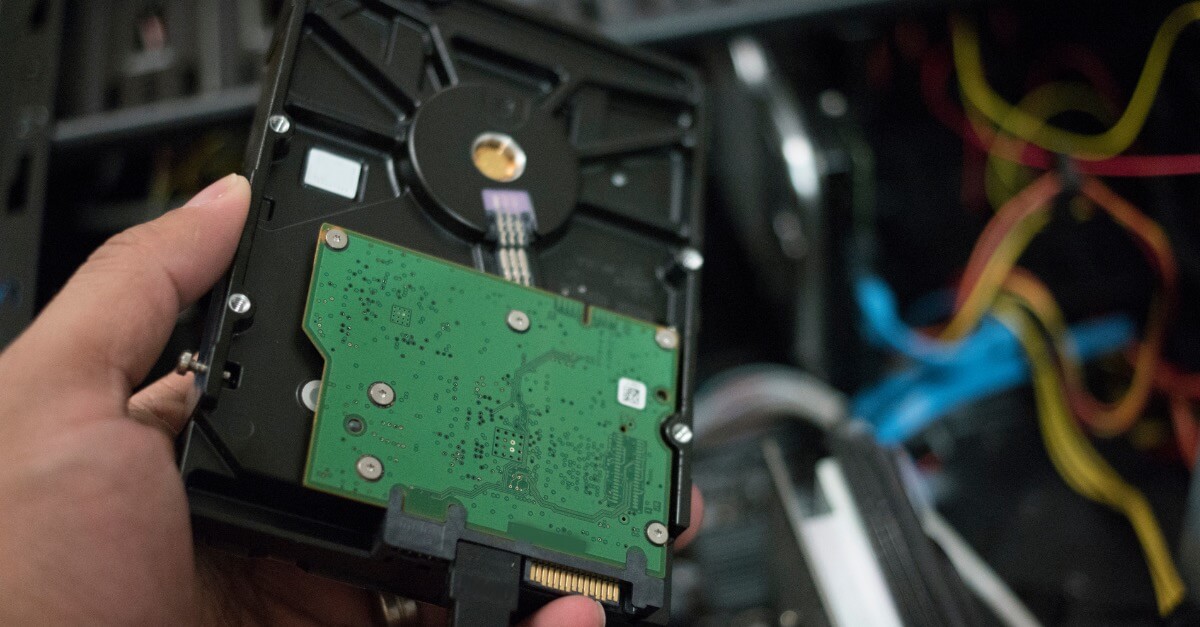
- Inspect the Hard Drive: Ensure that the laptop hard drive is in good condition with no visible damage. Check for any loose connectors or cables.
- Remove any Adapters or Brackets: Some laptop hard drives may have adapters or brackets attached to them. Remove these to expose the bare drive.
- Set the Jumper Settings (if applicable): If you have an IDE hard drive, check the jumper settings. Refer to the hard drive’s manual or the manufacturer’s website for the correct jumper configuration.
- Insert the Hard Drive into the Enclosure: Gently slide the laptop hard drive into the designated slot inside the external hard drive enclosure. Make sure it fits securely and aligns with the connectors on the enclosure’s circuit board.
- Secure the Hard Drive: If required, use the screwdriver to fasten the screws that hold the hard drive in place within the enclosure. Ensure that it is tightly secured to prevent any movement or damage during use.
By preparing the laptop hard drive in this way, you’re ensuring that it is ready to be connected to the external hard drive enclosure. This step is crucial in ensuring a successful conversion process and the longevity of your newly created external hard drive. Once you’ve completed this step, you’re ready to move on to the next step: connecting the enclosure to your computer.
Step 3: Connect the Enclosure
Now that you’ve prepared the laptop hard drive, it’s time to connect the external hard drive enclosure to your computer. Follow these steps:
- Locate the Ports: Identify the ports on the external hard drive enclosure. These ports should include a power port, a data transfer port (usually USB), and sometimes additional ports for features like eSATA or Thunderbolt.
- Connect the Power Adapter: If your enclosure requires a power adapter, plug it into a power source and connect it to the power port on the enclosure. This will provide the necessary power for the hard drive to function.
- Connect the Data Transfer Cable: Take the USB cable or appropriate data transfer cable and connect it from the data transfer port on the enclosure to an available USB port on your computer. Make sure the connection is tight and secure for proper data transfer.
- Power On the Enclosure: If your enclosure has a power switch, turn it on. Some enclosures may power on automatically when connected to a computer.
- Wait for the System to Detect the External Hard Drive: Once the enclosure is powered on and connected to your computer, wait for a few moments. Your computer should detect the new external hard drive and assign it a drive letter.
Connecting the enclosure is a crucial step in the process, as it allows your computer to communicate with the laptop hard drive. With the enclosure properly connected, you’re ready to move on to the next step: formatting the hard drive.
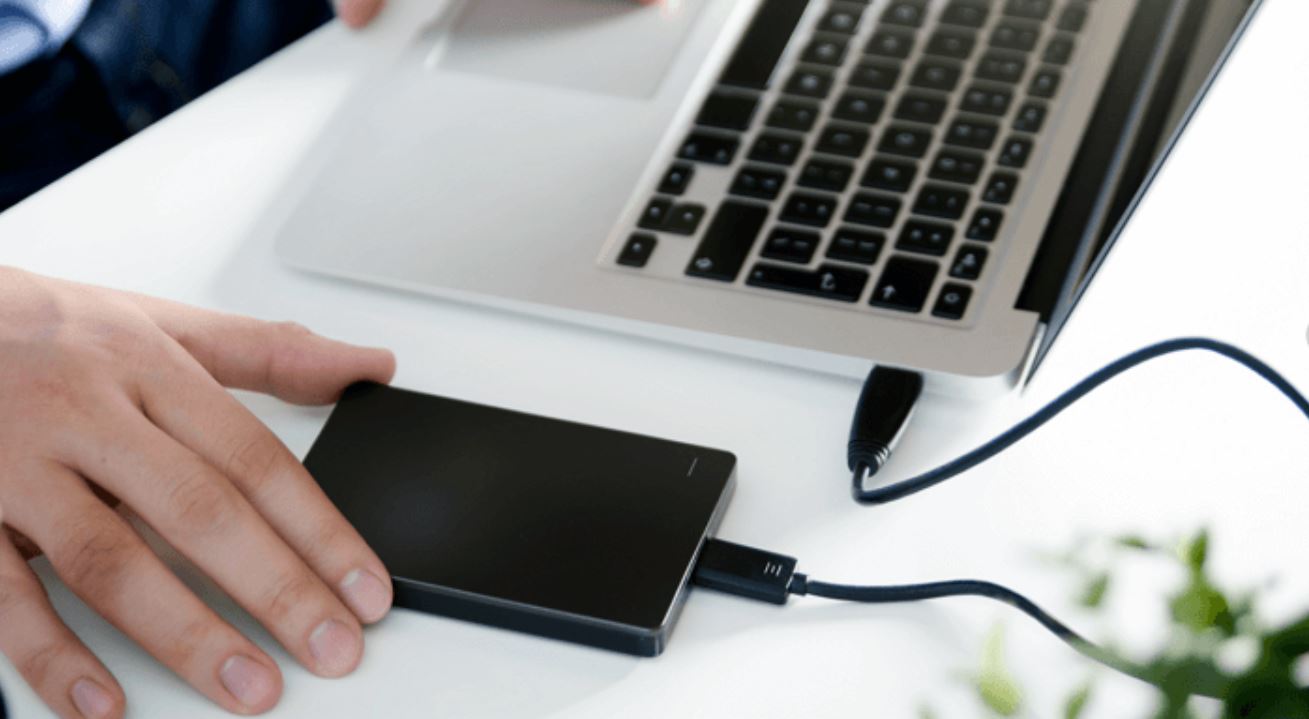
Step 4: Connect the External Hard Drive to Your Computer
Now that you have successfully connected the external hard drive enclosure to your computer, it’s time to establish a connection between the laptop hard drive and your computer. Follow these steps:
- Open File Explorer (Windows) or Finder (Mac): Navigate to the respective file browser on your computer to access the file management system.
- Locate the External Hard Drive: Look for the newly connected external hard drive listed in the file browser. It should be labeled with the drive letter or name assigned to it.
- Double-click to Open: Double-click on the icon representing the external hard drive to open it and access its contents.
Once you have established a connection between the external hard drive and your computer, you can treat it just like any other storage device. This means you can transfer files to and from the external hard drive, create folders, and organize your data as needed.
It’s important to note that if the external hard drive is not appearing in the file browser, you may need to format it before it can be recognized by your computer. In the next step, we’ll cover the process of formatting the hard drive.
Step 5: Format the Hard Drive
After connecting the external hard drive to your computer, it’s crucial to format the hard drive to make it compatible with your operating system and ready for use. Follow these steps to format the hard drive:
- Right-click on the External Hard Drive: Locate the external hard drive icon in the file browser and right-click on it.
- Select “Format” or “Format Drive”: From the context menu, choose the option that says “Format” or “Format Drive.” This will open the formatting settings.
- Choose the File System: In the formatting settings, you’ll be prompted to select a file system for the hard drive. For Windows, NTFS is recommended, while for Mac, choose Mac OS Extended (Journaled). Give your external hard drive a name or leave it as the default.
- Start the Formatting Process: Once you’ve chosen the file system and given the drive a name, click on the “Start” or “Format” button to initiate the formatting process. Be aware that formatting will erase all data on the hard drive, so make sure you’ve backed up any important files.
- Wait for Formatting to Complete: The formatting process may take some time depending on the size of the hard drive. Be patient and do not remove the external hard drive during the process.
- Confirmation Message: Once the formatting is complete, you’ll see a confirmation message indicating that the process was successful.
Formatting the hard drive ensures that it is properly configured to work with your computer’s operating system. It creates a file system and prepares the hard drive for storing and accessing files. Once formatting is complete, your external hard drive is ready for use. Now, it’s time to transfer your data to the newly created external storage.
Step 6: Transfer Your Data
With your newly formatted external hard drive ready for use, it’s time to transfer your data from your computer to the external storage. Follow these steps to transfer your data:
- Select the Files or Folders to Transfer: Open the file browser on your computer and navigate to the location of the files or folders you want to transfer to the external hard drive.
- Copy or Cut the Files: Right-click on the files or folders, and choose either “Copy” or “Cut” from the context menu. You can also use the keyboard shortcuts Ctrl+C for copying or Ctrl+X for cutting.
- Navigate to the External Hard Drive: Switch to the external hard drive’s file browser window or tab in your file browser and navigate to the location where you want to transfer the files or create a new folder.
- Paste the Files: Right-click on the destination folder on the external hard drive and choose “Paste” from the context menu. Alternatively, you can use the keyboard shortcut Ctrl+V to paste the files.
- Wait for the Transfer to Complete: The time it takes to transfer your data will depend on the size and number of files being transferred. Be patient and do not interrupt the transfer process.
- Verify the Transfer: Once the transfer is complete, navigate to the external hard drive and verify that the files or folders have been successfully transferred.
By following these steps, you can easily transfer your important files or folders to the newly created external storage. It is recommended to organize your files into specific folders to maintain a well-structured and easy-to-navigate storage system.
Now that your data has been safely transferred, it’s important to know how to properly remove the external hard drive to prevent data loss or damage to the files.
Step 7: Safely Eject the External Hard Drive
When you’re finished using the external hard drive, it’s crucial to follow the proper steps to safely eject it from your computer. This ensures that all data has been written and transfers are complete, minimizing the risk of data loss or damage. Follow these steps to safely eject the external hard drive:
- Save and Close all Files: Make sure any files or programs accessing the external hard drive are closed. This ensures that all data has been written and any background processes related to the drive have been completed.
- Locate the External Hard Drive Icon: In the file browser, locate the icon representing the external hard drive. It may be labeled with the assigned drive letter or name.
- Right-click on the External Hard Drive Icon: Right-click on the icon to open the context menu.
- Select “Eject” or “Safely Remove”: From the context menu, choose the option that says “Eject” or “Safely Remove.” This initiates the process of safely disconnecting the external hard drive.
- Wait for Confirmation: Wait for the operating system to confirm that it is safe to remove the external hard drive. This message may appear as a notification or in a pop-up window.
- Disconnect the External Hard Drive: Once you receive the confirmation, it is safe to physically disconnect the external hard drive from your computer.
By following these steps, you ensure that all data has been properly written and transferred, reducing the risk of data loss or corruption. Safely ejecting the external hard drive also prevents any potential damage to the drive’s file system.
Remember to always wait for the confirmation message before physically disconnecting the external hard drive. Abruptly removing the drive while it is still in use can result in data loss or damage to the files.
Now that you’ve safely ejected the external hard drive, you can unplug it from your computer and take it anywhere for convenient and portable storage.
Conclusion
Congratulations! You have successfully turned your old laptop hard drive into a functional external hard drive. By repurposing your laptop hard drive, you have gained additional storage space and a portable storage solution that can be used with any computer.
Throughout this step-by-step guide, you learned how to gather the necessary materials, prepare the hard drive, connect the enclosure, connect the external hard drive to your computer, format the hard drive, transfer your data, and safely eject the external hard drive. Following these steps ensures a smooth and successful conversion process.
Remember to always handle the hard drive and enclosure with care, ensuring a secure and properly aligned connection. Safeguard your data by making regular backups, and be cautious when formatting the hard drive, as it erases all existing data.
Having an external hard drive provides you with a versatile storage solution for backing up important files, storing multimedia content, or expanding the storage capacity of your computer. Enjoy the convenience and flexibility of your newly created external hard drive.
If you encounter any issues or require further assistance, consult the manufacturer’s guidelines or seek professional help. Safely store your external hard drive and make it a valuable addition to your digital storage arsenal.