Introduction
Welcome to our guide on how to power a WD Blue 1TB Desktop Hard Disk Drive. If you’re upgrading your computer’s storage or building a new system, it’s essential to understand the power requirements to ensure the proper functioning of your hard disk drive (HDD).
The WD Blue 1TB Desktop Hard Disk Drive is a reliable choice for desktop computers. It offers a spacious capacity to store your files, documents, photos, videos, and more. However, before you begin using the hard drive, you need to ensure that it is properly powered to avoid any issues.
In this guide, we will discuss the various powering options available for the WD Blue 1TB Desktop Hard Disk Drive. We will cover the necessary connections, including the SATA power connector, the Molex power connector, and even external power supplies. By understanding these options, you’ll be equipped with the knowledge to successfully power your hard drive and start using it efficiently.
Whether you’re a beginner or an experienced computer enthusiast, this guide will provide you with step-by-step instructions on how to power your WD Blue 1TB Desktop Hard Disk Drive and make the most out of your storage solution.
Understanding the WD Blue 1TB Desktop Hard Disk Drive
Before diving into the powering options, it’s important to have a basic understanding of the WD Blue 1TB Desktop Hard Disk Drive. This will help you make informed decisions and ensure you get the most out of your storage device.
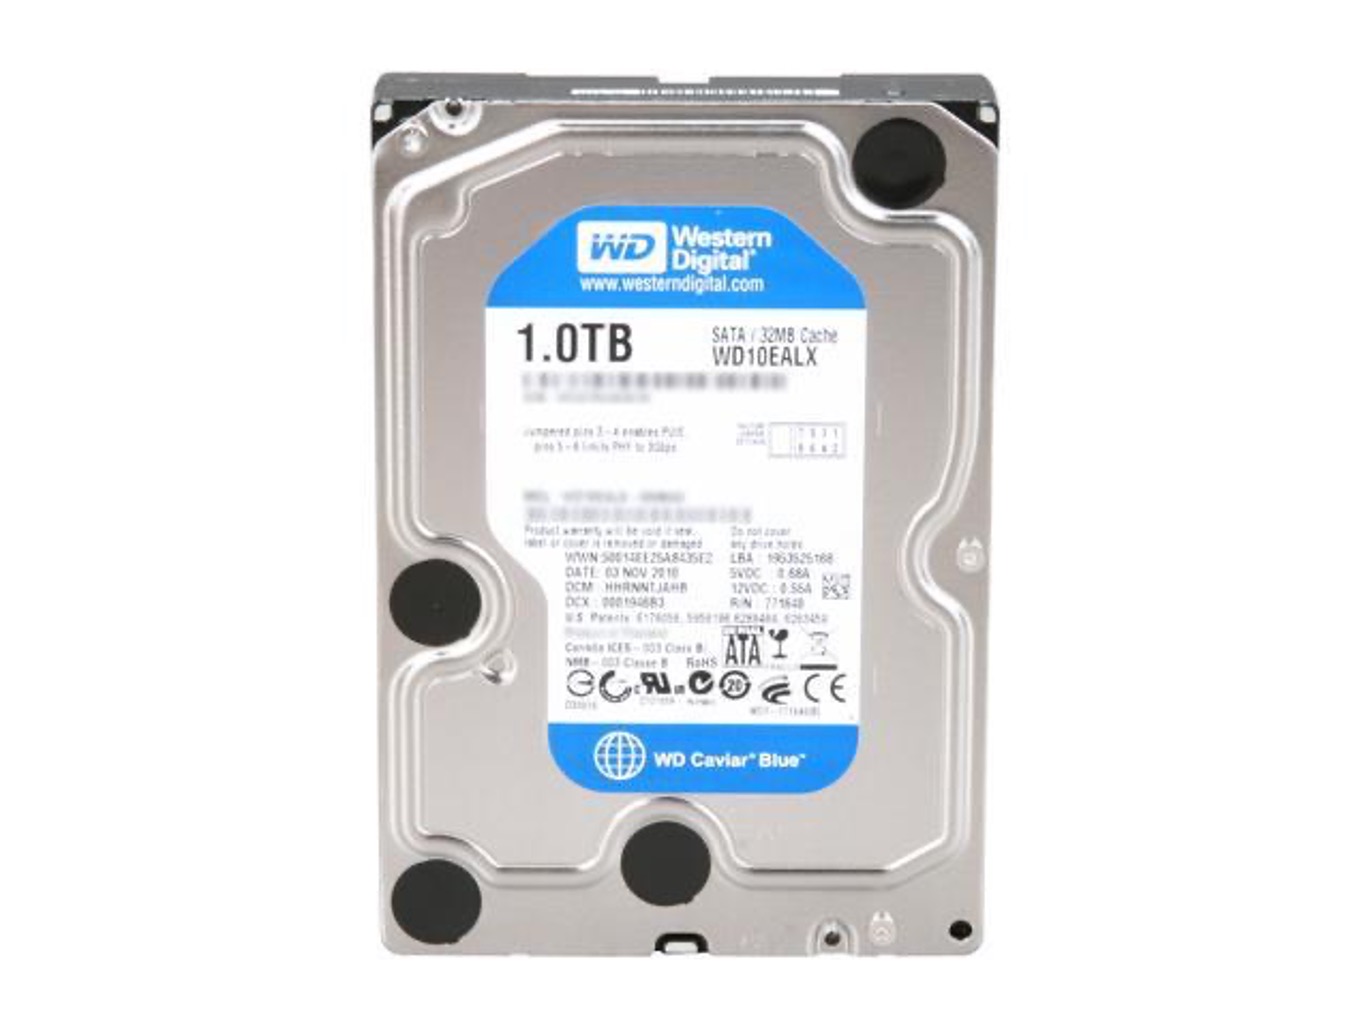
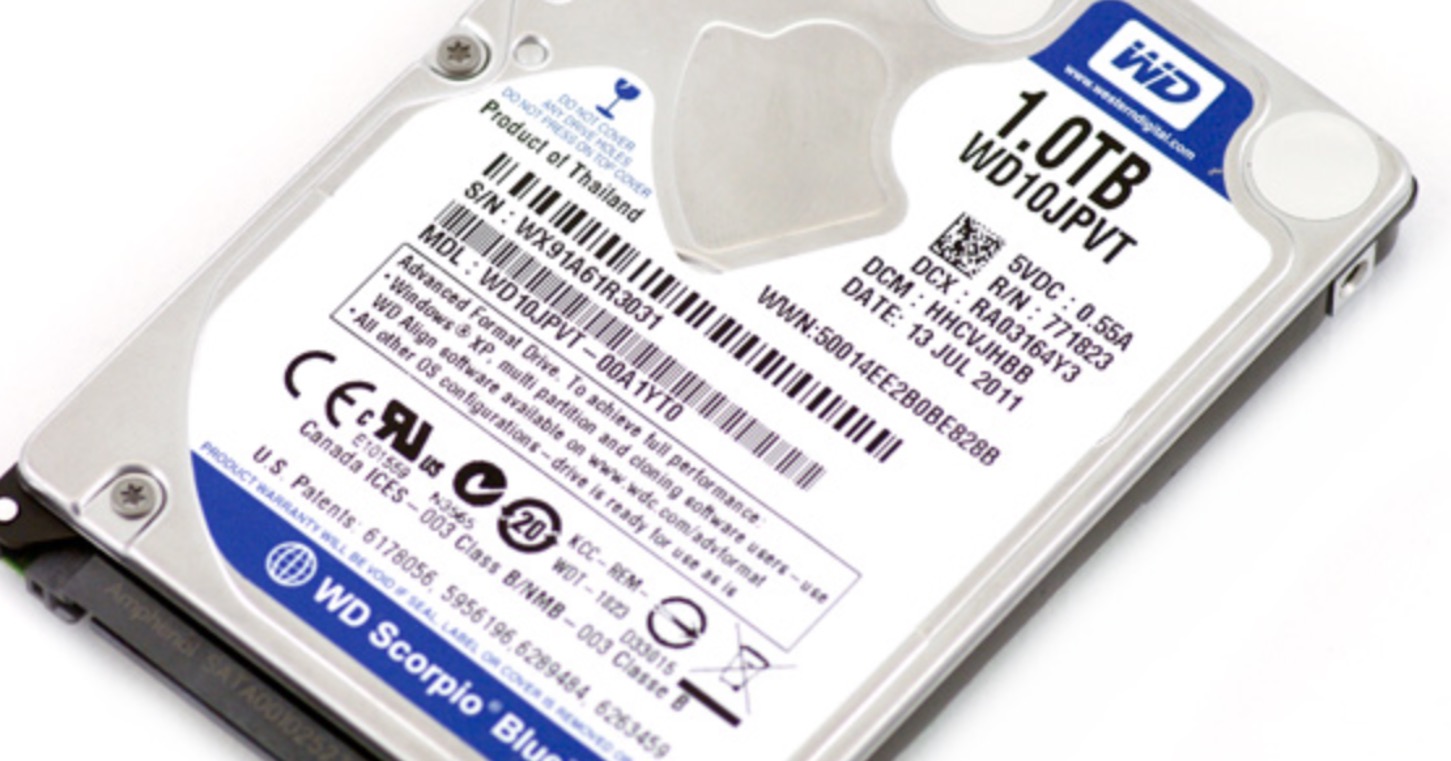
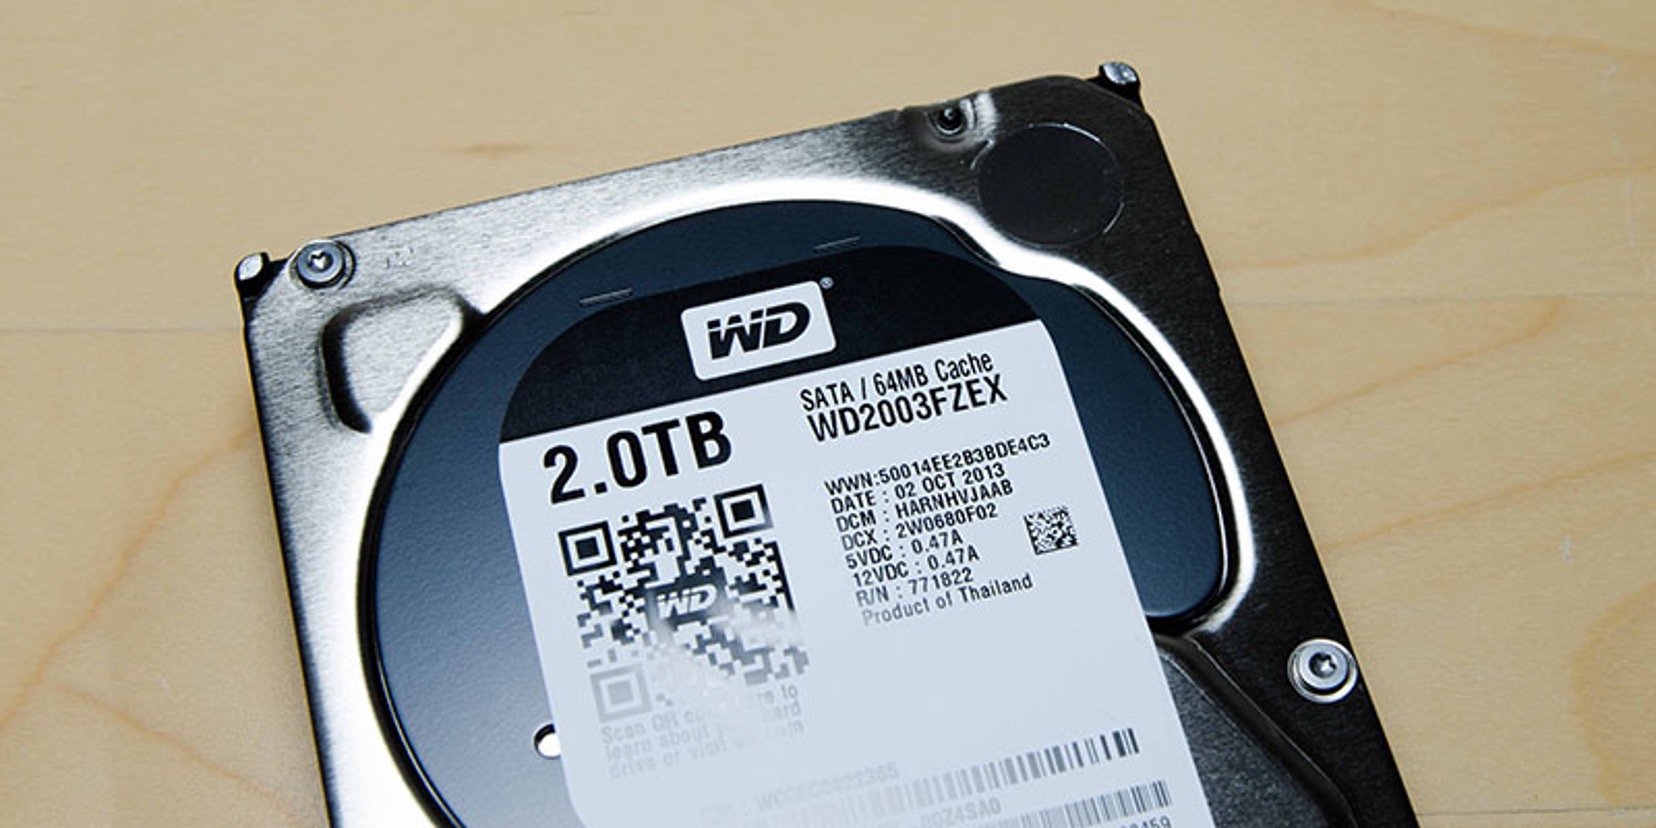
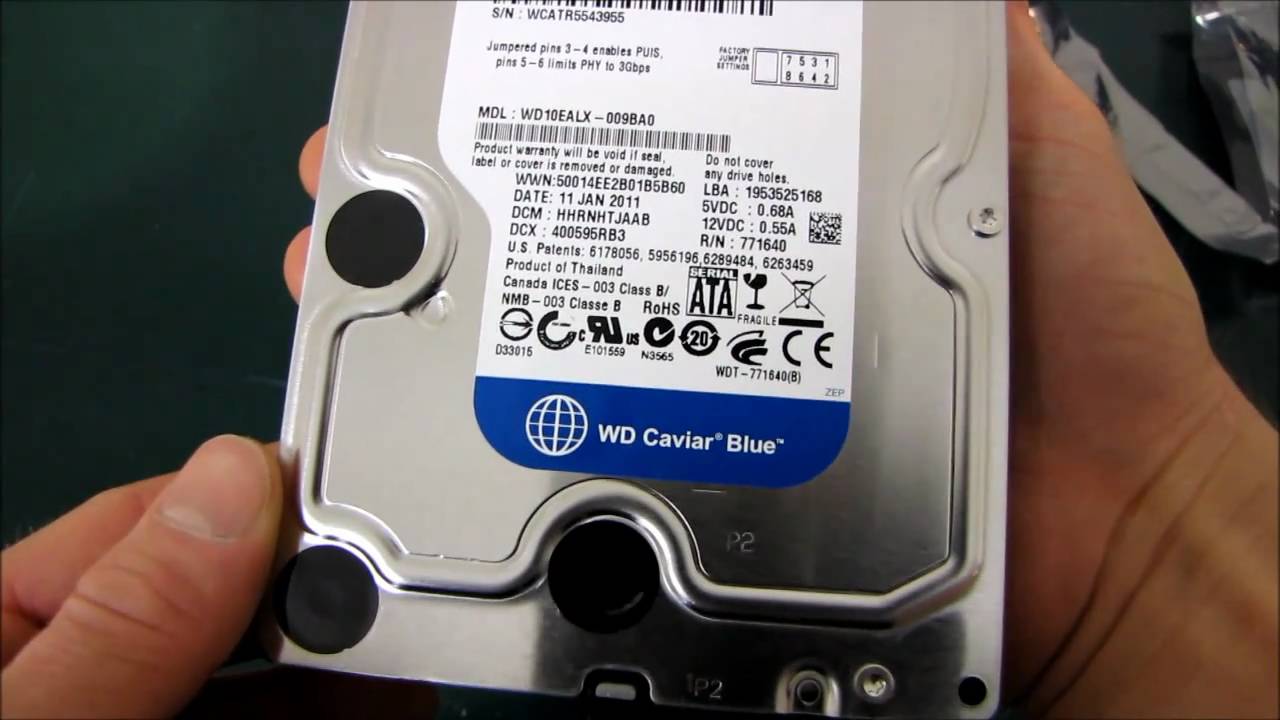
The WD Blue 1TB Desktop Hard Disk Drive is a 3.5-inch internal hard drive designed to be installed in desktop computers. It offers a generous storage capacity of 1TB, allowing you to store a vast amount of data, including operating systems, applications, documents, multimedia files, and more. This HDD utilizes advanced technology to deliver reliable performance and fast data transfer speeds.
The WD Blue series is known for its quality and durability. It features a 7200 RPM rotational speed, providing snappy access to your files and reducing load times. With its large cache and advanced formatting, you can expect smooth and efficient performance, whether you’re gaming, working, or storing large media files.
One of the notable features of the WD Blue 1TB Desktop Hard Disk Drive is its compatibility. It is designed to work seamlessly with both older and newer desktop systems, ensuring wide compatibility and ease of installation.
Additionally, WD Blue drives incorporate various technologies to enhance reliability and protect your data. This includes shock protection, which safeguards the drive from damage caused by accidental drops or bumps. The drive also benefits from noise reduction features, reducing operating noise for a quieter computing experience.
Overall, the WD Blue 1TB Desktop Hard Disk Drive is a versatile and reliable storage solution for desktop computers. Whether you’re a casual user looking to expand your storage or a professional seeking high-performance storage for demanding tasks, this HDD offers the capacity, speed, and dependability necessary for your computing needs.
Powering Requirements
Properly powering the WD Blue 1TB Desktop Hard Disk Drive is crucial for its optimal performance and longevity. Before you choose a powering option, it’s important to understand the power requirements of the hard drive.
The WD Blue 1TB Desktop Hard Disk Drive operates on the standard 12V and 5V power supply, which is a common requirement for most desktop hard drives. It draws power from the computer’s power supply unit (PSU) through specific connectors.
The hard drive requires a stable power source to ensure its smooth operation. Insufficient power can lead to data loss, slow performance, or even damage to the hard drive itself. Therefore, it is essential to have an adequate power supply to meet the following requirements:
- Power Voltage: The WD Blue 1TB Desktop Hard Disk Drive requires both 12V and 5V power supply. These voltage levels provide the necessary energy for the drive to operate efficiently.
- Power Amperage: The hard drive requires a certain amount of current to function correctly. It’s important to ensure that the power supply can deliver the required amperage to avoid any power-related issues.
- Stable Power Output: Fluctuations or variations in power supply can negatively impact the performance and lifespan of the hard drive. It is essential to have a stable and reliable power output to provide consistent power to the WD Blue 1TB Desktop Hard Disk Drive.
It’s worth noting that the power requirements of the WD Blue 1TB Desktop Hard Disk Drive may vary slightly depending on the specific model. Therefore, it is always recommended to refer to the manufacturer’s specifications and documentation for the accurate and detailed power requirements of your particular hard drive.
By understanding the powering requirements of the WD Blue 1TB Desktop Hard Disk Drive, you can choose the appropriate powering option and ensure that your hard drive receives the necessary power to function optimally without any issues.
Powering Options
When it comes to powering the WD Blue 1TB Desktop Hard Disk Drive, there are several options available to ensure that the hard drive receives the required power. Let’s explore these powering options:
Option 1: SATA Power Connector: The most common and widely used powering option is through the SATA power connector. This connector is found on most modern power supply units and provides the necessary 12V and 5V power to the hard drive. The WD Blue 1TB Desktop Hard Disk Drive features a standard SATA power connector, allowing for a simple and straightforward connection.
Option 2: Molex Power Connector: In older systems or situations where the power supply unit doesn’t have SATA power connectors, the Molex power connector can be used. The Molex connector provides the required 12V and 5V power to the hard drive. An adapter cable is typically needed to convert the SATA power connector to a Molex connector for compatibility.
Option 3: External Power Supply: In certain scenarios, such as using the WD Blue 1TB Desktop Hard Disk Drive externally, an external power supply may be required. This option allows you to power the hard drive independently from the computer’s power supply. External power supplies capable of delivering the necessary voltage and amperage can be connected to the hard drive to ensure proper functionality.
Option 4: Combination of Power Connectors: In some complex setups or specific requirements, a combination of power connectors may be used. This means using both the SATA power connector and the Molex power connector simultaneously to provide redundant power to the hard drive. This option offers additional power stability and can be beneficial in demanding environments.
Before proceeding to power your WD Blue 1TB Desktop Hard Disk Drive, carefully assess your computer’s power supply unit and available connectors to determine the most suitable powering option for your system.
It’s also important to remember that power requirements may vary depending on the specific WD Blue 1TB Desktop Hard Disk Drive model. Always refer to the manufacturer’s documentation and guidelines for accurate information on powering options and compatibility.
Option 1: SATA Power Connector
The SATA power connector is the most commonly used and straightforward powering option for the WD Blue 1TB Desktop Hard Disk Drive. It is found on most modern power supply units (PSUs) and provides the necessary 12V and 5V power to the hard drive.
To use the SATA power connector, follow these steps:
- Ensure that your power supply unit is connected to a power source, and your computer is turned off and unplugged for safety.
- Locate the SATA power connector on the PSU. It is a rectangular-shaped connector with a series of pins inside.
- Take the SATA power cable that is included with your power supply. It has a corresponding connector on one end.
- Align the connector properly with the SATA power port on the hard drive. The connector has an L-shaped notch that matches the port on the hard drive. Ensure that it is securely connected.
- Once connected, verify that the power cables are not twisted or pinched and that all connections are secure and snug.
- Now, you can proceed with connecting the SATA data cable to the hard drive and the motherboard to establish the data connection.
- After making all the necessary connections, close the computer case and reconnect the power cable to the wall outlet.
- Turn on your computer and wait for the operating system to recognize the WD Blue 1TB Desktop Hard Disk Drive. You can confirm its presence by checking the drive list in your computer’s disk management utility.
The SATA power connector is a reliable and commonly used option, providing a stable power supply to the WD Blue 1TB Desktop Hard Disk Drive. It ensures that the hard drive operates smoothly and efficiently within the specified power requirements.
Remember, when using the SATA power connector, make sure to handle the cables with care and avoid applying excessive force. Improper connections or mishandling can lead to unstable power delivery and potential damage to the hard drive.
Always consult the documentation provided with your power supply unit and hard drive to ensure proper usage and compatibility.
Option 2: Molex Power Connector
If you have an older system or a power supply unit (PSU) that does not have a SATA power connector, you can use the Molex power connector to power the WD Blue 1TB Desktop Hard Disk Drive. The Molex connector provides the required 12V and 5V power to the hard drive.
To power your hard drive using the Molex power connector, follow these steps:
- Make sure your computer is turned off and unplugged from the power source for safety.
- Locate the Molex connectors on your PSU. These are large, white connectors with four pins arranged in a rectangular shape.
- If your PSU does not have a native Molex connector, you will need an adapter cable that converts a SATA connector to a Molex connector. Connect this adapter cable to an available SATA power connector on your PSU.
- Take the Molex power cable that is included with your PSU or the adapter cable with the Molex connector on one end.
- Align the Molex connector properly with the port on the hard drive. It has a similar rectangular-shaped notch that matches the port on the hard drive. Ensure a secure connection.
- Check that all the connections are secure and that the cables are not twisted or pinched.
- Next, connect the SATA data cable to the hard drive and the motherboard to establish the data connection.
- Once all connections are made, close the computer case, and reconnect the power cable to the wall outlet.
- Turn on your computer and wait for the system to recognize the WD Blue 1TB Desktop Hard Disk Drive. You can verify its presence in the disk management utility or BIOS settings.
The Molex power connector allows you to use an alternative power source for the WD Blue 1TB Desktop Hard Disk Drive when SATA power connectors are not available. It provides the necessary power for the hard drive to operate reliably.
Be cautious not to apply excessive force when connecting or disconnecting the Molex connector, as it may damage the pins or the port. Carefully align the connector and ensure a secure connection to prevent power interruptions or loose connections.
Always consult the documentation provided with your PSU or adapter cable for proper usage and compatibility when utilizing the Molex power connector.
Option 3: External Power Supply
In certain situations, such as using the WD Blue 1TB Desktop Hard Disk Drive externally or in specialized setups, you may need to power the hard drive using an external power supply. This option allows you to provide independent power to the hard drive, separate from the computer’s power supply unit (PSU).
To power your hard drive using an external power supply, follow these steps:
- Ensure that your external power supply is compatible with the required voltage and amperage of the WD Blue 1TB Desktop Hard Disk Drive.
- Connect the external power supply to a power source and ensure it is turned off.
- Locate the power input port on the hard drive. It is typically a small circular port labeled with a power symbol.
- Take the power cable of the external power supply, ensuring it has the appropriate connectors for the hard drive.
- Connect the power cable to the external power supply and align the other end properly with the power input port on the hard drive. Ensure a secure connection.
- Double-check that all connections are secure and that the cables are not twisted or pinched.
- If necessary, connect the SATA data cable to the hard drive and the appropriate port on your device to establish the data connection.
- Turn on the external power supply and wait for the hard drive to initialize.
- Once powered on, the WD Blue 1TB Desktop Hard Disk Drive should be recognized by your system, and you can use it for storage and data operations.
Using an external power supply gives you flexibility in powering the WD Blue 1TB Desktop Hard Disk Drive outside of a traditional computer setup. Whether you are using the hard drive in an external enclosure or in a unique configuration, an external power supply ensures that the hard drive receives the necessary power to function properly.
Ensure that the external power supply meets the specific requirements of the WD Blue 1TB Desktop Hard Disk Drive, including the voltage and amperage needed. Using an incompatible or inadequate external power supply can result in performance issues or damage to the hard drive.
Always refer to the manufacturer’s guidelines and documentation to ensure proper usage and compatibility when utilizing an external power supply for the WD Blue 1TB Desktop Hard Disk Drive.
Option 4: Combination of Power Connectors
In certain complex setups or specific requirements, a combination of power connectors can be used to power the WD Blue 1TB Desktop Hard Disk Drive. This option involves utilizing both the SATA power connector and the Molex power connector simultaneously to provide redundant power to the hard drive.
To power your hard drive using a combination of power connectors, follow these steps:
- Ensure that your power supply unit (PSU) has both SATA power connectors and Molex power connectors available.
- Locate the SATA power connector on the PSU, which is a rectangular-shaped connector with a series of pins inside.
- If your PSU does not have native Molex connectors, you may need an adapter cable that converts a SATA connector to a Molex connector. Connect this adapter cable to an available SATA power connector on your PSU.
- Take both the SATA power cable and the Molex power cable that are included with your PSU or adapter cable.
- Connect one end of the SATA power cable to the SATA power connector on the PSU.
- Connect the other end of the SATA power cable to the SATA power port on the hard drive, making sure it is securely connected.
- Next, connect one end of the Molex power cable to the Molex power connector on the PSU or the adapter cable.
- Connect the other end of the Molex power cable to the Molex power port on the hard drive, ensuring a secure connection.
- Double-check that all connections are secure, and the cables are not twisted or pinched.
- If required, connect the SATA data cable to the hard drive and the appropriate port on your device for data transfer.
- Close the computer case, reconnect the power cable to the wall outlet, and power on your computer.
- Allow the operating system to recognize the WD Blue 1TB Desktop Hard Disk Drive, and verify its presence in the disk management utility or BIOS settings.
Using a combination of power connectors provides redundant power to the WD Blue 1TB Desktop Hard Disk Drive, offering additional power stability. This option can be particularly beneficial in demanding environments or when extra power reliability is required.
Ensure that you have compatible SATA power connectors, Molex power connectors, or adapter cables for your PSU. Incorrect connections or incompatible cables may result in power disruptions or damage to the hard drive. Refer to the documentation provided with your PSU or adapter cable for proper usage and compatibility.
By employing a combination of power connectors, you can ensure a robust power supply to the WD Blue 1TB Desktop Hard Disk Drive, promoting optimal performance and reliability.
Steps to Power the WD Blue 1TB Desktop Hard Disk Drive
Now that we’ve explored the various powering options for the WD Blue 1TB Desktop Hard Disk Drive, let’s take a look at the general steps you can follow to power your hard drive using any of the available options:
- Ensure that your computer is turned off and unplugged from the power source for safety.
- If using the SATA power connector, locate the appropriate connector on your power supply unit (PSU) and connect the SATA power cable securely to the hard drive. If using the Molex power connector, make sure you have the necessary adapter cable and connect it to the hard drive.
- If using an external power supply, ensure that it is compatible with the WD Blue 1TB Desktop Hard Disk Drive and connect the appropriate power cable securely to the hard drive’s power input port.
- Check that all connections, whether using SATA, Molex, or external power supply, are secure without any twists or pinched cables.
- Connect the SATA data cable from the motherboard to the SATA data port on the hard drive to establish the data connection.
- Close the computer case, ensuring that all cables are neatly arranged and not obstructing any components.
- Reconnect the power cable of your computer to the wall outlet.
- Turn on your computer and allow the operating system to boot up.
- Once your computer has booted up, verify that the WD Blue 1TB Desktop Hard Disk Drive is recognized. You can check the disk management utility or BIOS settings to ensure its presence.
- If the hard drive is successfully recognized, it is now powered and ready to be used for storage or other data operations.
Remember to consult the specific documentation provided with your power supply unit, adapter cables, or external power supply for any additional instructions or specific requirements related to your setup.
By following these steps, you can power the WD Blue 1TB Desktop Hard Disk Drive using any of the available powering options and ensure that your hard drive receives the necessary power to function optimally within the specified power requirements.
Conclusion
Powering the WD Blue 1TB Desktop Hard Disk Drive properly is essential for its optimal performance and longevity. By understanding the power requirements and utilizing the appropriate powering options, you can ensure that your hard drive operates smoothly and efficiently.
In this guide, we explored several powering options, including the SATA power connector, Molex power connector, external power supply, and combination of power connectors. Each option has its advantages and suitability based on your computer setup and requirements.
Whether you use the SATA power connector, Molex power connector, external power supply, or a combination of power connectors, it’s crucial to follow the recommended steps to ensure proper connections and avoid power-related issues.
Always refer to the manufacturer’s documentation and guidelines for accurate information on powering requirements and compatibility. By doing so, you can make informed decisions and prevent any potential damage to your hard drive.
Now that you have a good understanding of the available powering options and the steps to power the WD Blue 1TB Desktop Hard Disk Drive, you can confidently set up your hard drive and start utilizing its spacious storage capacity for your files, documents, multimedia, and more.
Remember to handle your hard drive and its connecting cables with care, and regularly monitor its performance to ensure everything is functioning as expected. Proper powering and maintenance will help you enjoy reliable storage and efficient data operations for a long time to come.