Introduction
Welcome to the world of external hard drives! This article will guide you through the process of saving your files to an external hard drive, ensuring that your precious data remains safe and easily accessible.
An external hard drive is a portable storage device that can be connected to your computer or laptop. It offers a convenient and reliable way to store and backup files, whether it’s documents, photos, videos, or any other type of digital content. With the increasing amount of data we generate and the need for extra storage space, using an external hard drive is a wise choice.
Why should you consider using an external hard drive? Firstly, it provides peace of mind. By having a separate physical device to store your important files, you reduce the risk of losing data due to computer crashes, accidental deletions, or malware attacks. Your files will be safe and accessible even if something happens to your computer.
Secondly, an external hard drive allows you to free up space on your computer. If your device is running low on storage, transferring files to an external hard drive can help declutter and optimize your system’s performance. This is particularly useful for professionals like photographers, videographers, and graphic designers who work with large file sizes.
Lastly, an external hard drive provides portability and convenience. You can easily transport your files between different devices, making it ideal for remote work, presentations, or sharing files with colleagues and clients.
Now that you understand the benefits of using an external hard drive, let’s dive into the process of choosing the right one and saving your files to it.
Why Use an External Hard Drive
There are several compelling reasons why you should consider using an external hard drive for your storage needs:
- Data Backup: One of the main reasons to use an external hard drive is for data backup purposes. By regularly backing up your important files to an external hard drive, you create a secondary copy of your data that is not reliant on your computer’s internal storage. This provides an extra layer of protection against accidental file deletion, hardware failures, or software crashes.
- Extra Storage Space: As digital files continue to increase in size, your computer’s built-in storage may quickly fill up. An external hard drive offers a simple solution to this problem by providing you with additional storage capacity. Whether you have a large collection of photos, videos, or documents, an external hard drive allows you to expand your storage space without having to upgrade your computer’s internal storage.
- Portability: Unlike internal storage options, an external hard drive is portable, allowing you to easily transfer your files between different devices. Whether you’re working from a desktop computer, a laptop, or even a different location, you can carry your external hard drive with you and access your files on any compatible device. This makes it convenient for professionals who work remotely or need to collaborate with others.
- File Organization: With an external hard drive, you can keep your files organized in a separate location. Instead of cluttering your computer’s internal storage with numerous files and folders, you can categorize and store them on your external drive. This can help improve your computer’s performance and make it easier to locate specific files when needed.
- Protection against Malware: Another benefit of using an external hard drive is the added protection it offers against malware and viruses. By keeping your important files on a separate storage device, they are less likely to be affected by malicious software that may target your computer’s internal drives. In case your computer gets infected, your files stored on the external hard drive will remain safe and unaffected.
By utilizing an external hard drive, you can safeguard your data, increase storage space, enjoy portability, and enhance file organization. The next step is choosing the right external hard drive for your needs. Let’s explore that in the next section.
Choosing the Right External Hard Drive
When it comes to choosing an external hard drive, there are a few factors to consider:
- Storage Capacity: The first thing to determine is how much storage space you need. Consider the type of files you’ll be storing and their sizes. If you primarily work with large multimedia files or require a lot of storage for backups, opt for a higher capacity drive. However, if you only need to store documents or smaller files, a lower capacity drive may suffice.
- Interface: External hard drives offer different interface options, such as USB 3.0, USB-C, Thunderbolt, and eSATA. The USB 3.0 interface is the most common and widely supported, offering fast data transfer speeds. However, if you have a newer computer with USB-C or Thunderbolt ports, consider choosing a hard drive that is compatible with those interfaces for even faster data transfer.
- Form Factor: External hard drives come in various form factors, including portable drives and desktop drives. Portable drives are smaller, lightweight, and powered by the computer’s USB port, making them ideal for on-the-go use. Desktop drives are larger, require external power, but usually offer higher storage capacities. Choose the form factor that suits your needs and lifestyle.
- Reliability and Durability: Look for external hard drives from reputable manufacturers known for their reliability and durability. Read user reviews and consider factors like build quality, shock resistance, and warranty. Your data’s safety and longevity depend on the quality of the external hard drive.
- Compatibility: Ensure that the external hard drive you choose is compatible with your computer’s operating system. Most external drives are compatible with both Windows and Mac systems, but it’s always wise to double-check before making a purchase.
By considering these factors, you can select an external hard drive that meets your storage needs and suits your preferences. Keep in mind that investing in a reliable and high-quality external hard drive is essential for protecting your valuable data.
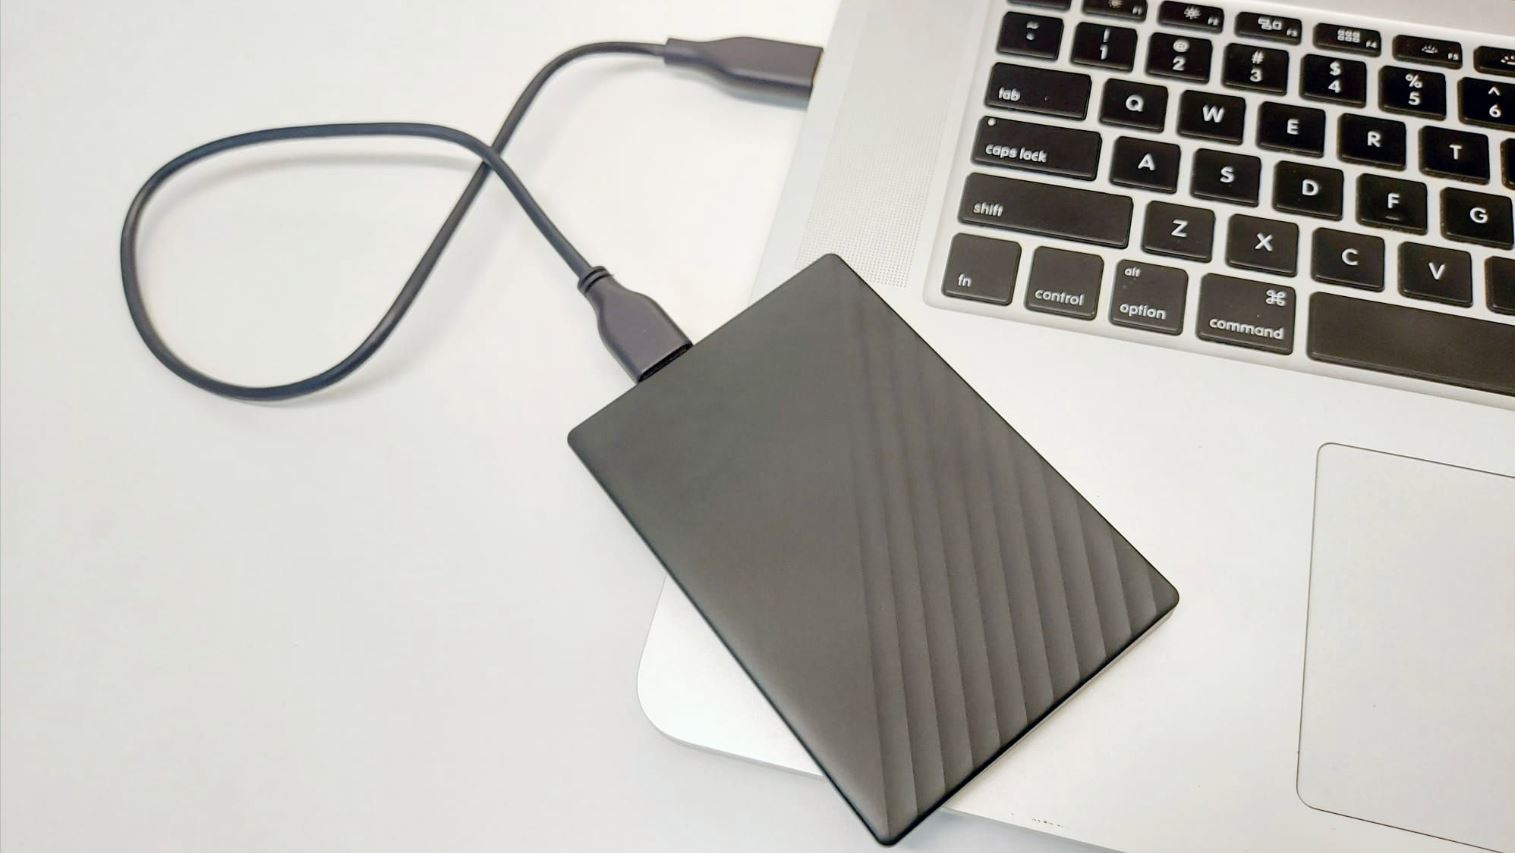
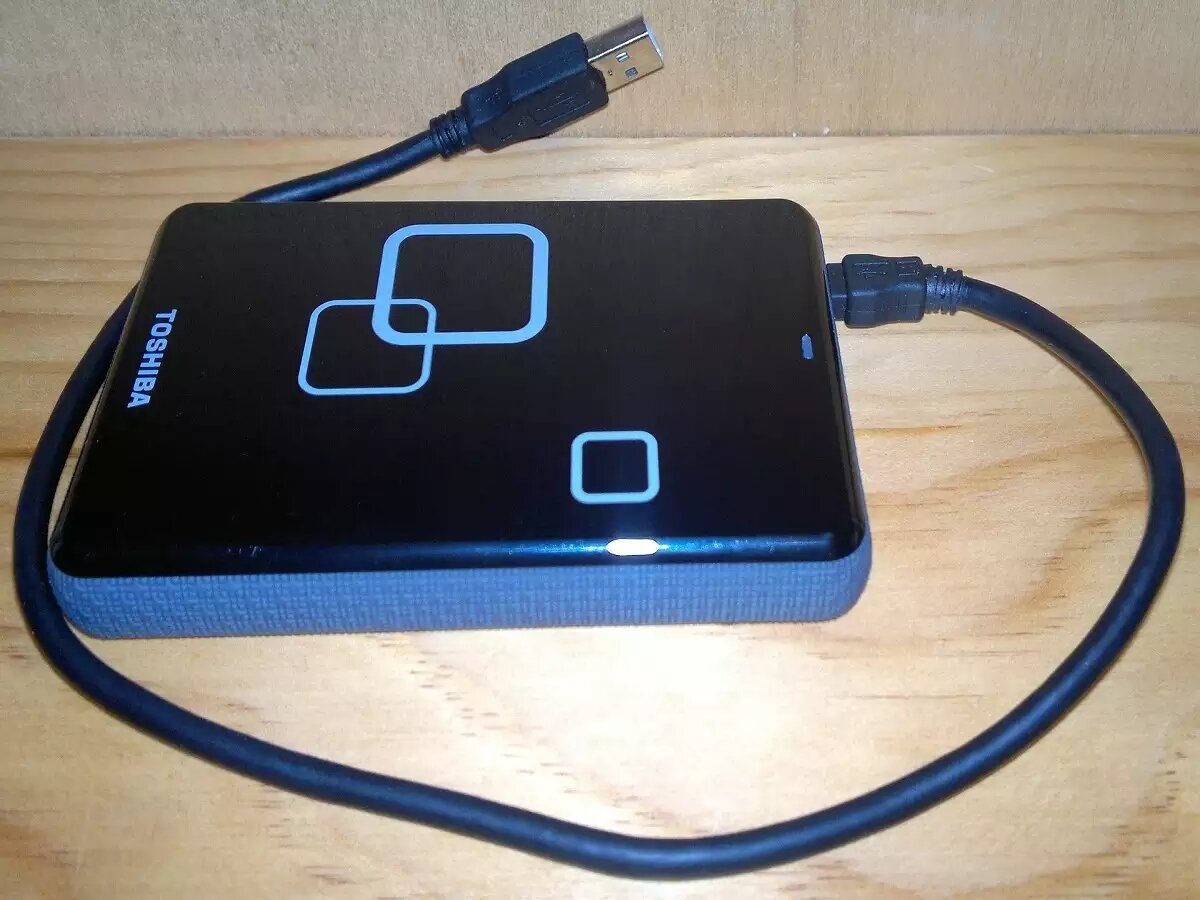
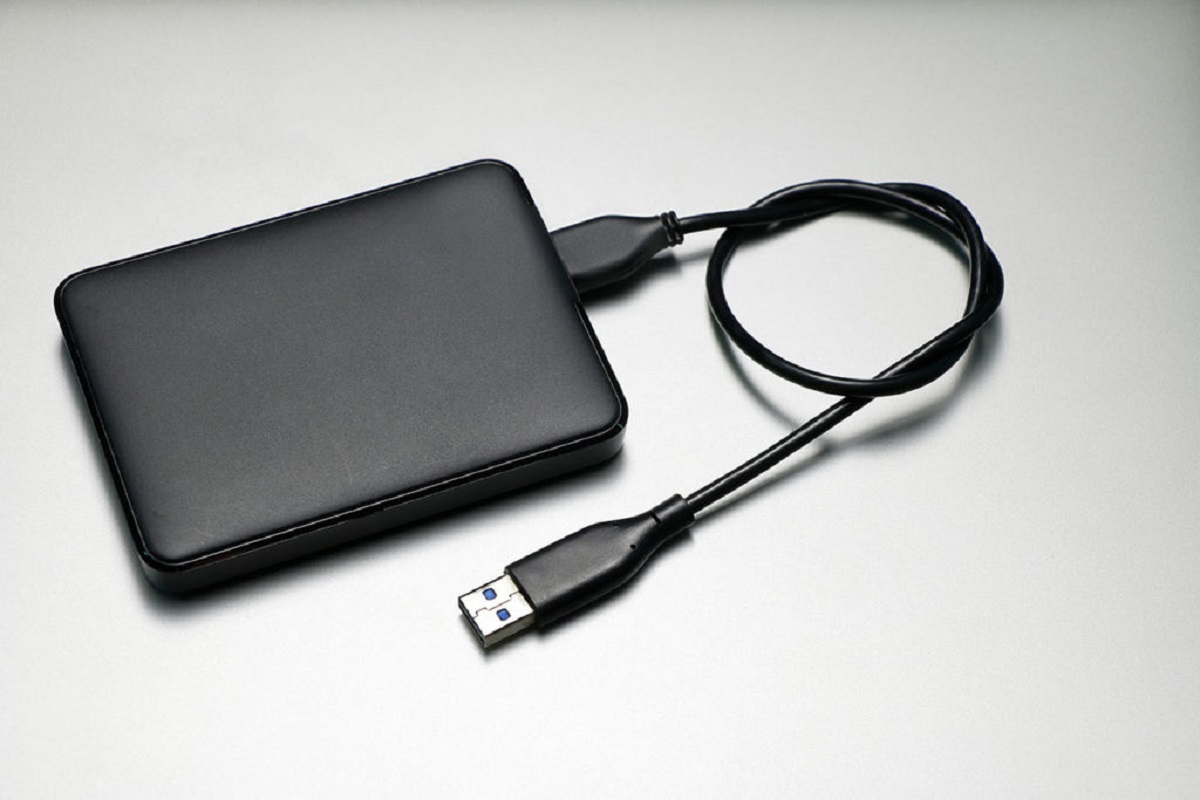
Step 1: Connecting the External Hard Drive
Once you have chosen the right external hard drive, it’s time to connect it to your computer. Follow these steps to establish a connection:
- Check the Cable: Ensure that you have the correct cable to connect the external hard drive to your computer. The type of cable required will depend on the interface of the external hard drive and the ports available on your computer. Common cables include USB, USB-C, Thunderbolt, or eSATA.
- Power On: If your external hard drive requires external power, plug it into a power source and turn it on. For portable drives that draw power from the computer, you can skip this step.
- Connect to Computer: Plug one end of the cable into the external hard drive and the other end into an available USB port (or relevant port for your external hard drive’s interface) on your computer.
- Wait for Recognition: Your computer should recognize the new external hard drive and automatically install any necessary drivers. This process may take a few moments, so be patient and allow your computer to complete the recognition process.
- Confirmation: Once the external hard drive is recognized, you may receive a notification or see the drive appearing in your file explorer or desktop. You are now ready to access and use the external hard drive.
It’s important to note that some external hard drives may require specific software installations or configurations for optimal functionality. Refer to the manufacturer’s instructions or the user manual that comes with the external hard drive for any additional setup requirements.
Now that you have successfully connected your external hard drive to your computer, the next step is to format it, ensuring compatibility and optimal performance. We’ll cover that in the next section.
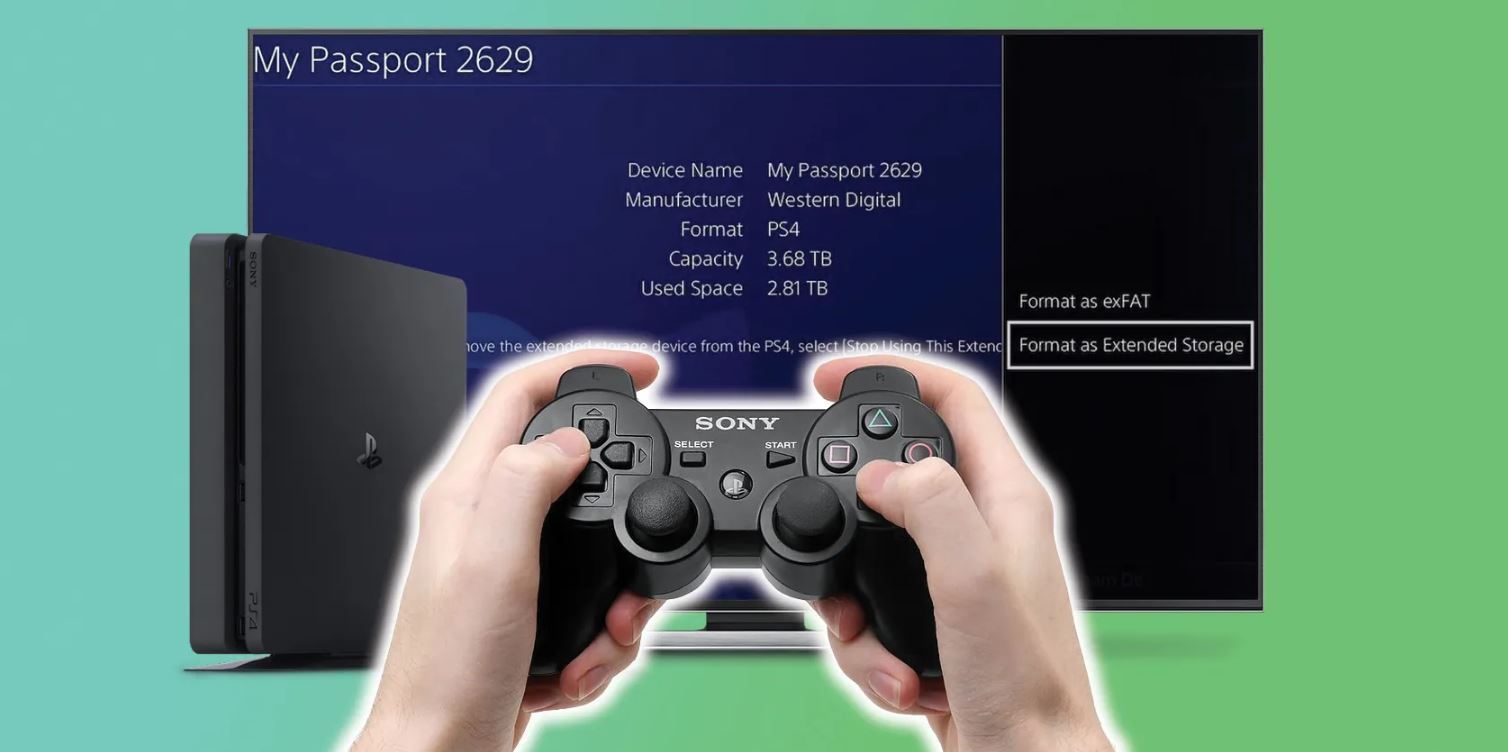
Step 2: Formatting the External Hard Drive
After connecting the external hard drive to your computer, it’s important to format it before you can start saving files to it. Formatting prepares the drive for use, establishes a file system, and ensures compatibility with your operating system. Follow these steps to format your external hard drive:
- Open Disk Management: On a Windows computer, right-click on the Start button and select “Disk Management” from the context menu. On a Mac computer, go to “Applications”, then “Utilities”, and launch “Disk Utility”.
- Select the External Hard Drive: Look for your external hard drive in the list of connected drives or volumes. Be cautious and double-check that you have selected the correct drive, as formatting will erase all existing data on the drive.
- Initiate the Format: Right-click on the external hard drive (Windows) or click on the “Erase” tab (Mac). Choose the format type you prefer. For Windows, NTFS is typically the recommended format, while Mac systems typically use the APFS or Mac OS Extended (Journaled) formats. You can also assign a name to the drive at this stage.
- Confirm the Format: Before proceeding, carefully review the details and ensure that you have selected the correct drive and format type. Once you are certain, click “OK” or “Erase” to start the formatting process.
- Wait for Formatting to Complete: The formatting process may take several minutes or longer, depending on the size of the drive and the selected format. Avoid disconnecting the external hard drive or interrupting the process until it is complete.
- Confirmation: Once the formatting is finished, you will receive a notification or see the newly formatted drive in your file explorer or desktop, indicating that it is now ready for use.
Formatting your external hard drive ensures that it is compatible with your computer’s operating system and provides optimal performance. However, keep in mind that formatting erases all existing data on the drive. If you have any important files, make sure to back them up before proceeding with the formatting process.
With your external hard drive successfully formatted, you are now ready to transfer files to it. We will explore the steps to transfer files in the next section.
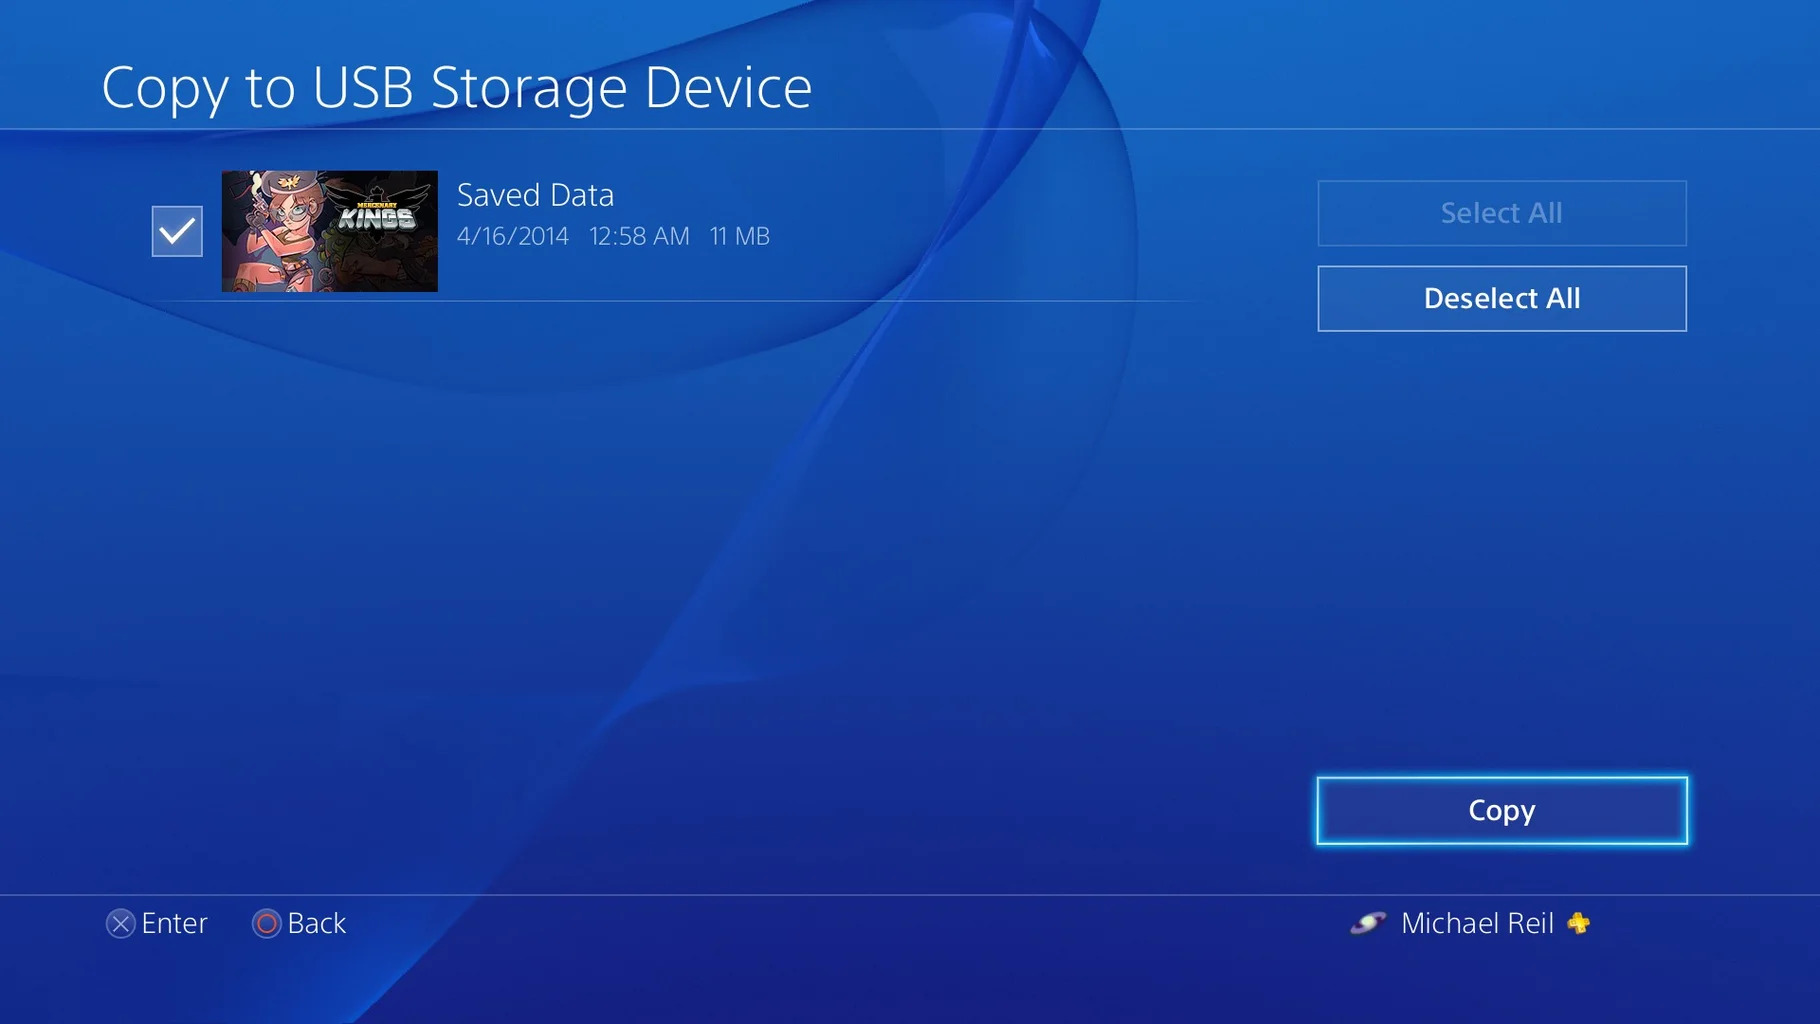
Step 3: Transferring Files to the External Hard Drive
Now that your external hard drive is connected and formatted, it’s time to transfer files onto it. Here’s how you can easily transfer your files:
- Open File Explorer/Finder: On a Windows computer, open File Explorer by pressing the Windows key + E on your keyboard. On a Mac computer, open Finder by clicking on the Finder icon in the dock.
- Locate the Files to Transfer: Navigate to the location on your computer where the files you want to transfer are stored. This can be a specific folder, the desktop, or any other location.
- Select the Files: Select the files or folders you want to transfer to the external hard drive. You can select multiple files by holding down the Ctrl (Windows) or Command (Mac) key while clicking on the files.
- Drag and Drop: Once the files are selected, simply drag them from their current location and drop them onto the external hard drive icon in the File Explorer/Finder window. Alternatively, you can right-click on the selected files, choose “Copy”, navigate to the external hard drive, and right-click to select “Paste”. This will initiate the transfer process.
- Wait for the Transfer: The time it takes to transfer the files will depend on the size and number of files being transferred. Be patient and wait for the transfer to complete. The progress can usually be seen in a window that will appear during the transfer process.
- Confirmation: Once the transfer is finished, you may receive a notification or see the transferred files in the file explorer window of the external hard drive.
It is important to note that you can organize the transferred files on the external hard drive by creating folders and subfolders to maintain a well-structured organization system.
Remember to safely eject your external hard drive before physically disconnecting it from your computer. This will prevent any potential data loss or corruption. To safely eject the external hard drive, right-click on its icon in the File Explorer/Finder and select the “Eject” or “Safely Remove” option.
With your files successfully transferred to the external hard drive, you can enjoy the benefits of extra storage space and the safety of having a backup of your important data.
Step 4: Safely Ejecting the External Hard Drive
After you have transferred your files to the external hard drive, it is crucial to safely eject the drive before physically disconnecting it from your computer. This ensures that all data is properly written and prevents potential data loss or corruption. Follow these steps to safely eject your external hard drive:
- Close any Open Files: Before ejecting the external hard drive, make sure that you have closed any files or applications that were accessing the drive. This ensures that all data has been properly written and saved.
- Locate the External Hard Drive: In the File Explorer (Windows) or Finder (Mac), locate the icon representing your external hard drive. It is typically listed in the “Devices” or “External Drives” section.
- Eject the External Hard Drive: Right-click on the icon representing your external hard drive and select the “Eject” or “Safely Remove” option. This will trigger the ejection process.
- Wait for Ejection Confirmation: Once you initiate the ejection, wait for the confirmation that it is safe to unplug the external hard drive. On Windows, you will typically see a notification that it is safe to remove the device. On Mac, the icon of the external hard drive will disappear from the desktop or Finder.
- Physically Disconnect the Drive: Once you have received the confirmation, you can safely disconnect the external hard drive from your computer. Ensure that you do this gently and avoid pulling on the cable to prevent any potential damage to the drive or the ports.
By properly ejecting the external hard drive, you minimize the risk of data loss and maintain the integrity of your files. It is a simple yet crucial step to ensure the longevity and functionality of your external hard drive.
Remember to store your external hard drive in a safe and secure location when not in use. Protect it from physical damage, extreme temperatures, and humidity to extend its lifespan and prevent any data loss.
Following these steps will ensure that you can safely use your external hard drive for storing and accessing your files whenever needed, providing you with peace of mind and convenience.
General Tips for Saving to an External Hard Drive
As you continue to save files to your external hard drive, here are some general tips to keep in mind:
- Create a Backup Schedule: Set up a regular backup schedule to ensure that your important files are consistently backed up to the external hard drive. This can be done manually or by using backup software that automates the process.
- Organize Your Files: Create a logical file organization system on your external hard drive by using folders and subfolders. This will make it easier to find and access specific files later on. Consider categorizing your files by type, project, or date for efficient retrieval.
- Label Your Drive: If you have multiple external hard drives, it is helpful to label each one with a unique name or identifier. This will prevent confusion and make it easier to identify the correct drive when connecting it to your computer.
- Keep Your External Hard Drive Secure: Treat your external hard drive with care and store it in a safe, dry, and cool location when not in use. Protect it from physical damage, theft, and unauthorized access to keep your data secure.
- Regularly Check Your Hard Drive’s Health: Monitor the health and performance of your external hard drive by using diagnostic tools provided by the manufacturer. This can help you identify any potential issues early on and take necessary steps to prevent data loss.
- Periodically Scan for Malware: External hard drives can also be exposed to malware and viruses. To ensure the safety of your files, periodically scan your external hard drive with trusted antivirus software to detect and remove any potential threats.
- Consider Redundant Storage: For added protection, consider having multiple external hard drives and creating redundant backups. This involves keeping copies of your files on multiple drives to safeguard against drive failures or other unforeseen issues.
- Keep Your Computer and Software Updated: Regularly update your computer’s operating system and relevant software to ensure compatibility and security. This can help prevent any potential issues or conflicts when accessing files on your external hard drive.
By following these general tips, you can maintain the integrity of your files, ensure the longevity of your external hard drive, and have a reliable backup solution for your valuable data.
Remember, your external hard drive is a valuable tool for data storage and backup. Treat it with care, protect it from potential threats, and regularly maintain it to enjoy its benefits for years to come.
Conclusion
Congratulations! You have learned the steps and considerations for saving files to an external hard drive. By utilizing an external hard drive, you can protect your data, free up storage space on your computer, and enjoy the convenience of portable file storage.
We explored the reasons why using an external hard drive is beneficial, including data backup, extra storage space, portability, and file organization. We also discussed how to choose the right external hard drive based on factors like storage capacity, interface, form factor, reliability, and compatibility.
Furthermore, we provided a step-by-step guide for connecting the external hard drive to your computer, formatting it to ensure compatibility, transferring files to the drive, and safely ejecting it to prevent data loss.
Additionally, we shared general tips for saving to an external hard drive, such as creating a backup schedule, organizing files, labeling drives, maintaining drive security, monitoring drive health, scanning for malware, considering redundant storage, and keeping your computer and software up to date.
By following these guidelines, you can effectively utilize your external hard drive to safeguard your files, create backups, and optimize your storage system.
Remember, data loss can happen unexpectedly, and having a backup solution like an external hard drive is essential for protecting your important files. Take the time to establish a backup routine and regularly save your files to the external hard drive to ensure the security and accessibility of your data.
So, go ahead and start enjoying the benefits of using an external hard drive—secure storage, extra space, and peace of mind. Happy saving!