Introduction
When it comes to managing your files and creating backups of important data, having an external hard drive is essential. External hard drives provide a convenient and portable way to store and transfer your files. If you own a MacBook and want to learn how to copy files to an external hard drive, you’ve come to the right place.
In this article, we will guide you through the step-by-step process of copying files from your MacBook to an external hard drive. Whether you’re transferring documents, photos, videos, or any other type of file, these instructions will help you do it effortlessly.
By making use of the built-in Finder app on your MacBook, you can easily navigate through your files and transfer them to your external hard drive. This method works for both internal and external drives, providing you with flexibility and convenience.
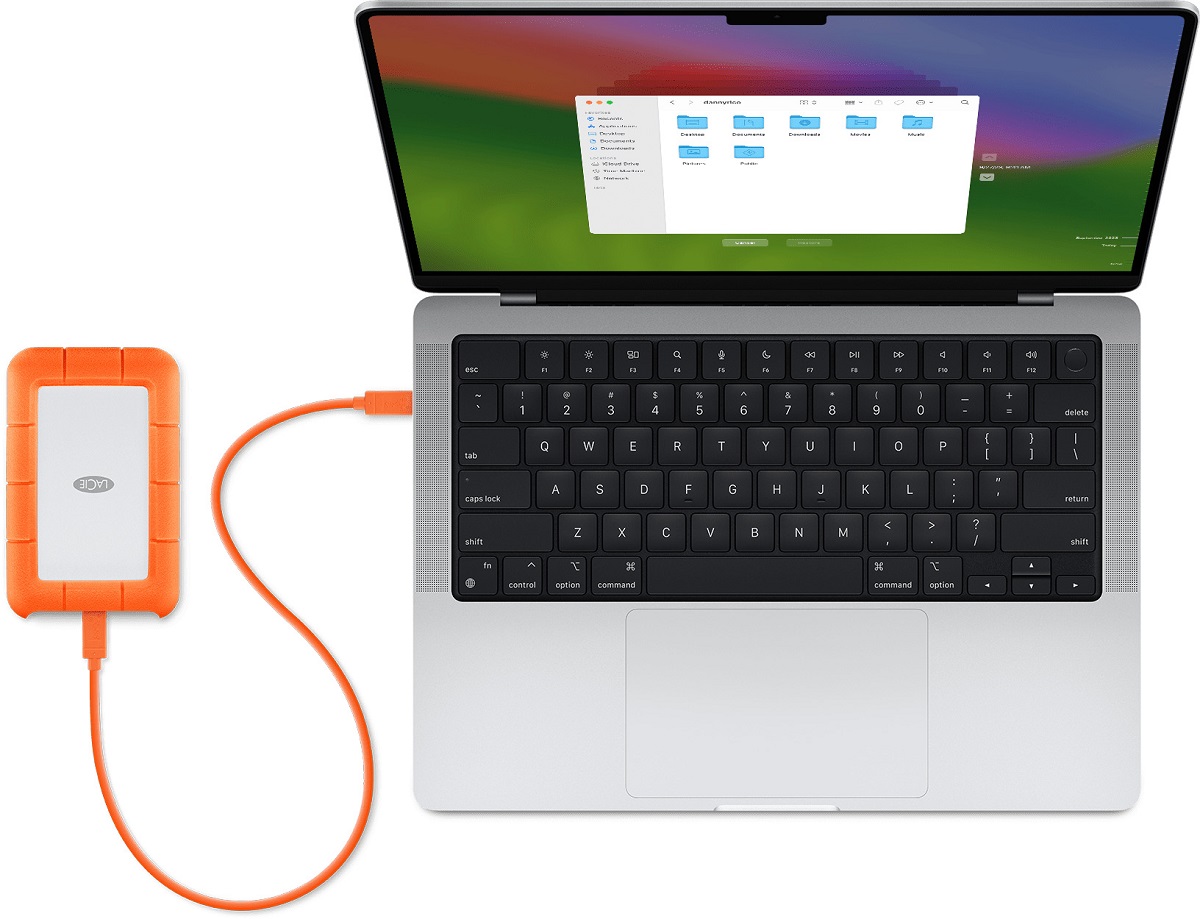
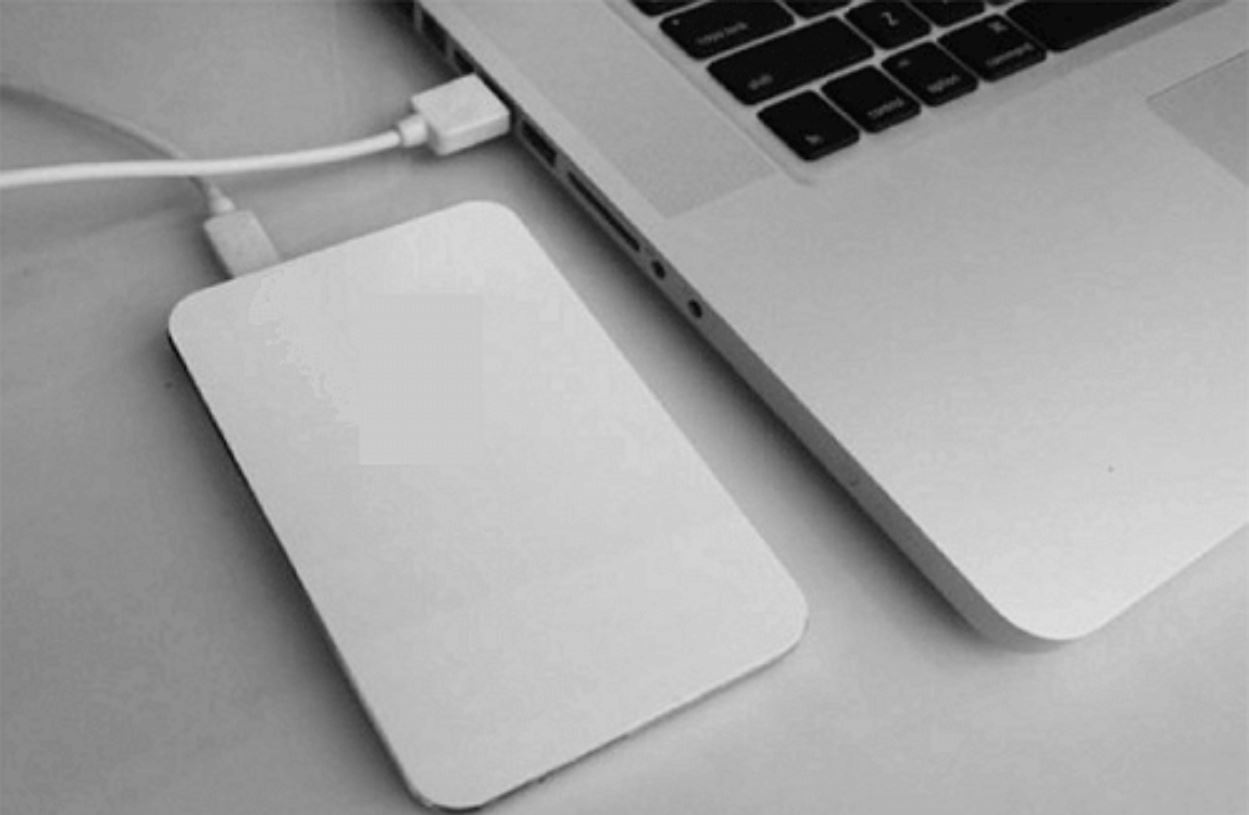
Before we dive into the steps, make sure you have your external hard drive connected to your MacBook. Once it’s connected, you’re ready to start copying your files. Whether you’re backing up important files, freeing up space on your MacBook’s internal drive, or simply organizing your data, copying files to an external hard drive is a straightforward process.
Now, let’s get started and learn how to copy files from your MacBook to an external hard drive!
Step 1: Connect the external hard drive to your MacBook
The first step in copying files from your MacBook to an external hard drive is to ensure that the hard drive is properly connected to your MacBook. Follow these simple steps to establish the connection:
- Locate the USB or Thunderbolt port on your MacBook. Depending on the model, it could be located on the sides or the back of your MacBook.
- Take the USB cable that came with your external hard drive and plug one end into the hard drive’s USB port.
- Insert the other end of the cable into the USB or Thunderbolt port on your MacBook.
- Make sure the connection is secure by gently tugging on the cable. It should be firmly in place.
- If your external hard drive requires power, make sure it is also connected to a power source.
Once the connection is established, your MacBook will recognize the external hard drive and it will appear as an additional storage device on your system. You are now ready to proceed to the next step and start copying files.
Step 2: Open the Finder app on your MacBook
After connecting the external hard drive to your MacBook, the next step is to open the Finder app. The Finder app is the default file manager on macOS and allows you to navigate through your files and folders. Here’s how you can open the Finder app:
- Click on the blue face icon located on the Dock at the bottom of your screen. This will open a new Finder window.
- If you can’t find the Finder icon on the Dock, you can also open the Finder app by clicking on the “Go” menu located at the top of the screen and selecting “Finder,” or by pressing the Command key + Spacebar to open Spotlight, then typing “Finder” and hitting Enter.
- Once the Finder app is open, you will see a sidebar on the left-hand side of the window. This sidebar contains various shortcuts and locations that you can access.
- In the sidebar, you will also see the external hard drive listed under the “Devices” or “Locations” section. Click on the name of the external hard drive to select it.
By opening the Finder app and selecting the external hard drive, you are now ready to explore its contents and start copying files from your MacBook.
Step 3: Locate and select the files you want to copy
Now that you have the Finder app open and the external hard drive selected, it’s time to locate and select the files you want to copy. Follow these steps to find and choose the files:
- In the Finder window, navigate to the location of the files you wish to copy. This could be your Documents folder, Downloads folder, or any other folder on your MacBook.
- If the files are scattered across different folders, you can use the search bar at the top right corner of the Finder window to search for specific files or file extensions.
- Once you’ve located the files you want to copy, click on the first file to select it. To select multiple files, hold down the Command key on your keyboard while clicking on each file.
- If you want to select a range of files, click on the first file, hold down the Shift key, and then click on the last file in the range. This will select all files in between as well.
Take your time to carefully choose the files you want to copy. Make sure you don’t overlook any important files or accidentally select any unwanted files. Double-check your selection before proceeding to the next step.
Step 4: Copy the selected files
With the files selected, you’re now ready to copy them to the external hard drive. Follow these simple steps to proceed:
- Right-click on any of the selected files. A context menu will appear.
- In the context menu, hover over the “Copy” option. Another submenu will appear.
- In the submenu, click on the “Copy” option. This will copy the selected files to your MacBook’s clipboard.
- Alternatively, you can use the keyboard shortcut Command + C to copy the files.
- Once the files are copied, navigate to the Finder window that represents the external hard drive. You can either click on the external hard drive’s name in the Finder sidebar or use the Command + Tab shortcut to switch to the Finder window.
By copying the files to your MacBook’s clipboard and then switching to the Finder window representing the external hard drive, you’re now ready to paste the files onto the external hard drive in the next step.
Step 5: Paste the files onto the external hard drive
Now that the files are copied to your MacBook’s clipboard, it’s time to paste them onto the external hard drive. Follow these straightforward steps to complete the process:
- In the Finder window that represents the external hard drive, navigate to the location where you want to paste the files. This can be the root directory of the external hard drive or a specific folder within it.
- Once you’ve reached the desired location, right-click on an empty space within the Finder window. A context menu will appear.
- In the context menu, hover over the “Paste Items” option. Click on it to paste the selected files onto the external hard drive.
- Alternatively, you can use the keyboard shortcut Command + V to paste the files.
When the files are pasted, you will see progress indicators showing the status of the copying process. Larger files or a large number of files may take some time to complete the copying process. Be patient and allow the process to finish.
Ensure that you have sufficient free space on the external hard drive to accommodate the copied files. If you run out of space during the copying process, you may need to free up space on the external hard drive or select a different location to paste the files.
Once the files are successfully pasted onto the external hard drive, you can proceed to the next step to ensure the copying process is complete.
Step 6: Wait for the copying process to complete
After pasting the files onto the external hard drive, it’s important to allow the copying process to complete. The time it takes for the process to finish depends on the size and number of files being copied.
During the copying process, you will see progress indicators or a progress bar that shows the status of the transfer. It’s important not to interrupt the process by disconnecting the external hard drive or shutting down your MacBook.
If you’re copying a large amount of data or large files, it’s normal for the process to take some time. You can use this opportunity to grab a coffee, catch up on other tasks, or simply take a break.
It’s important to ensure that there are no interruptions in the power supply or any other factors that could potentially disrupt the copying process. If your MacBook goes into sleep mode or the screen turns off, make sure to adjust the energy-saving settings or disable sleep mode temporarily to prevent any interruptions.
Once the copying process is complete, you will see a notification or confirmation message. It’s always a good practice to double-check that all the files have been successfully copied before proceeding to the next step.
Now that the files have been successfully copied to the external hard drive, you’re one step closer to securing your data, freeing up space on your MacBook, or organizing your files in a more systematic manner.
Step 7: Safely eject the external hard drive
After the copying process is complete, it’s important to properly eject the external hard drive from your MacBook. Ejecting the drive ensures that all data has been written and prevents potential data corruption. Follow these steps to safely eject the external hard drive:
- Locate the external hard drive icon on your desktop or in the Finder sidebar.
- Click on the external hard drive icon to select it.
- Right-click on the selected icon. A context menu will appear.
- In the context menu, click on the “Eject” option. Alternatively, you can drag the external hard drive icon to the Trash bin on your Dock.
- Wait for a moment while macOS unmounts the drive. Once it’s safe to remove, the external hard drive icon will disappear from the desktop or Finder sidebar.
- You can now physically disconnect the external hard drive from your MacBook by gently removing the USB cable or Thunderbolt cable.
It’s important to follow the proper ejection process to avoid any potential data loss or damage to the external hard drive. Abruptly disconnecting the drive without ejecting it first can result in data corruption and make the drive unreadable on future usage.
By safely ejecting the external hard drive, you’ve successfully completed the entire process of copying files from your MacBook to the external hard drive. You can now use the files on the external hard drive or keep it as a backup for your important data.
Conclusion
Copying files from your MacBook to an external hard drive is a simple and effective way to create backups, free up storage space, or organize your data. By following the steps outlined in this guide, you can easily transfer your files with confidence.
We started by connecting the external hard drive to your MacBook, ensuring a secure and stable connection. Then, we opened the Finder app and located the files you wanted to copy. With the files selected, we proceeded to copy them and paste them onto the external hard drive.
After pasting the files, we emphasized the importance of waiting for the copying process to complete without interruption. This ensures that all your files are successfully transferred to the external hard drive without any data corruption.
Finally, we concluded the process by safely ejecting the external hard drive from your MacBook, preventing any potential data loss or damage. Following the proper ejection process is crucial in maintaining the integrity of your files and the external hard drive itself.
By mastering the process of copying files from your MacBook to an external hard drive, you now have greater control over your data, backups, and storage management. Whether it’s important documents, cherished memories captured in photos and videos, or even large media files, you can confidently transfer them to an external hard drive for safekeeping or easy access.
Remember to always store your external hard drive in a safe and secure location to protect it from damage or loss. Regularly updating your backups and practicing good file organization habits will ensure that your important data remains easily accessible and safeguarded.
So go ahead and start copying your files to an external hard drive, and enjoy the peace of mind that comes with having a reliable backup and storage solution for your valuable data.