Introduction
Welcome to our guide on how to restore a backup from an external hard drive. Backing up your important files is crucial to ensure their safety and prevent data loss. Whether you’re upgrading your computer, recovering from a system crash, or simply wanting to retrieve specific files, having a backup on an external hard drive can be a lifesaver.
In this article, we will walk you through the step-by-step process of restoring your files from an external hard drive. We will cover the necessary tools you’ll need, the steps to connect the drive, and how to navigate through your files to locate and restore the backups. By following these instructions, you’ll be able to retrieve your files quickly and efficiently.
Restoring a backup from an external hard drive is an essential skill for anyone who values their data and wants to ensure its safety. Taking the time to create regular backups and understanding how to restore them can save you from unnecessary stress and frustration in case of unexpected incidents.
Throughout this guide, we’ll provide detailed instructions for Windows and Mac users, making it accessible for a wide range of readers. So, whether you use a PC or a Mac, you’ll be able to follow along and retrieve your files without any hassle.
Now, let’s dive into the step-by-step process of restoring a backup from an external hard drive, starting with the tools you’ll need for this task.
What You’ll Need
Before you begin the process of restoring a backup from an external hard drive, there are a few essential items you’ll need:
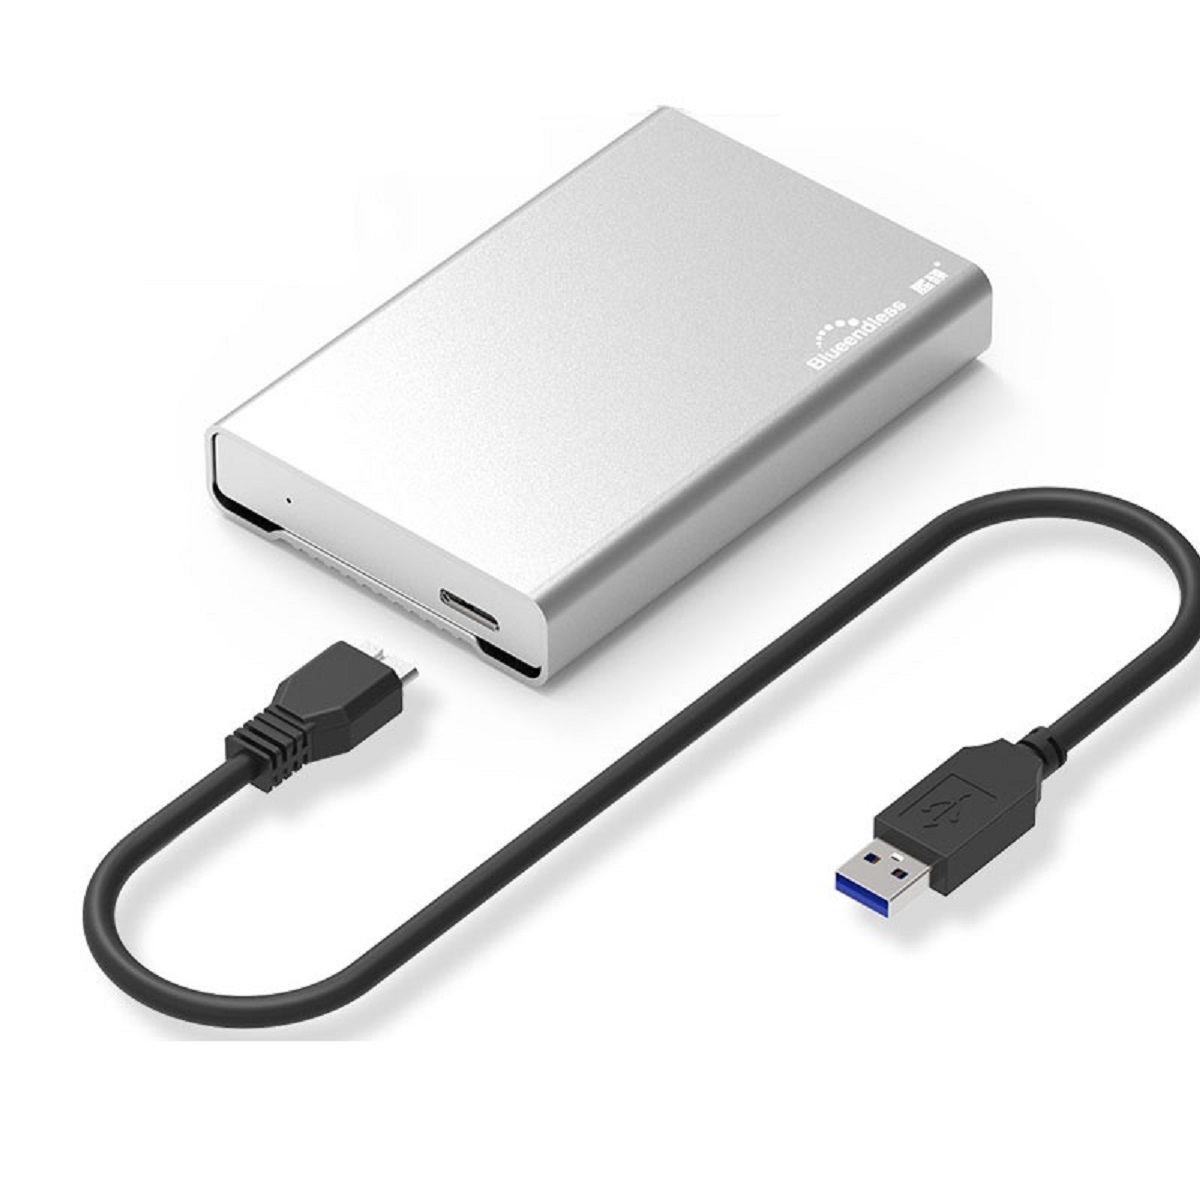
- External hard drive: Make sure you have an external hard drive that contains the backup files you wish to restore. The drive should be properly connected to your computer.
- Computer: You’ll need a computer, whether it’s a PC or a Mac, to connect and access the files from the external hard drive.
- Data cable: Depending on the type of external hard drive you have, you may need a data cable to connect it to your computer. Most external hard drives use USB cables, but it’s advisable to check the specific requirements of your drive.
- Storage space: Ensure that you have enough available storage space on your computer’s hard drive to restore the backup files. If necessary, free up some space by deleting unwanted files or transferring them to another storage device.
It’s crucial to have the above items to carry out the restoration process smoothly. Double-check that you have all the necessary hardware before proceeding further.
Additionally, it’s worth mentioning that having a backup strategy in place can save you from potential data disasters. Regularly backing up your important files ensures their safety and provides peace of mind, knowing that you have a copy available in case of data loss.
Now that you have the required items, let’s move on to the next step – connecting the external hard drive to your computer.
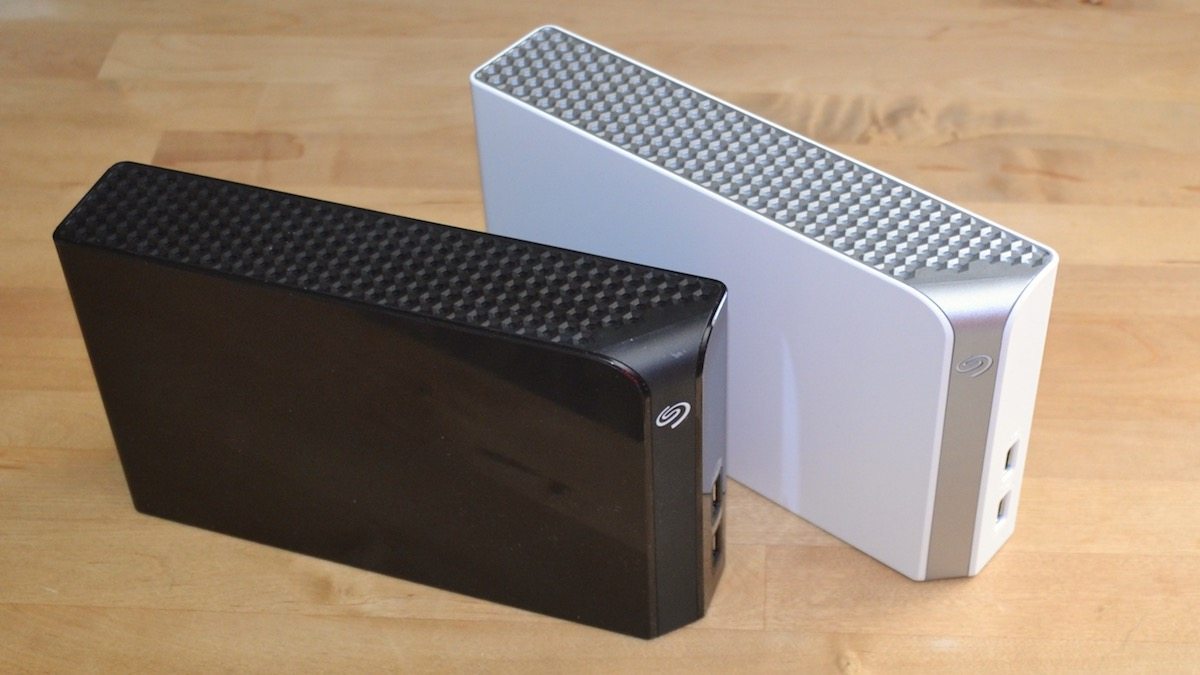
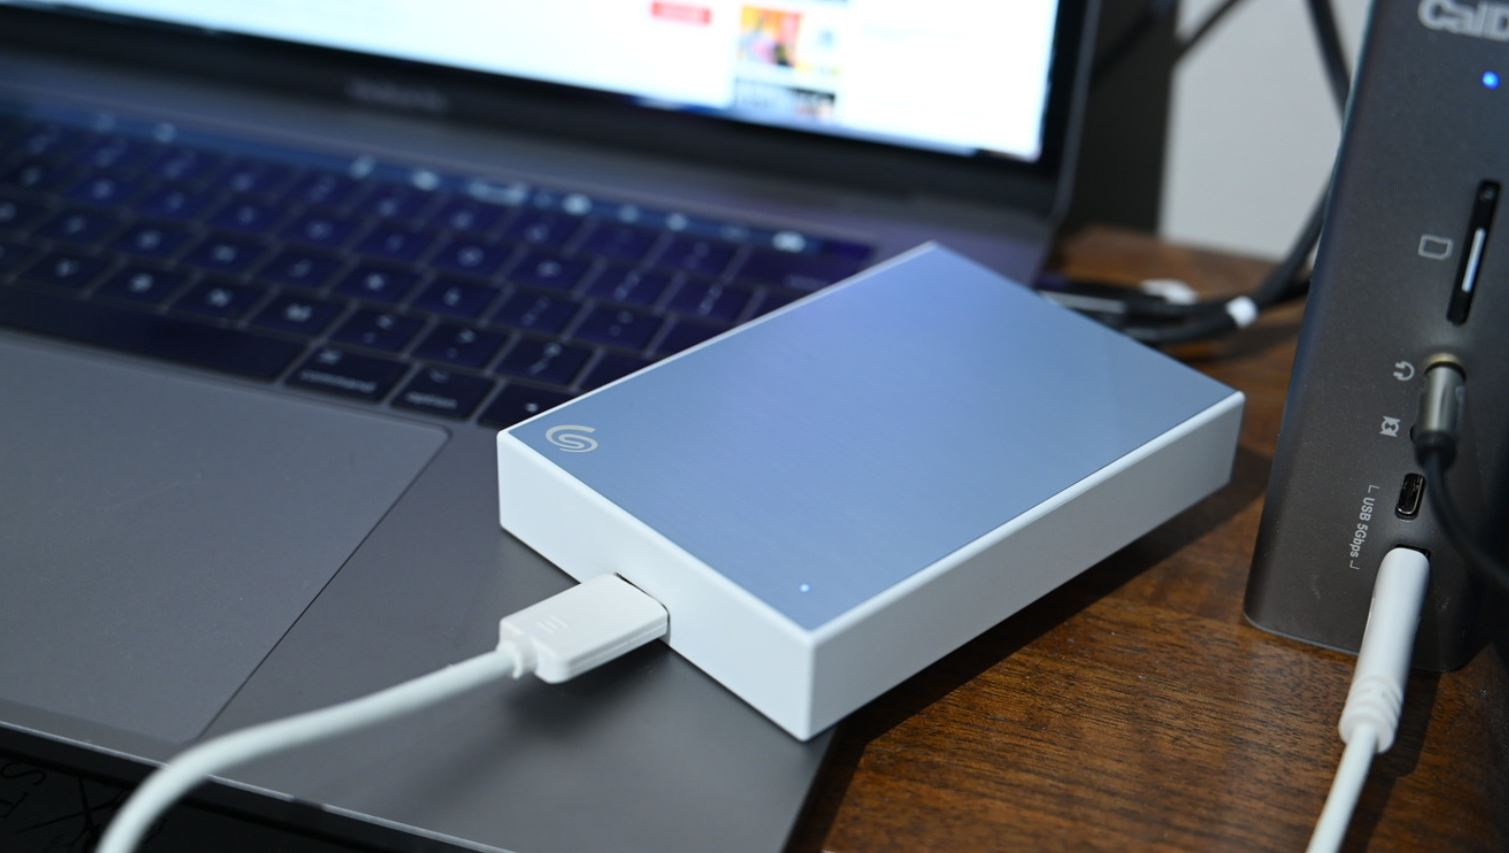
Step 1: Connect the External Hard Drive
The first step in restoring a backup from an external hard drive is to connect the drive to your computer. Follow these instructions based on your computer’s operating system:
For Windows:
- Locate an available USB port on your computer.
- Insert one end of the data cable into the USB port on your computer.
- Insert the other end of the data cable into the appropriate port on the external hard drive.
- Wait a moment for your computer to recognize the external hard drive.
For Mac:
- Locate an available USB or Thunderbolt port on your Mac.
- Insert one end of the data cable into the USB or Thunderbolt port on your Mac.
- Insert the other end of the data cable into the appropriate port on the external hard drive.
- Wait for your Mac to recognize the external hard drive.
Once the external hard drive is successfully connected to your computer, you’re ready to move on to the next step. Keep in mind that it’s important to handle the external hard drive with care and ensure a stable connection throughout the restoration process.
Now that you have connected the external hard drive, let’s move on to the next step – opening File Explorer or Finder to access the backup files.
Step 2: Open File Explorer or Finder
After connecting the external hard drive, the next step is to open the appropriate file management software on your computer, such as File Explorer on Windows or Finder on Mac. Here’s how you can do it:
For Windows:
- Click on the “Start” button located at the bottom-left corner of your screen.
- In the search bar, type “File Explorer” and press “Enter” or click on the “File Explorer” application that appears in the search results.
For Mac:
- Click on the “Finder” icon located in the dock, which is usually located at the bottom of the screen.
- If the Finder window doesn’t open automatically, click on “File” in the top menu bar and select “New Finder Window” from the dropdown menu.
Once you have File Explorer or Finder open, you will be able to navigate through your computer’s file system and access the files stored on your external hard drive.
In this step, it’s important to ensure that the external hard drive is recognized by your computer and appears as a connected device within the file management software. If you don’t see the external hard drive listed, try disconnecting and reconnecting it, or restarting your computer.
Now that we have File Explorer or Finder open, we can move on to the next step – locating the backup files on the external hard drive.
Step 3: Locate the Backup Files
Once you have File Explorer (Windows) or Finder (Mac) open, you need to locate the backup files on your external hard drive. The location and organization of the backup files may vary depending on the backup software or method you’ve used. Follow these steps to find the backup files:
- In File Explorer or Finder, look for the external hard drive listed on the left-hand side or in the devices section.
- Click on the external hard drive to access its contents.
- Navigate through the folders and subfolders on the external hard drive to find the location where your backup files are stored.
- If you used a specific backup software or method, look for a folder or directory with the name of the software or backup method. It may be labeled with the date of the backup or have a specific naming convention.
- Once you’ve found the backup files, you can identify them by their file extensions or the backup software’s recognizable file formats.
If you’re unsure about the location or organization of your backup files, consult the documentation or support resources for the backup software or method you’ve used. You can also search for specific file names or extensions to narrow down your search within the external hard drive.
Remember to take your time and carefully browse through the folders to ensure you locate the correct backup files. It’s essential to be cautious when deleting or modifying files, as mistakenly removing or altering important backups can result in data loss.
Now that you’ve located the backup files on your external hard drive, let’s move on to the next step – selecting the files you want to restore.
Step 4: Select the Files to Restore
Now that you have located the backup files on your external hard drive, it’s time to select the specific files or folders that you want to restore. Follow these steps to select the files for restoration:
- Within the folder containing your backup files, browse through the directories and subdirectories to find the files you wish to restore.
- If you want to restore an entire folder, simply right-click on the folder and select “Copy” or “Copy Folder” from the context menu.
- If you want to restore specific files, navigate to the folder that contains those files, and individually select them by clicking on them while holding down the Ctrl (Windows) or Command (Mac) key.
- Once you have selected the files or folders you want to restore, right-click and choose “Copy” or “Copy selected files” from the context menu.
If you prefer keyboard shortcuts, you can also use Ctrl+C (Windows) or Command+C (Mac) to copy the selected files or folders.
It’s important to note that the options and terminology may slightly vary depending on your operating system and file management software. However, the basic concept of selecting and copying files remains the same.
Take your time to ensure you have selected the correct files for restoration. It’s recommended to double-check your selections before proceeding to the next step.
Now that we have selected the files or folders for restoration, let’s move on to the next step and choose the destination for the restoration process.
Step 5: Choose the Restoration Destination
After selecting the files or folders you want to restore from your backup, the next step is to choose the destination where you want the restored files to be saved on your computer. Follow these steps to select the restoration destination:
- Open another File Explorer or Finder window to navigate to the location on your computer where you want the restored files to be stored.
- Create a new folder for the restored files if necessary, by right-clicking in the desired location and selecting “New Folder”. Give the folder a descriptive name to help you easily identify the restored files.
- Open the newly created folder or navigate to the existing folder where you want the restored files to be placed.
- Right-click inside the folder and select “Paste” or press Ctrl+V (Windows) or Command+V (Mac) to paste the copied backup files into the destination folder.
Ensure that you have sufficient storage space available in the chosen restoration destination to accommodate the restored files. If needed, free up space by deleting unnecessary files or consider using an alternative destination with more storage capacity.
It’s essential to double-check that you have selected the correct destination folder before proceeding with the restoration process. This step helps in organizing and easily accessing the restored files once the restoration is complete.
Now that you have chosen the restoration destination, let’s move on to the next step and start the actual restoration process.
Step 6: Start the Restoration Process
With the files or folders selected and the restoration destination chosen, it’s time to initiate the restoration process. Proceed with the following steps to start the restoration:
- In the destination folder where you want the restored files to be placed, ensure that the folder is selected or active.
- Right-click inside the folder and choose “Paste” from the context menu, or press Ctrl+V (Windows) or Command+V (Mac) to paste the copied backup files into the destination folder.
- The restoration process will now begin, with the files being copied from the external hard drive to the selected destination folder on your computer.
- Depending on the size and number of files being restored, the process may take some time to complete. Be patient and avoid interrupting or closing any progress windows or dialogues until the restoration process is finished.
During the restoration, you may see a progress bar or an indication of the number of files being copied. This can give you an estimate of the time remaining for the restoration to complete.
It’s important to note that if there are any conflicts or duplicate files during the restoration process, you may be prompted to choose whether to overwrite or keep both versions. Evaluate the options carefully to ensure that the restored files align with your intended outcome.
Once the restoration process is complete, you can proceed to the next step to verify the restored files and confirm that everything has been successfully restored.
Now that the restoration process is underway, let’s move on to the next step and monitor the progress of the restoration.
Step 7: Monitor the Restoration Progress
As the restoration process is underway, it’s important to monitor the progress to ensure that the files are being copied correctly and to identify any potential issues. Follow these steps to monitor the restoration progress:
- Keep an eye on the progress window or dialogue box that appears during the restoration. This window will typically display the number of files copied, the size of data transferred, and the estimated time remaining.
- Do not interrupt or close the progress window or dialogue box unless necessary, as doing so may halt or disrupt the restoration process.
- If available, take note of any error messages or alerts that may appear. These messages can provide valuable information about any issues encountered during the restoration.
- Observe any changes in the file count or progress bar to gauge the speed and efficiency of the restoration process. If the process seems unusually slow or has stalled, it may indicate a problem that requires further investigation.
During the restoration, it’s recommended to avoid running resource-intensive tasks or programs that can significantly impact the performance of your computer. This helps to ensure a smooth and efficient restoration process without interruptions.
Keep in mind that the duration of the restoration process can vary depending on factors such as the size of the backup files, the speed of your external hard drive and computer, and the connection type between them.
Once the progress window or dialogue box indicates that the restoration is complete, you can move on to the next step to verify the restored files and confirm the success of the restoration process.
Now that you’re monitoring the restoration progress, let’s proceed to the next step and verify the files that have been restored.
Step 8: Verify the Restored Files
After the restoration process is complete, it’s crucial to verify the restored files to ensure their integrity and accuracy. Follow these steps to verify the restored files:
- Navigate to the destination folder where you restored the files on your computer.
- Review the files and folders to ensure they match your expectations. Check if the file names, sizes, and contents are as you remember them.
- If you restored entire folders, open them and confirm that all the subfolders and files are present.
- Randomly select a few individual files and open them to confirm that they are readable and accessible without any issues.
- Compare the restored files with the original files from the backup to confirm that everything has been successfully restored.
It’s important to be thorough during the verification process, especially if you have restored a large number of files or important data. Take your time to ensure that everything is in order, and if you notice any discrepancies or missing files, you may need to repeat the restoration process or seek further assistance.
During this step, you may also want to make a backup or copy of the restored files to a separate location, such as another external hard drive or cloud storage. This provides an additional layer of protection for your data in case of unforeseen circumstances.
By verifying the restored files, you can have peace of mind that your data has been successfully recovered and is accessible for future use.
Now that you have verified the restored files, you have successfully completed the entire process of restoring a backup from an external hard drive. Congratulations!
Conclusion
Restoring a backup from an external hard drive is a vital skill to have in order to protect your valuable files and data. In this guide, we have covered the step-by-step process of restoring a backup from an external hard drive, ensuring that you can retrieve your important files efficiently and effectively.
We began by emphasizing the importance of having the necessary tools, including an external hard drive containing the backup files, a computer, a data cable, and sufficient storage space. These are essential components to facilitate a successful restoration process.
We then walked through each step, from connecting the external hard drive to opening the appropriate file management software, locating the backup files, selecting the files to restore, choosing the restoration destination, initiating the restoration process, monitoring the progress, and finally, verifying the restored files.
Throughout the process, it’s crucial to be patient, diligent, and take the time to double-check your selections and ensure the accuracy of the restoration. By following these steps, you can confidently restore your valuable files and safeguard against data loss.
Remember, having a backup strategy in place is a critical practice for data preservation. Regularly creating backups and understanding the process to restore them can save you from unnecessary stress and potential disasters.
We hope this guide has provided you with the necessary knowledge and guidance to restore a backup from an external hard drive. By following these steps, you can ensure that your files are safely restored and readily available for your use.
Thank you for reading, and best of luck with your future backup and restoration endeavors!