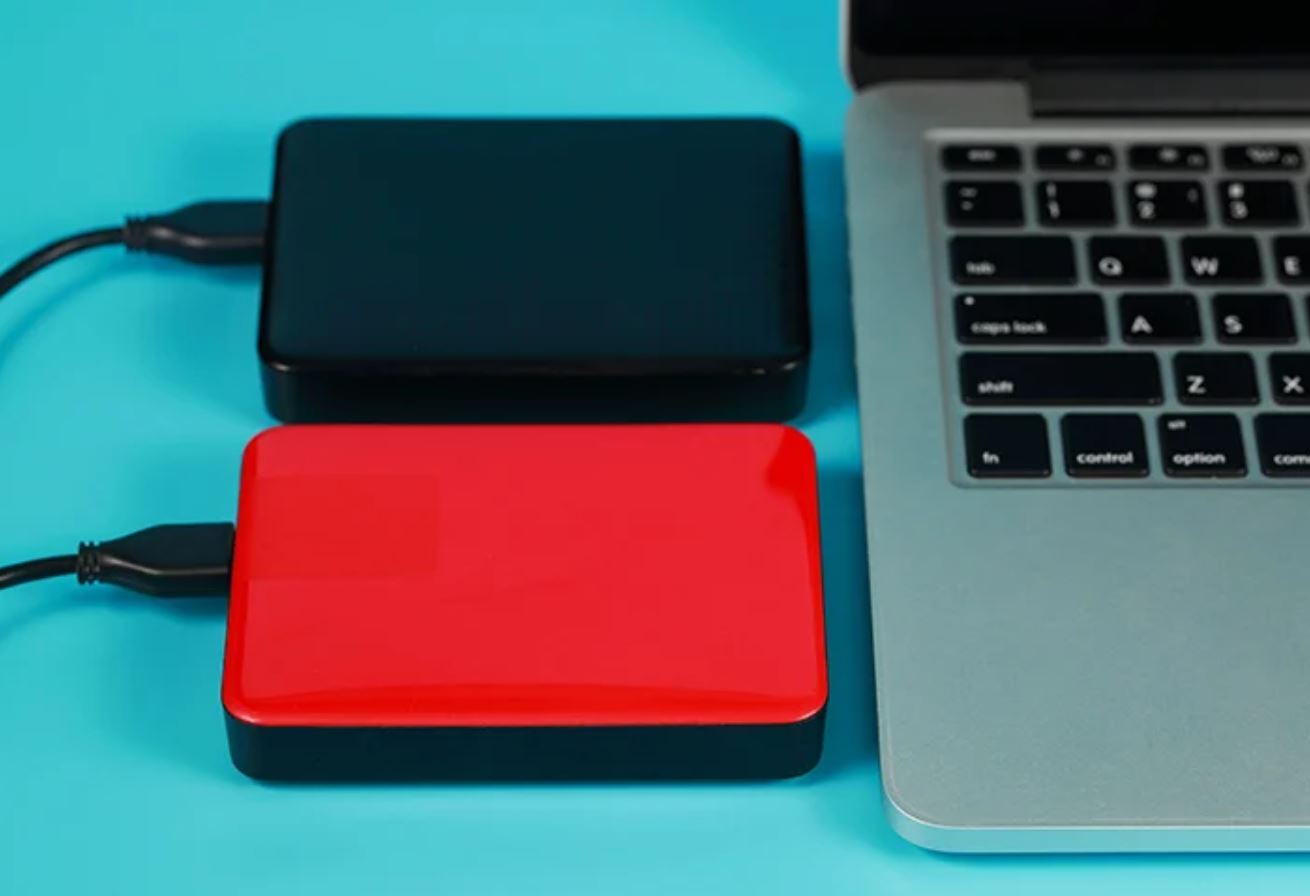
How To Copy One External Hard Drive To Another
The simplest way to copy an external hard drive to another is to manually drag and drop files between two File Explorer (Windows) or Finder (Mac) windows. However, for an exact, bootable replica of the entire drive, including the operating system, you must use disk cloning software or a built-in utility like Disk Utility's Restore on macOS.
Before you copy an external hard drive to another
Taking a few minutes to prepare prevents failed transfers and data loss. Follow these three checks before you begin any method.
1. Verify the destination drive's file system. The file system determines how data is stored and whether both your computer and the drive can read/write to it. For a drive used with both Windows and macOS, format it as exFAT. It supports files larger than 4GB and is natively read/write on both operating systems. Avoid FAT32 (4GB per-file limit) and NTFS (macOS can only read, not write, without third-party software). If you're cloning a bootable drive, the destination will be formatted by the cloning tool automatically.
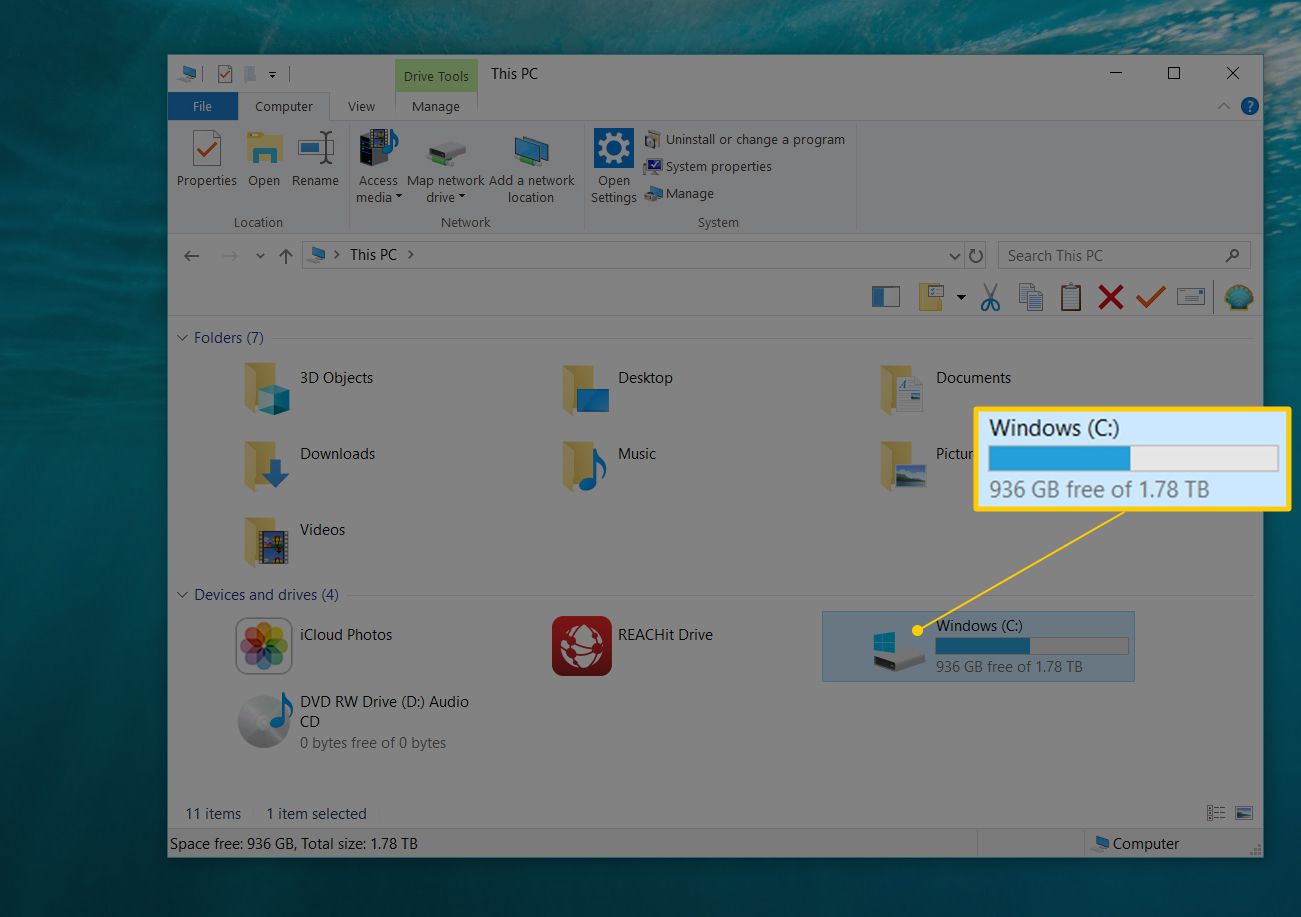
2. Confirm sufficient free space. The destination drive must have at least as much free space as the total size of the data on the source drive. Right-click the source drive (Properties on Windows, Get Info on Mac) to see its used space. If the destination is smaller, delete unnecessary files or use a larger drive.
3. Understand what each method does. Cloning erases the destination drive completely and replaces it with an exact copy of the source. Manual copy-paste simply adds files to the destination, leaving existing files intact (unless you delete them yourself). Choose cloning for a bootable replica or a full system migration; choose manual copy for simple data backup.
Manual copy and paste on a PC
This is the most straightforward way to copy data between external drives on Windows. It works for documents, photos, videos, and any other non-system files.
Step 1: Connect both external hard drives to your PC. Wait for Windows to recognize them (you'll see notifications and drive letters in File Explorer).
Step 2: Open two File Explorer windows. Press Windows key + E twice, or right-click the Start button and select "File Explorer" twice. In one window, navigate to the source drive (e.g., D:). In the other, navigate to the destination drive (e.g., E:).
Step 3: In the source drive window, press Ctrl + A to select all files and folders. Alternatively, hold Ctrl and click individual items.
Step 4: Right-click any selected item. Choose "Send to" and then select the destination drive from the list. Or, right-click and choose "Copy," then click inside the destination window and press Ctrl + V to paste. You can also simply drag and drop the selected items from one window to the other.
For most users, this is irrelevant. If you need exact metadata preservation, use a cloning tool.
Manual copy and paste on a Mac
The process on macOS is nearly identical to Windows, with a few Finder-specific differences.
Step 1: Connect both external drives to your Mac. Wait for them to appear on the desktop or in the Finder sidebar under "Locations."
Step 2: Open two Finder windows. Click the Finder icon in the Dock, then press Command + N to create a new window. In one window, click the source drive in the sidebar. In the other, click the destination drive.
Step 3: In the source drive window, press Command + A to select all items. Or hold Command and click to select specific files.
Step 4: Drag the selected items from the source window to the destination window. Alternatively, right-click and choose "Copy," then right-click inside the destination window and choose "Paste" (or press Command + V).
Troubleshooting: Right-click the destination drive in Finder, select "Get Info", and expand the "Sharing & Permissions" section. Ensure your user account has "Read & Write" access. If not, click the lock icon, change the privilege, and close the window. You can also check the box that says "Ignore ownership on this volume" to bypass permission checks entirely.
Clone a drive with Disk Utility Restore on Mac
When you need an exact, bootable clone of your external drive, including macOS system files, apps, and settings, Disk Utility's Restore feature is the built-in solution. This erases the destination drive completely, so back up any important data on it first.
Step 1: Restart your Mac into macOS Recovery. On Intel Macs, restart and hold Command + R until the Recovery screen appears.
Step 2: In Recovery, select "Disk Utility" and click Continue.
Step 3: In Disk Utility, select the destination volume (the drive you want to clone to) from the sidebar. This is the volume that will be erased. Make absolutely sure you've selected the correct drive.
Step 4: Click the "Restore" button in the toolbar. A dialog will appear.
Step 5: In the "Restore from" dropdown menu, select the source volume (the drive you want to clone). Click "Restore".
Step 6: Disk Utility will begin erasing the destination and copying the source. This can take a long time depending on the amount of data. Once finished, the destination drive will be a bootable clone.
When to use third-party disk cloning software
While manual copy works for data and Disk Utility handles macOS cloning, there are scenarios where dedicated third-party software is the better choice:
- Bootable Windows clone: Windows has no built-in tool to clone an external drive to another external drive. Third-party software like EaseUS Todo Backup or Macrium Reflect is required to create a bootable Windows external drive.
- Sector-by-sector clone: If you need a bit-for-bit copy (including deleted files or hidden partitions), cloning software offers this option, which is more thorough than file-level copying.
- No Recovery Mode access: If you can't boot into macOS Recovery, third-party tools like Carbon Copy Cloner (Mac) can clone a running drive without restarting.
These tools are generally intuitive: connect both drives, select "Clone" or "Copy," choose the source and destination, and start the process. They often include options to resize partitions and verify the clone afterward.
Method 4: Using File Syncing Software
For ongoing, automated synchronization between two external drives, file syncing software is a convenient alternative to one-time copy methods. Tools like FreeFileSync (Windows/Mac/Linux) or ChronoSync (Mac) monitor the source drive and automatically propagate changes to the destination.
Step 1: Connect both external drives to your computer.
Step 2: Install and launch your chosen syncing software.
Step 3: Set the source folder (the external drive) and the destination folder (the other external drive).
Step 4:
Step 5: Run the sync. The software will compare files and copy only the differences, making it much faster than a full copy on subsequent runs.
This method is ideal if you regularly back up the same drive to a secondary location and want to avoid manual copying each time.
Method 5: Using Time Machine (Mac)
Time Machine is Apple's built-in backup tool. While not a direct "copy" method, it can restore all data from a Time Machine backup to a new external drive, effectively copying the contents.
Step 1: Connect the destination external drive to your Mac. If it's new, Time Machine will prompt you to use it as a backup disk. If not, go to System Settings > General > Time Machine and select the destination drive.
Step 2: Ensure the source drive is connected. Time Machine will back up the source drive to the destination drive automatically on a schedule.
Step 3: To restore to a different drive, connect that drive to your Mac, enter Time Machine (click the Time Machine icon in the menu bar > "Enter Time Machine"), navigate to the files you want, and click "Restore."
Time Machine is best for continuous backup, not for creating an immediate, exact clone. It also preserves file metadata and versions, which is a significant advantage over manual copy.
Method 6: Using Windows Backup and Restore
Windows has a built-in backup utility that can copy files from an external drive to another location, including another external drive.
Step 1: Connect both external drives to your Windows PC.
Step 2: Open the Control Panel. Search for "Control Panel" in the Start menu and click it.
Step 3: Click "System and Security" > "Backup and Restore (Windows 7)".
Step 4: Click "Set up backup". Choose the destination drive (your new external drive) and click Next.
Step 5:
Step 6:
To restore, connect the destination drive, go back to "Backup and Restore," click "Restore my files", and follow the prompts to copy the backup to the new drive.
This method is useful for scheduled, automated backups but is less flexible than manual copy for one-off transfers.
Conclusion: Choosing the right method
You now have six distinct ways to copy an external hard drive to another. For a simple one-time data transfer, manual copy-paste is the fastest and requires no extra tools. If you need a bootable clone of your Mac drive, use Disk Utility's Restore, a process detailed when you copy one external hard drive to another on mac. For a bootable Windows clone, you'll need third-party software like EaseUS. For ongoing, automated backups, Time Machine (Mac) or Windows Backup and Restore are excellent built-in options. File syncing software offers the best of both worlds for continuous, bidirectional synchronization.
Before you start, always verify the destination drive's file system (exFAT for cross-platform use), confirm it has enough free space, and back up any important data on the destination drive if you're cloning. With these steps, you can confidently copy your data without loss or corruption.
For the wider topic, see use lacie external hard drive.
\nRelated reading: How To Transfer Files From Mac To PC Using External Hard Drive.