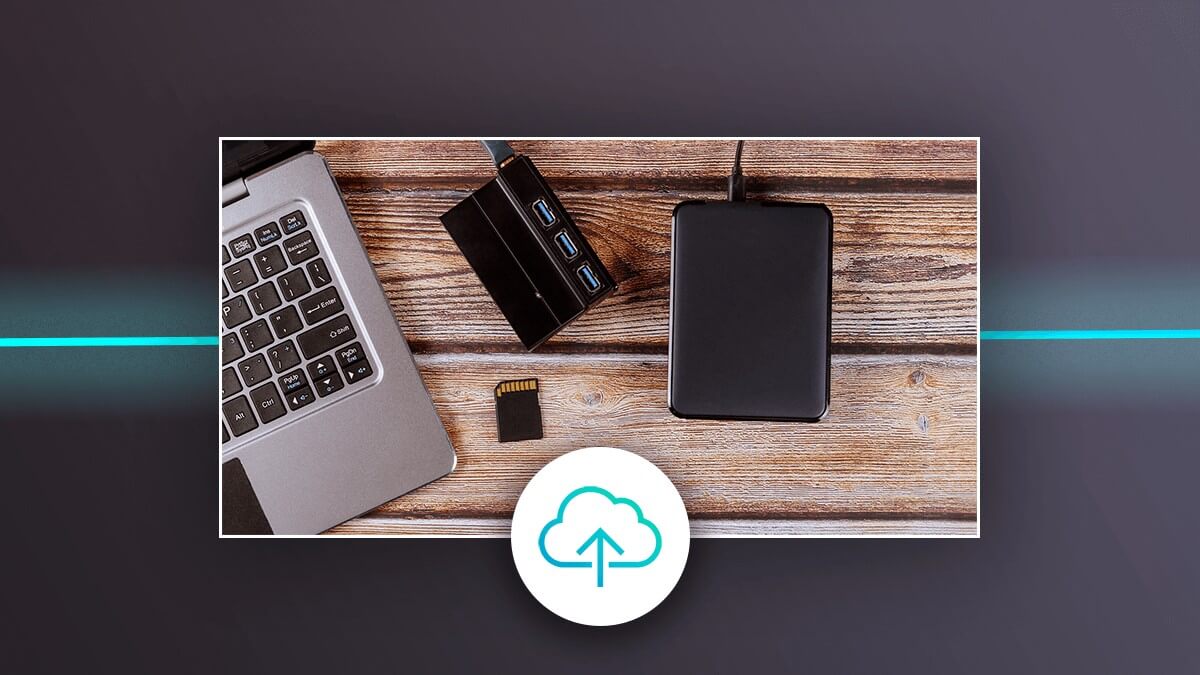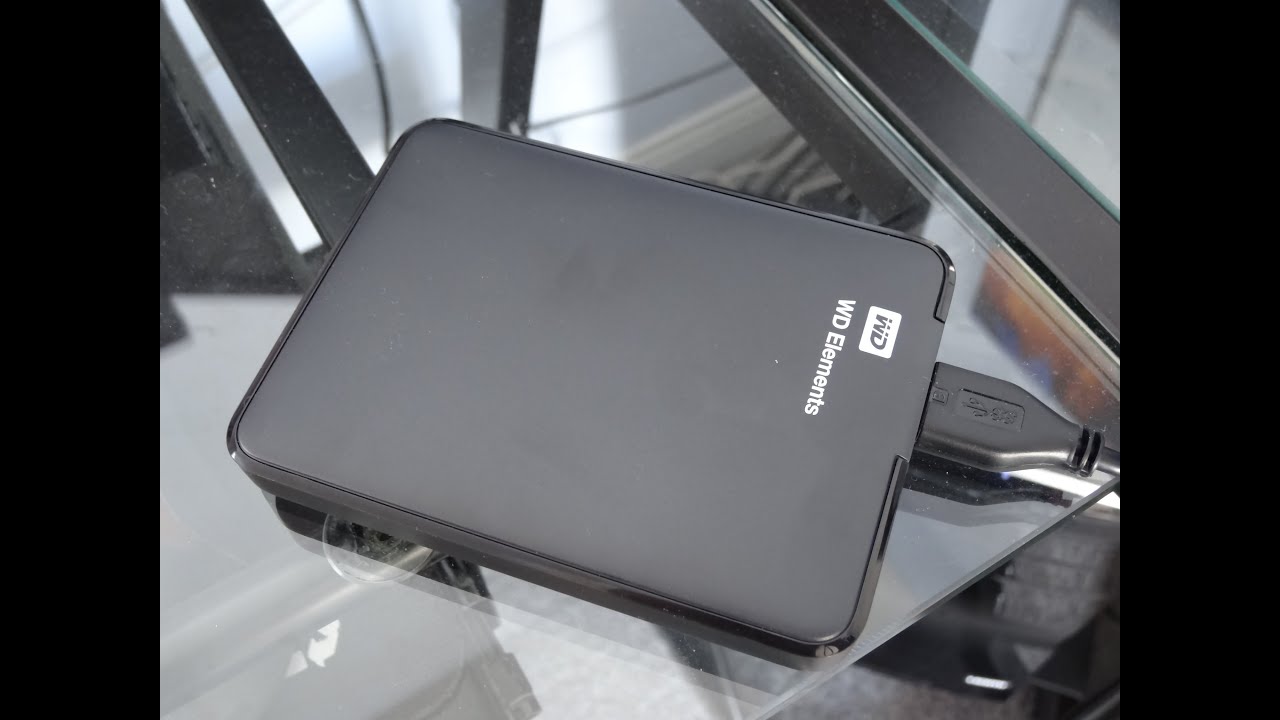
To use a WD Elements external hard drive, connect it directly to your computer's USB port, and it will work immediately as a plug-and-play device. This guide covers the setup steps for Windows and Mac, how to transfer files, and solutions if the drive is not detected.
Connect and use WD Elements external hard drive
- Locate a USB port on your computer. Use a port directly on the computer, not a USB hub, if you experience problems.
- Connect one end of the included USB cable to the WD Elements drive.
- Connect the other end of the USB cable to an available USB port on your computer.
- The drive should then power on. If your computer is on, Windows should detect and install the native Windows drivers for your drive automatically.
Finding the drive on your system
If the drive is formatted for your computer system, it should show up in "My Computer" (or File Explorer) with a drive letter. On a Mac, the drive appears in Finder under "Devices" or on the desktop. If the drive does not appear, proceed to the troubleshooting section below.
Transferring files to the drive
- Open File Explorer (Windows) or Finder (Mac).
- Navigate to the files or folders you want to transfer.
- Select the items, then copy them (right-click and select "Copy" or press Ctrl+C on Windows, Command+C on Mac).
- Open the drive window and paste the files (right-click and select "Paste" or press Ctrl+V on Windows, Command+V on Mac).
You can also drag and drop files directly from a folder onto the drive's window or icon.
Using the drive for backups
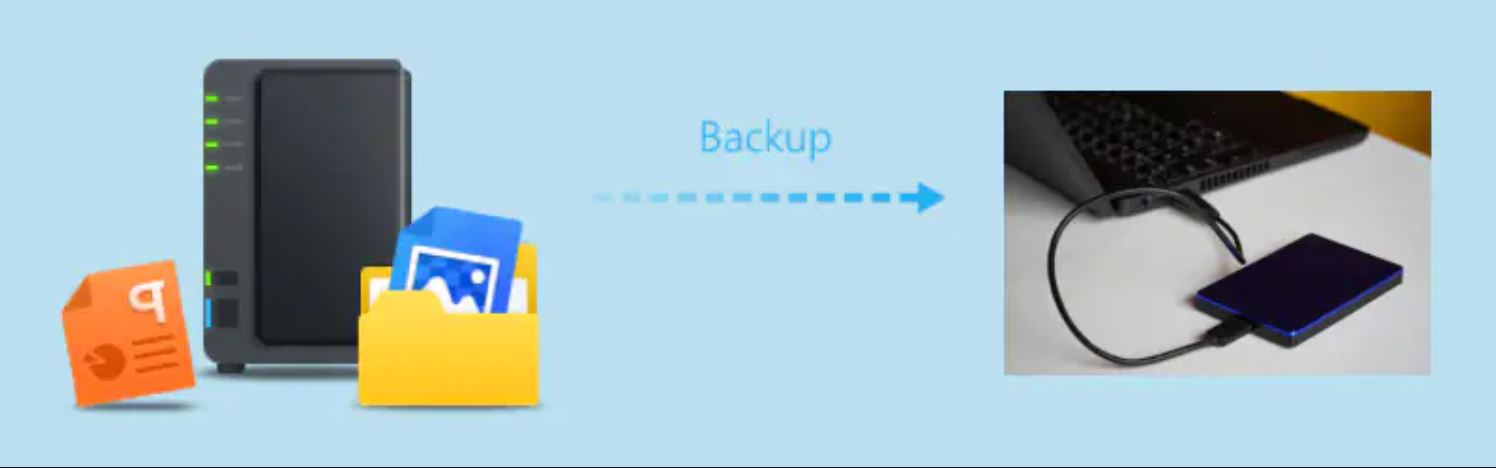
The WD Elements drive works with built-in backup tools. On Windows, you can set up File History to automatically back up files or any other drive. On macOS, you can use Time Machine to schedule backups. For detailed steps on setting up these tools, see the dedicated backup guide for your operating system.
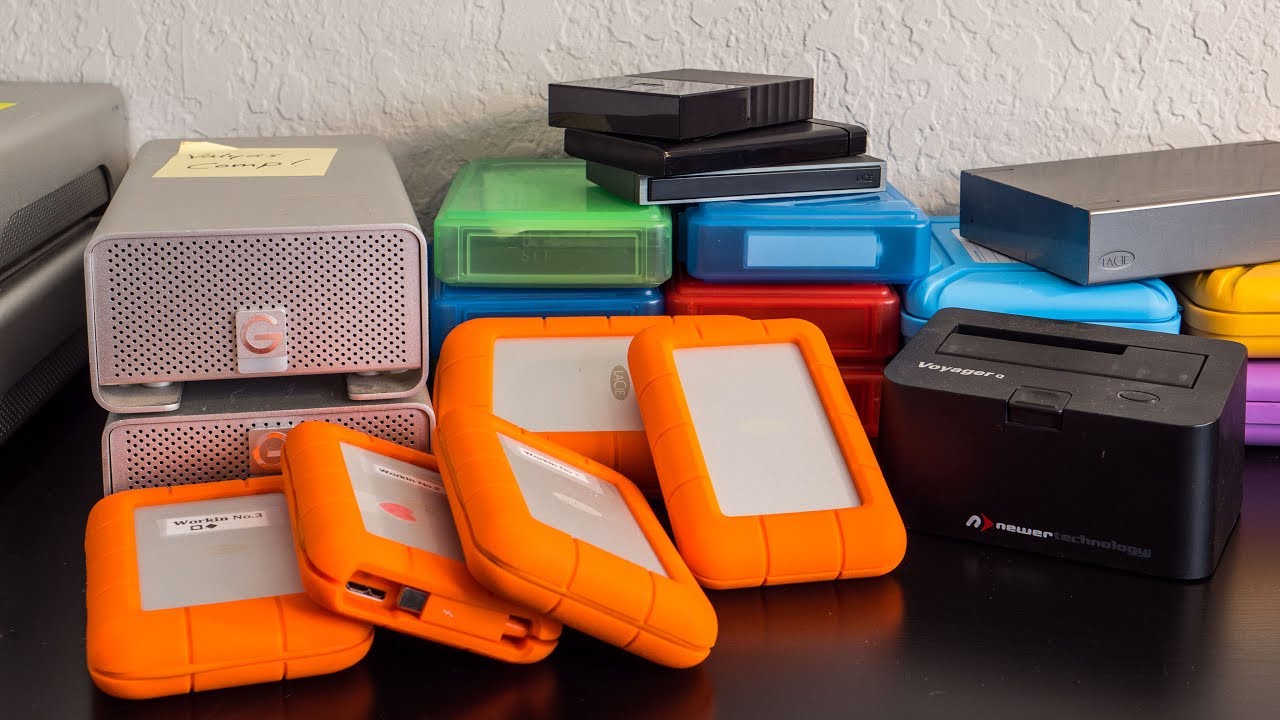
If you need to use a LaCie external hard drive for a different project, the same plug-and-play principles apply for connecting and transferring data.
Safely ejecting the drive
- Ensure all file transfers are complete.
- In File Explorer (Windows) or Finder (Mac), right-click the WD Elements drive.
- Wait for a confirmation message that it is safe to remove the drive.
- Physically unplug the USB cable from the computer.
Following this procedure prevents data corruption by ensuring all pending read/write operations are finished.
Troubleshooting: drive not detected or not appearing
If the drive does not appear in File Explorer or Finder, try these steps in order:
- Check the USB connection. Ensure the cable is securely connected to both the drive and the computer. Avoid using a USB hub; connect directly to a port on the computer.
- Try another USB port. Connect the drive to a different USB port on your computer. If using a desktop, try a port on the back of the case.
- Look for the drive in Disk Management (Windows) or Disk Utility (Mac).
- Look for the WD Elements drive in the list.
- Look for the drive in the left sidebar.
If the drive still does not appear, test it on another computer to rule out a hardware issue with the drive itself.
\nRelated reading: How Do I Transfer My Photos To An External Hard Drive.