Overview
Restoring files from an external hard drive is essential when you accidentally delete or lose important data. Whether you’re using a Windows or Mac computer, there are a few steps you can take to recover your files. In this guide, we’ll explore the process of restoring files from an external hard drive.
Before we delve into the specific steps, it’s crucial to understand the importance of connecting the external hard drive correctly. A proper connection ensures that your computer recognizes the device and allows for effective data recovery.
After connecting the external hard drive, it’s essential to make some initial preparations. These preparations include checking the available storage space on your computer and reviewing your backup options.
Once you’ve prepared your computer, you can begin the file recovery process. Both Windows and Mac operating systems provide built-in file recovery options.
For Windows users, the File History feature allows you to restore previous versions of files that were backed up automatically. This feature is especially useful when you’ve made changes to a file but need to revert to an earlier version.
Mac users can take advantage of the Time Machine tool, which automatically creates backups of your files. Through Time Machine, you can browse through previous versions of files and restore them to their original locations.
If the built-in file recovery options don’t meet your needs, there are third-party software options available. These applications offer more advanced features and increased flexibility in file recovery.
For Windows users, Recuva is a popular choice. This software allows you to scan your external hard drive and recover lost or deleted files. It offers a clear interface and provides options to filter search results based on file types.
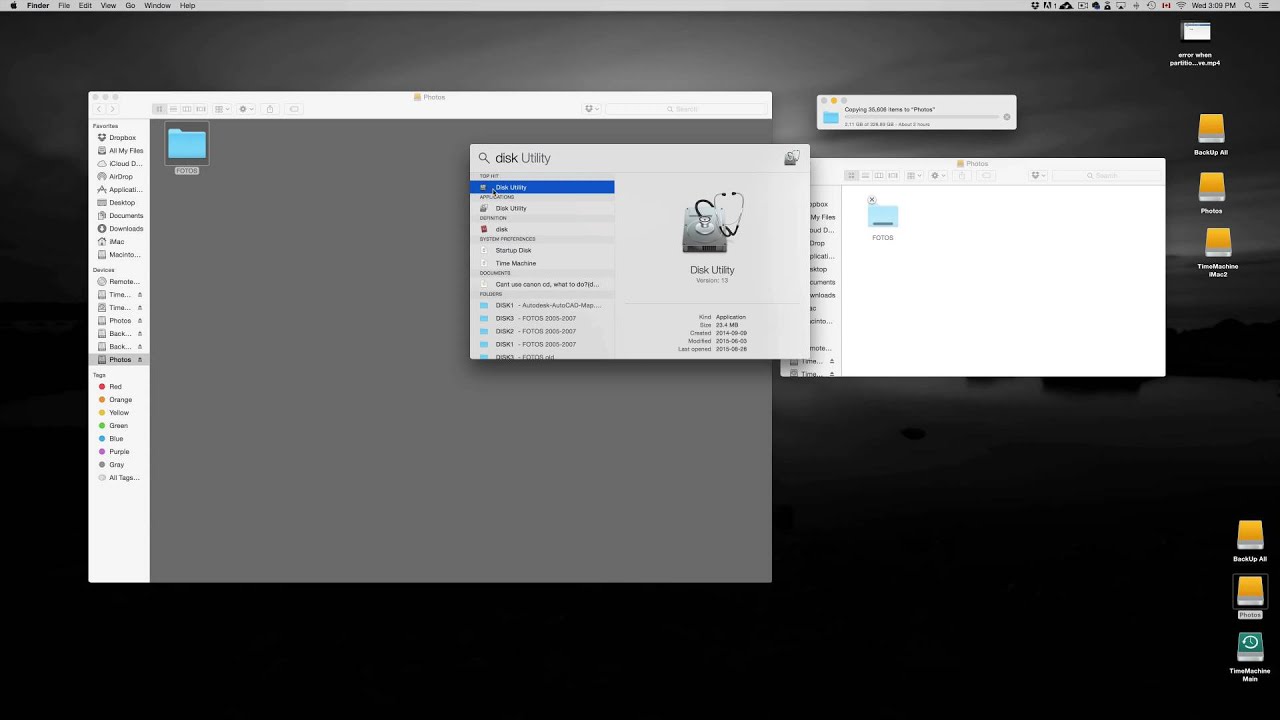
Mac users can opt for Disk Drill, which offers similar functionality. With Disk Drill, you can recover deleted files, lost partitions, and even perform byte-by-byte backups of your external hard drive.
Once you’ve selected the appropriate file recovery option for your system, you can proceed to restore your files from the external hard drive. This process involves selecting the desired files and choosing a location on your computer to save the recovered data.
After the recovery process is complete, it’s essential to check the recovered files for any corruption or errors. This step ensures that your restored files are intact and usable.
In summary, restoring files from an external hard drive is a straightforward process that can be accomplished using the built-in file recovery options provided by your operating system or by utilizing third-party software. By following the steps outlined in this guide, you’ll be well-equipped to recover your important files and documents.
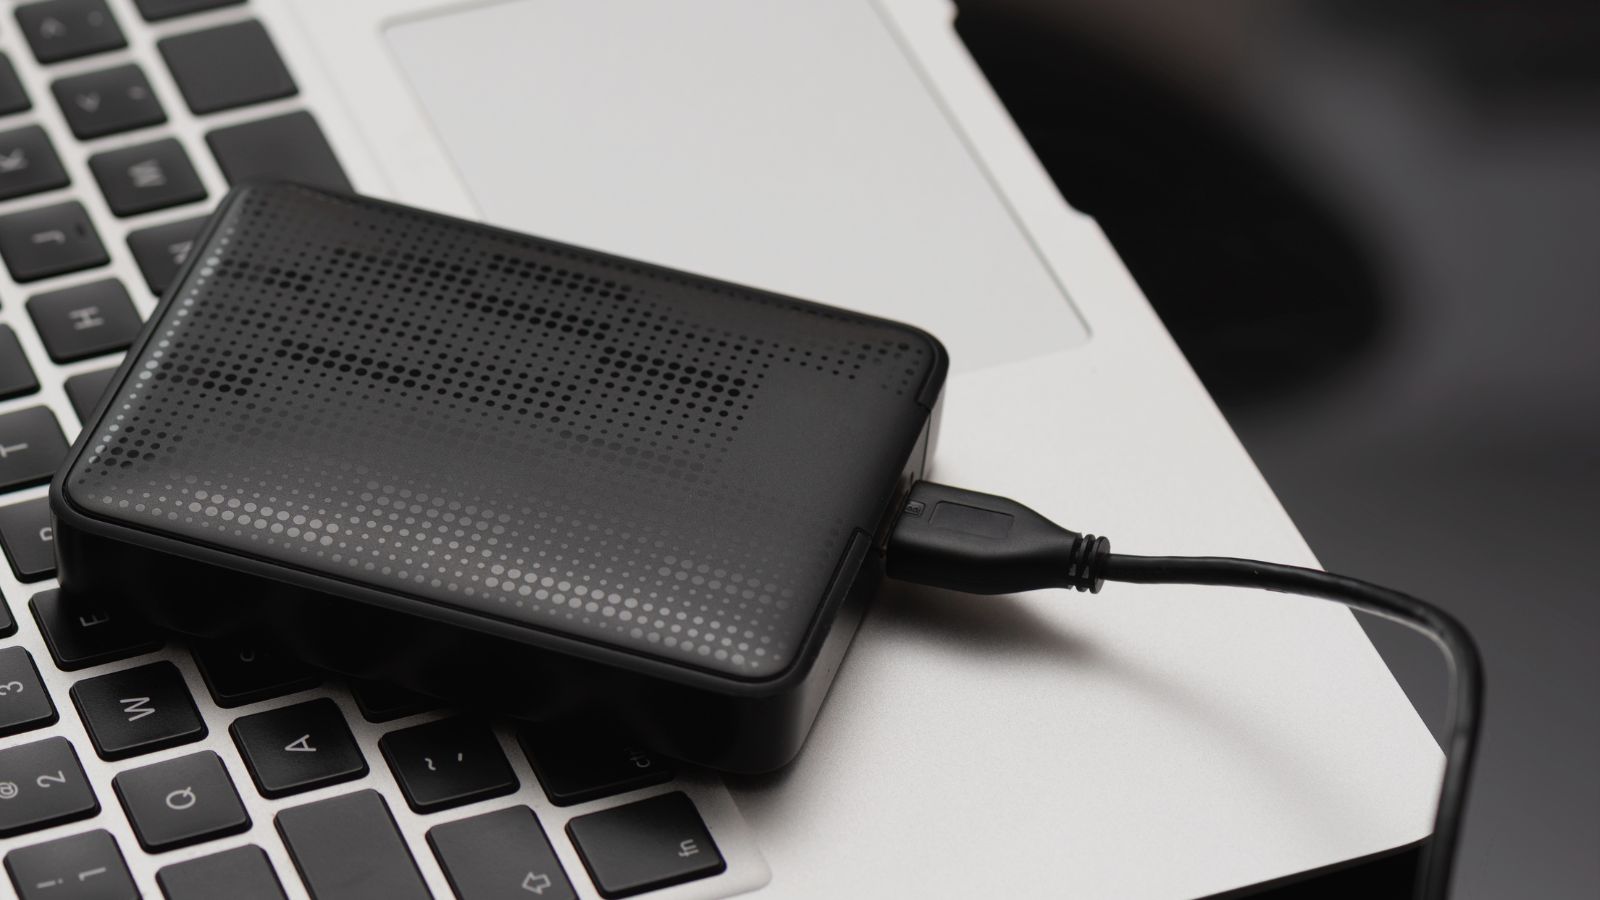
Step 1: Connecting the External Hard Drive
Before you can begin restoring your files from an external hard drive, the first step is to ensure that the device is properly connected to your computer. Follow these steps to connect your external hard drive:
- Locate an available USB port on your computer. Most external hard drives use USB connections for compatibility.
- Insert the USB cable from the external hard drive into the USB port on your computer. Make sure the connection is firm and secure.
- Power on the external hard drive. Some models may have a separate power button, while others may power on automatically once connected.
- Wait for your computer to recognize the external hard drive. Depending on your operating system, you may receive a notification or see the external hard drive appear as a new device.
- Open up File Explorer (Windows) or Finder (Mac) to verify that the external hard drive is successfully connected. You should see the drive listed in the sidebar or under “This PC” (Windows) or “Devices” (Mac).
It’s important to note that if your computer doesn’t recognize the external hard drive, there may be compatibility issues or problems with the USB connection. In such cases, try connecting the device to a different USB port or using a different USB cable.
Additionally, make sure that the external hard drive is receiving power. Some devices may require an external power source or a separate power adapter to function properly.
By following these steps, you will ensure that your external hard drive is properly connected to your computer. This enables you to proceed with the file recovery process and restore your lost or deleted files.
Step 2: Initial Preparations
Before diving into the file recovery process, it’s important to make a few initial preparations. These preparations will help ensure a smooth and successful restoration of your files from the external hard drive. Follow these steps to get ready:
- Check available storage space: Before restoring files from your external hard drive, it’s crucial to assess the available storage space on your computer. Make sure you have enough free space to accommodate the recovered files. If necessary, consider freeing up storage by removing unnecessary files or transferring them to another location.
- Review backup options: It’s always a good practice to have a backup of your important files. While restoring files from an external hard drive can help recover lost or deleted data, having a reliable backup strategy in place is essential. Consider implementing a regular backup routine using cloud storage services, external backup drives, or dedicated backup software. This will provide an additional layer of protection against data loss.
- Disconnect unnecessary devices: To avoid any interference or conflicts during the file recovery process, it’s recommended to disconnect any unnecessary external devices from your computer. This includes USB drives, external monitors, printers, or any other peripherals that are not required for the file restoration process.
- Ensure a stable power source: It’s crucial to have a stable power source during the file recovery process. Sudden power outages or interruptions can potentially disrupt the restoration process or cause data corruption. If you’re using a laptop, make sure it’s connected to a reliable power supply, and if you’re using a desktop computer, ensure that it’s connected to an uninterruptible power supply (UPS) if available.
By taking these initial preparations, you’ll be better equipped to restore your files from the external hard drive without any hiccups. It’s a wise approach to assess your available storage space, review backup options, disconnect unnecessary devices, and ensure a stable power source before proceeding with the file recovery process.
Step 3: Using Built-in File Recovery Software
Both Windows and Mac operating systems provide built-in file recovery options that can help you restore files from your external hard drive. These tools offer a convenient and straightforward way to recover your lost or deleted data. Follow the instructions below, based on your operating system, to utilize the built-in file recovery software:
Option 1: Windows File History (Windows OS)
Windows File History is a built-in feature that automatically backs up your files to an external drive. It also allows you to restore previous versions of files easily. To restore files using Windows File History:
- Connect your external hard drive to your Windows computer.
- Open the File Explorer and navigate to the folder where the lost or deleted files were originally located.
- Right-click on the folder and select “Restore previous versions” from the context menu.
- A list of previous versions will appear. Select the desired version and click on the “Restore” button.
- Your files will be restored to their original location.
Option 2: Time Machine (Mac OS)
Mac users can take advantage of Time Machine, which is a built-in backup utility. Time Machine automatically creates backups of your files, allowing you to restore them easily. To restore files using Time Machine:
- Connect your external hard drive to your Mac computer.
- Open Finder and navigate to the folder where the lost or deleted files were originally located.
- Click on the Time Machine icon on the menu bar and select “Enter Time Machine.”
- A timeline will appear, displaying different versions of your files. Use the timeline or the search bar to locate the desired files.
- Select the files you want to restore and click on the “Restore” button.
- Your files will be restored to their original location.
Using the built-in file recovery software provided by your operating system offers a user-friendly approach to restoring files from your external hard drive. Whether you’re using Windows File History or Time Machine, these tools ensure a seamless and efficient recovery process.
Option 1: Windows File History (Windows OS)
Windows File History is a built-in feature in Windows operating systems that provides an easy and efficient way to back up and restore files. This feature creates automatic backups of your files and allows you to restore previous versions in case of accidental deletion or data loss. To restore files using Windows File History, follow the steps below:
- Connect your external hard drive to your Windows computer.
- Open the File Explorer by pressing the Windows key + E or by clicking on the folder icon in the taskbar.
- Navigate to the folder where the lost or deleted files were originally located.
- Right-click on the folder and select “Restore previous versions” from the context menu that appears.
- A window will open, displaying a list of previous versions of the folder.
- Select the desired version from the list and click on the “Restore” button.
- Windows will restore the selected folder to its original location.
Windows File History allows you to restore entire folders or specific files from the selected folder’s previous versions. It provides a convenient way to recover your files without the need for any additional software. However, please note that File History requires that you have previously enabled and configured the feature for the specific folders you wish to restore.
If you haven’t set up File History previously, you can do so by following these steps:
- Go to the Settings menu by pressing Windows key + I or searching for “Settings” in the Start menu.
- Click on “Update & Security” and then select “Backup” from the left-hand menu.
- Under “Back up using File History,” click on “Add a drive” to select the external hard drive you want to use for backups.
- Once the drive is selected, File History will begin automatically backing up your files.
By utilizing Windows File History, you can rest assured that your files are backed up and can be easily restored in case of accidental deletion or data loss. It’s a handy feature that provides peace of mind when it comes to important documents and files.
Option 2: Time Machine (Mac OS)
Time Machine is a built-in backup utility in Mac operating systems that allows you to effortlessly back up and restore your files. With Time Machine, you can easily recover previous versions of files, making it an essential tool for restoring data from your external hard drive. To restore files using Time Machine, follow the steps below:
- Connect your external hard drive to your Mac computer.
- Open Finder by clicking on the Finder icon in the dock or by pressing Command + Space and typing “Finder” in the Spotlight search.
- Navigate to the folder where the lost or deleted files were originally located.
- Click on the Time Machine icon in the menu bar at the top of the screen and select “Enter Time Machine.”
- A new window will open, displaying a visual timeline on the right-hand side and your Finder window on the left-hand side.
- Use the timeline to scroll back in time and locate the specific version of the folder or file you want to restore.
- Once you’ve found the desired version, select the files or folder and click on the “Restore” button.
- Time Machine will restore the selected items to their original location.
Time Machine keeps hourly backups for the past 24 hours, daily backups for the past month, and weekly backups for all previous months. This allows you to easily navigate through different versions of your files and restore the specific versions you need.
It’s important to note that for Time Machine to work, you need to have previously set up and configured the feature. Here’s how to set up Time Machine:
- Connect your external hard drive to your Mac computer.
- Click on the Apple menu in the top-left corner of the screen and select “System Preferences.”
- Click on “Time Machine.”
- Click on “Select Backup Disk” and choose your external hard drive from the list of available options.
- Enable the “Back Up Automatically” option to allow Time Machine to create regular backups of your files.
By utilizing Time Machine as your file backup and recovery solution, you can have peace of mind knowing that your important files are protected and easily restorable. It’s a powerful tool that ensures your data remains safe and accessible even in the event of accidental deletion or data loss.
Step 4: Using Third-party File Recovery Software
If the built-in file recovery options provided by your operating system do not meet your needs, you can turn to third-party file recovery software. These applications offer more advanced features and increased flexibility in restoring your files from an external hard drive. Here are a couple of popular options:
Option 1: Recuva (Windows OS)
Recuva is a popular third-party file recovery software for Windows users. It allows you to scan your external hard drive and recover lost or deleted files with ease. Follow these steps to use Recuva:
- Download and install Recuva from the official website.
- Launch Recuva and select the type of files you want to recover (e.g., pictures, documents, videos).
- Choose the location (your external hard drive) where the files were originally stored.
- Click on the “Scan” button to start the scanning process.
- Once the scan is complete, Recuva will display a list of recoverable files.
- Select the files you wish to recover and choose a location on your computer to save the recovered files.
- Click on the “Recover” button to restore the selected files from your external hard drive.
Recuva provides an intuitive interface and offers options to filter search results, making it easier to locate and recover specific types of files. However, remember to avoid saving the recovered files back onto the same external hard drive to prevent overwriting any unrecovered data.
Option 2: Disk Drill (Mac OS)
Disk Drill is a reliable third-party file recovery software for Mac users. It offers comprehensive recovery options, including the ability to restore deleted files, recover lost partitions, and even create byte-by-byte backups of your external hard drive. Follow these steps to use Disk Drill:
- Download and install Disk Drill from the official website.
- Launch Disk Drill and select your external hard drive from the list of available drives.
- Click on the “Recover” button next to your external hard drive.
- Allow Disk Drill to scan your external hard drive for recoverable files.
- Once the scanning process is complete, Disk Drill will display a list of recoverable files.
- Select the files you want to recover and choose a location on your Mac to save the recovered files.
- Click on the “Recover” button to restore the selected files from your external hard drive.
Disk Drill offers a user-friendly interface and advanced recovery options, making it a powerful tool for retrieving lost or deleted files from your external hard drive. It’s recommended to avoid installing Disk Drill on the same external hard drive you’re recovering files from to prevent potential data overwrite.
By utilizing third-party file recovery software, you can enhance your options for restoring files from your external hard drive. Whether you choose Recuva for Windows or Disk Drill for Mac, these tools provide additional flexibility and advanced features to help you recover your important data.
Option 1: Recuva (Windows OS)
Recuva is a popular third-party file recovery software designed specifically for Windows users. It offers a user-friendly interface and powerful features to help you recover lost or deleted files from your external hard drive. Follow these steps to use Recuva for file recovery:
- Download and install Recuva from the official website.
- Launch Recuva and select the type of files you want to recover, such as pictures, documents, videos, or all file types.
- Select the location where the files were originally stored, which is your external hard drive in this case.
- Click on the “Scan” button to start the scanning process, and Recuva will analyze your external hard drive for recoverable files.
- Once the scan is complete, Recuva will present a list of recoverable files, organized by file type and available status.
- Browse through the results and select the files you want to recover by ticking the checkboxes next to them.
- Choose a location on your computer where you want to save the recovered files. It’s important to avoid saving them back to the same external hard drive to prevent overwriting any unrecovered data.
- Click on the “Recover” button to initiate the file recovery process. Recuva will restore the selected files to the specified location on your computer.
Recuva offers several features to refine your file recovery process. You can use the “Deep Scan” option for more thorough scanning, apply filters to narrow down the search results based on file attributes or location, and even preview files before recovering them. These options enhance the precision and efficiency of the file recovery process.
Remember that the success of file recovery depends on various factors, such as the extent of file fragmentation, overwriting, or physical damage to the external hard drive. It’s recommended to use Recuva as soon as possible after data loss occurs to increase the chances of successful recovery.
Recuva is a reliable and user-friendly file recovery software that can help you retrieve lost or deleted files from your external hard drive. Its intuitive interface and robust features make it a valuable tool for Windows users in need of file recovery.
Option 2: Disk Drill (Mac OS)
If you are a Mac user, Disk Drill is a powerful third-party file recovery software that can help you restore lost or deleted files from your external hard drive. With its user-friendly interface and comprehensive recovery features, Disk Drill is a popular choice for Mac users. Follow these steps to use Disk Drill for file recovery:
- Download and install Disk Drill from the official website.
- Launch Disk Drill and select your external hard drive from the list of available drives.
- Click on the “Recover” button located next to the name of your external hard drive.
- Allow Disk Drill to scan your external hard drive to identify recoverable files. The scanning process may take some time depending on the size of your drive and the number of files.
- Once the scanning process is complete, Disk Drill will present a list of recoverable files, organized by file type and available status.
- Browse through the results and select the files you wish to recover by checking the checkboxes next to them.
- Choose a location on your Mac where you want to save the recovered files. It’s important to select a different location than the one you are recovering from to prevent overwriting any remaining data.
- Click on the “Recover” button, and Disk Drill will start the file recovery process. The selected files will be restored to the specified location on your Mac.
Disk Drill offers additional features to enhance your file recovery experience. You can use the built-in preview feature to examine the content of recoverable files before restoring them. This allows you to verify the integrity and usefulness of the files you are recovering. Additionally, Disk Drill provides a protection feature that enables you to create a byte-by-byte backup (disk image) of your external hard drive. This backup can be used for future recovery purposes or as a precaution against data loss.
It’s important to note that successful file recovery depends on various factors, such as the condition of the external hard drive, the extent of file fragmentation, and the time elapsed since the data loss occurred. Therefore, it’s recommended to use Disk Drill at the earliest convenience after experiencing data loss.
As a trusted and feature-rich file recovery software for Mac users, Disk Drill offers a reliable solution to restore lost or deleted files from your external hard drive. Its intuitive interface, advanced recovery features, and additional protection options make it a valuable tool for file recovery on Mac OS.
Step 5: Restoring Files from the External Hard Drive
After you have prepared your computer and identified the files you want to recover, it’s time to restore them from your external hard drive. Follow these steps to successfully restore your files:
- Ensure that your external hard drive is properly connected to your computer.
- Open the file recovery software you have chosen to use, whether it’s the built-in option provided by your operating system or a third-party software like Recuva or Disk Drill.
- Navigate to the location or folder where your lost or deleted files were originally stored.
- Depending on the software you are using, select the files individually or choose the entire folder that contains the files you want to restore.
- Choose a destination folder on your computer where you want to save the restored files. It’s important to select a different location than the one you are recovering from to prevent overwriting any remaining data on your external hard drive.
- Click on the “Restore” or “Recover” button to initiate the restoration process.
- Wait for the software to complete the restoration process. The time required may vary depending on the size and number of files being restored.
- Once the restoration is complete, verify that the files have been successfully restored to the specified location on your computer.
It’s crucial to double-check the restored files to ensure that they are intact and accessible. Open and review a few files from different categories to confirm their usability. This step is particularly important when dealing with large or critical files to prevent any surprises or disappointments later on.
If any files were unable to be restored or if you encounter any issues during the restoration process, consider seeking further assistance from the software’s support resources or consulting with a professional data recovery service.
By following these steps, you can successfully restore your files from the external hard drive using the selected file recovery software. Remember to be patient and cautious during the process to maximize the chances of successful file restoration.
Step 6: Checking the Recovered Files
After restoring your files from the external hard drive, it’s crucial to check and verify the integrity of the recovered data. This step ensures that the restored files are intact, accessible, and free from corruption. Here’s how you can check the recovered files:
- Open the folder on your computer where you saved the restored files.
- Browse through the files and open a few files from different categories to test their usability.
- Verify that the content of the files matches your expectations. Check for any visible signs of corruption or damage.
- Attempt to open different types of files, such as documents, images, videos, or any other file formats you recovered. Ensure they open without errors and are fully accessible.
- If you discover any issues or errors with the recovered files, such as missing data or data corruption, double-check the restoration process and consider seeking professional assistance if necessary.
It’s important to note that even with successful file recovery, some files may have been partially overwritten or damaged during the data loss event. In such cases, it’s possible that certain files may be unrecoverable or show signs of incomplete recovery. This is why checking the recovered files is crucial to identify any potential issues as early as possible.
If you encounter any problems or if the recovered files are not satisfactory, it’s advisable to consult with a professional data recovery service. These services have specialized tools and expertise to handle complex data recovery scenarios and may be able to assist you further.
By thoroughly checking the recovered files, you can ensure the reliability and usability of your restored data. This step adds an extra layer of assurance and helps you identify any potential issues or errors before fully relying on the recovered files for your ongoing work or personal use.
Conclusion
Restoring files from an external hard drive is a crucial process when recovering lost or deleted data. By following the steps outlined in this guide, you can successfully recover your files and avoid permanent data loss.
Starting with the proper connection of the external hard drive, it is important to ensure that it is recognized by your computer before proceeding. With the initial preparations, such as checking available storage space and reviewing backup options, you can better prepare for the recovery process.
Using built-in file recovery software, such as Windows File History or Time Machine, provides a convenient and straightforward way to restore files. These tools offer a range of features to help you recover previous versions of files or entire folders from your external hard drive.
If the built-in options do not meet your needs, utilizing third-party file recovery software like Recuva or Disk Drill gives you more advanced capabilities and flexibility in recovering your files. These applications offer features like deep scanning, file previewing, and selective recovery.
Once you have selected the appropriate software and restored your files, it’s essential to check the recovered data for any errors or corruption. By opening and reviewing a sample of files, you can confirm the integrity and usability of the recovered files.
Remember, prevention is always better than recovery. Implementing regular backups and ensuring proper file management practices can help prevent data loss from occurring in the first place. Regularly backing up your important files to an external storage device, network drive, or cloud-based service can provide an additional layer of protection.
In cases where you cannot recover your files using the mentioned methods or encounter difficulties during the process, it’s recommended to seek professional assistance from a data recovery service. These experts specialize in recovering data from damaged or faulty storage devices and can provide tailored solutions to your specific situation.
By following the steps outlined in this guide and taking the necessary precautions, you can enhance your chances of successfully recovering your files from an external hard drive and ensuring the safety and accessibility of your valuable data.