Introduction
When it comes to expanding your storage options or troubleshooting your Mac, booting from an external hard drive can be a useful solution. Whether you need to access your files, perform a system restore, or run diagnostics, having the ability to boot from an external hard drive can save you time and simplify the process.
This article will guide you through the steps to boot your Mac from an external hard drive. Before we dive into the details, it’s important to note that the process may vary slightly depending on the model and operating system of your Mac. However, the general steps outlined here should apply to most Mac computers.
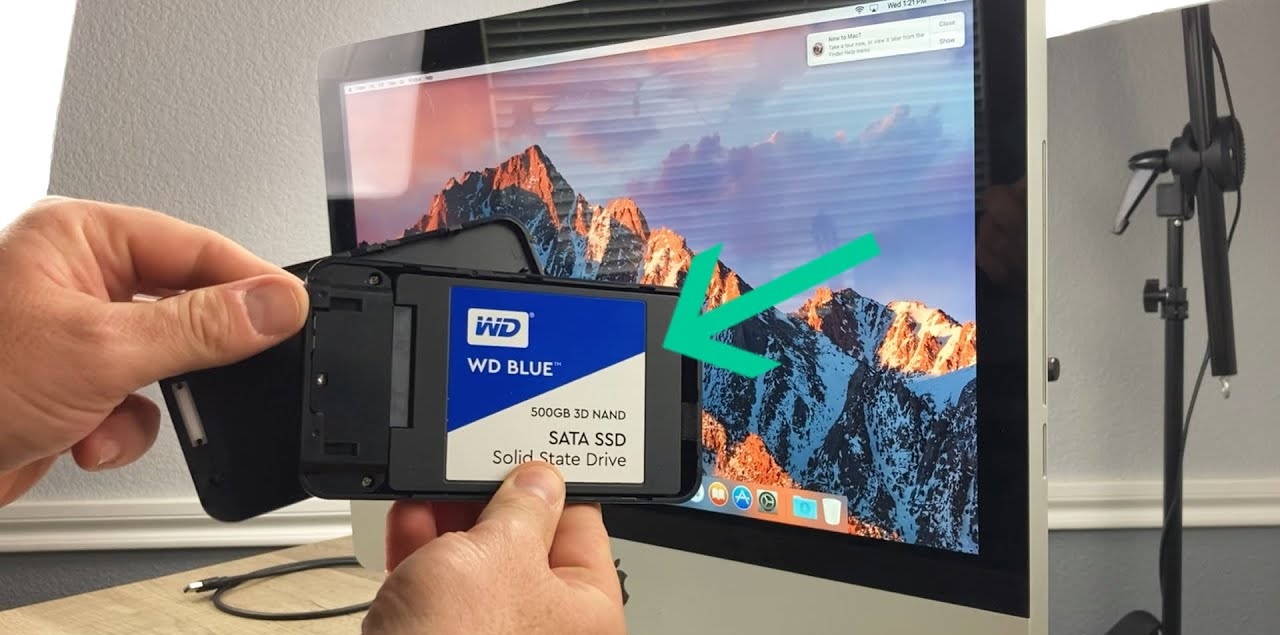
Before getting started, make sure you have an external hard drive with sufficient storage capacity. It’s also essential to back up any important data on your Mac as the process of booting from an external hard drive can overwrite the existing system files.
Now that you’re ready, let’s begin the process of booting your Mac from an external hard drive.
Step 1: Preparing Your External Hard Drive
Before you can boot your Mac from an external hard drive, you need to ensure that your hard drive is properly prepared. Follow these steps to get your external hard drive ready:
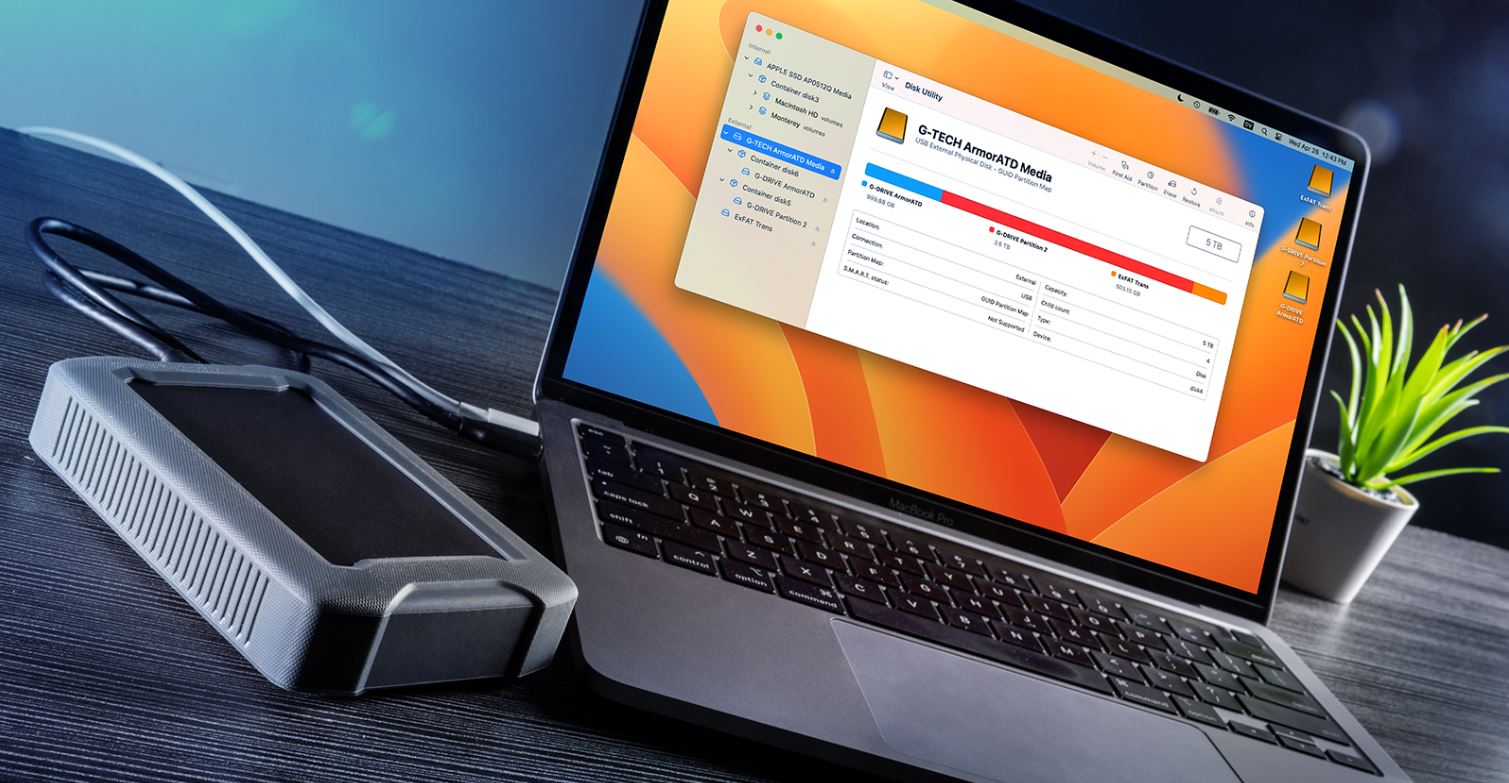
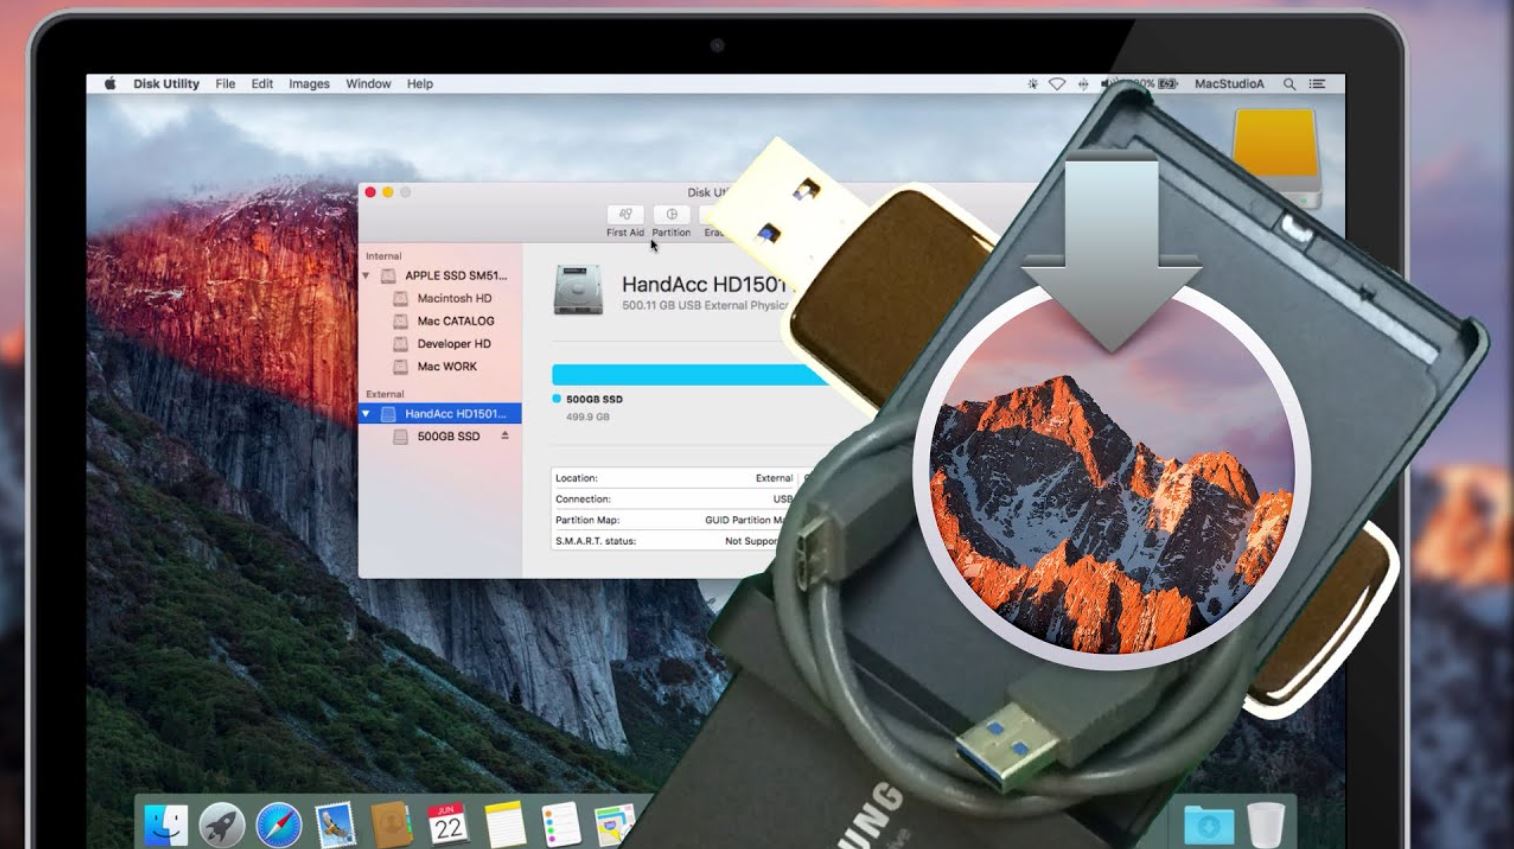
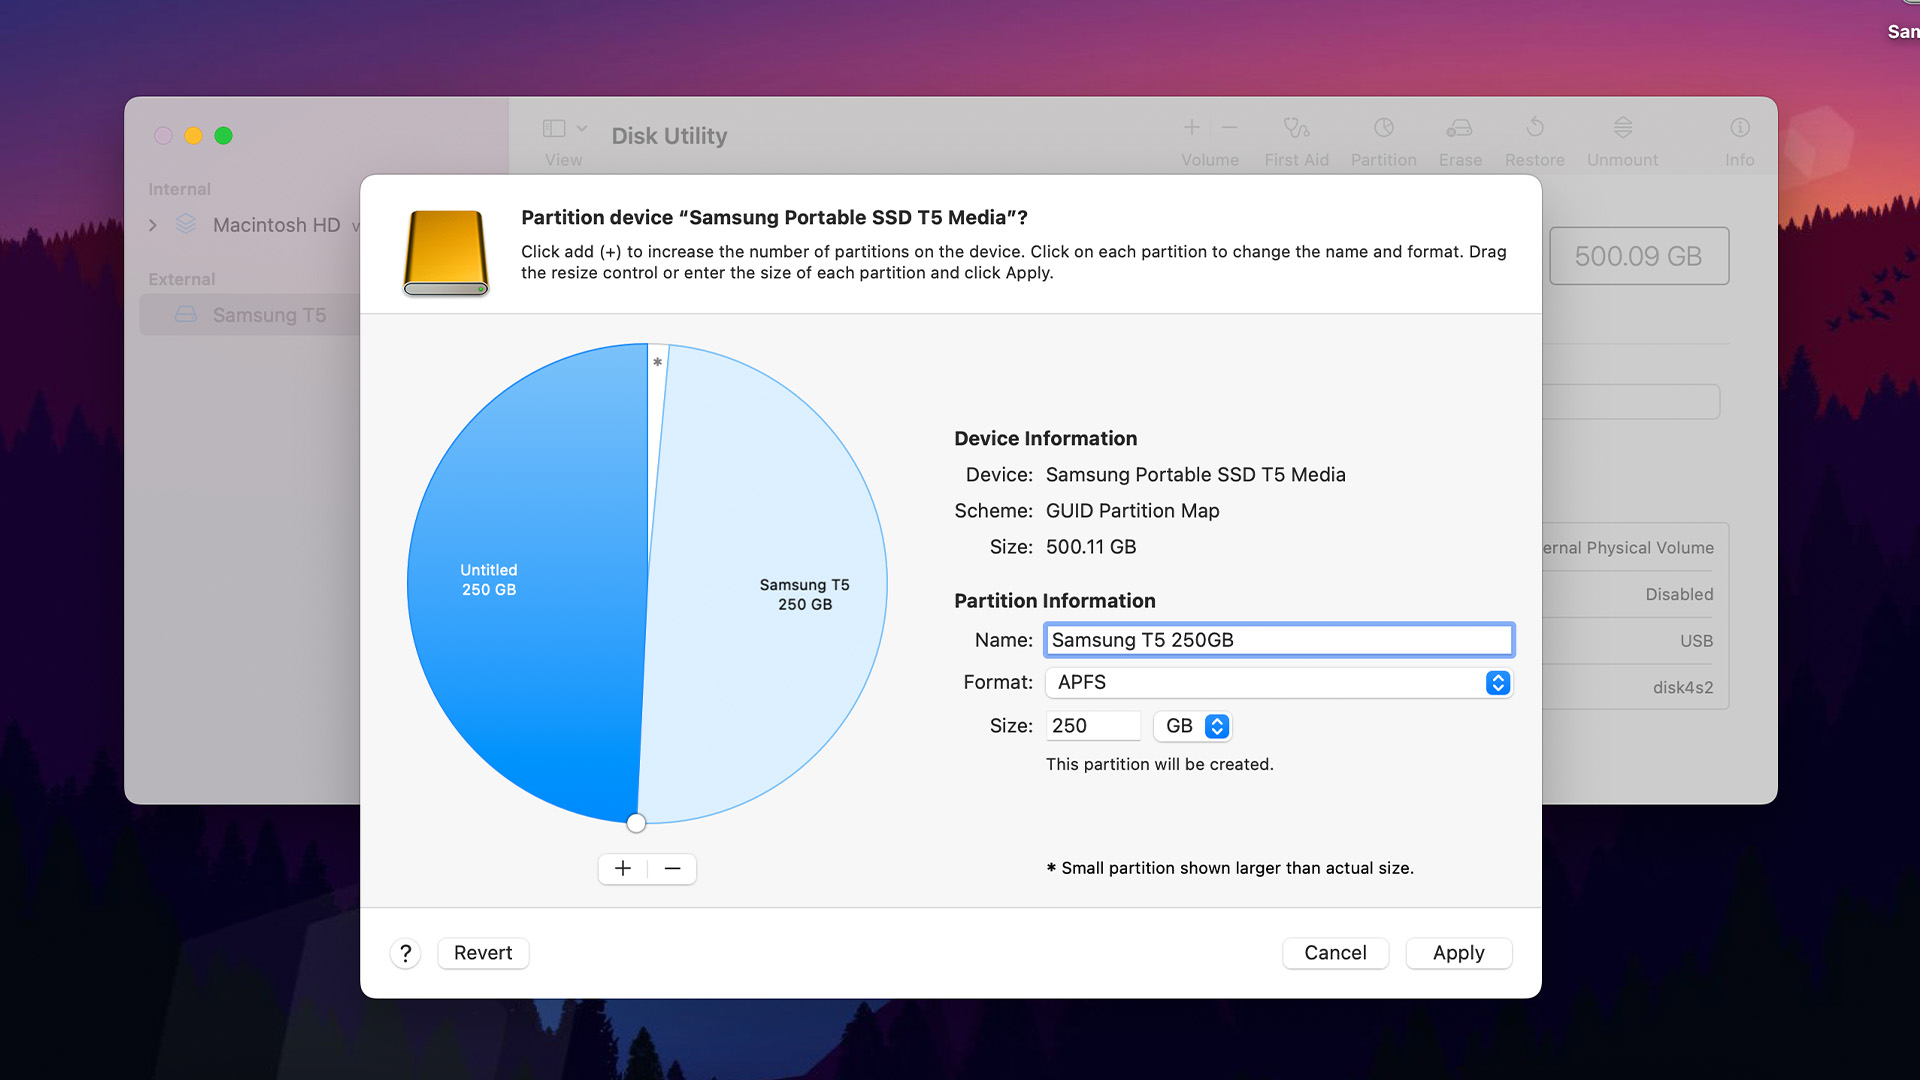
- Format the hard drive: If your external hard drive is not already formatted, you will need to format it to a compatible file system. To do this, open the Disk Utility application on your Mac (located in the Utilities folder within the Applications folder). Select your external hard drive from the list on the left, click on the “Erase” tab, choose a format (such as “Mac OS Extended (Journaled)”), and click “Erase” to format the drive.
- Install macOS on the external hard drive: If your external hard drive is brand new or you want to have a fresh installation of macOS, you will need to install the operating system on the drive. To do this, connect the external hard drive to your Mac and restart your computer while holding down the Command and R keys. This will boot your Mac into macOS Recovery. From the macOS Utilities window, choose “Reinstall macOS” and follow the on-screen instructions to install the operating system to your external hard drive.
- Clone your existing system: If you want to boot your Mac from an external hard drive with an exact copy of your current system, you can use a cloning tool like Carbon Copy Cloner or SuperDuper! These applications allow you to create a bootable clone of your Mac’s internal drive onto your external hard drive. Simply connect your external hard drive, launch the cloning tool, and follow the instructions provided to clone your system.
Once you have prepared your external hard drive by formatting it or installing macOS, you’re ready to move on to the next step: connecting your external hard drive to your Mac.
Step 2: Connecting Your External Hard Drive to Your Mac
Now that you have prepared your external hard drive, the next step is to connect it to your Mac. Follow these steps to properly connect your external hard drive:
- Ensure compatibility: Make sure that the external hard drive you’re using is compatible with your Mac. Check the system requirements of the hard drive to ensure it supports your Mac’s operating system version and connection type (such as USB, Thunderbolt, or FireWire).
- Power on your external hard drive: If your external hard drive requires external power, ensure that it is plugged into a power source and turned on. Some hard drives draw power directly from your Mac, so make sure it is connected to a reliable power source or has a charged battery if applicable.
- Connect the drive to your Mac: Use the appropriate cable to connect your external hard drive to your Mac. If your drive uses USB, simply plug it into an available USB port on your Mac. For Thunderbolt or FireWire connections, use the respective ports on your Mac. Ensure that the connection is secure, and the cable is in good condition.
- Wait for the drive to appear: After connecting your external hard drive, wait for it to appear on your Mac’s desktop or in the Finder. You should see the name of the drive listed as an external device or storage volume. If it doesn’t appear, try restarting your Mac or reconnecting the drive.
Once your external hard drive is connected and recognized by your Mac, you’re ready to move on to the next step of booting your Mac from the external hard drive.
Step 3: Restarting Your Mac
Now that your external hard drive is connected to your Mac, it’s time to restart your computer. Follow these steps to restart your Mac:
- Save your work: Before restarting your Mac, make sure to save any open documents or projects that you are currently working on. This will prevent any data loss or unsaved changes.
- Close all applications: To ensure a clean restart, close all open applications on your Mac. This will prevent any conflicts or issues during the booting process.
- Click on the Apple Menu: Located at the top-left corner of your screen, click on the Apple logo to open the drop-down menu.
- Select Restart: From the drop-down menu, select “Restart.” This will initiate the restart process for your Mac.
- Confirm the restart: A confirmation dialog will appear asking if you want to restart your Mac. Click on “Restart” to proceed.
Once you click on “Restart,” your Mac will begin shutting down and preparing to boot. It’s important to leave your external hard drive connected during the restart process. Your Mac will automatically recognize the external hard drive as an available boot option if it is properly connected and formatted.
Now that your Mac is restarting, let’s move on to the next step: accessing your Startup Disk preferences.
Step 4: Accessing Your Startup Disk Preferences
After restarting your Mac, it’s time to access your Startup Disk preferences to select your external hard drive as the boot device. Follow these steps to access the Startup Disk preferences:
- Wait for your Mac to restart: Allow your Mac to complete the restart process and fully boot up. This may take a few moments.
- Open System Preferences: Click on the Apple menu at the top-left corner of your screen and select “System Preferences” from the drop-down menu. This will open the System Preferences window on your Mac.
- Select Startup Disk: In the System Preferences window, locate and click on the “Startup Disk” icon. This will open the Startup Disk preferences panel.
- Unlock the preferences: In the Startup Disk preferences panel, you may need to click on the lock icon at the bottom-left corner and enter your administrator password to unlock the preferences. This will allow you to make changes to the Startup Disk settings.
- Select your external hard drive: Once the preferences are unlocked, you will see a list of available startup disks. Locate and select your external hard drive from the list. Ensure that the correct drive is selected before proceeding.
By selecting your external hard drive as the startup disk, you are instructing your Mac to boot from this drive instead of the internal hard drive. This will allow you to access the operating system and files stored on the external hard drive.
Now that you’ve accessed the Startup Disk preferences and selected your external hard drive, it’s time to confirm your selection and restart your Mac.
Step 5: Selecting Your External Hard Drive as the Startup Disk
With the Startup Disk preferences open and your external hard drive connected, it’s time to select your external hard drive as the startup disk. Follow these steps to make the selection:
- Confirm your selection: Before proceeding, double-check that your external hard drive is selected in the Startup Disk preferences. Ensure that the name of your external hard drive is displayed as the selected startup disk.
- Apply the changes: Once you have verified the selection, click on the “Apply” button in the bottom-right corner of the Startup Disk preferences panel. This will save your changes and apply the selection of the external hard drive as the startup disk.
- Lock the preferences: After applying the changes, you can choose to lock the preferences again by clicking on the padlock icon at the bottom-left corner of the panel. This will prevent any further changes to the Startup Disk settings without entering the administrator password.
- Close the System Preferences: Once the preferences are locked, you can close the System Preferences window. Your selection of the external hard drive as the startup disk has been saved.
By selecting your external hard drive as the startup disk, you have instructed your Mac to boot from this drive upon the next restart. This means that the operating system and files on the external hard drive will be loaded instead of the internal hard drive.
Now that you have selected your external hard drive as the startup disk, it’s time to confirm your selection and restart your Mac.
Step 6: Confirming Your Selection and Restarting Your Mac
After selecting your external hard drive as the startup disk, it’s important to confirm your selection and proceed with the restart process. Follow these steps to confirm your selection and restart your Mac:
- Double-check your selection: Before proceeding, take a moment to verify that your external hard drive is indeed selected as the startup disk in the Startup Disk preferences. Ensure that the correct drive name is displayed.
- Save any open files: If you have any open files or documents that you want to keep, make sure to save them before continuing. Restarting your Mac will close all open applications and unsaved changes will be lost.
- Click on the Apple menu: Once you have confirmed your selection and saved your work, click on the Apple menu at the top-left corner of your screen. This will open the drop-down menu.
- Select Restart: From the drop-down menu, click on “Restart.” This will initiate the restart process for your Mac. Make sure that you have saved any necessary work as your Mac will soon shut down.
- Wait for your Mac to restart: After initiating the restart, your Mac will shut down and begin the booting process. It may take a few moments for your Mac to fully restart.
During the restart process, your Mac will recognize the external hard drive as the selected startup disk and load the operating system from it. You will see the Apple logo or a spinning loading indicator while your Mac boots from the external hard drive.
Now that your Mac is restarting and booting from the external hard drive, it’s time to verify that the booting process was successful.
Step 7: Verifying that Your Mac Boots from the External Hard Drive
Once your Mac has restarted and is booting from the external hard drive, it’s important to verify that the booting process was successful. Follow these steps to confirm that your Mac is indeed booting from the external hard drive:
- Observe the startup process: Keep an eye on your Mac’s screen as it begins to boot. You should see the loading indicator or the Apple logo, indicating that your Mac is starting up.
- Check for the external drive’s icon: During the startup process, if your Mac successfully boots from the external hard drive, you will see the external drive’s icon appear on your screen. This icon may be similar to the one displayed when the drive is connected in Finder.
- Login to your account: Once the booting process is complete, your Mac will display the login screen. Enter your account credentials, such as your username and password, to log in. This will display the desktop and allow you to access the operating system and files on the external hard drive.
- Ensure external drive functionality: Upon logging in, open a few applications or files stored on the external hard drive to confirm that they are functioning properly. This will ensure that your Mac is indeed booting from the external hard drive and accessing its contents.
If you can successfully see the external drive’s icon during the boot process and access its files and applications after logging in, congratulations! Your Mac is now successfully booting from the external hard drive.
If, for some reason, the external hard drive is not recognized during the boot process or you encounter any issues, it is recommended to retrace your steps starting from Step 1 to verify that everything was done correctly. You may also need to consult the documentation or support resources provided by the external hard drive manufacturer or Apple for further guidance.
Now that you have confirmed that your Mac is booting from the external hard drive, you can make use of the additional storage or perform necessary tasks without relying on your internal hard drive.
Conclusion
Booting your Mac from an external hard drive can be a valuable solution for expanding storage or troubleshooting your computer. By following the steps outlined in this guide, you can successfully boot your Mac from an external hard drive and access the operating system and files stored on it.
Remember to properly prepare your external hard drive by formatting it or installing macOS. Ensure that you have selected the correct drive as the startup disk in the Startup Disk preferences. After restarting your Mac, check that it boots from the external hard drive by observing the startup process and logging in to your account.
Having the ability to boot from an external hard drive gives you flexibility and control over your Mac. Whether you need to access specific files, perform maintenance tasks, or troubleshoot issues, booting from an external hard drive can simplify your workflow and provide an additional layer of convenience.
As always, make sure to keep your external hard drive properly backed up and secure. Regularly update your macOS and external drive software to ensure compatibility and security.
Now that you have learned how to boot your Mac from an external hard drive, you can confidently utilize this feature and make the most out of your computer’s capabilities.