Introduction
Partitioning an external hard drive can be a useful task for various reasons, such as creating separate storage spaces for different types of files or setting up a dual-boot system with multiple operating systems. By dividing your external hard drive into separate partitions, you can organize your data more efficiently, prevent data loss or corruption, and enhance system performance.
In this article, we will guide you through the process of partitioning an external hard drive on Windows XP. Despite being an older operating system, Windows XP is still used by many individuals and can benefit from partitioned storage.
Before we begin, it is important to note that partitioning a drive will erase all existing data. Therefore, it is crucial to back up any important files or folders on the external hard drive before proceeding. Additionally, ensure that you have administrative privileges on your Windows XP system to perform the necessary steps.
Without further ado, let us dive into the step-by-step process of partitioning an external hard drive on Windows XP.
Step 1: Connecting the External Hard Drive
The first step in partitioning your external hard drive on Windows XP is to physically connect the drive to your computer. Start by locating an available USB port on your computer. Most external hard drives utilize a USB connection, so ensure that your computer has a functioning USB port.
Once you have identified a suitable USB port, plug the USB cable of your external hard drive into the port. Make sure to securely connect both ends of the cable to avoid any data transfer interruptions. Additionally, if your external hard drive requires a power source, connect it to a power outlet using the provided power cable.
After connecting the external hard drive, wait for a few moments to allow your computer to detect the newly attached device. Windows XP should automatically recognize the external hard drive and assign a drive letter to it. You can verify the successful connection by navigating to “My Computer” or “This PC” from the Start menu and checking if the external hard drive appears as a new drive in the list of available devices.
If the drive does not appear or if you encounter any difficulties, try using a different USB port on your computer or test the external hard drive on another computer to rule out any potential hardware issues. Once the drive is properly connected and recognized by your computer, you can proceed to the next step of partitioning the external hard drive.
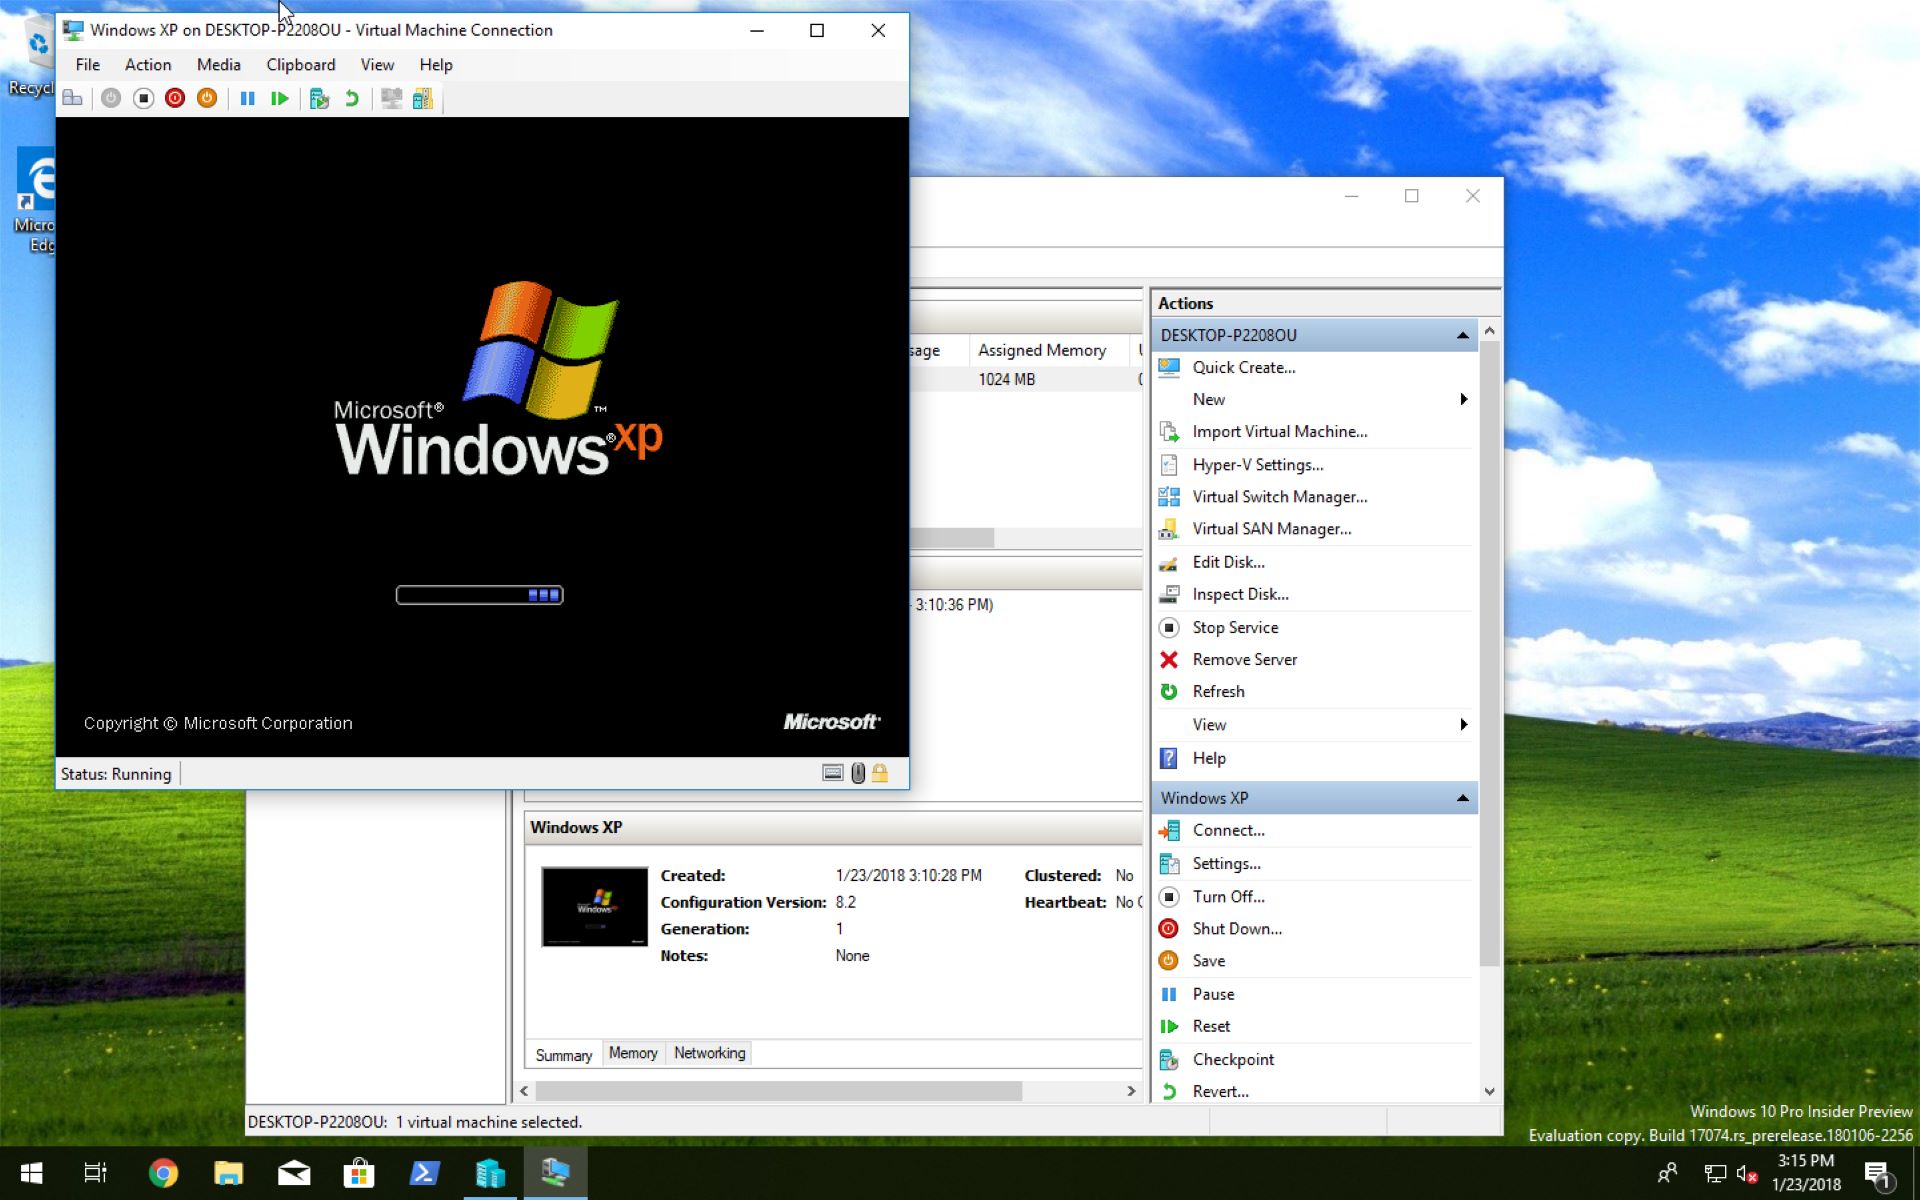
Step 2: Opening Disk Management
Once you have successfully connected the external hard drive to your Windows XP computer, the next step is to open Disk Management, the built-in utility that allows you to manage and partition your disk drives.
To open Disk Management, follow these steps:
- Go to the Start menu and click on “Control Panel”.
- In the Control Panel window, locate and click on the “Administrative Tools” icon.
- In the Administrative Tools window, double-click on the “Computer Management” icon.
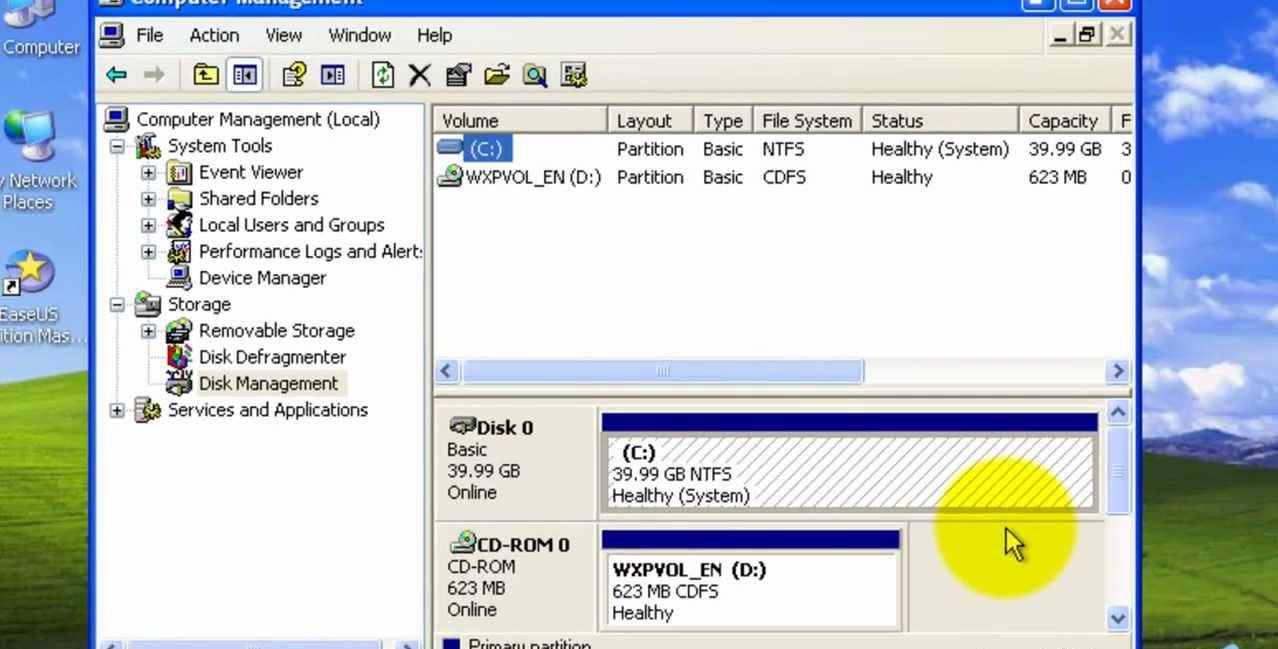
- Within the Computer Management window, look for the “Storage” category in the left-hand pane and expand it.
- Under the Storage category, click on “Disk Management”.
After clicking on Disk Management, the utility will analyze all connected drives and display a list of available disks and their partitions. You should be able to see your external hard drive listed among the drives.
If you encounter any issues while opening Disk Management or the external hard drive is not visible in the list, double-check the physical connection of the drive and make sure it is properly connected to your computer. You can also try restarting your computer and repeating the steps above.
With Disk Management now open and your external hard drive recognized, we can proceed to the next step of identifying the external hard drive within the utility.
Step 3: Identifying the External Hard Drive
After opening Disk Management in Windows XP, the next step is to identify the external hard drive within the utility.
When Disk Management is launched, it will display a list of all connected drives, including internal and external storage devices. To locate your external hard drive, follow these steps:
- Look at the list of disks and their partitions in the middle pane of the Disk Management window.
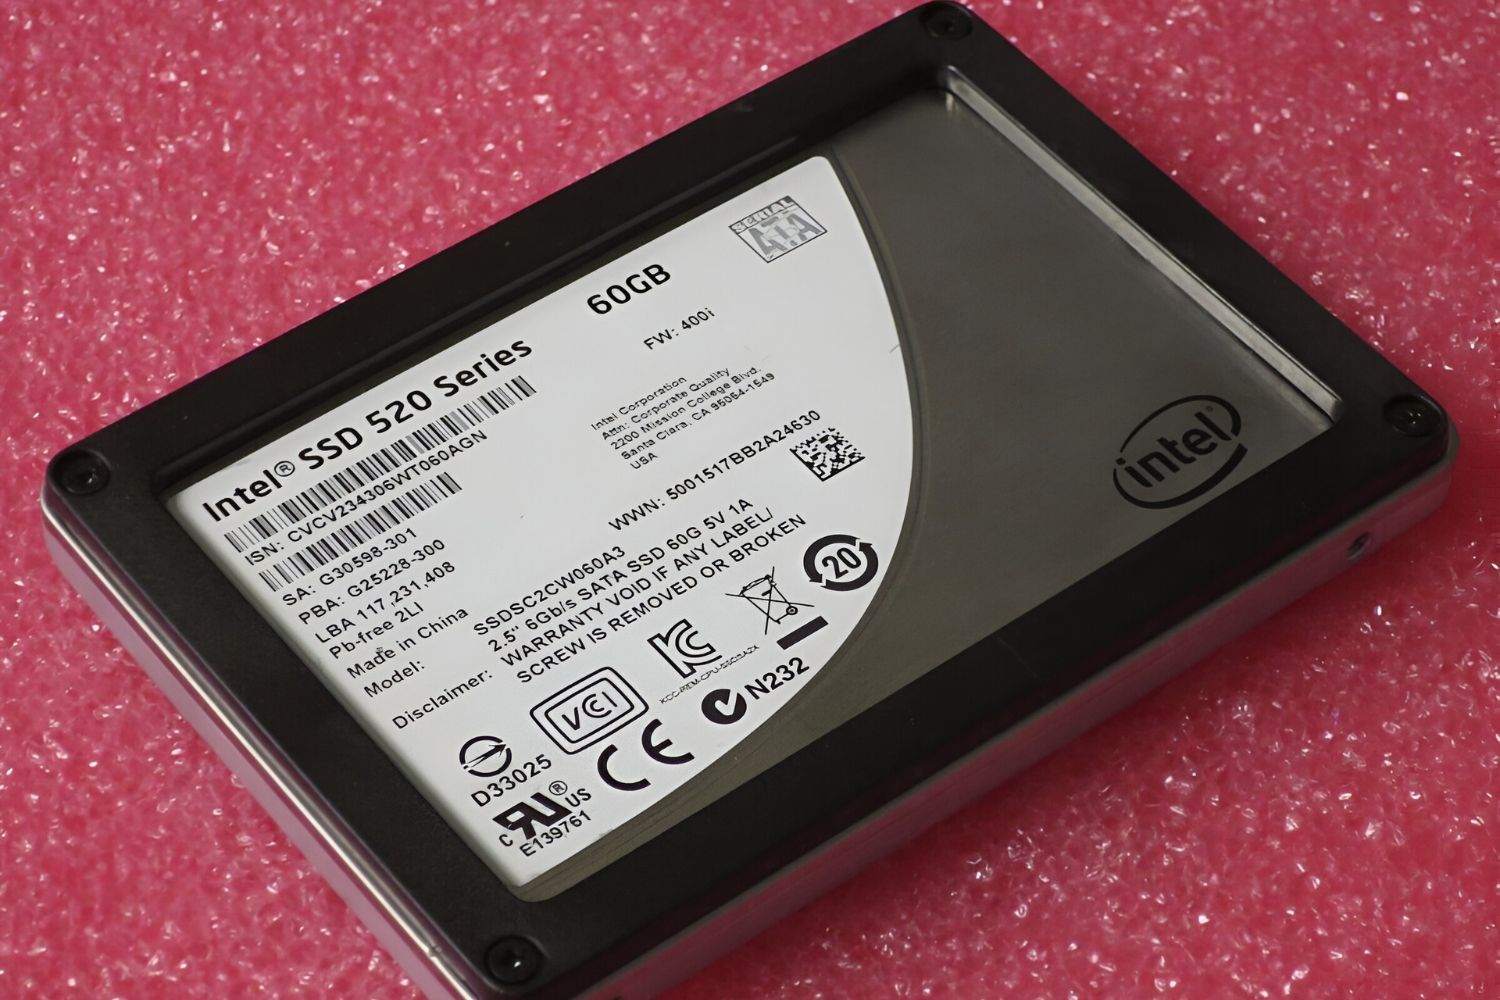
- Scan through the list and identify the disk that matches the capacity and manufacturer of your external hard drive.
- The external hard drive will typically be labeled as “Disk X” where X represents a number assigned by the system.
It is important to pay attention to the capacity and manufacturer details to ensure that you select the correct disk for partitioning. If you are unsure, you can cross-reference the disk information with the label or model number of your external hard drive.
Additionally, the Disk Management utility may display a graphic representation of the disks and their partitions. You can visually identify your external hard drive by looking for an unallocated space or a partition labeled as “RAW”. This indicates that the disk has not been formatted or partitioned yet.
Once you have successfully identified your external hard drive in Disk Management, you are ready to move on to the next step of selecting the size of the partition.
Step 4: Selecting the Size of the Partition
After identifying your external hard drive in Disk Management, the next step is to determine the size of the partition you want to create. The size of the partition will depend on your specific needs and how you plan to use the external hard drive.
Follow these steps to select the size of the partition:
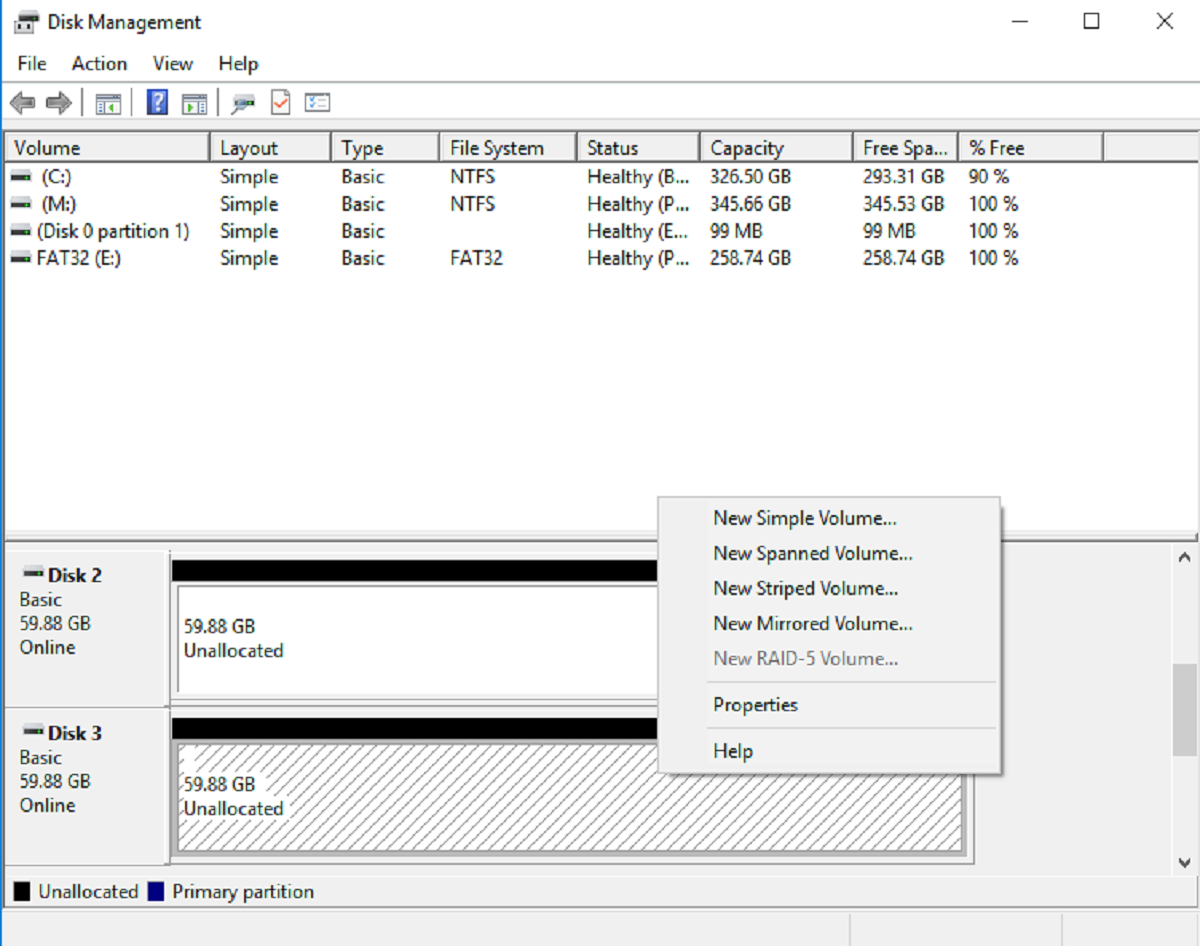
- Right-click on the unallocated space or the RAW partition of your external hard drive in the Disk Management window.
- From the context menu, select the option “New Partition” to open the New Partition Wizard.
- In the New Partition Wizard, click on “Next” to proceed.
- Choose whether you want to create a Primary partition or an Extended partition. In most cases, selecting Primary will suffice, but if you anticipate needing more than four partitions on your external hard drive, choose Extended.
- Specify the size of the partition in megabytes (MB) or leave it set to the maximum available size for the entire disk.
- Click on “Next” to continue.
When selecting the partition size, keep in mind that you can always create additional partitions later if needed. It is a good practice to allocate enough space for your current and foreseeable future requirements while leaving some room for expansion.
Once you have chosen the size of the partition, you can proceed to the next step of assigning a drive letter to the partition.
Step 5: Assigning a Drive Letter
After selecting the size of the partition for your external hard drive in Disk Management, the next step is to assign a drive letter to the new partition. The drive letter will serve as the identifier for accessing and managing the partition in Windows XP.
To assign a drive letter to the partition, follow these steps:
- In the New Partition Wizard, select the option “Assign the following drive letter”.
- From the drop-down menu, choose an available drive letter for the partition. You can select any unused letter not currently assigned to a different drive or partition.
- Click on “Next” to proceed.
Assigning a drive letter is convenient for accessing the partition in Windows Explorer or any file manager. You can choose a letter that makes sense to you or reflects the purpose of the partition, such as “E” for “Entertainment” or “D” for “Data”.
It is crucial to assign a unique drive letter to avoid conflicts with other drives or partitions already connected to your system. If you encounter any issues with the selected drive letter, try choosing a different available letter from the drop-down menu.
Once you have successfully assigned a drive letter to the partition, you can proceed to the next step of formatting the partition.
Step 6: Formatting the Partition
Formatting the partition on your external hard drive is necessary to prepare it for use and ensure compatibility with Windows XP. Formatting involves creating a file system on the partition that allows the operating system to read and write data to it.
To format the partition, follow these steps:
- In Disk Management, right-click on the newly created partition with the assigned drive letter.
- From the context menu, select the option “Format”.
- In the Format dialog box, choose the desired file system for the partition. Windows XP supports the NTFS and FAT32 file systems.
- Enter a volume label for the partition to provide a descriptive name for it (e.g., “MyFiles”, “Backup”, etc.). This step is optional.
- Ensure that the “Quick Format” option is selected to speed up the formatting process.
- Click on the “OK” button to start the formatting process.
Formatting may take a few minutes, depending on the size of the partition. It is essential to be patient and avoid interrupting the process to prevent data corruption or drive malfunction.
Once the formatting is complete, the partition will be ready for use. Windows XP will assign the selected file system to the partition and make it accessible through the assigned drive letter. You can now save, copy, and manage files on the newly formatted partition of your external hard drive.
With the partition successfully formatted, we can move on to the final step of verifying the partition in Disk Management.
Step 7: Verifying the Partition
After formatting the partition of your external hard drive in Disk Management, it is essential to verify that the partition has been created successfully and is functioning as intended. Verifying the partition ensures that it is recognized by the system and ready for use.
To verify the partition, follow these steps:
- In Disk Management, locate the newly formatted partition of your external hard drive.
- Verify that the partition is labeled with the assigned drive letter and the specified volume label (if provided).
- Make sure that the file system of the partition matches the one you selected during the formatting process (NTFS or FAT32).
- Check that the partition is listed as “Healthy” and does not display any warning or error messages.
If all the above criteria are met, the partition is successfully created and verified. You can start using the partition to store and retrieve data according to your needs.
However, if you encounter any issues or notice any discrepancies during the verification process, it is recommended to double-check the preceding steps to ensure that the partition was created correctly. You can also try restarting your computer and reopening Disk Management to see if the partition is recognized and functioning correctly.
Additionally, if you encounter any unexpected errors or difficulties while using the partition, you can refer to the Windows XP documentation or seek assistance from technical support to troubleshoot and resolve any issues.
With the partition verified and ready to use, you have successfully completed the process of partitioning an external hard drive on Windows XP. Congratulations!
Conclusion
Partitioning an external hard drive on Windows XP can greatly enhance your data organization and storage capabilities. By following the step-by-step process outlined in this guide, you can successfully create partitions, assign drive letters, and format your external hard drive to meet your specific needs.
Remember, before you begin partitioning your external hard drive, it is crucial to back up any important data to prevent loss during the process. Additionally, ensure that you have administrative privileges on your Windows XP system to perform the necessary steps.
Throughout the process, we covered the essential steps required to partition an external hard drive on Windows XP:
- Connecting the external hard drive to your computer
- Opening Disk Management
- Identifying the external hard drive
- Selecting the size of the partition
- Assigning a drive letter
- Formatting the partition
- Verifying the partition
By completing these steps, you have successfully partitioned your external hard drive on Windows XP, allowing you to better organize your files, improve system performance, and utilize your storage space more efficiently.
Remember, should you encounter any issues or have questions during the process, do not hesitate to consult the Windows XP documentation or seek assistance from technical support.
Now that you have a partitioned external hard drive, enjoy the benefits of improved data management and utilize the extra storage space effectively.