Introduction
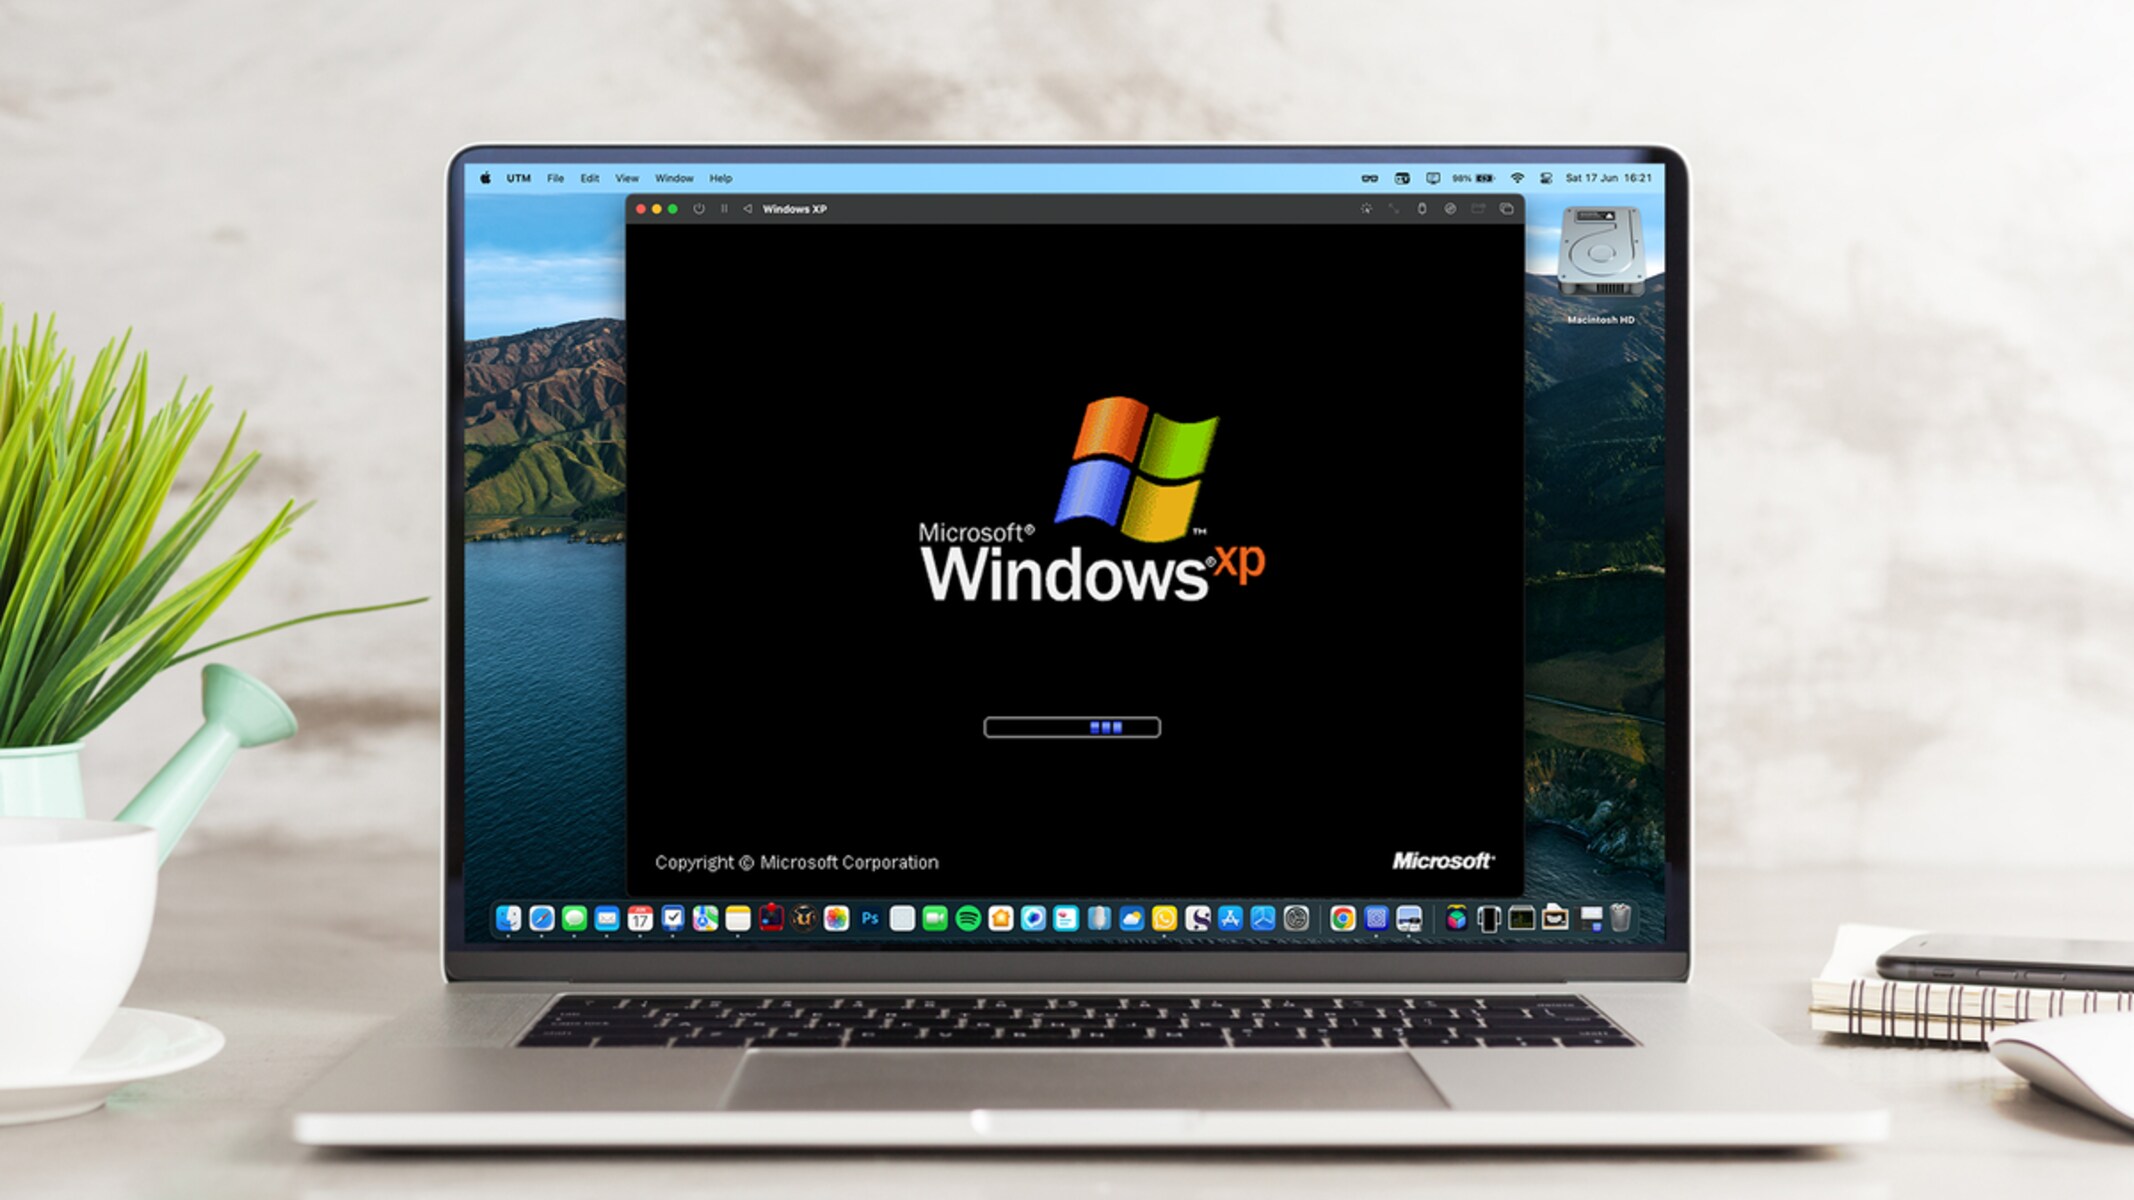
Welcome to this guide on how to install Windows XP Professional on an HP Workstation XW8000. Windows XP Professional is a widely used operating system that offers stability, compatibility, and a familiar user interface. If you have an HP XW8000 workstation and want to install Windows XP Professional, this step-by-step guide will help you through the process.
Before we begin, it’s important to note that Windows XP Professional is an older operating system, and Microsoft has ended support for it. However, if you have specific software or hardware requirements that make Windows XP Professional necessary, this guide will assist you in getting it up and running on your HP Workstation XW8000.
To successfully install Windows XP Professional on your HP Workstation XW8000, you’ll need to gather the necessary installation media and ensure that your workstation meets the system requirements. In addition, it’s crucial to back up any important data on your workstation before proceeding with the installation.
In this guide, we’ll walk you through the various steps involved in installing Windows XP Professional on an HP Workstation XW8000. From obtaining the installation media to configuring the installation settings and installing device drivers, we’ve got you covered. Once the installation is complete, we’ll also guide you through the process of activating Windows XP Professional.
It’s essential to follow each step carefully to ensure a successful installation. Remember that installation processes can vary depending on your specific system and version of Windows XP Professional. While this guide is tailored to installing Windows XP Professional on an HP Workstation XW8000, the general principles can be applied to other systems as well.
Now that we’ve provided an overview, let’s dive into the specific system requirements and the steps to install and configure Windows XP Professional on your HP Workstation XW8000.
System Requirements
Before proceeding with the installation of Windows XP Professional on your HP Workstation XW8000, it’s crucial to ensure that your system meets the necessary requirements.
Here are the minimum system requirements for installing and running Windows XP Professional:
- Processor: Pentium III 300 MHz or higher (recommended: Pentium 4 1.5 GHz or higher)
- RAM: 128 MB (recommended: 256 MB or higher)
- Hard Drive Space: 1.5 GB of free space (recommended: 2 GB or higher)
- Display: Super VGA (800 x 600) resolution with at least 256 colors
- Graphics Card: DirectX 9.0 or later compatible
- CD-ROM or DVD-ROM Drive: Required for installation
- Keyboard and Mouse: Standard PS/2 or USB
- Internet Connection: Optional for updates and online services
Please note that these are the minimum requirements and may not provide the optimal performance or experience. It is recommended to have a more powerful system for running Windows XP Professional smoothly.
Additionally, it’s important to ensure that your HP Workstation XW8000 meets the hardware compatibility requirements for Windows XP Professional. You can check the manufacturer’s specifications or documentation to verify the compatibility of your workstation with this operating system.
It’s also a good practice to back up all your essential data before proceeding with the installation. This will help prevent any potential loss of data during the installation process.
Now that you have verified that your system meets the necessary requirements, we can move on to the next step, which is obtaining the Windows XP Professional installation media.
Step 1: Obtaining the Windows XP Professional Installation Media
The first step in installing Windows XP Professional on your HP Workstation XW8000 is to obtain the installation media. You will need a valid Windows XP Professional CD or ISO file.
If you have a physical copy of the installation CD, insert it into your CD-ROM or DVD-ROM drive. Ensure that the drive is set as the primary boot device in your computer’s BIOS settings. This will allow your computer to boot from the installation media when you start it.
If you don’t have a physical copy of the installation CD, you can download the Windows XP Professional ISO file from the Microsoft website or other trusted sources. Once you have downloaded the ISO file, you can either burn it to a blank CD or create a bootable USB drive using third-party software.
It’s important to note that obtaining Windows XP Professional installation media from unofficial or unauthorized sources can be risky. To avoid any potential security risks or malware, it is recommended to download the ISO file from trusted sources, such as the official Microsoft website or reputable software repositories.
After you have obtained the Windows XP Professional installation media, proceed to the next step, which is preparing the HP Workstation XW8000 for installation.
Step 2: Preparing the HP Workstation XW8000
Before you begin the installation of Windows XP Professional on your HP Workstation XW8000, it’s essential to prepare your workstation for the process. This includes making the necessary preparations and configurations to ensure a smooth installation.
Here are the steps to prepare your HP Workstation XW8000:
- Power on your workstation and enter the BIOS settings. This is usually done by pressing the F10 or Delete key during the boot process. Consult your workstation’s user manual for specific instructions on how to access the BIOS settings.
- In the BIOS settings, navigate to the Boot Options or Boot Order section. Ensure that the CD-ROM or DVD-ROM drive is set as the primary boot device. This will allow your workstation to boot from the Windows XP Professional installation media.
- Save the changes to the BIOS settings and exit the BIOS. Your HP Workstation XW8000 will now restart.
- When your workstation restarts, the Windows XP Professional installation process will begin. Follow the on-screen prompts to proceed with the installation.
It’s crucial to ensure that your workstation is connected to a power source throughout the installation process, as any interruption in power could potentially corrupt the installation.
During the installation process, you may be prompted to select the installation language, enter the product key, and agree to the license terms. Make sure to read and understand the license terms before proceeding.
Once you have completed these preparations, you are now ready to boot from the Windows XP Professional installation media and start the installation process. Proceed to the next step, which is booting from the installation media.
Step 3: Booting from the Windows XP Professional Installation Media
Now that you have prepared your HP Workstation XW8000 for the installation of Windows XP Professional, it’s time to boot from the installation media. This step will allow your workstation to begin the installation process.
Follow these steps to boot from the Windows XP Professional installation media:
- Ensure that the Windows XP Professional installation CD is inserted into the CD-ROM or DVD-ROM drive of your HP Workstation XW8000.
- Restart your workstation.
- As the workstation restarts, pay attention to the screen for a prompt to “Press any key to boot from CD”. Quickly press any key on your keyboard to boot from the installation media.
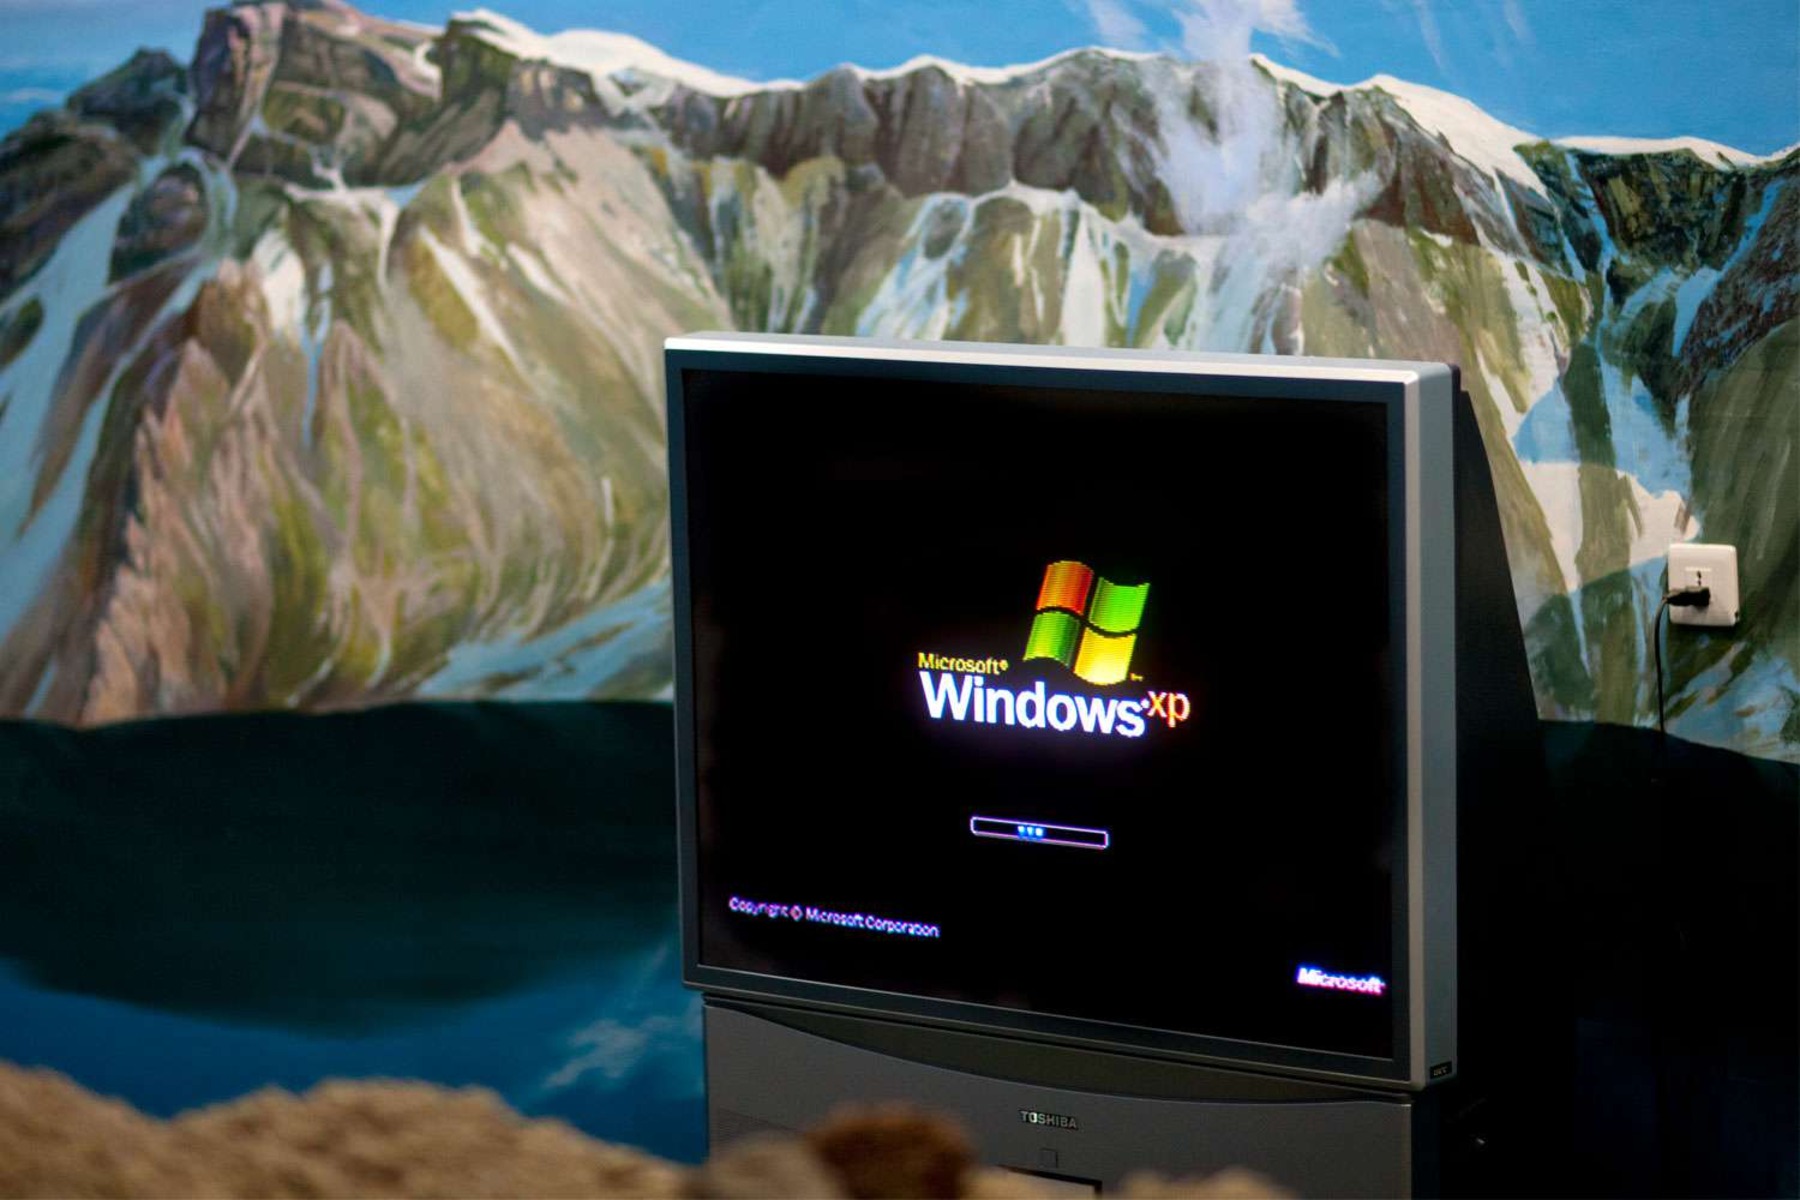
- The Windows XP Professional setup process will now begin. You will see a blue screen with a progress bar indicating that the setup is loading files.
- After the necessary files are loaded, you will be presented with the Windows XP Professional setup screen. Follow the on-screen instructions to proceed with the installation.
During this step, it’s important to keep the installation media inserted until prompted to remove it. This ensures a smooth installation process without any interruptions.
If your workstation does not boot from the installation media and instead continues to the operating system already installed, you may need to change the boot order in the BIOS settings. Consult your workstation’s user manual for specific instructions on how to modify the boot order in the BIOS.
Once you have successfully booted from the Windows XP Professional installation media, you can move on to the next step, which is the beginning of the Windows XP Professional installation process.
Step 4: Beginning the Windows XP Professional Installation
Now that you have successfully booted from the Windows XP Professional installation media, it’s time to begin the installation process on your HP Workstation XW8000. This step will guide you through the initial setup and configuration of Windows XP Professional.
Follow these steps to begin the installation of Windows XP Professional:
- On the first screen, you will be prompted to press Enter to setup Windows XP. Press Enter to continue.
- Read and accept the license agreement by pressing F8.
- The setup program will then detect any existing installations of Windows on your workstation. If you have a previous installation and wish to repair it, press R. Otherwise, proceed with a fresh installation by selecting the desired partition and pressing Enter.
- On the next screen, select the file system you want to use for the partition (NTFS is recommended for its advanced security and performance features).
- Wait for the setup program to format the partition and copy the necessary files. This process may take some time.
- Once the files are copied, your workstation will automatically restart.
During this step, it’s important to be patient and let the installation process complete without interrupting it. Avoid turning off your workstation or removing the installation media until the setup program instructs you to do so.
After the restart, the installation of Windows XP Professional will continue. You will be prompted to enter information such as your name, organization (optional), and product key. Follow the on-screen instructions and enter the necessary information when prompted.
Once you have completed these initial setup steps, Windows XP Professional will continue with the installation process. Stay tuned for the upcoming steps to finalize the installation and configure the settings for your HP Workstation XW8000.
Step 5: Configuring the Installation Settings
Now that you have begun the installation of Windows XP Professional on your HP Workstation XW8000, it’s time to configure the installation settings. This step involves customizing various options to tailor the operating system to your preferences and requirements.
Follow these steps to configure the installation settings:
- After the initial setup, Windows XP Professional will continue with the installation. You will be prompted to choose the regional and language settings, such as the language for the operating system and keyboard layout. Select the appropriate options and click Next to proceed.
- On the next screen, you will be prompted to enter a unique computer name and an optional administrator password. It’s recommended to choose a strong password to secure your workstation. Click Next to continue.
- Next, you will be asked to configure the date and time settings for your system. Select the appropriate options and click Next.
- Windows XP Professional will then prompt you to activate the operating system. Activation is required to verify the authenticity of your copy of Windows. Choose to activate now or postpone it until later. However, please note that postponing activation may limit the functionality of the operating system.
- If you choose to activate Windows XP Professional later, you will need to complete the installation and activate the operating system within a specified period of time after installation.
- Once you have configured the required settings, click Next to proceed with the installation.
During this step, it’s important to provide accurate and valid information for the configuration settings. This will ensure that your HP Workstation XW8000 is set up correctly and ready for use.
After configuring the installation settings, Windows XP Professional will continue with the installation process. The setup program will copy the remaining files and configure the system settings accordingly.
Stay tuned for the next steps, where we will discuss formatting and partitioning the hard drive and the final steps to complete the installation of Windows XP Professional on your HP Workstation XW8000.
Step 6: Formatting and Partitioning the Hard Drive
Now that you have successfully configured the installation settings for Windows XP Professional on your HP Workstation XW8000, it’s time to proceed with formatting and partitioning the hard drive. This step will help you organize and allocate the storage space on your workstation’s hard drive.
Follow these steps to format and partition the hard drive:
- After configuring the installation settings, the Windows XP Professional setup program will display a list of available partitions on your hard drive. Select the desired partition where you want to install Windows XP Professional. If you want to create a new partition, use the available options to do so.
- Select the file system type for the partition. The recommended file system is NTFS for its stability, security, and advanced features. However, you can choose FAT32 if compatibility with older operating systems is a requirement.
- Next, you will be prompted to choose whether to perform a quick format or a full format for the selected partition. A quick format is suitable in most cases, as it takes less time. However, if you want to thoroughly scan the partition for bad sectors and errors, you can choose a full format.
- Once you have selected the formatting options, click Next to proceed with the formatting and partitioning process. Be aware that all existing data on the selected partition will be deleted during the formatting process, so it’s essential to have a backup of any important files.
- The setup program will now format the partition and prepare it for the installation of Windows XP Professional. This process may take some time, depending on the size of the partition and the speed of your hard drive.
- After the formatting is complete, the setup program will continue with the installation of Windows XP Professional on the formatted partition.
It’s important to note that formatting and partitioning the hard drive will erase any existing data on the selected partition. Therefore, it’s crucial to back up any necessary files or data before proceeding with this step.
Once the formatting and partitioning process is completed, you are now ready to move on to the next step, which is installing Windows XP Professional on your HP Workstation XW8000.
Step 7: Installing Windows XP Professional
After formatting and partitioning the hard drive of your HP Workstation XW8000, it’s time to proceed with the actual installation of Windows XP Professional. This step will guide you through the process of installing the operating system on your workstation.
Follow these steps to install Windows XP Professional:
- Once the hard drive has been formatted and partitioned, the Windows XP Professional setup program will automatically continue with the installation process. The setup program will copy all the necessary files from the installation media to your hard drive.
- During the installation, you may see various progress bars indicating the status of the installation. Wait patiently for the process to complete. This may take several minutes.
- Next, you will be prompted to restart your HP Workstation XW8000. Ensure that you remove any installation media from your CD-ROM or DVD-ROM drive before restarting.
- Upon restarting, the installation will resume. The setup program will continue to configure the installed components and finalize the installation of Windows XP Professional on your workstation.
- During this phase, you may need to provide additional information or make configuration choices as prompted by the setup program. Follow the on-screen instructions to proceed.
- Once the setup program finishes configuring the installed components, your HP Workstation XW8000 will restart again.
- After the final restart, the installation of Windows XP Professional will be completed. You will be greeted with the Windows XP Welcome screen.
It’s important to note that during the installation process, your computer may restart multiple times automatically. This is normal and part of the installation process.
Once the installation is complete, you can move on to the next step, which involves completing the installation process and configuring the necessary device drivers for your HP Workstation XW8000.
Step 8: Completing the Installation Process
With Windows XP Professional successfully installed on your HP Workstation XW8000, it’s time to complete the installation process by configuring the remaining settings and finalizing the setup of your operating system.
Follow these steps to complete the installation process:
- After the final restart, you will be prompted to set up a user account. Enter the desired username and password for your account. This account will have administrator privileges, allowing you to manage and customize your workstation.
- Once you have set up the user account, Windows XP Professional will perform some final configurations and optimizations. This may take a few minutes.
- After the configurations are complete, you will be greeted with the Windows XP desktop. Congratulations! You have successfully installed Windows XP Professional on your HP Workstation XW8000.
- Take a moment to familiarize yourself with the new desktop and explore the various features and options available in Windows XP Professional.
- It’s recommended to connect your workstation to a network and ensure that you have a proper internet connection. This will allow you to download and install the latest updates and security patches from Microsoft to keep your system up to date.
Now that the installation process is complete, you can further personalize your workstation by customizing the desktop backgrounds, configuring display settings, installing necessary software applications, and transferring data from any backups you created before the installation.
Remember to keep your Windows XP Professional installation secure by enabling a firewall, installing reliable antivirus software, and regularly backing up your important files to protect against data loss.
Congratulations on successfully installing Windows XP Professional on your HP Workstation XW8000! Your workstation is now ready to be used for your desired tasks and applications.
Step 9: Installing Device Drivers
After completing the installation of Windows XP Professional on your HP Workstation XW8000, the next step is to install the necessary device drivers. Device drivers are essential software components that allow your hardware devices to communicate with the operating system.
Follow these steps to install device drivers on your HP Workstation XW8000:
- Identify the hardware devices that require drivers. This may include the graphics card, sound card, network adapter, and any other peripherals connected to your workstation.
- Obtain the drivers from the manufacturer’s website or the driver installation media provided with your hardware devices. Make sure to download the appropriate drivers for your specific operating system (Windows XP Professional).
- Once you have the driver files, navigate to the Device Manager. Right-click on the My Computer icon on the desktop or in the Start menu, and select Properties. In the System Properties window, go to the Hardware tab and click on Device Manager.
- In the Device Manager window, you will see a list of hardware devices on your workstation. Look for any devices with a yellow exclamation mark or a question mark next to them. These indicate that the drivers are missing or not installed correctly.
- Right-click on the device that requires a driver and select Update Driver. Follow the on-screen instructions to update the driver.
- Alternatively, you can right-click on the device and select Properties. In the Properties window, go to the Driver tab and click on Update Driver. Again, follow the on-screen instructions to update the driver.
- Repeat the above steps for each hardware device that requires a driver. Make sure to restart your workstation if prompted after installing each driver.
- After installing all the necessary device drivers, verify that all hardware devices are functioning correctly. Test the sound, network connection, display resolution, and other device functionalities to ensure proper installation.
It’s important to note that in some cases, Windows XP Professional may automatically detect and install the necessary drivers for your hardware devices. However, it’s always recommended to manually install the drivers provided by the hardware manufacturer for optimal performance and compatibility.
If you encounter any difficulties in finding or installing the correct drivers, refer to the documentation or support resources available from the hardware manufacturer or consult with a technical support professional.
Now that you have installed the necessary device drivers on your HP Workstation XW8000, your workstation is fully equipped and ready for use.
Step 10: Activating Windows XP Professional
After installing Windows XP Professional on your HP Workstation XW8000, the final step is to activate the operating system. Activation is required to validate the authenticity of your copy of Windows and ensure that it is properly licensed.
Follow these steps to activate Windows XP Professional:
- Go to the Start Menu, right-click on My Computer, and select Properties.
- In the System Properties window, go to the General tab and click on the “Activate Windows” button.
- The Windows Product Activation wizard will open. Select the option to activate Windows over the internet and click Next.
- Follow the on-screen instructions to complete the activation process. Make sure your workstation is connected to the internet during this process.
- If the automatic activation fails or you do not have an internet connection, you can choose to activate Windows by phone. The wizard will provide you with a phone number and an installation ID. Call the provided number and follow the instructions to activate Windows over the phone.
- Once the activation process is completed successfully, you will receive a confirmation message. Windows XP Professional is now activated and ready for use on your HP Workstation XW8000.
Activating Windows XP Professional ensures that your operating system is genuine and eligible to receive updates and support from Microsoft. Activation also helps protect against piracy and unauthorized use of the operating system.
If you encounter any issues with the activation process or receive any error messages, refer to the documentation provided with your Windows XP Professional license or seek assistance from Microsoft support resources.
With Windows XP Professional successfully activated, your HP Workstation XW8000 is now fully operational and secure. Enjoy using your workstation and take advantage of the features and capabilities offered by Windows XP Professional to accomplish your tasks effectively.
Conclusion
Congratulations on successfully installing Windows XP Professional on your HP Workstation XW8000! By following the steps in this guide, you have been able to navigate through the installation process and configure your operating system to suit your needs.
Windows XP Professional, despite being an older operating system with discontinued support, can still be a viable option for those who require compatibility with specific software or hardware. By adhering to the system requirements and following the installation steps outlined in this guide, you have set up a stable and familiar environment for your HP Workstation XW8000.
Remember to regularly update and maintain your Windows XP Professional installation by installing the latest security patches and updates whenever possible. Additionally, employing reliable antivirus software, enabling a firewall, and practicing safe online habits will help protect your workstation from potential security threats.
If you encounter any issues or have additional questions during or after the installation process, referring to the user manuals or seeking assistance from relevant technical support resources can be beneficial. Furthermore, staying informed about the latest updates and developments in the technology industry will ensure that you make well-informed decisions when it comes to your operating system and workstation.
Thank you for following this guide on how to install Windows XP Professional on an HP Workstation XW8000. We hope this information has been helpful in successfully setting up your operating system and workstation. Wishing you the best of luck and productivity as you begin using your newly installed Windows XP Professional on your HP Workstation XW8000!