Introduction
Welcome to our guide on how to play movies from an external hard drive on Xbox One! If you’re a movie enthusiast or simply want to enjoy your favorite films on a larger screen, the Xbox One console can provide a convenient and immersive experience. By connecting your external hard drive to your Xbox One, you can access and play your movie collection directly from your gaming console without the need for additional devices or complicated setup.
Playing movies from an external hard drive on Xbox One offers several advantages. It allows you to free up storage space on your computer or other devices by storing your movie library on a separate drive. Additionally, the Xbox One provides a user-friendly interface and supports a wide range of media formats, ensuring compatibility with your movie files. Whether you have a collection of Blu-ray rips, downloaded films, or personal videos, this guide will walk you through the steps to easily access and enjoy them on your Xbox One.
In this article, we will outline the steps to successfully play movies from an external hard drive on Xbox One. We will cover the process of formatting your external hard drive, connecting it to your Xbox One, installing a media player app, transferring movies to the external hard drive, and accessing and playing the movies on your console. So let’s dive in and get started!
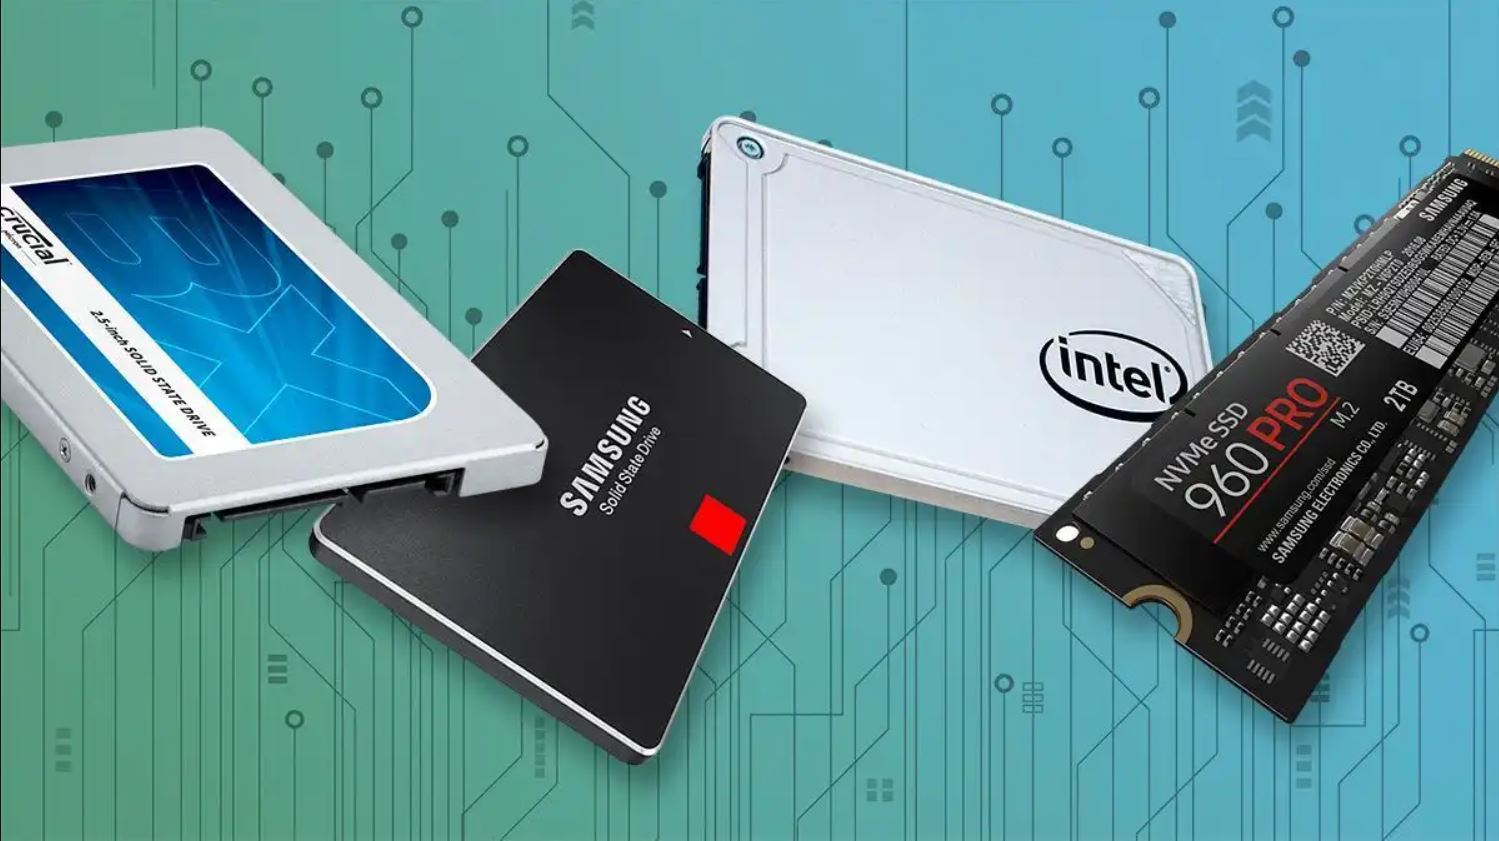
Step 1: Format your external hard drive
The first step in playing movies from an external hard drive on Xbox One is to format the drive to ensure compatibility with the console. Formatting your external hard drive will erase all the existing data, so it’s essential to backup any important files before proceeding.
To format your external hard drive, follow these steps:
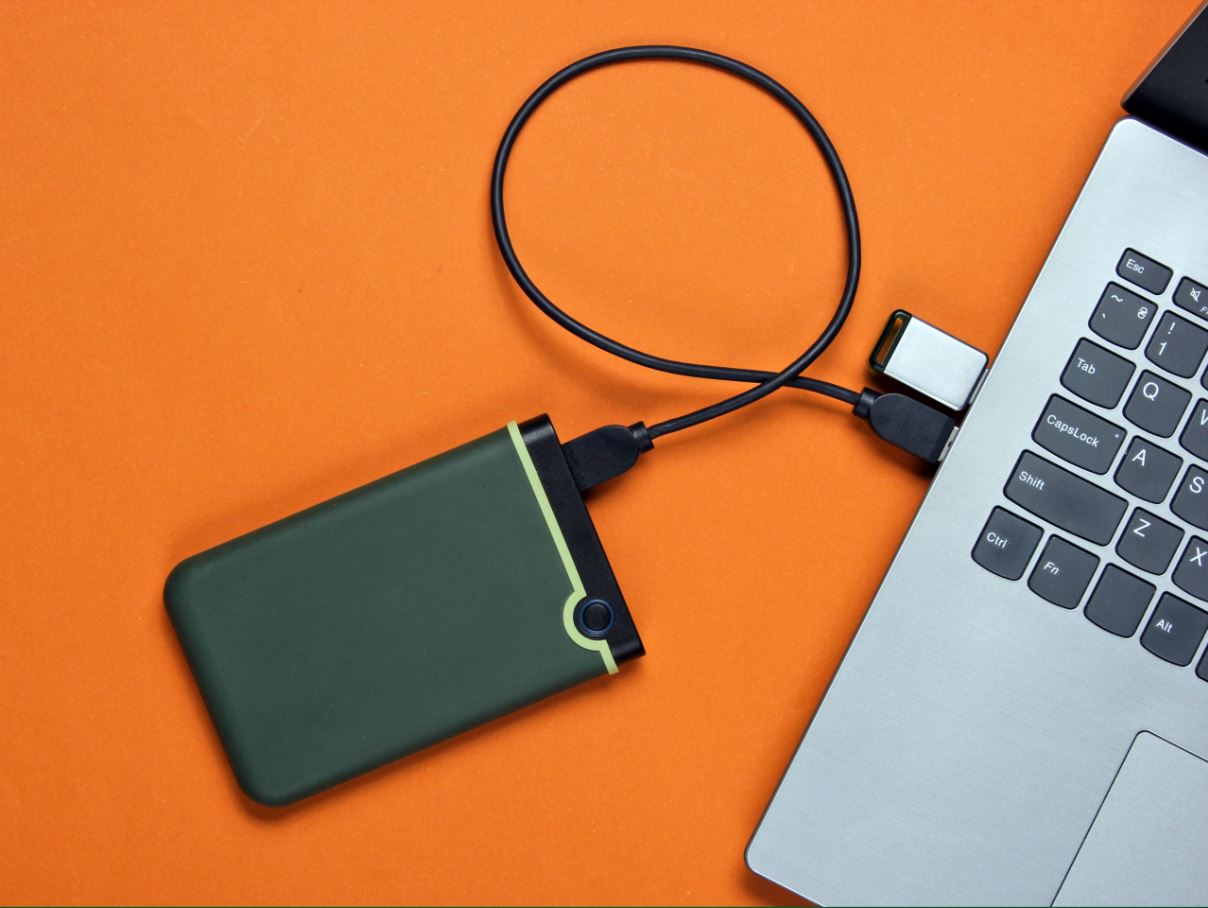
- Connect the external hard drive to your computer using the appropriate cable.
- Open “This PC” or “My Computer” on your computer.
- Locate your external hard drive in the list of available drives.
- Right-click on the external hard drive and select “Format”.
- Choose the desired file system for your Xbox One. The recommended file system is exFAT, which supports large file sizes and is compatible with both Windows and Xbox One.
- Ensure that the allocation unit size is set to the default option.
- Enter a name for your external hard drive, if desired.
- Click on the “Start” button to begin the formatting process.
Formatting may take a few minutes to complete, depending on the size of your external hard drive. Once the formatting process is finished, your external hard drive is now ready for use with Xbox One.
It is important to note that formatting your external hard drive will erase all existing data. Therefore, make sure to back up any important files or documents before proceeding with this step. Additionally, it is recommended to use an external hard drive with a large storage capacity to accommodate your entire movie collection or a significant portion of it.
Now that you have successfully formatted your external hard drive, you are ready to connect it to your Xbox One and proceed to the next step.
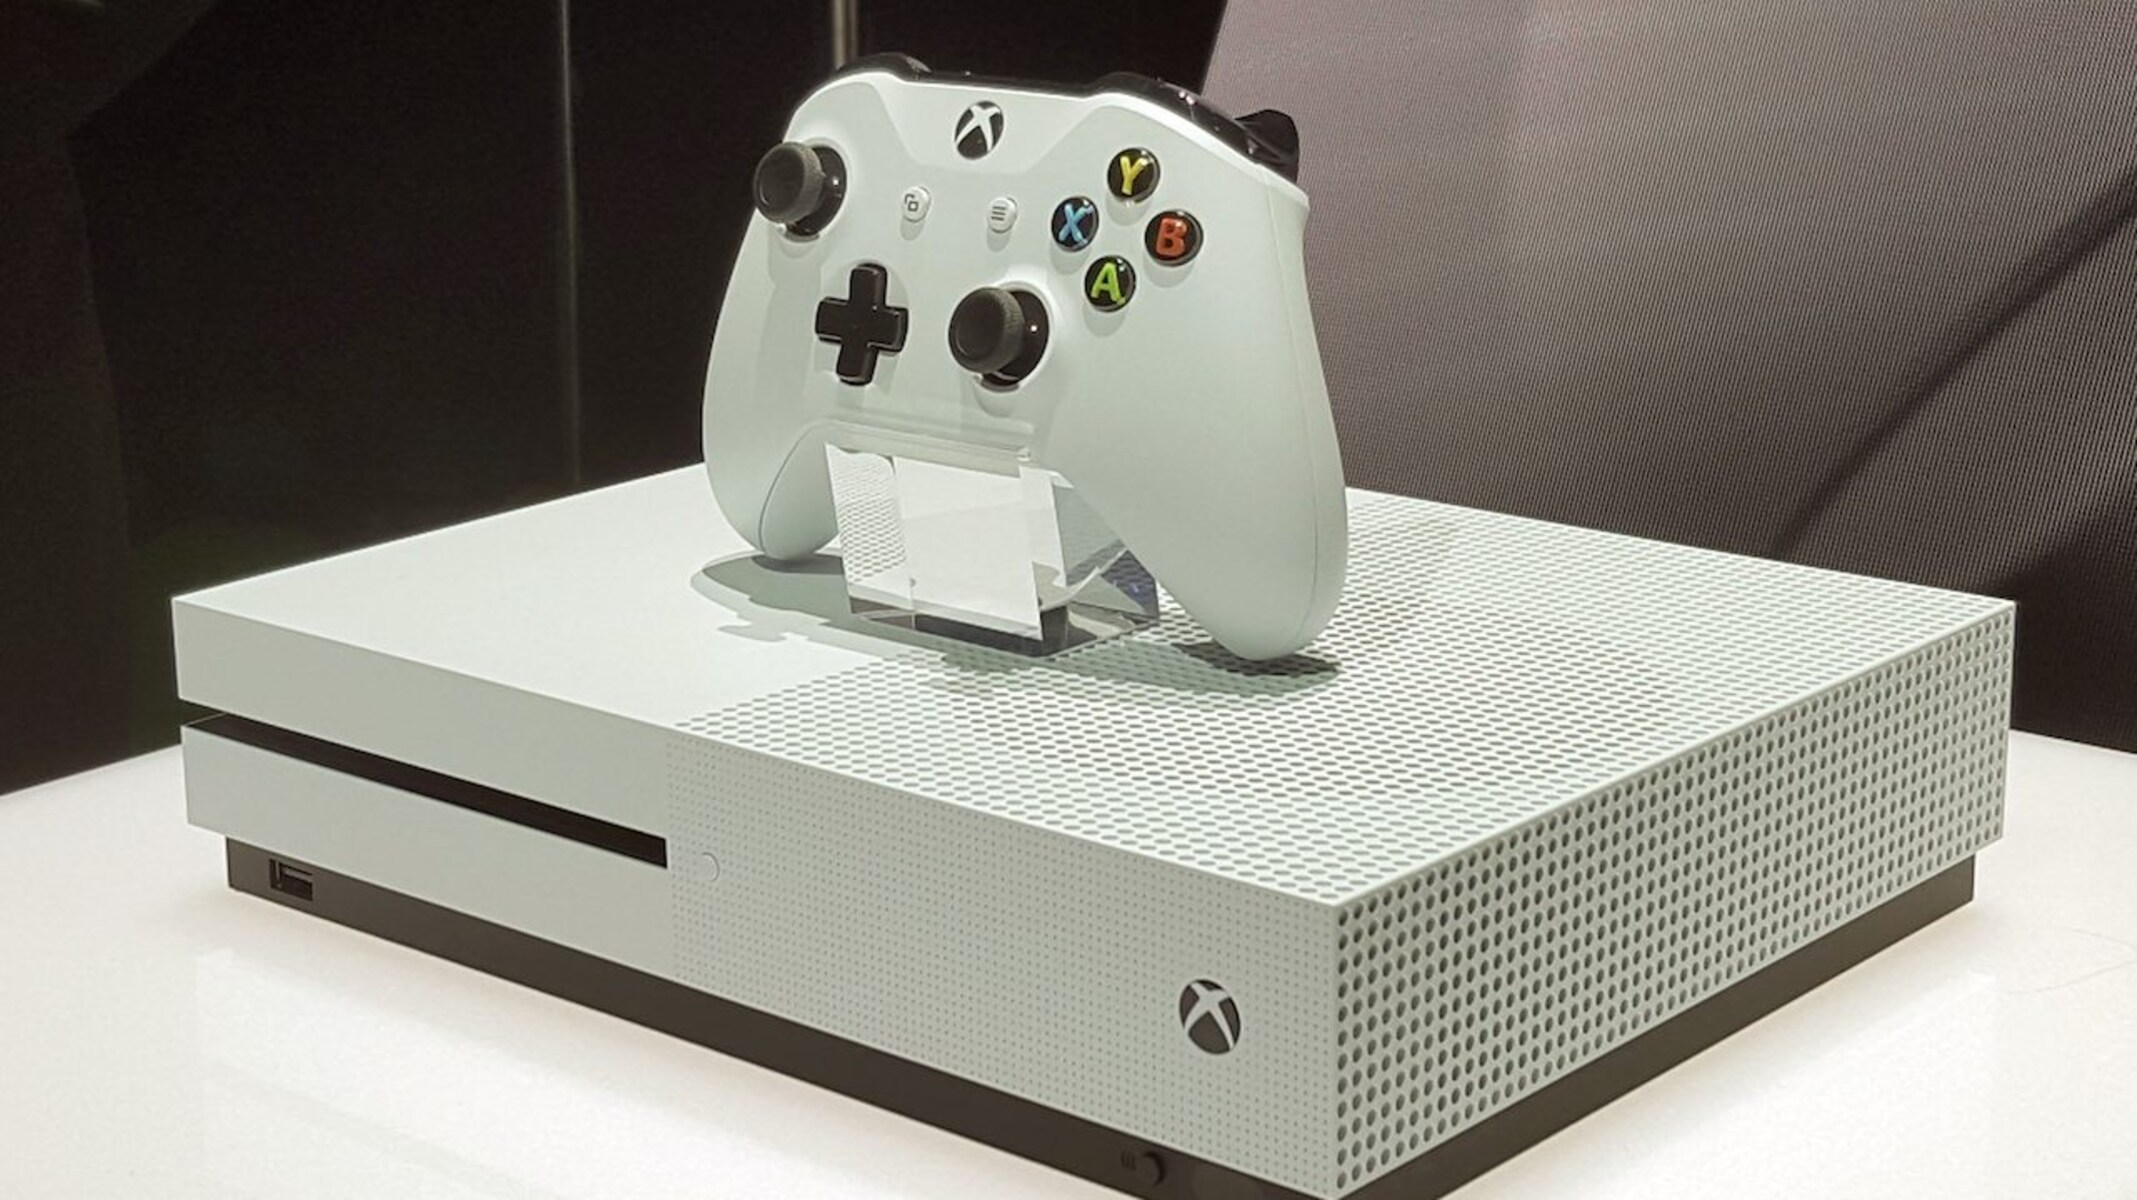
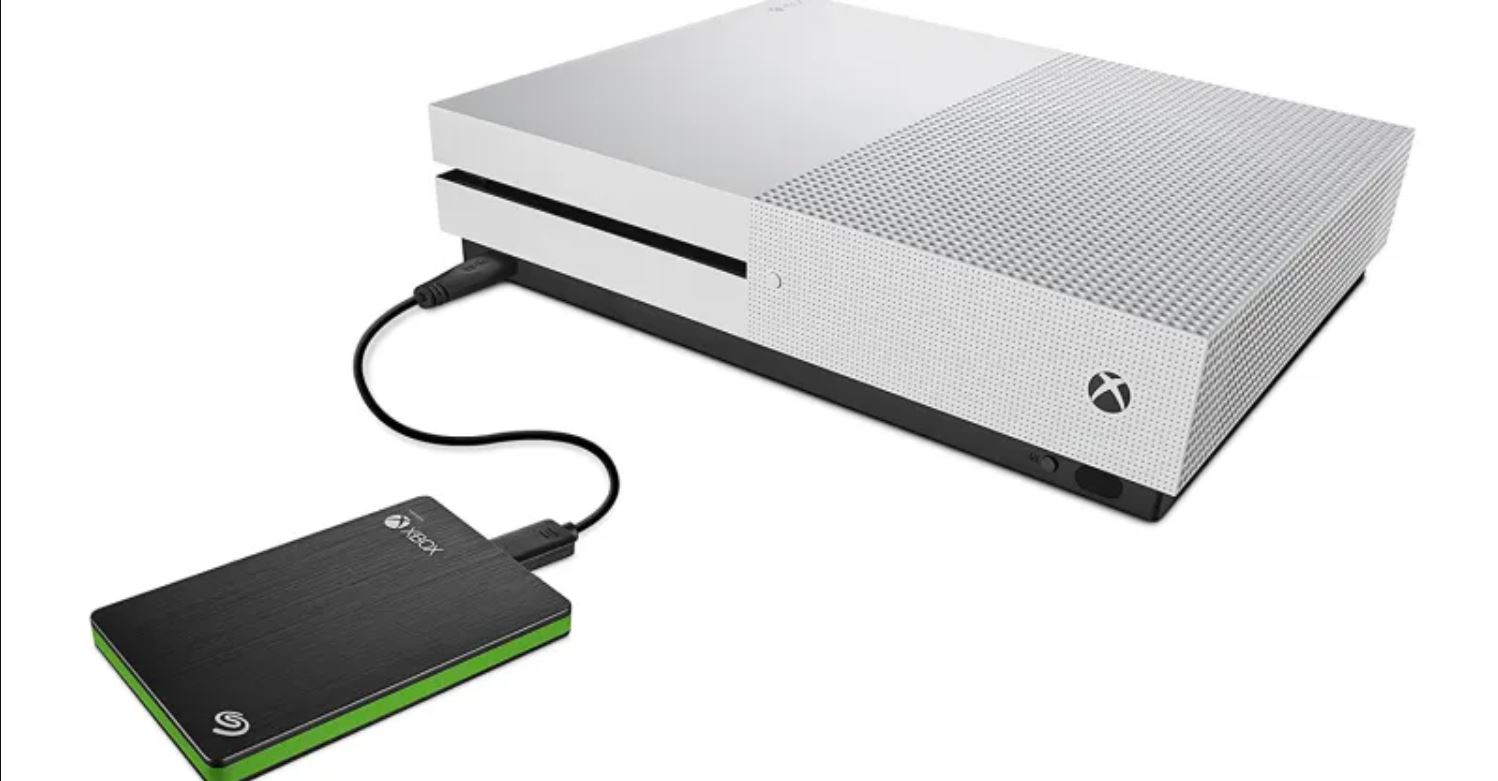
Step 2: Connect the external hard drive to your Xbox One
Once you have formatted your external hard drive, the next step is to connect it to your Xbox One gaming console. Connecting the external hard drive will allow the console to recognize and access the movies stored on the drive.
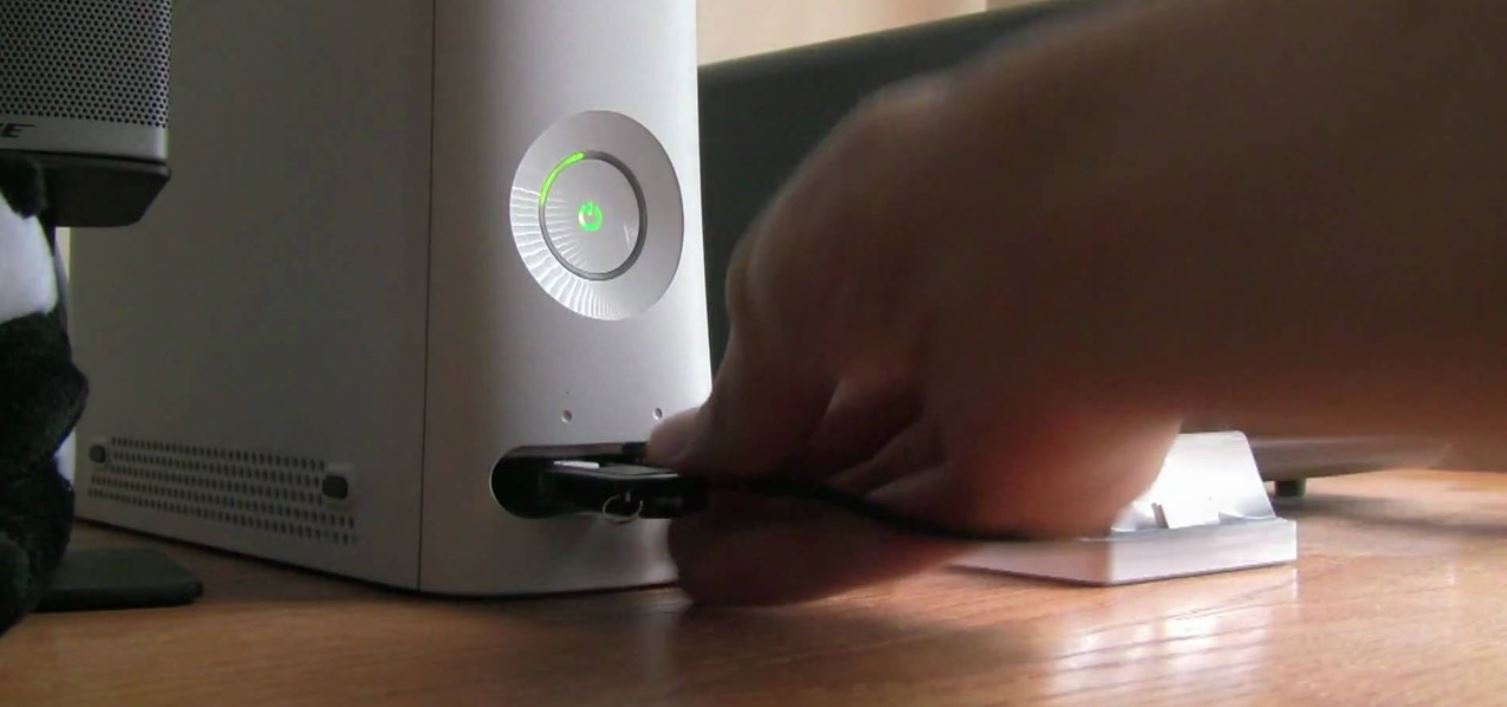
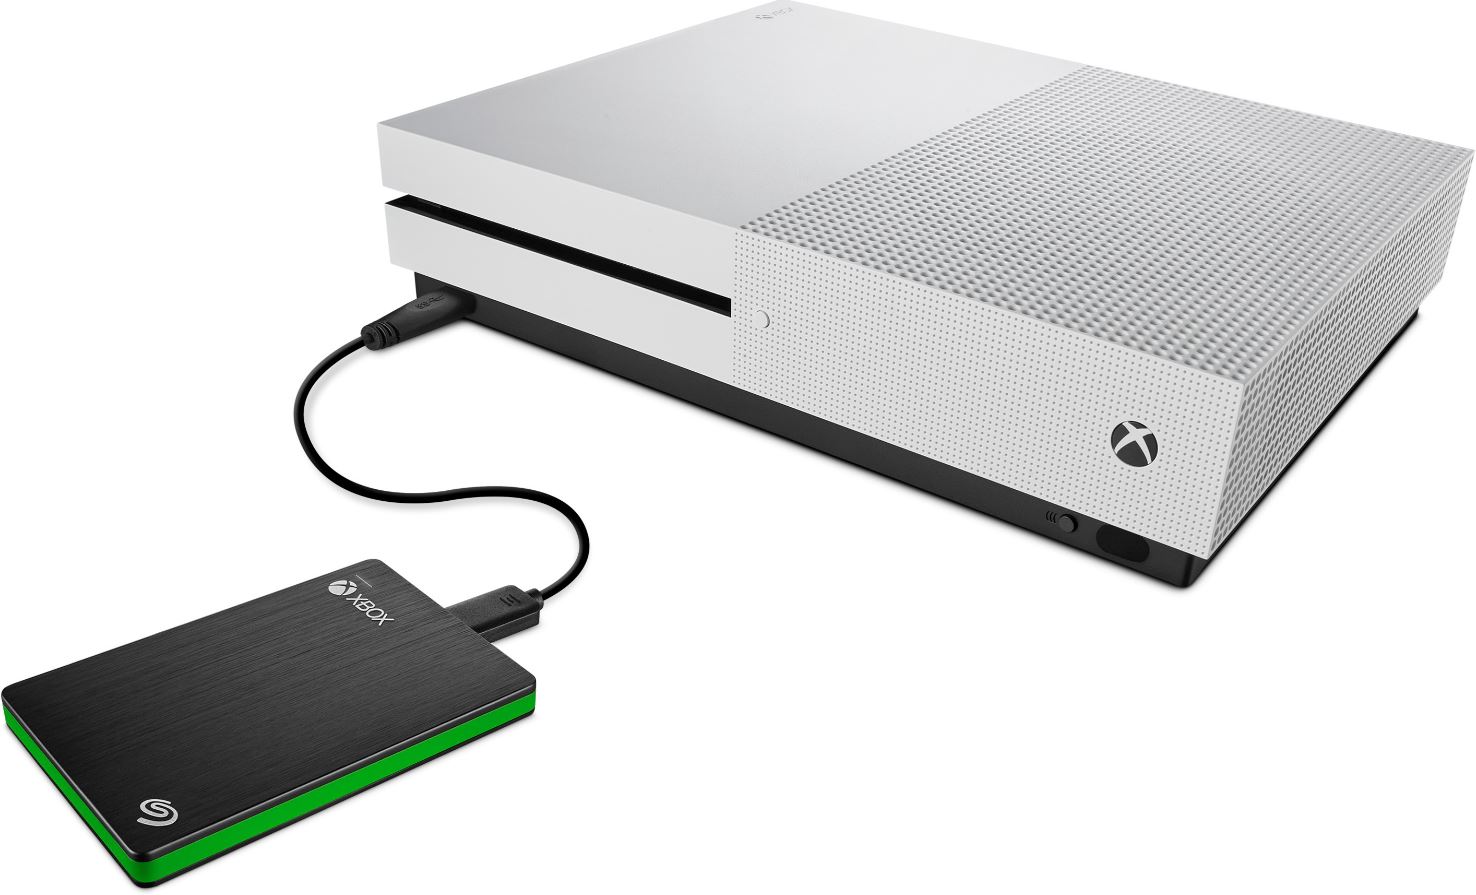
To connect your external hard drive to your Xbox One, follow these steps:
- Locate the USB port on your Xbox One console. The USB port is usually located on the front or back of the console.
- Plug one end of the USB cable into the USB port on the Xbox One console.
- Plug the other end of the USB cable into the USB port on your external hard drive.
- Ensure that the connection between the Xbox One and the external hard drive is secure.
Once you have connected the external hard drive to your Xbox One, the console will detect the drive and prompt you to configure it. Follow the on-screen instructions to set up the external hard drive for use with your Xbox One.
It’s worth noting that the Xbox One supports USB 3.0 connections, which provide faster transfer speeds compared to USB 2.0. If your external hard drive is USB 3.0 compatible, connecting it to a USB 3.0 port on your Xbox One will result in faster data transfer rates. However, if your external hard drive is USB 2.0, it can still be used with Xbox One but at a slightly slower speed.
With your external hard drive successfully connected to your Xbox One, you are now ready to move on to the next step and install a media player app on your console.
Step 3: Install a media player app on your Xbox One
To play movies from your external hard drive on Xbox One, you will need to install a media player app on your console. The media player app will enable you to browse and play the movie files stored on your external hard drive. Follow the steps below to install a media player app:
- Turn on your Xbox One console and navigate to the Xbox Store.
- In the Xbox Store, search for a media player app such as “VLC” or “Plex”. These popular media player apps are available for download on Xbox One.
- Select the media player app of your choice and click on the “Install” button to initiate the download and installation process.
- Wait for the media player app to finish installing on your Xbox One. This may take a few minutes, depending on your internet connection speed.
- Once the installation is complete, launch the media player app from your Xbox One’s home screen or apps library.
After launching the media player app, you may need to grant it permission to access your external hard drive. Follow the on-screen instructions to allow the media player app to access the files on your external hard drive.
It’s important to note that different media player apps may have slightly different user interfaces and features. Familiarize yourself with the specific features and settings of the media player app you installed to optimize your movie viewing experience.
With the media player app successfully installed on your Xbox One, you are now ready to transfer movies to your external hard drive in the next step.
Step 4: Transfer movies to your external hard drive
Now that you have your external hard drive connected to your Xbox One and a media player app installed, it’s time to transfer your movies to the external hard drive. Follow these steps to transfer movies:
- Turn on your computer and connect the external hard drive.
- Open the file explorer on your computer and locate the movie files that you want to transfer.
- Select the movie files you wish to transfer to the external hard drive.
- Right-click on the selected files and choose the option to copy or cut (depending on your preference).
- Open the external hard drive folder and paste the copied or cut movie files into the folder.
- Wait for the files to finish transferring to the external hard drive. The time taken will depend on the size of the files and the speed of the external hard drive.
It’s important to ensure that the movie files you are transferring are in a supported format by the media player app you have installed on your Xbox One. For optimal compatibility, it is recommended to use common video file formats such as MP4, AVI, MKV, or WMV.
Additionally, organizing your movie files into folders can help you better navigate and find specific movies on your Xbox One. You can create separate folders for different genres, years, or any other categories that suit your preference.
Once the movie files have been successfully transferred to your external hard drive, you can safely disconnect the drive from your computer and proceed to the next step: accessing and playing the movies on your Xbox One!
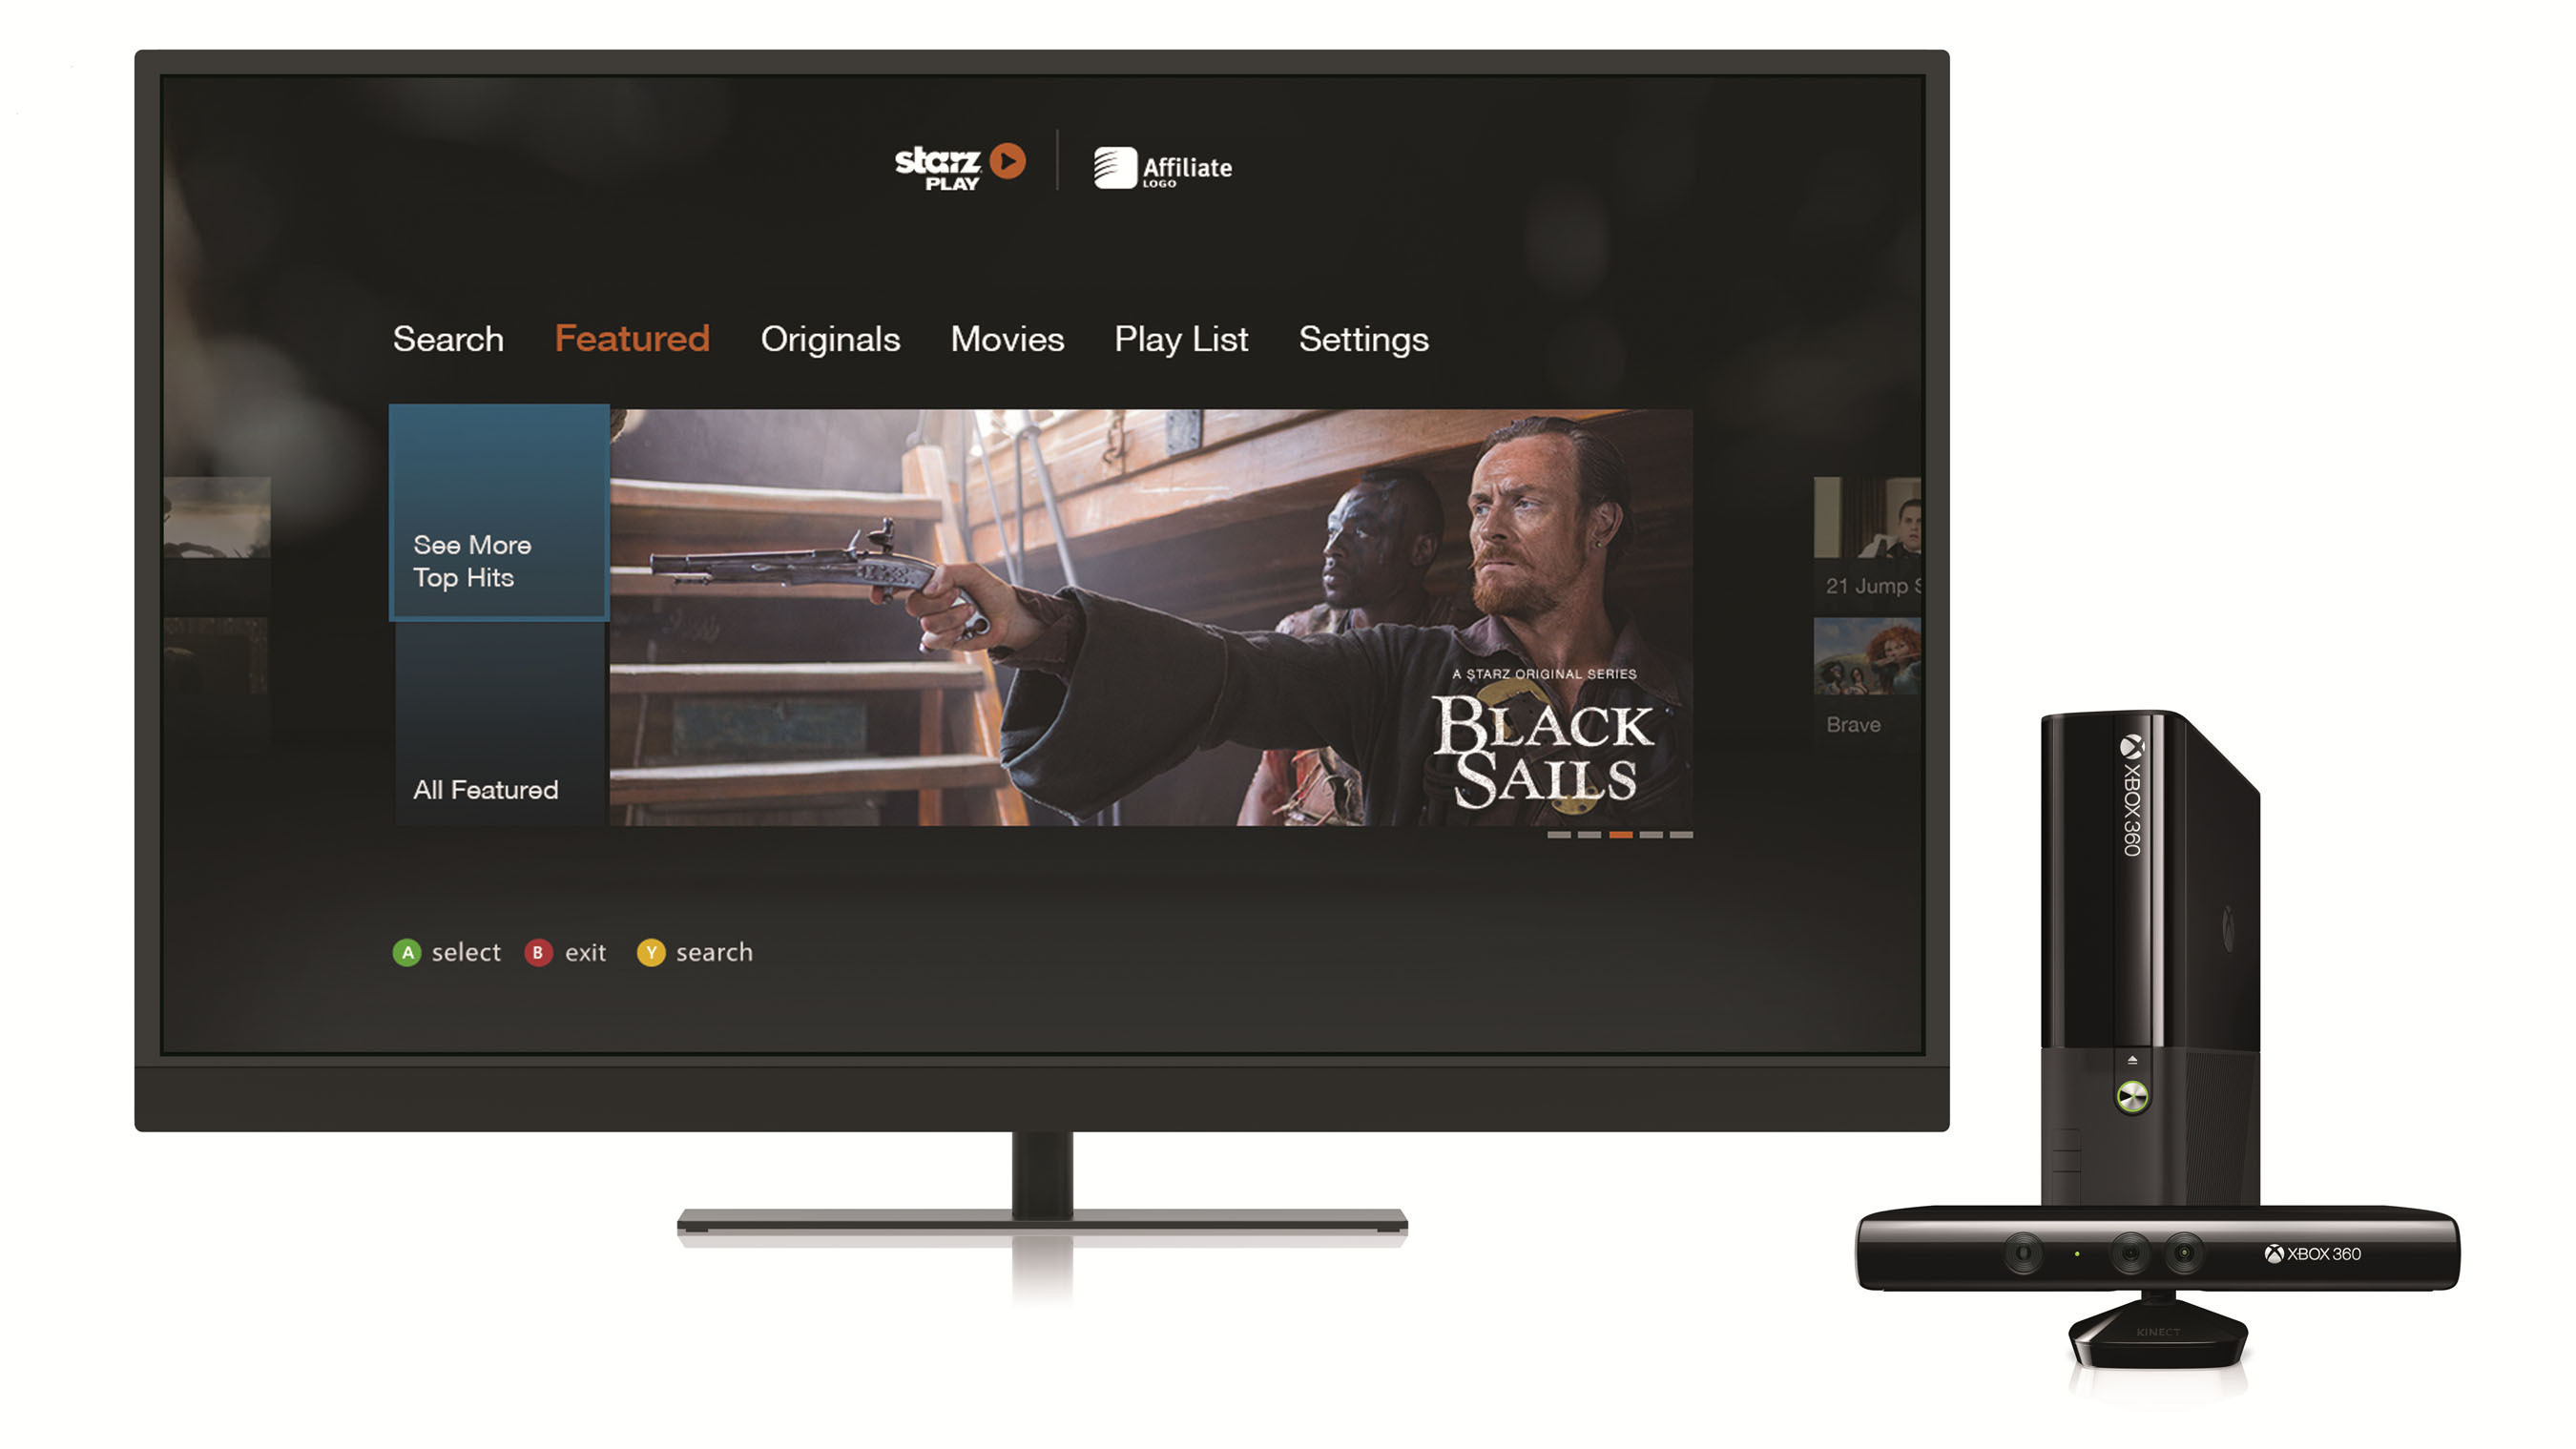
Step 5: Access and play movies from your external hard drive on Xbox One
With your movies transferred to the external hard drive, it’s time to access and play them on your Xbox One. Follow these steps to access and play movies:
- Make sure your Xbox One console is turned on and navigate to the home screen.
- Connect your external hard drive to one of the USB ports on your Xbox One.
- Using your Xbox One controller, go to the media player app you installed in Step 3.
- Once inside the media player app, you should see your external hard drive listed as an available storage device.
- Select your external hard drive from the list to access the movie files.
- Browse through the folders and locate the movie you want to watch.
- Select the movie file and click on the “Play” or “Open” button to start playing the movie on your Xbox One.
You can use the various playback controls on your Xbox One controller to pause, resume, fast forward, or rewind the movie as desired. The media player app may also offer additional features such as subtitle support and audio track selection, depending on the app you installed.
It’s worth noting that the time it takes to load the movie may vary depending on the size of the file and the speed of your external hard drive. Larger movie files may take longer to load, so please be patient while the movie buffers.
Once you’re done watching a movie, you can navigate back to the media player app to select another movie or safely disconnect your external hard drive from your Xbox One.
Congratulations! You have successfully accessed and played movies from your external hard drive on your Xbox One. Enjoy your movie collection on the big screen and create your personalized home cinema experience!
Conclusion
Playing movies from an external hard drive on Xbox One is a convenient and straightforward process that allows you to enjoy your favorite films on a larger screen without the need for additional devices or complicated setups. By following the steps outlined in this guide, you can easily format your external hard drive, connect it to your Xbox One, install a media player app, transfer your movie files, and access and play them on your console.
By using an external hard drive, you can free up storage space on your computer or other devices while still having easy access to your movie collection. The Xbox One’s user-friendly interface and compatibility with various media formats make it a great choice for playing movies directly from an external hard drive.
Remember to backup any important files before formatting your external hard drive, as this process will erase all existing data. Additionally, ensure that your movie files are in a compatible format and use folders to organize your movies for easier navigation.
With the media player app installed, you have the ability to control playback and access additional features such as subtitles and audio track selection. Take advantage of these features to enhance your viewing experience.
So fire up your Xbox One, connect your external hard drive, and immerse yourself in the world of movies right from your gaming console. Enjoy the cinematic experience from the comfort of your home and have fun exploring your movie collection like never before!