Introduction
Backing up your MacBook is essential to ensure the safety and security of your important files and data. With the help of an external hard drive, you can create a backup of your entire system, including documents, photos, videos, and settings. In the unfortunate event of a hardware failure, accidental deletion, or computer malfunction, having a backup can save you from losing precious files and hours of hard work.
In this guide, we will walk you through the step-by-step process of backing up your MacBook to an external hard drive using the Time Machine feature. Time Machine is a built-in backup utility available on Macs that makes the backup process seamless and hassle-free.
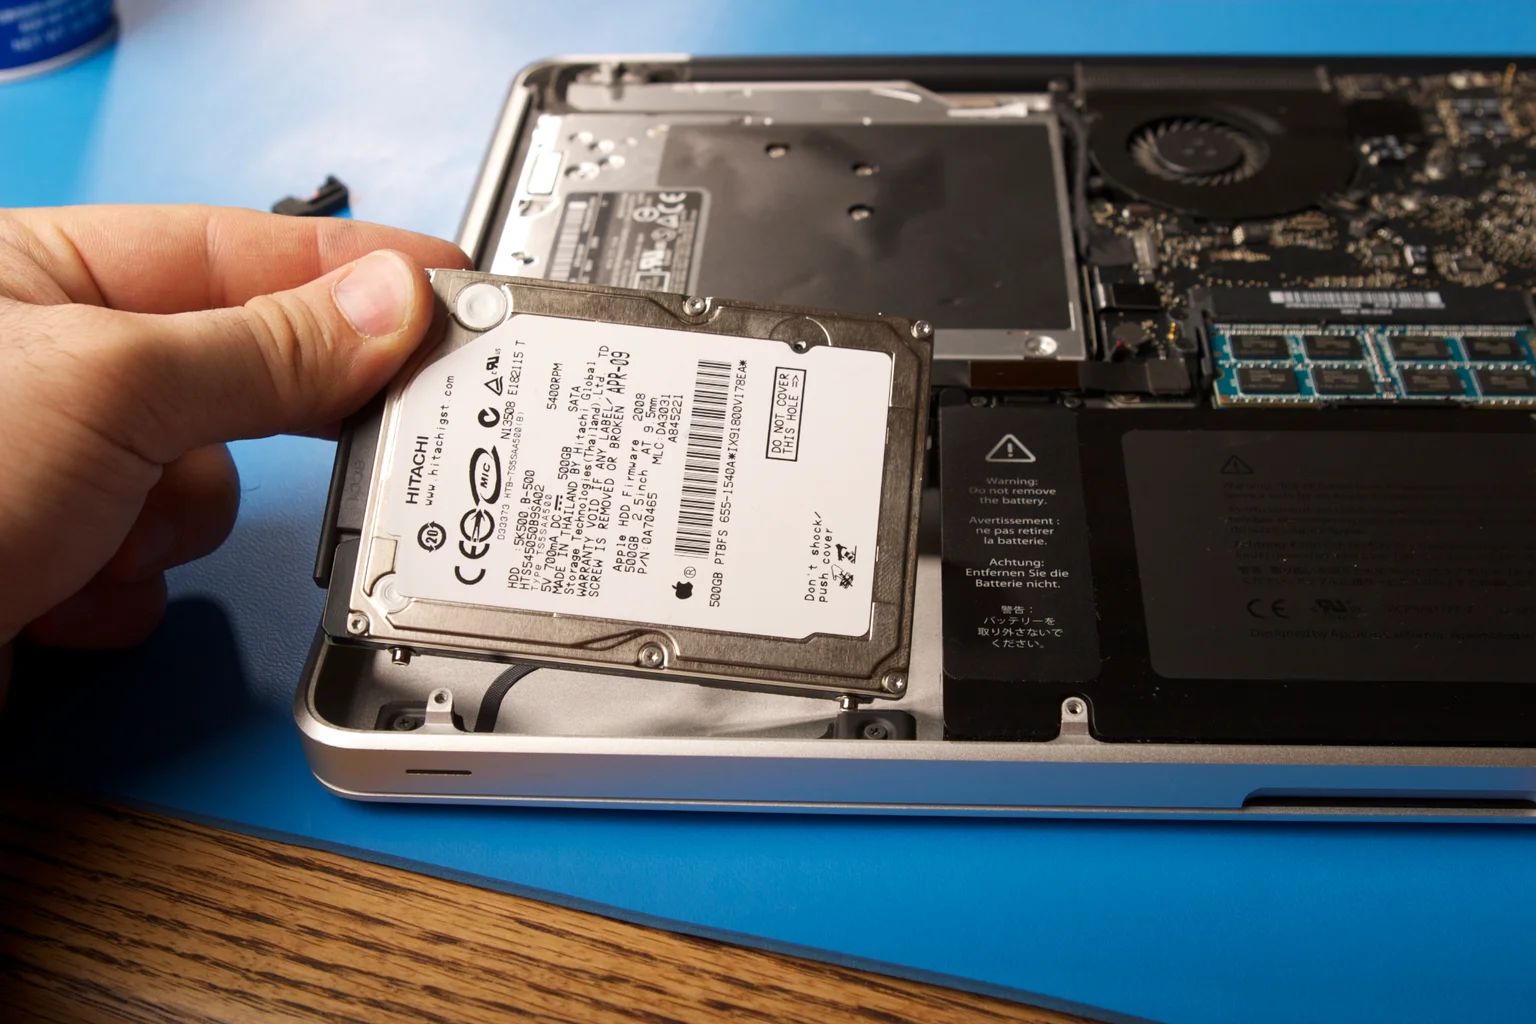
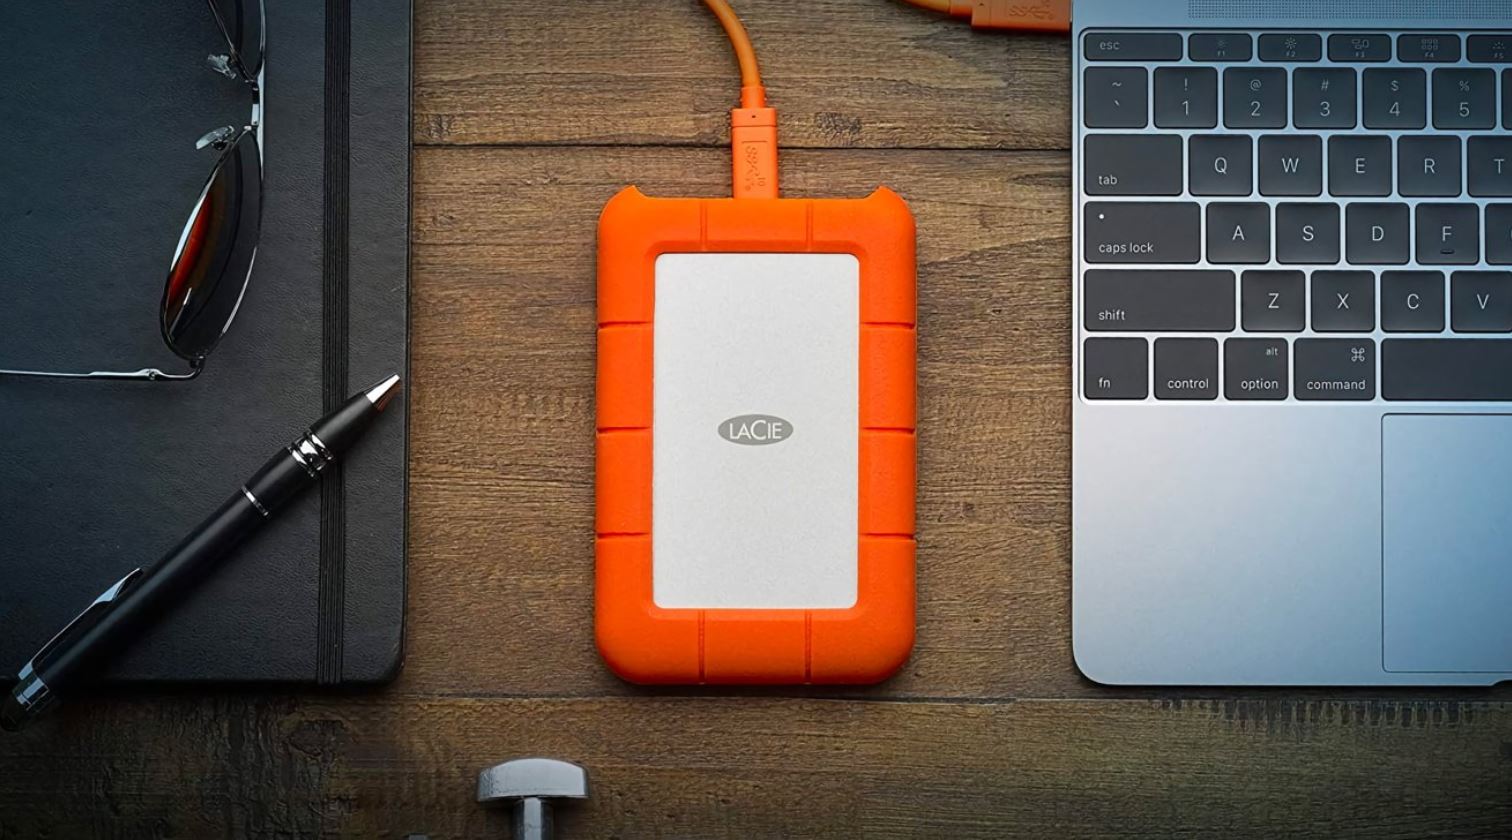
Before we dive into the steps, it’s important to note that choosing the right external hard drive is crucial. Look for a reliable and compatible external hard drive that offers sufficient storage space for your backup needs. Additionally, make sure the hard drive is formatted to work with macOS to ensure compatibility and smooth functioning.
Once you have your external hard drive ready, you can follow the instructions in this guide to create a backup of your MacBook and protect your important data. Let’s get started!
Step 1: Choosing the right external hard drive
When it comes to choosing an external hard drive for backing up your MacBook, there are several factors to consider. You want a drive that is reliable, compatible with your Mac, and offers enough storage capacity to accommodate your backup needs. Here are some key things to look for when selecting the right external hard drive:
- Storage capacity: Evaluate your storage requirements and choose a hard drive with ample space. Consider the size of your files, the number of files you want to back up, and any future data growth.
- Connectivity: Ensure that the hard drive offers the right connectivity options for your MacBook. The most common types are USB, Thunderbolt, or USB-C. Check your MacBook’s ports and choose a compatible option.
- Reliability: Look for a well-known and reputable brand that offers reliable and durable external hard drives. It’s essential to have a drive that can withstand regular use and protect your files.
- Compatibility: Confirm that the external hard drive is compatible with macOS. Many drives come pre-formatted for Windows, so you may need to reformat it to work with your MacBook.
- Speed: Consider the speed of the hard drive, especially if you are dealing with large files. Look for options like solid-state drives (SSD) that offer faster data transfer rates.
Research and read reviews to find a reliable external hard drive that meets your requirements and budget. Once you have chosen the perfect drive, you’re ready to move on to the next step: formatting it for your Mac.
Step 2: Formatting the external hard drive for Mac
Before you can start using your external hard drive to back up your MacBook, you need to format it to work with macOS. By formatting the drive, you ensure that it is compatible and optimized for your Mac. Follow these steps to format the external hard drive:
- Connect the external hard drive to your MacBook using the appropriate cable or connector.
- Open the Finder by clicking on the smiley face icon located in your Dock or by pressing Command + Space and typing “Finder” in the Spotlight search.
- In the Finder window, select “Applications” from the left sidebar.
- Scroll down and open the “Utilities” folder, then double-click on the “Disk Utility” application.
- In the Disk Utility window, you will see a list of drives on the left-hand side. Locate the external hard drive that you want to format and select it.
- Click on the “Erase” button at the top of the Disk Utility window.
- A new window will appear, allowing you to choose the format for your external hard drive. Select “Mac OS Extended (Journaled)” as the format.
- Enter a name for your drive in the “Name” field. This will be the label that appears on your desktop and Finder sidebar.
- Double-check that you have selected the correct drive and format options. Formatting will erase all data on the drive, so make sure you have a backup if there are any important files.
- Click on the “Erase” button to begin the formatting process.
- Wait for Disk Utility to format the drive. Once the process is complete, you will see a confirmation message.
After formatting the external hard drive, it is now ready to be used as a backup disk for your MacBook. In the next step, we will guide you through connecting the formatted drive to your MacBook.
Step 3: Connecting the external hard drive to your MacBook
Now that you have formatted your external hard drive, it’s time to connect it to your MacBook. Follow these simple steps to establish a connection:
- Locate the appropriate cable or connector for your external hard drive and MacBook. For most modern MacBooks, you will typically use a USB-C or Thunderbolt cable.
- Connect one end of the cable to the external hard drive and the other end to the corresponding port on your MacBook.
- Ensure the cable is securely connected to both devices. You should hear a click or feel a slight resistance when the cable is fully inserted.
- Once connected, your MacBook should detect the external hard drive and display it on your desktop or in the Finder sidebar.
If you do not see the external hard drive appearing on your desktop or in the Finder sidebar, you may need to check a few things:
- Verify that the cable is firmly connected to both the MacBook and the external hard drive.
- Restart your MacBook and see if the external hard drive is recognized.
- Try connecting the external hard drive to a different USB or Thunderbolt port on your MacBook.
- If the above steps do not work, there could be an issue with the cable or the external hard drive itself. Try using a different cable or consult the manufacturer’s support for further assistance.
Once you have successfully connected your external hard drive to your MacBook, you are now ready to set up Time Machine for the backup process in the next step.
Step 4: Setting up Time Machine
Time Machine is a built-in backup utility on your MacBook that makes the process of backing up your files quick and easy. In this step, we will guide you through the setup process:
- Go to the Apple menu and select “System Preferences.”
- In the System Preferences window, click on “Time Machine.”
- You will see the Time Machine preferences window, where you can customize your backup settings.
- Click on the “Select Disk” button to choose your external hard drive as the backup disk.
- A list of available disks will appear. Select your external hard drive from the list.
- If you want to encrypt your backup for added security, check the box that says “Encrypt backups” and enter a password.
- Click on the “Use Disk” button to proceed.
Time Machine will now start preparing your external hard drive for the backup process. This may take a few minutes, so be patient.
Once the preparation is complete, Time Machine will automatically start backing up your MacBook to the selected external hard drive. The initial backup may take a while, depending on the size of your files and the speed of your external hard drive.
It’s important to note that Time Machine will continuously keep your backups up to date by automatically backing up any changes you make to your files or system. You can also customize your backup preferences by excluding specific files or folders from the backup if desired.
Now that you have successfully set up Time Machine with your external hard drive, you can move on to the next step of choosing the folders to include or exclude from your backups.
Step 5: Selecting the backup disk
Now that you have set up Time Machine and connected your external hard drive, it’s time to select the backup disk where your MacBook’s data will be stored. Follow these steps to choose the backup disk:
- Click on the Time Machine icon in the menu bar at the top of your screen. It looks like a clock with an arrow.
- A dropdown menu will appear. Select “Open Time Machine Preferences.”
- The Time Machine preferences window will open. You will see a list of available backup disks.
- Choose your external hard drive from the list by clicking on it.
- If necessary, you may need to enter the password for the encrypted backup disk.
- To ensure that the selected backup disk is used for future backups, make sure the “Back Up Automatically” box is checked.
- Close the Time Machine preferences window.
Your MacBook will now automatically back up its data to the selected backup disk whenever it’s connected. Time Machine will create incremental backups, meaning that it will only save the changes made since the previous backup, saving both storage space and time.
It’s important to leave your external hard drive connected to your MacBook as much as possible to ensure regular and consistent backups. If the backup disk becomes full, Time Machine will automatically delete the oldest backups to make room for new ones.
By selecting the appropriate backup disk in Time Machine, you have taken a crucial step in ensuring the safety and security of your MacBook’s data. In the next step, we will explore how you can customize your backup preferences by including or excluding specific folders.
Step 6: Choosing folders to exclude from the backup
While Time Machine is highly effective at creating backups of your MacBook, you may have certain folders or files that you don’t wish to include in the backup. Follow these steps to exclude specific folders:
- Click on the Apple menu and select “System Preferences.”
- In the System Preferences window, click on “Time Machine.”
- The Time Machine preferences window will open, displaying the selected backup disk and backup options.
- Click on the “Options” button near the bottom right corner of the window. A new window will appear.
- In the “Exclude these items from backups” section, click on the “+” button.
- Navigate to the folder or file that you wish to exclude from the backup and select it. You can select multiple items by holding down the Command key while clicking.
- Click on the “Exclude” button to add the selected items to the exclusion list.
- If you want to remove an item from the exclusion list, select it and click on the “-” button.
- Once you have finished selecting the folders to exclude, click on the “OK” button to save your changes.
By excluding certain folders or files, you can save space on your backup disk and reduce the time it takes to complete backups. It’s common to exclude folders such as temporary files, caches, or large media folders that don’t contain essential data.
Remember that while excluding certain folders may save space, it’s important to assess the importance of the data in those folders and ensure they are backed up through alternative methods if necessary.
With the folders excluded from the backup, Time Machine will continue to create regular backups of your MacBook’s data while excluding the specified folders. This allows you to have a more streamlined and efficient backup process.
In the next step, we will discuss how to start the backup process and monitor its progress.
Step 7: Starting the backup process
Now that you have set up Time Machine, connected your external hard drive, and customized your backup preferences, it’s time to start the backup process. Follow these steps to initiate the backup:
- Make sure your external hard drive is connected to your MacBook.
- Click on the Time Machine icon in the menu bar at the top of your screen. It looks like a clock with an arrow.
- In the dropdown menu, select “Back Up Now.”
- Time Machine will start the backup process, and you will see a progress bar indicating the status of the backup.
- While the backup is in progress, you can continue to use your MacBook as usual. Time Machine works in the background, so you don’t have to worry about interruptions or slowdowns.
- The length of time it takes for the backup to complete will vary depending on the size of your files and the speed of your external hard drive. It’s recommended to keep your MacBook connected to the power source during the backup process.
It’s important to note that Time Machine will automatically perform backups in the background once the initial backup is complete. These subsequent backups will be incremental, meaning that only the changes made since the last backup will be saved, ensuring both efficiency and conservation of storage space.
You can monitor the progress of your backup by clicking on the Time Machine icon in the menu bar and selecting “Show Time Machine in Finder.” This will display the backup history and allow you to browse through different versions of your files.
By starting the backup process, you are taking a proactive step towards safeguarding your important data and ensuring its recoverability in the event of loss or system failure.
In the next step, we will discuss how to safely disconnect the external hard drive from your MacBook.
Step 8: Monitoring the backup progress
As Time Machine performs backups of your MacBook to the external hard drive, you may want to keep an eye on the progress to ensure everything is running smoothly. Here are a few ways to monitor the backup progress:
- Click on the Time Machine icon in the menu bar at the top of your screen. A dropdown menu will appear, showing the status of the current backup and when the last backup was completed.
- To get a detailed view of the backup history, click on “Show Time Machine in Finder” from the dropdown menu. This will open a Finder window displaying the backup disk and the timeline of your backups.
- Within the Time Machine interface, you can visually navigate through different dates and browse the files and folders as they were at that specific backup point.
- If you want more detailed information about the backup process, you can open the Time Machine preferences by going to the Apple menu, selecting “System Preferences,” and then clicking on “Time Machine.”
- The preferences window will display the backup progress, the size of the backup, and the estimated time remaining for the current backup.
It’s important to note that Time Machine performs backups in the background, allowing you to continue using your MacBook without interruptions. The time it takes to complete each backup will depend on factors such as the size of your files, the speed of your external hard drive, and any changes made to your MacBook since the last backup.
By regularly monitoring the backup progress, you can ensure that your files are being safely and effectively backed up, providing you with peace of mind knowing that your data is protected.
In the next step, we will discuss the proper way to disconnect the external hard drive from your MacBook once the backup process is complete or when you need to remove it.
Step 9: Disconnecting the external hard drive safely
Once you have completed the backup process or need to remove the external hard drive from your MacBook, it’s important to disconnect it safely to prevent any data corruption or hardware issues. Follow these steps to disconnect the external hard drive:
- Ensure that the backup process is complete. You can check the Time Machine icon in the menu bar to confirm if the backup is still in progress.
- Save and close any files or applications that are actively using the external hard drive.
- Click on the Time Machine icon in the menu bar and select “Eject Backup Disk.”
- Wait for a few seconds while the system processes the eject command.
- You will receive a notification indicating that it is safe to disconnect the external hard drive.
- Gently remove the cable or connector from your MacBook.
- Once the cable is detached, you can safely unplug the other end from the external hard drive.
It’s important to follow these steps to avoid data loss or potential damage to the external hard drive. Abruptly disconnecting the drive without properly ejecting it can lead to data corruption or even hardware failure.
Remember to store your external hard drive in a safe and secure location, away from external factors that could potentially cause damage, such as extreme temperatures or moisture.
When reattaching the external hard drive for future backups, simply connect the cable or connector to your MacBook, and Time Machine will automatically detect the drive and resume the backup process.
By disconnecting the external hard drive safely, you protect your data and ensure that future backups can be performed without any issues.
Congratulations! You have successfully completed the process of backing up your MacBook to an external hard drive using Time Machine. By following these steps, you have taken a significant step in safeguarding your valuable data and ensuring its recoverability in case of any unforeseen events.
Conclusion
Backing up your MacBook to an external hard drive is an essential practice to protect your valuable files and data from loss or damage. By following the step-by-step guide outlined in this article, you have learned how to successfully back up your MacBook using the Time Machine feature.
From choosing the right external hard drive to formatting it for compatibility with your Mac, each step is crucial in ensuring a smooth and efficient backup process. You have also learned how to connect the external hard drive to your MacBook and set up Time Machine for automated backups.
Customizing your backup preferences, including excluding specific folders, allows you to tailor the backup process to your unique needs. Monitoring the backup progress with Time Machine ensures that your files are being safely backed up and provides peace of mind.
Finally, safely disconnecting the external hard drive when necessary is important for data integrity and the longevity of your hardware.
Remember, regular backups are essential for data protection. Whether it’s important documents, cherished memories in the form of photos and videos, or your personalized settings, having a backup ensures that your MacBook’s data is safe in the event of hardware failure, accidental deletion, or system malfunctions.
Make it a priority to regularly back up your MacBook to an external hard drive, following the steps outlined in this guide. By doing so, you can enjoy peace of mind knowing that your important files and data are securely preserved and easily recoverable.
Protect your MacBook and its valuable contents by creating a backup habit today. It’s a small investment of time that can save you from potential headaches and the devastating loss of your data in the future.