Introduction
Welcome to this comprehensive guide on how to add a solid state drive (SSD) to your 2011 MacBook Pro. If you’re still relying on the traditional spinning hard drive, upgrading to an SSD can significantly boost your MacBook’s performance and speed. With its faster read and write speeds, increased durability, and improved power efficiency, an SSD is the perfect upgrade to breathe new life into your aging MacBook Pro.
Installing an SSD may seem daunting if you’ve never taken apart a laptop before, but fear not! This step-by-step guide will walk you through the process, ensuring that you can successfully install the new SSD without any issues. We’ll cover everything from gathering the necessary tools and materials to initializing the new SSD, so you’ll have all the information you need to complete this upgrade with confidence.
Before we begin, it’s important to note that opening up your MacBook Pro for any modifications may void your warranty. If your MacBook is still covered, you may want to consider having the upgrade performed by an authorized technician. However, if you’re comfortable with do-it-yourself projects and are willing to take the risk, let’s dive in!
By the end of this guide, you’ll have a lightning-fast MacBook Pro that can handle any task you throw at it. So, grab your tools, gather your courage, and let’s get started on transforming your MacBook Pro with a new SSD!
Step 1: Gather the necessary tools and materials
Before you begin the SSD installation process, it’s crucial to gather all the necessary tools and materials. Having everything ready will save you time and frustration later on. Here’s a list of what you’ll need:
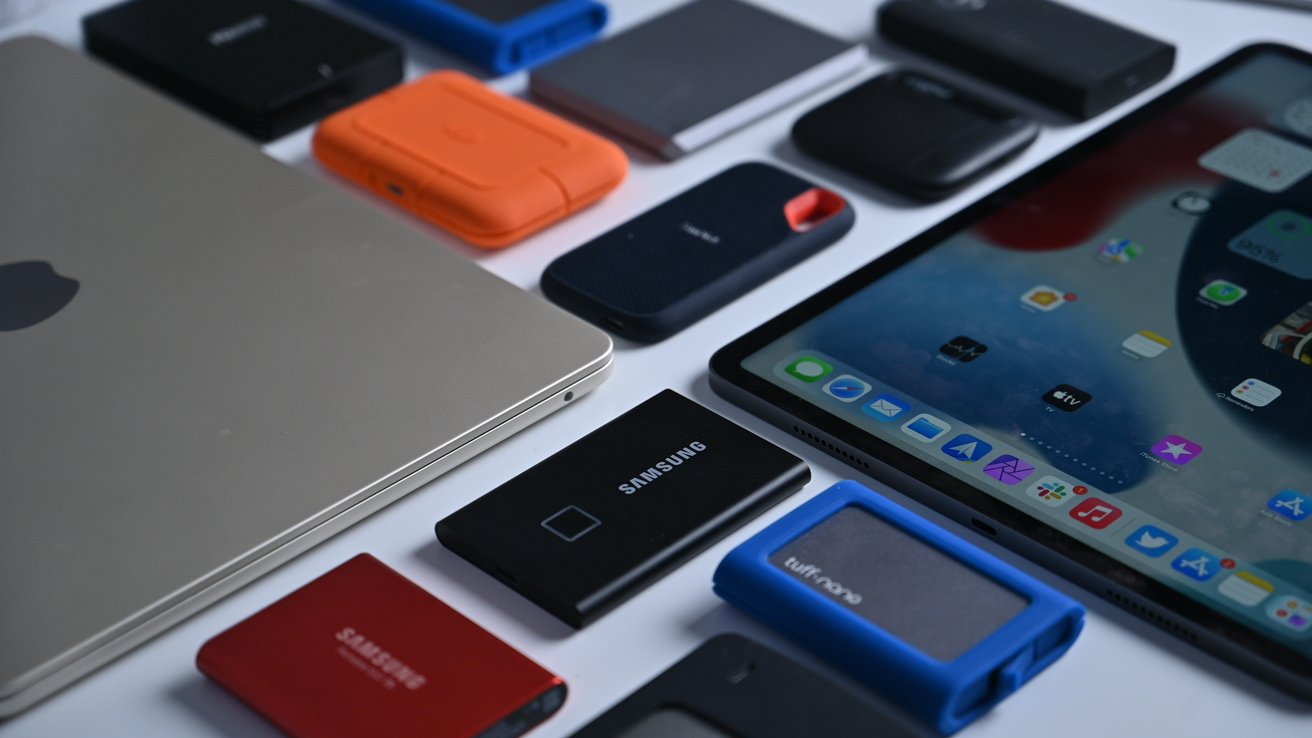
- Compatible SSD: Make sure you have a solid state drive that is compatible with your 2011 MacBook Pro. Check the specifications to ensure it is the right size and connector type.
- External storage device: It’s highly recommended to have an external storage device like a USB flash drive or external hard drive. This will be used to back up your data before the installation.
- MacBook Pro screwdriver set: You’ll need a set of screwdrivers specifically designed for MacBook Pro models. These typically include pentalobe and phillips head screwdrivers.
- Anti-static wristband: While not mandatory, an anti-static wristband can prevent any static electricity from damaging sensitive components during the installation process.
- Soft cloth or anti-static mat: To prevent scratches or damage to your MacBook Pro’s surface, have a soft cloth or anti-static mat on hand to place your laptop on during the installation.
Having these tools and materials ready before you start the SSD installation will make the process smoother and more efficient. Now that you’ve gathered everything you need, let’s move on to the next step: backing up your data.
Step 2: Backup your data
Before diving into the SSD installation process, it’s vital to back up all your data to ensure that none of your important files are lost during the upgrade. Here’s how you can back up your data:
- Connect the external storage device, such as a USB flash drive or external hard drive, to your MacBook Pro.
- Open the Time Machine application on your MacBook Pro. If you don’t have Time Machine set up, you can manually copy and paste your important files and folders to the external storage device.
- Follow the prompts in the Time Machine application to set up an automatic backup or manually select the files and folders you want to back up to the external storage device.
- Wait for the backup process to complete. This may take some time depending on the size of your files and the speed of your external storage device.
- Double-check that all your important files are backed up and accessible on the external storage device.
Backing up your data is crucial because during the SSD installation process, your existing hard drive will be replaced. By having a backup, you can restore your files and settings onto the new SSD without any data loss.
Remember to carefully follow the backup process and ensure that all your essential files are securely saved. Once you’ve completed the backup, you can proceed to the next step: shutting down your MacBook Pro and unplugging it.
Step 3: Shut down your MacBook Pro and unplug it
Before we start the SSD installation process, it’s important to ensure that your MacBook Pro is shut down properly and disconnected from any power sources. Here’s how to proceed:
- Save any open files and close all applications on your MacBook Pro.
- Click on the Apple menu in the top left corner of your screen and select “Shut Down” from the drop-down menu.
- Once your MacBook Pro has powered down completely, unplug the power adapter from the wall socket or power source.
- Next, disconnect the power adapter from your MacBook Pro by gently pulling the MagSafe connector out of the port.
- Finally, to ensure the safety of your MacBook Pro and the components inside, press and hold the power button for about 5 seconds to discharge any remaining power.
Shutting down your MacBook Pro and disconnecting it from power sources is an essential step to prevent any potential electrical mishaps during the SSD installation process. By taking these precautions, you’ll minimize the risk of damaging your MacBook Pro or the SSD itself.
Now that you’ve properly shut down and unplugged your MacBook Pro, you’re ready to move on to the next step: removing the bottom cover.
Step 4: Remove the bottom cover
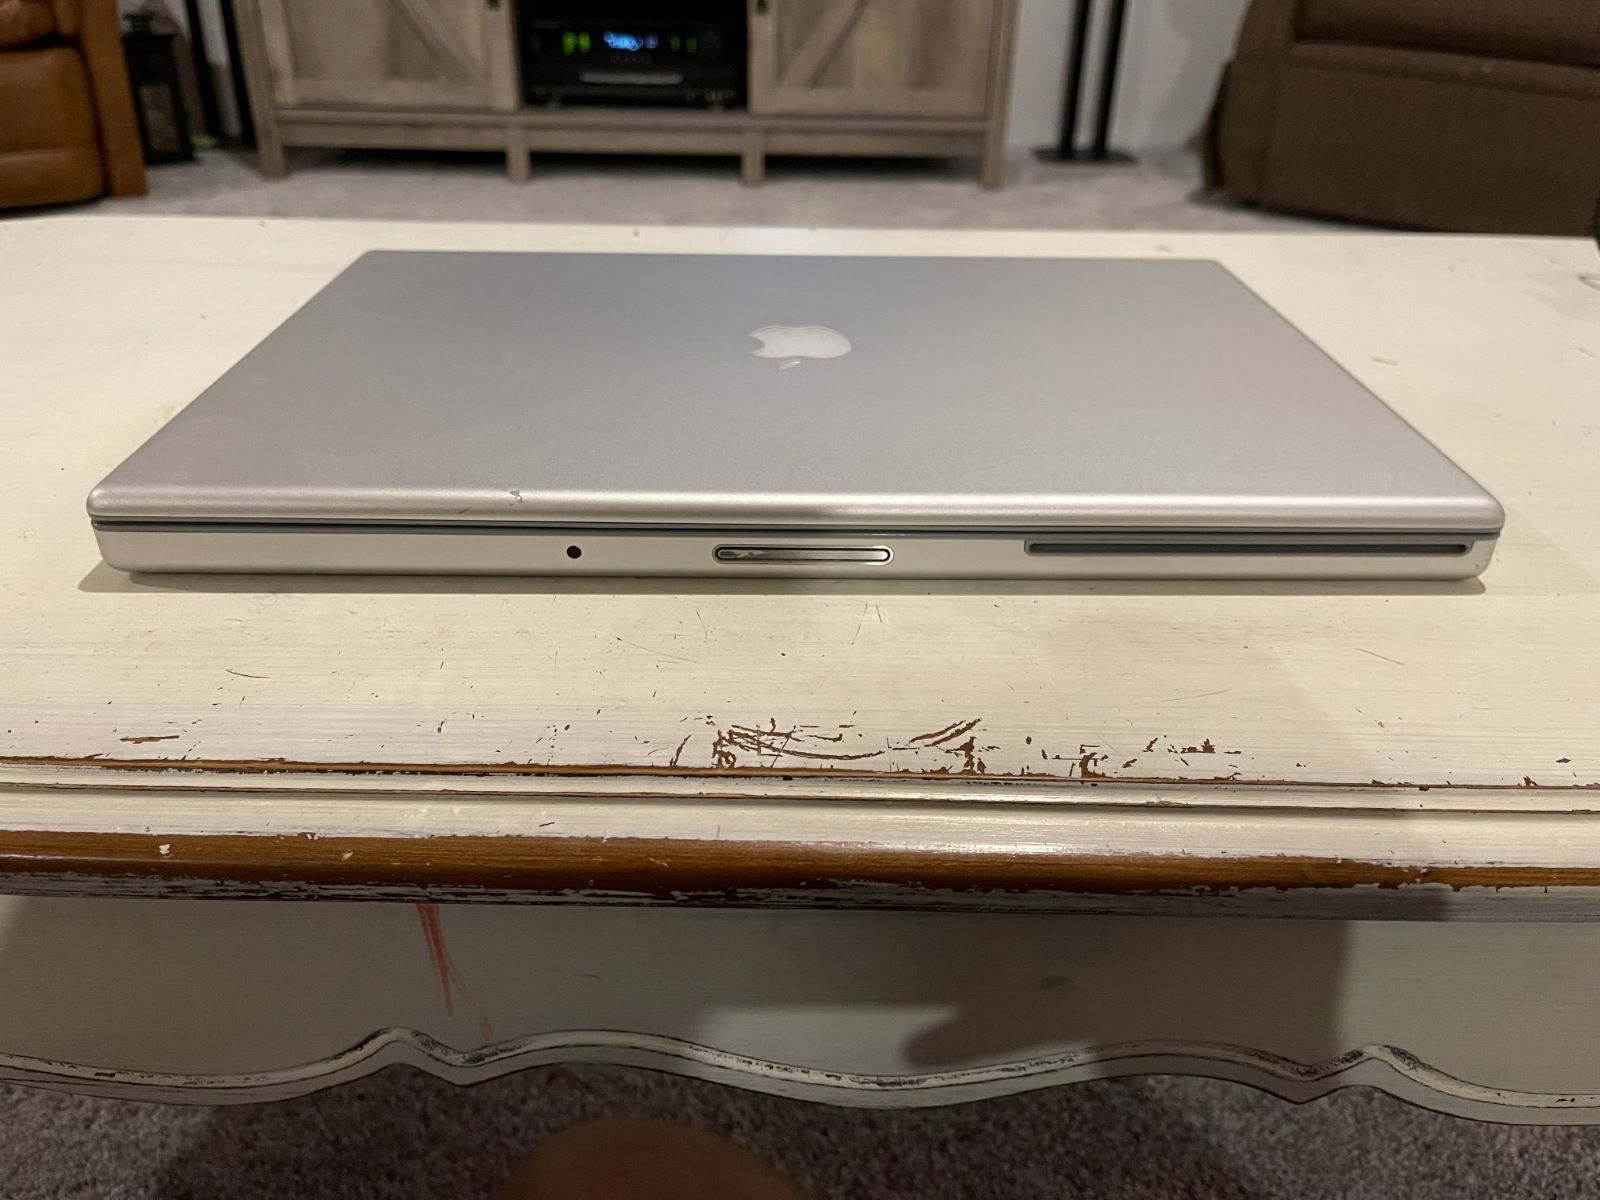
Now that your MacBook Pro is shut down and unplugged, it’s time to remove the bottom cover to access the internal components. Here’s how to proceed:
- Place your MacBook Pro on a soft cloth or anti-static mat to avoid scratching the surface.
- Locate the screws on the bottom cover. In the case of the 2011 MacBook Pro, there are ten screws that need to be removed.
- Using the appropriate screwdriver from your MacBook Pro screwdriver set, carefully unscrew and remove the ten screws from the bottom cover. Remember to keep the screws in a safe place to avoid losing them.
- Once all screws are removed, gently lift the bottom cover by the edge, starting from the rear of the MacBook Pro. Slowly and steadily, lift the cover to avoid any damage to the internal components.
- Set the bottom cover aside in a safe place, ensuring that it doesn’t get scratched or damaged.
Removing the bottom cover gives you access to the internal components of your MacBook Pro, including the existing hard drive. It’s important to handle the bottom cover with care and remove the screws in a deliberate and steady manner.
With the bottom cover removed, you’re ready to move on to the next step: disconnecting the battery.
Step 5: Disconnect the battery
Before proceeding with the SSD installation, it’s crucial to disconnect the battery to prevent any electrical accidents or damage to the internal components of your MacBook Pro. Follow these steps to disconnect the battery:
- Locate the battery connector on the logic board of your MacBook Pro.
- Using a pair of tweezers or your fingers, gently lift the battery connector straight up from the logic board. Be careful not to twist or bend the connector.
- Once the battery connector is lifted, the connection between the battery and the logic board will be disconnected.
- Confirm that the battery connector is no longer connected by gently tugging on it. It should not be firmly attached to the logic board.
Disconnecting the battery is a crucial safety measure that ensures no power is flowing through your MacBook Pro while you work on installing the SSD. By removing the power source, you minimize the risk of electrical accidents and protect the internal components from potential damage.
With the battery safely disconnected, you’re now ready to move on to the next step: removing the existing hard drive.
Step 6: Remove the existing hard drive
With the battery safely disconnected, it’s time to remove the existing hard drive from your MacBook Pro. Follow these steps to remove the hard drive:
- Locate the hard drive bay on your MacBook Pro. In the case of the 2011 MacBook Pro, it is typically located on the right-hand side.
- Using your fingertips or a screwdriver, gently lift the plastic tab on the hard drive connector to release it from the logic board.
- Carefully slide the hard drive out of the hard drive bay, keeping it at a slight angle to avoid any damage to the connectors.
- If there are any screws securing the hard drive in place, use the appropriate screwdriver to remove them.
- Once the screws are removed, gently pull the hard drive out of the hard drive bay.
- Set the old hard drive aside in a safe place or use an anti-static bag to protect it from any potential damage.
Removing the existing hard drive is a crucial step in preparing your MacBook Pro for the installation of the new SSD. Take your time and handle the hard drive with care to avoid any accidental damage. Remember to keep the screws and the hard drive in a safe place to avoid misplacing or losing them.
With the existing hard drive removed, you’re now ready to move on to the exciting step of installing the new solid state drive.
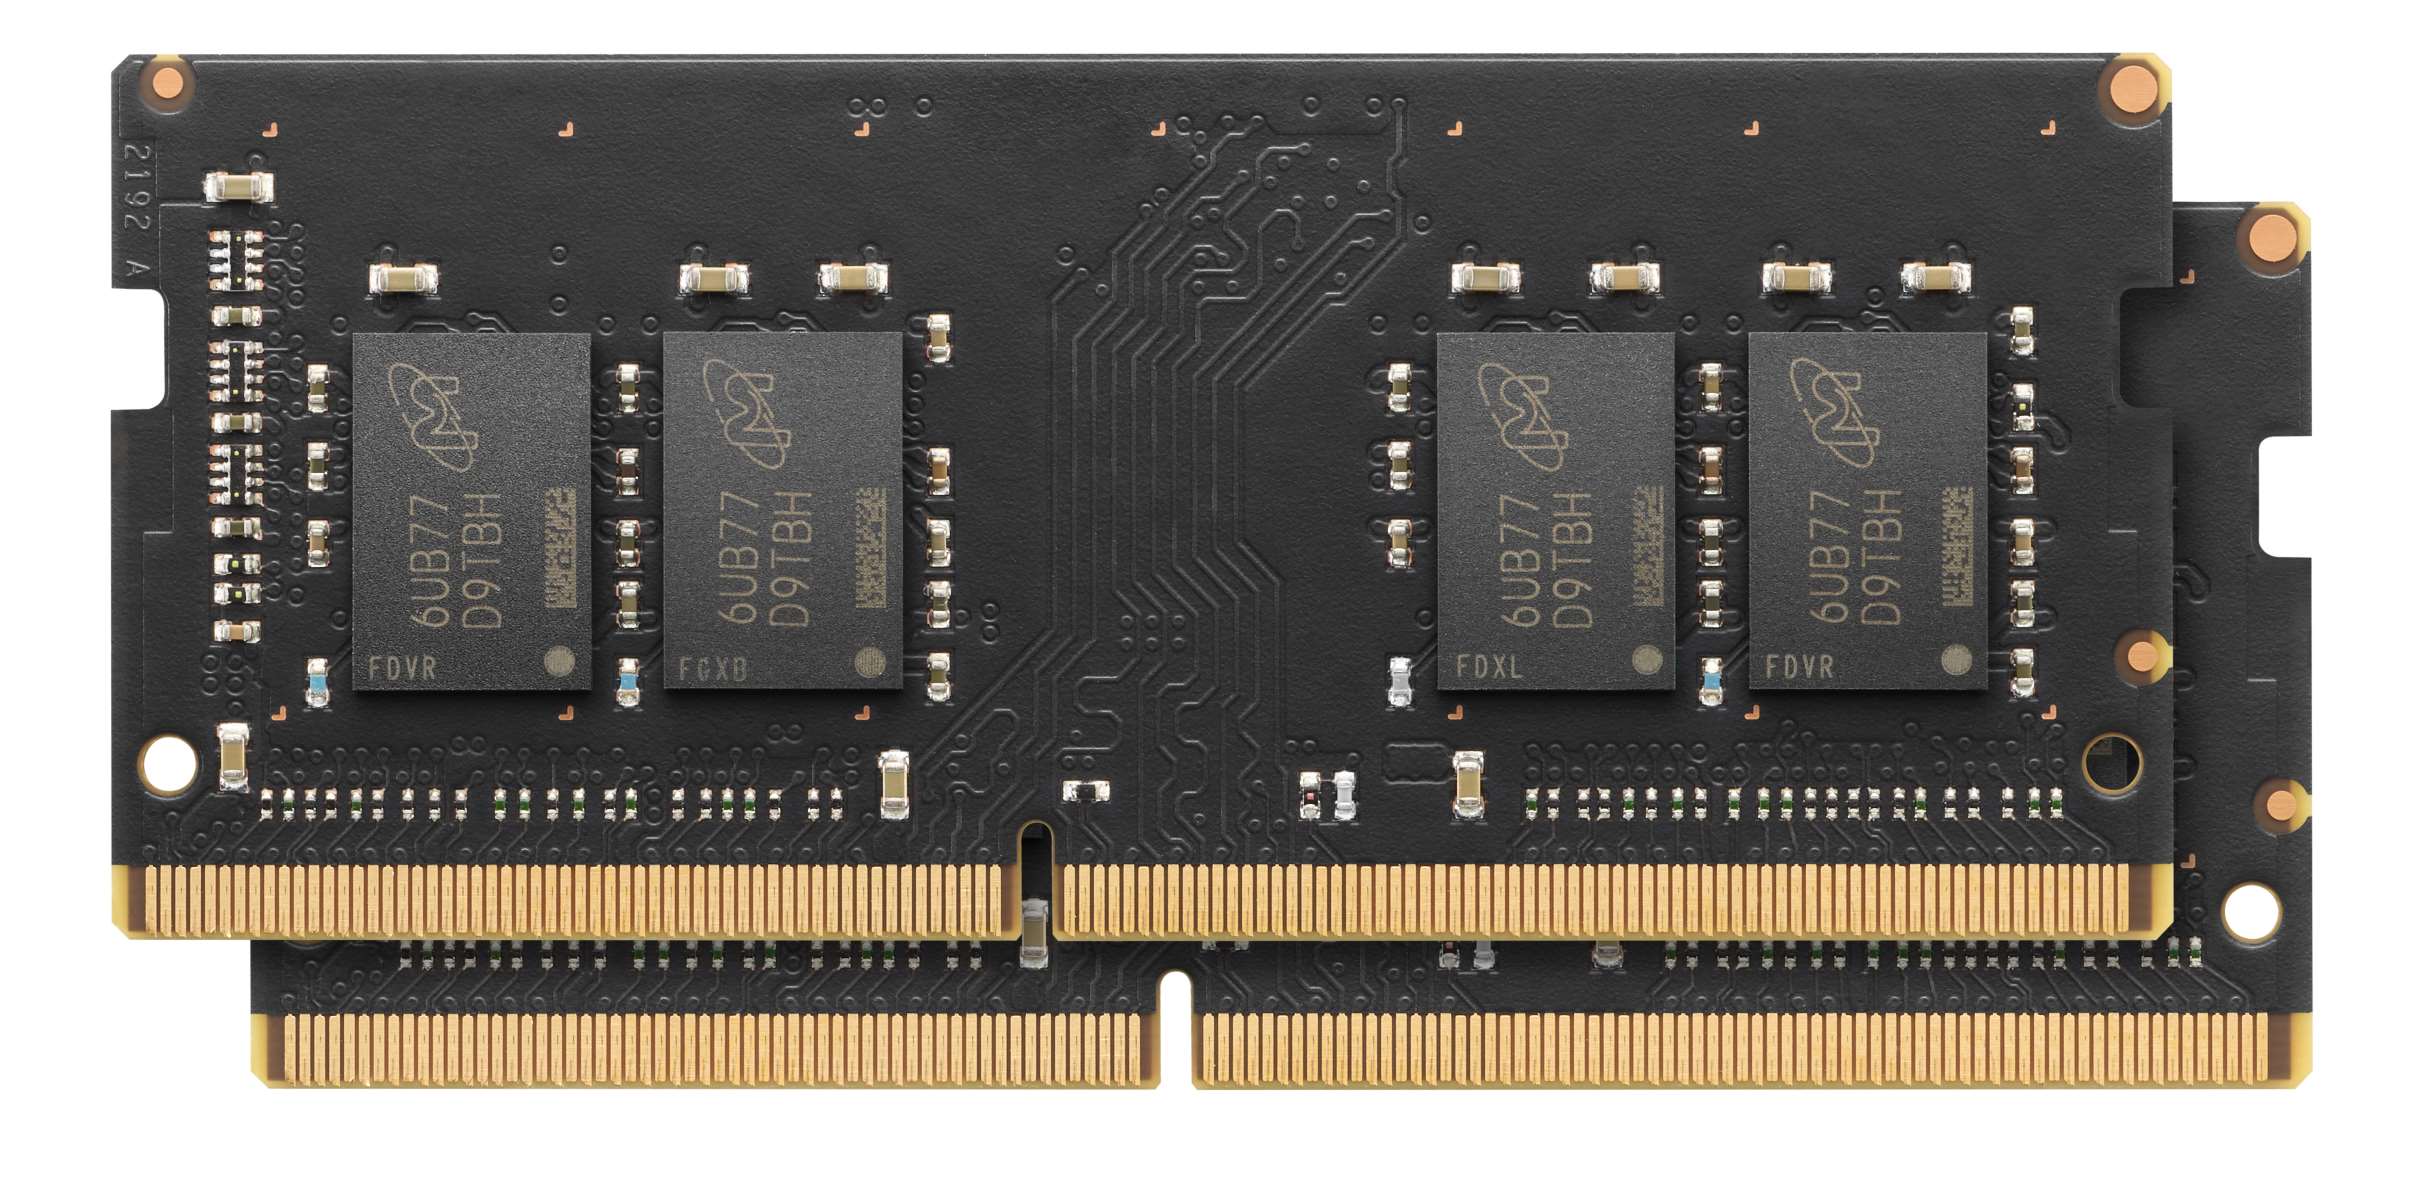
Step 7: Install the new solid state drive
Now that you have removed the existing hard drive, it’s time to install the new solid state drive (SSD) into your MacBook Pro. Follow these steps to install the SSD:
- Take your new SSD and carefully align it with the connectors in the hard drive bay.
- Gently slide the SSD into the bay, making sure it is fully inserted and seated securely.
- If there were any screws securing the old hard drive, use the appropriate screwdriver to tighten them on the new SSD. Make sure not to overtighten the screws.
- If your SSD has any additional cables or connectors, ensure they are properly connected to the SSD and the logic board.
Installing the new SSD is an exciting step as it will significantly improve the performance and speed of your MacBook Pro. Be careful during the installation process to avoid any accidental damage to the SSD or its connectors. Taking your time and double-checking the alignment and connections will help ensure a successful installation.
With the new SSD securely installed in your MacBook Pro, it’s time to move on to the next step: reconnecting the battery.
Step 8: Reconnect the battery
Now that the new solid state drive (SSD) is installed, it’s time to reconnect the battery to your MacBook Pro. Follow these steps to ensure a proper reconnection:
- Locate the battery connector on the logic board of your MacBook Pro.
- Take the battery connector and align it with the corresponding slot on the logic board.
- Gently push the battery connector straight down onto the slot until it is firmly seated. Make sure it is properly connected without applying excessive force.
Reconnecting the battery is a critical step to restore power to your MacBook Pro after the SSD installation. Ensure that the battery connector is securely connected to the logic board to prevent any potential power issues or malfunctions.
With the battery reconnected, you’re now ready to move on to the next step: replacing the bottom cover.
Step 9: Replace the bottom cover
Now that you have completed the SSD installation and reconnected the battery, it’s time to replace the bottom cover of your MacBook Pro. Follow these steps to ensure a secure fit:
- Take the bottom cover and align it with the edges of your MacBook Pro.
- Gently lower the bottom cover onto the MacBook Pro, ensuring that all sides are aligned properly.
- Once aligned, use your fingers to press down firmly on all areas of the bottom cover to secure it in place.
- If applicable, use the appropriate screwdriver from your MacBook Pro screwdriver set to reinsert and tighten the screws into their respective positions.
Replacing the bottom cover is the final step in the SSD installation process. Ensure that the cover is correctly aligned and securely fastened to protect the internal components and maintain the overall integrity of your MacBook Pro.
With the bottom cover in place, you’re ready to move on to the exciting moment of powering on your MacBook Pro and initializing the new SSD.
Step 10: Power on your MacBook Pro and initialize the new SSD
After successfully replacing the bottom cover, you’re now ready to power on your MacBook Pro and initialize the new solid state drive (SSD). Follow these steps to get your MacBook Pro up and running:
- Make sure your MacBook Pro is still unplugged from any power sources.
- Press the power button to turn on your MacBook Pro. The startup process may take a little longer than usual as the system initializes the new SSD.
- Once your MacBook Pro has powered on, it’s time to set up the new SSD. If you had previously backed up your data using Time Machine, you can choose the option to restore your files and settings from the external storage device.
- If you didn’t use Time Machine to back up your data, you can start fresh by going through the initial setup process to create a new user account and set your preferences.
- After the setup process is complete, you can start using your MacBook Pro with its new speedy and efficient SSD!
Powering on your MacBook Pro and initializing the new SSD is an exciting moment as you can now experience the benefits of faster performance, improved reliability, and increased storage capacity. Take the time to customize your settings, reinstall any necessary applications, and transfer your files back onto your MacBook Pro.
Congratulations! You have successfully added a solid state drive to your 2011 MacBook Pro. Enjoy the enhanced performance and productivity that your upgraded MacBook Pro now offers!
Conclusion
Congratulations on successfully adding a solid state drive (SSD) to your 2011 MacBook Pro! By following the step-by-step guide outlined in this article, you have transformed your MacBook Pro into a faster and more efficient machine. The SSD upgrade will greatly enhance your overall computing experience, providing lightning-fast performance and improved reliability.
Throughout the process, you gathered the necessary tools and materials, backed up your data, shut down and unplugged your MacBook Pro, removed the bottom cover, disconnected the battery, replaced the existing hard drive with the new SSD, reconnected the battery, replaced the bottom cover, and finally powered on your MacBook Pro to initialize the SSD. Each step was important in ensuring a successful installation and ensuring the safety of your device.
With the new SSD installed, you now have increased storage capacity and faster read and write speeds. Your MacBook Pro will boot up quicker, applications will launch in a snap, and file transfers will be swift and seamless. Additionally, the durability and power efficiency of an SSD make it a smart choice for extending the lifespan of your MacBook Pro.
Remember, opening up your MacBook Pro for modifications may void your warranty. If you are unsure or uncomfortable with performing the upgrade on your own, it’s best to seek assistance from an authorized technician. They can safely and professionally install the SSD for you.
Now, enjoy the benefits of your newly upgraded MacBook Pro and take full advantage of its improved performance. Whether you’re a student, professional, or casual user, the SSD addition will undoubtedly enhance your productivity and experience while using your MacBook Pro.
Thank you for reading this guide, and we hope it has been helpful in your journey to upgrade your MacBook Pro with a solid state drive. Happy computing!