Introduction
Welcome to the world of portable SSDs! In today’s digital age, where storage needs are constantly increasing, portable SSDs have become a popular choice for individuals and professionals alike. These sleek, compact devices offer high-speed data transfer and ample storage capacity. However, did you know that you can further enhance the functionality and organization of your portable SSD by partitioning it?
Partitioning a portable SSD involves dividing it into multiple logical drives or partitions. Each partition acts as a separate entity and can be formatted independently. This allows you to allocate specific areas of your portable SSD for different purposes, such as storing personal files, work-related data, or even creating a separate partition for operating systems.
By partitioning your portable SSD, you can increase data organization, improve performance, and enhance data protection. Instead of dealing with a single large storage space, you can have multiple partitions tailored to your needs. Whether you’re a professional managing large volumes of data or a casual user looking to optimize storage, partitioning is a useful technique to consider.
In this article, we’ll guide you through the process of partitioning a portable SSD on different operating systems and highlight key considerations to ensure a smooth experience. Whether you’re using Windows, Mac, or Linux, we’ve got you covered.
So, if you’re ready to take control of your portable SSD and harness its full potential, let’s dive into the world of partitioning!
What is a Portable SSD?
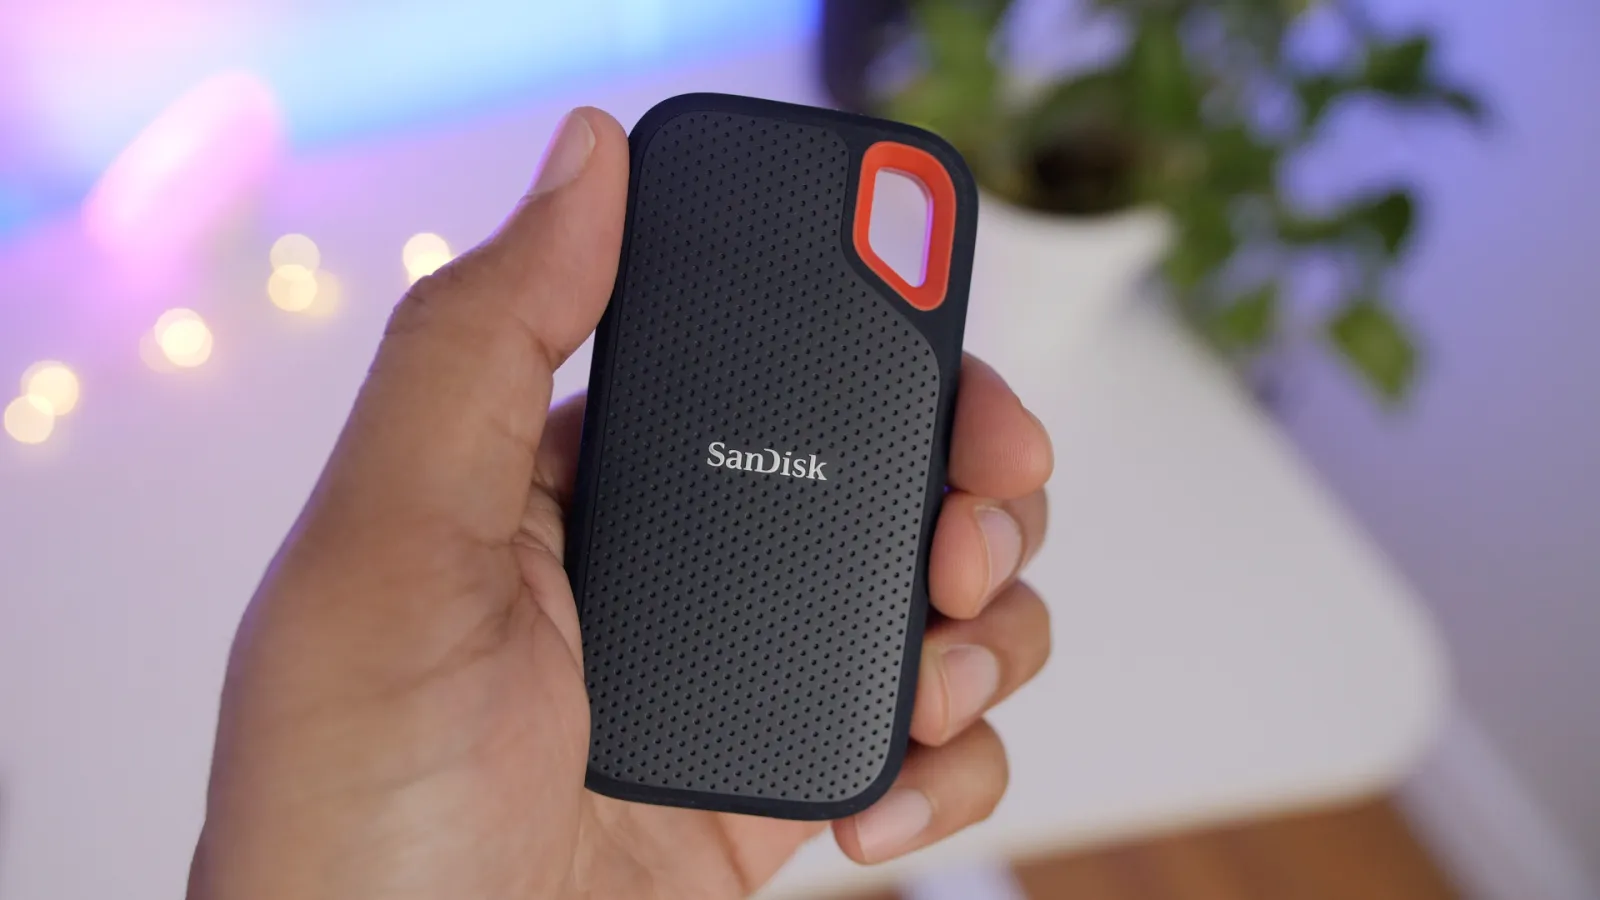
A portable SSD, short for Solid State Drive, is a compact and lightweight storage device that uses flash memory to store and retrieve data. Unlike traditional hard disk drives (HDDs) that contain moving parts, portable SSDs are completely solid-state, making them more durable, reliable, and faster in terms of data transfer.
Portable SSDs are designed to provide users with a convenient and portable storage solution. They come in various shapes, sizes, and capacities, ranging from small thumb drives to larger external drives. Some portable SSDs are even as small as a credit card, making them highly portable and easy to carry around.
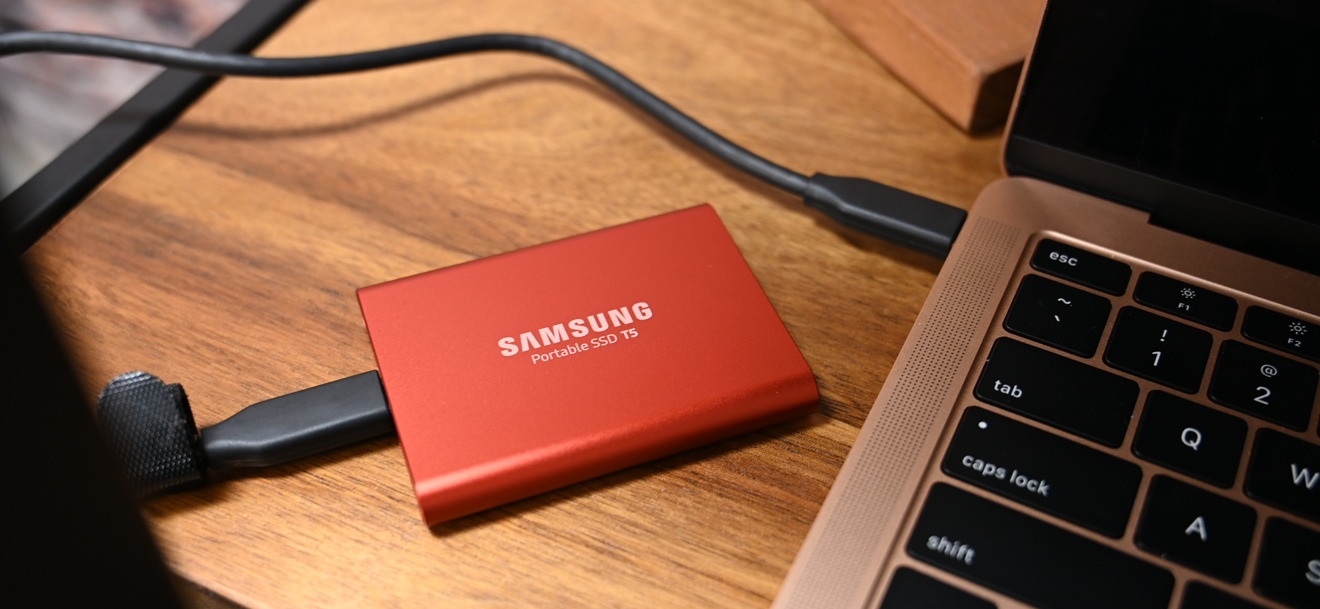
These devices are typically connected to computers or other devices via USB or Thunderbolt interfaces. They can be used with laptops, desktops, gaming consoles, cameras, and other devices that support external storage. Portable SSDs have become increasingly popular among professionals, content creators, gamers, and individuals who require fast and reliable storage for their data, files, and media.
One of the key advantages of portable SSDs is their speed. Compared to traditional HDDs, SSDs have significantly faster read and write speeds, which means quicker file transfers and reduced loading times for applications and games. This makes them ideal for tasks that demand high-performance, such as video editing, 3D rendering, and gaming.
In addition to speed, portable SSDs offer other benefits like shock resistance, lower power consumption, and noiseless operation. Since they have no moving parts, they are less susceptible to damage from drops or impacts. This makes them a reliable choice for travel or situations where durability is crucial.
Whether you need extra storage space for your documents, photos, videos, or want to speed up your workflow, investing in a portable SSD can be an excellent choice. Now that we understand what a portable SSD is, let’s explore why partitioning one can be useful!
Why Partitioning a Portable SSD is Useful
Partitioning a portable SSD offers several advantages that can greatly enhance your storage management and data organization. Let’s explore why partitioning a portable SSD is useful:
1. Improved Data Organization: Partitioning allows you to create separate sections on your portable SSD, effectively organizing your data into distinct categories. You can have dedicated partitions for personal files, work-related data, multimedia files, backups, or even separate partitions for different operating systems. This makes it easier to locate and access specific files without having to sift through a cluttered drive.
2. Enhanced Performance: By partitioning your portable SSD, you can improve its overall performance. When you split your drive into multiple partitions, each partition functions independently. This means that activities on one partition, such as writing or reading data, won’t interfere with the performance of other partitions. It can result in faster data transfer rates and reduced fragmentation, allowing for smoother and more efficient file operations.
3. Data Protection and Security: Partitioning can provide an added layer of data protection and security. By separating your data into partitions, you can isolate sensitive information and apply different security measures to each partition. For example, you can encrypt important files in one partition while keeping less sensitive files accessible without encryption in another partition. This ensures that even if one partition is compromised, the other partitions remain secure.
4. Flexibility and Versatility: Partitioning gives you the flexibility to use your portable SSD for multiple purposes. You can allocate specific partitions for different tasks or projects, making it easier to manage and organize your data. Whether you need dedicated partitions for work-related projects, multimedia content, or running multiple operating systems, partitioning allows you to tailor the use of your portable SSD to your specific needs.
5. Simplified Backups: Partitioning enables efficient and organized backups. By allocating a separate partition specifically for backups, you can streamline the backup process. This ensures that your important files are backed up regularly and that the backup data is neatly organized in a dedicated partition, making it easier to retrieve and restore files if needed.
Overall, partitioning your portable SSD offers numerous benefits in terms of data organization, performance, security, flexibility, and backups. Now that we understand the advantages, let’s move on to the next section to learn how to prepare for partitioning your portable SSD.
Preparing for Partitioning
Before diving into the process of partitioning your portable SSD, it’s important to take a few preparatory steps to ensure a smooth and successful partitioning process. Here are some key things to consider:
1. Backup Your Data: Partitioning involves modifying the structure of your portable SSD, which can potentially result in data loss if not done correctly. It’s crucial to create a backup of all your important files and data before proceeding with the partitioning process. This ensures that even if something goes wrong during partitioning, your data remains safe and retrievable.
2. Choose the Right Partitioning Tool: Depending on your operating system, there are various partitioning tools available. For Windows, you can use built-in tools like Disk Management or third-party options like EaseUS Partition Master. Mac users can utilize the Disk Utility tool, while Linux offers tools like GParted. Research your options and choose a reliable and user-friendly partitioning tool that suits your needs.
3. Understand Partitioning Requirements: Different operating systems have specific requirements when it comes to partitioning. For example, Windows uses the NTFS file system by default, while Mac supports the HFS+ or APFS file system. Understanding the file system requirements and limitations of your operating system is essential to ensure compatibility and optimal performance.
4. Determine Partition Sizes: Think about how you want to allocate storage space for each partition on your portable SSD. Consider the types of data you’ll be storing and the amount of space they require. Strike a balance between having enough space for each partition and leaving some unallocated space for future needs or changes.
5. Plan for Multiple Operating Systems: If you intend to use your portable SSD to run multiple operating systems (e.g., Windows and Linux), make sure to research and understand the compatibility issues and guidelines involved in setting up multiple bootable partitions. This will ensure a smooth and hassle-free experience when switching between different operating systems.
6. Read the Documentation: Each portable SSD manufacturer may have specific guidelines or recommendations for partitioning their devices. It is a good practice to refer to the device documentation or the manufacturer’s website for any specific instructions or considerations related to partitioning.
By taking these preparatory steps, you’ll be well-equipped to proceed with the partitioning process. Now that you’re ready, let’s move on to the next section, which will provide step-by-step instructions for partitioning a portable SSD on Windows.
Steps to Partition a Portable SSD
Partitioning your portable SSD can be a straightforward process if you follow the right steps. In this section, we’ll provide a general overview of the steps involved in partitioning a portable SSD. Keep in mind that the exact steps may vary slightly depending on the operating system and partitioning tool you are using. Here’s a general guide:
- Backup Your Data: Before you begin, ensure that you have backed up all your important files and data from your portable SSD. This is essential to prevent any potential loss of data during the partitioning process.
- Choose a Partitioning Tool: Select a partitioning tool that is compatible with your operating system. Some popular options include Disk Management in Windows, Disk Utility in Mac, and GParted in Linux.
- Launch the Partitioning Tool: Open the chosen partitioning tool and locate your portable SSD in the list of available drives. Be cautious to select the correct drive to avoid partitioning the wrong device.
- Create a New Partition: Within the partitioning tool, choose the option to create a new partition. Specify the size for the partition and select the desired file system (e.g., NTFS, HFS+, APFS). Repeat this step if you wish to create multiple partitions.
- Adjust Partition Sizes: If necessary, you can adjust the sizes of the partitions you have created. Some partitioning tools allow you to resize and modify partitions even after they are created.
- Allocate Drive Letters or Mount Points: Assign drive letters (in Windows) or mount points (in Mac and Linux) to each partition. This makes it easier to identify and access the partitions on your portable SSD.
- Apply the Changes: Once you have finalized the partition sizes and assigned drive letters or mount points, proceed to apply the changes. This will initiate the partitioning process and modify the structure of your portable SSD accordingly.
- Format the Partitions: After the partitioning process is complete, format each partition to make it usable. Formatting prepares the partition to store data and sets the file system in place.
- Verify the Partitions: Finally, verify that the partitions have been successfully created and are functioning as intended. You should be able to see the separate partitions listed in your file explorer or operating system’s disk management utility.
Remember, the above steps are a general guide. It’s important to refer to the documentation or help resources provided with your chosen partitioning tool for specific instructions and troubleshooting tips.
Now that you have an overview of the partitioning process, let’s continue to the next section where we will provide detailed instructions for partitioning a portable SSD on Windows.
Partitioning a Portable SSD on Windows
If you’re using a Windows operating system, you can follow these step-by-step instructions to partition your portable SSD:
- Connect your Portable SSD: Plug your portable SSD into an available USB port on your Windows computer.
- Open Disk Management: Right-click on the Windows Start button and select “Disk Management” from the context menu. This will open the Disk Management utility.
- Select your Portable SSD: In the Disk Management window, locate your portable SSD in the list of drives. It should be labeled as “Disk X” with its total capacity displayed.
- Create a New Partition: Right-click on the unallocated space of your portable SSD and select “New Simple Volume”. Follow the on-screen prompts to specify the partition size, assign a drive letter, and select the file system (NTFS is recommended for compatibility).
- Adjust Partition Sizes: If you wish to create multiple partitions or adjust the sizes of existing partitions, right-click on the allocated space and select “Shrink Volume”. Enter the desired size for the new partition and follow the prompts.
- Format and Assign Drive Letters: Once the partitions are created, right-click on each partition, select “Format”, and choose the desired file system (NTFS is recommended). Assign unique drive letters to each partition for easy identification.
- Apply the Changes: After formatting and assigning drive letters to all the partitions, click “OK” or “Apply” to apply the changes. The partitioning process will begin, and the structure of your portable SSD will be modified accordingly.
- Verify the Partitions: Once the partitioning process is complete, open the file explorer and you should see the newly partitioned portable SSD listed with the assigned drive letters. Verify that the partitions are functioning as intended.
It’s important to note that the steps above are specific to Windows and the Disk Management utility. If you prefer to use a third-party partitioning tool, the steps may vary slightly. Ensure that you carefully read the instructions provided with the tool you choose, as the process might have additional options or features.
Now that you’ve successfully partitioned your portable SSD on Windows, let’s move on to the next section, which will guide you through partitioning a portable SSD on a Mac operating system.
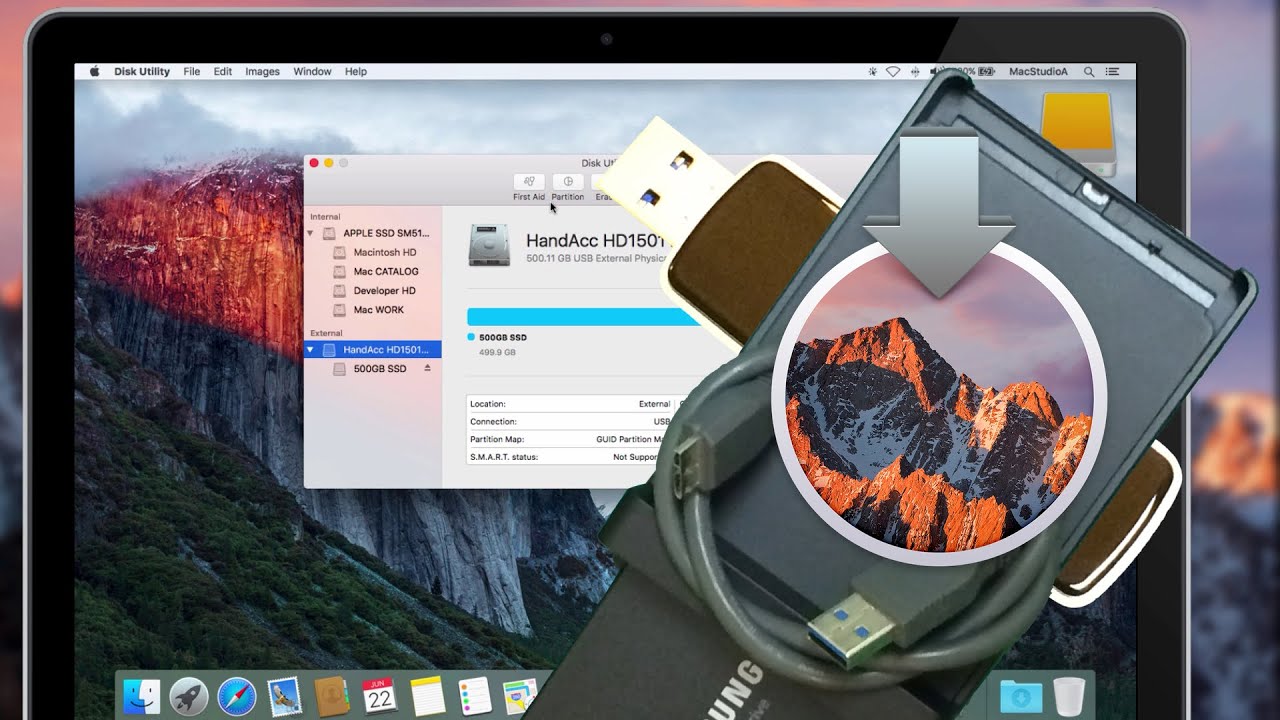
Partitioning a Portable SSD on Mac
If you’re using a Mac operating system and want to partition your portable SSD, follow these step-by-step instructions:
- Connect your Portable SSD: Connect your portable SSD to an available USB or Thunderbolt port on your Mac.
- Open Disk Utility: Go to the Applications folder, then open the Utilities folder, and launch Disk Utility.
- Select your Portable SSD: In the Disk Utility window, you’ll see a list of drives and volumes. Select your portable SSD from the left-hand sidebar.
- Create a New Partition: Click on the “Partition” tab in the toolbar. Click the “+” button to add a new partition. Specify the size, format, and name for the partition. For compatibility, choose “Mac OS Extended (Journaled)” as the format.
- Adjust Partition Sizes: If you want to create multiple partitions or adjust the sizes of existing partitions, click and drag the horizontal divider between the partitions. Enter the desired size for the new partition.
- Format and Assign Volume Names: For each partition, select it from the sidebar, and click on the “Erase” tab. Choose the desired format (Mac OS Extended) and enter a name for the volume. Repeat this step for each partition.
- Apply the Changes: After formatting and assigning volume names to all the partitions, click on the “Apply” or “Partition” button to apply the changes. The Disk Utility will begin the partitioning process and modify the structure of your portable SSD accordingly.
- Verify the Partitions: Once the partitioning process is complete, you can open the Finder and you will see each partition listed separately under the “Devices” section. Verify that the partitions are functioning as intended.
It’s worth noting that the steps provided are specific to using the built-in Disk Utility on a Mac. Depending on your macOS version or personal preferences, the steps may vary slightly. Make sure to carefully follow the instructions provided by the partitioning tool you are using.
Now that you have successfully partitioned your portable SSD on a Mac, let’s move on to the next section, where we’ll discuss partitioning a portable SSD on a Linux operating system.
Partitioning a Portable SSD on Linux
If you’re using a Linux operating system, partitioning your portable SSD can be done using tools like GParted. Follow these steps to partition your portable SSD on a Linux system:
- Connect your Portable SSD: Connect your portable SSD to an available USB port on your Linux computer.
- Install GParted: If GParted is not already installed on your Linux system, you can install it using your distribution’s package manager. For example, on Ubuntu, open the terminal and run the command
sudo apt-get install gparted. - Launch GParted: Open GParted from your Linux distribution’s application launcher or by running the command
gpartedin the terminal with root privileges. - Select your Portable SSD: In GParted, select your portable SSD from the dropdown menu in the top-right corner. Make sure you are selecting the correct device to avoid any accidental modifications to other drives.
- Create a New Partition: Right-click on the unallocated space on your portable SSD and select “New”. Specify the size, file system (such as ext4 or NTFS), and a label for the partition.
- Adjust Partition Sizes: If you want to create multiple partitions or adjust the sizes of existing partitions, right-click on the allocated space and select “Resize/Move”. Adjust the partitions as required by dragging the edges or entering specific values.
- Format the Partitions: Once the partitions are created or resized, right-click on each partition and choose “Format”. Select the desired file system for each partition, such as ext4 for Linux or NTFS for cross-platform compatibility.
- Apply the Changes: After formatting the partitions, click the “Apply” button in GParted to apply the changes. The tool will modify the structure of your portable SSD based on your partitioning settings.
- Verify the Partitions: Once the partitioning process is complete, open the file manager and you should see the newly partitioned portable SSD listed with the assigned mount points. Verify that the partitions are functioning as intended.
It’s important to note that the steps provided here are a general guide and might vary slightly depending on the Linux distribution and version you are using. Refer to the documentation or help resources specific to your distribution if you encounter any issues or if the steps differ.
Now that you have successfully partitioned your portable SSD on a Linux system, you have unlocked the full potential of organizing and managing your data on this versatile storage device.
Tips and Considerations for Partitioning
As you embark on the partitioning journey for your portable SSD, here are some important tips and considerations to keep in mind:
1. Plan Ahead: Before partitioning, take the time to think about your storage needs and how you want to allocate space. Consider the types of files you’ll be storing, the size of each partition, and any future requirements you may have. This will help you create partitions that are tailored to your specific needs.
2. Backup Regularly: While partitioning a portable SSD is generally a safe process, it’s always a good idea to have a backup of your important files. This ensures that you can easily restore your data if anything goes wrong during the partitioning process.
3. Understand File System Compatibility: Different operating systems have different file system requirements and compatibility. Ensure that the file system you choose for each partition is compatible with the operating systems you plan to use. For example, if you will be using the portable SSD with both Windows and Mac, choose a file system like exFAT that is compatible with both platforms.
4. Leave Unallocated Space: Consider leaving a portion of your portable SSD unallocated. This unallocated space can be used for future needs, such as creating additional partitions or expanding existing ones. Having some flexibility in storage allocation can be convenient as your storage needs might evolve over time.
5. Keep Partition Sizes Reasonable: When creating partitions, try to allocate sizes based on your storage requirements. Consider the types of files you’ll be storing and the amount of space they’ll need. Avoid creating partitions that are too small or too large, as this could result in inefficient disk usage.
6. Label and Organize: Give meaningful labels to your partitions to make them easily identifiable. This will help you quickly locate and access the desired partition without confusion. Additionally, organize your files within each partition to maintain a well-structured and efficient storage system.
7. Regularly Maintain and Optimize: Periodically review your partitioning setup to ensure it still meets your needs. Use disk management tools to monitor the health of your portable SSD and perform necessary maintenance tasks like disk defragmentation or partition resizing, if required.
8. Seek Professional Assistance if Needed: If you encounter any issues during the partitioning process or don’t feel confident in performing it yourself, seek the assistance of a professional or consult online resources specific to your partitioning tool and operating system.
By keeping these tips and considerations in mind, you can achieve an efficient, well-organized, and tailored partitioning setup for your portable SSD. Now that you have all the necessary knowledge, go ahead and elevate your storage management to new heights!
Conclusion
Partitioning a portable SSD can significantly enhance your storage management and data organization capabilities. By dividing your portable SSD into multiple partitions, you can better allocate storage space, improve performance, and enhance data protection. Whether you’re a professional dealing with large amounts of data or a casual user wanting to streamline your storage, the process of partitioning offers a range of benefits.
In this article, we explored the concept of portable SSDs and why partitioning them is useful. We discussed how a portable SSD differs from traditional hard drives, and why partitioning can be a valuable technique. We also provided step-by-step instructions for partitioning a portable SSD on various operating systems, including Windows, Mac, and Linux.
Throughout the partitioning process, we emphasized the importance of backing up your data, choosing the right partitioning tool, and understanding the requirements of your operating system. We also highlighted the need to plan ahead, label and organize your partitions, and regularly maintain and optimize your storage setup.
Remember, partitioning a portable SSD is a powerful tool that allows you to optimize and personalize your storage experience. It enables improved data organization, enhanced performance, and better data protection. By following the tips and considerations provided, you can ensure a successful partitioning process and reap the benefits of a well-structured and efficient storage solution.
So, take control of your portable SSD, unleash its full potential, and enjoy the benefits of a partitioned storage system. Whether you’re a professional, a student, or a casual user, partitioning can enhance your storage management and make your portable SSD even more valuable to your digital life.