Introduction
Programming is an essential skill in today’s digital age, and having the right tools is crucial for efficient and seamless coding. While many programmers rely on traditional hard drives or cloud storage for their work, using a portable solid-state drive (SSD) can bring numerous benefits to the table. In this article, we will explore why using a portable SSD for programming is advantageous and provide insights into formatting the drive for optimal performance.
Portable SSDs are compact storage devices that use flash memory technology, offering faster data transfer speeds and greater durability compared to traditional hard drives. As a programmer, you deal with massive amounts of code, project files, and development tools. The faster read and write speeds offered by an SSD can significantly improve your coding experience, reducing latency and increasing productivity.
Moreover, a portable SSD provides the convenience of mobility. You can easily carry your programming projects, libraries, and frameworks with you wherever you go. Whether you’re working remotely, collaborating with a team, or simply need access to your code on different computers, a portable SSD ensures that your development environment is always accessible.
Before diving into the process of formatting your portable SSD for programming, there are a few factors to consider. Firstly, formatting erases all data on the drive, so it’s crucial to create backups of your important files beforehand. Additionally, you need to choose the appropriate file system for your SSD based on compatibility and performance requirements. Different operating systems support various file systems, so understanding the limitations and advantages of each option is vital.
In the following sections, we will guide you through the step-by-step process of formatting a portable SSD on popular operating systems such as Windows, macOS, and Linux. We will also discuss how to verify the formatting to ensure that your portable SSD is ready for your programming needs. So, let’s get started and unlock the full potential of your portable SSD for programming!
Why Use a Portable SSD for Programming?
When it comes to programming, having efficient and reliable storage is crucial. Traditional hard drives, while reliable, can often be slower and less portable compared to modern solid-state drives (SSDs). Here are several key reasons why using a portable SSD for programming is highly advantageous:
- Speed: Portable SSDs utilize flash memory technology, which provides lightning-fast read and write speeds. This means that accessing and transferring your code, project files, and development tools will be significantly quicker, saving you time and boosting productivity.
- Portability: The compact size and lightweight nature of portable SSDs make them perfect for programmers on the go. Whether you’re working remotely or collaborating with a team, you can easily carry your entire development environment in your pocket, ensuring that you have access to your code whenever and wherever you need it.
- Durability: Unlike traditional hard drives that rely on spinning disks, portable SSDs have no moving parts. This makes them more resistant to physical shocks and vibrations, increasing their durability and ensuring the safety of your valuable programming data.
- Compatibility: Portable SSDs are designed to work seamlessly with multiple operating systems, including Windows, macOS, and Linux. This means that regardless of the programming environment you work in, you can rely on a portable SSD to deliver optimal performance and compatibility.
- Security: Portable SSDs often come equipped with advanced encryption features, such as hardware encryption or password protection. This adds an extra layer of security to your programming projects, ensuring that your code remains safe and protected from unauthorized access.
By utilizing a portable SSD for programming, you can enhance your coding experience by harnessing the power of faster speeds, increased mobility, and improved security. With the ability to access your development environment on multiple machines and the peace of mind that comes with reliable and durable storage, you’ll be able to focus more on your code and less on storage constraints.
Things to Consider Before Formatting Your Portable SSD
Before formatting your portable SSD for programming, there are a few important factors to consider. Taking these aspects into account will help ensure a smooth and successful formatting process:
- Backup Your Data: Formatting your portable SSD will erase all data stored on it. It is crucial to create backups of any important files or projects before proceeding with the formatting process. This will prevent the loss of valuable programming work and ensure that you can easily restore your data if needed.
- File System Compatibility: Different operating systems support various file systems, such as NTFS, FAT32, or exFAT on Windows, HFS+ or APFS on macOS, and ext4 or FAT32 on Linux. Consider the compatibility of the file system you choose with the operating systems you commonly use. Additionally, take into account any specific requirements or limitations of your programming tools or frameworks.
- Performance Considerations: Along with compatibility, the performance of the file system on your portable SSD is vital. Some file systems may offer faster read and write speeds, which can enhance your programming experience. Consider the type of work you do, the size of the files you frequently handle, and the need for efficient data transfer when selecting a file system.
- Device Format Options: When formatting your portable SSD, you will have choices regarding the partition scheme and allocation unit size. Depending on your needs, you can opt for a single partition or multiple partitions to organize your data effectively. Additionally, selecting an appropriate allocation unit size can optimize the performance of your SSD.
- Additional Features: Some portable SSDs may come with additional features or software that can enhance your programming workflow. For example, encryption capabilities can provide added security for your sensitive code and projects. Explore the available features and determine if they align with your needs and preferences.
By considering these factors before formatting your portable SSD, you can make informed decisions that align with your programming requirements. Creating backups, choosing the right file system, and optimizing performance settings will ensure a successful formatting process that sets you up for a seamless coding experience.
Formatting Your Portable SSD
Formatting your portable SSD is a crucial step to prepare it for programming. The following step-by-step guide will help you format your portable SSD on popular operating systems such as Windows, macOS, and Linux:
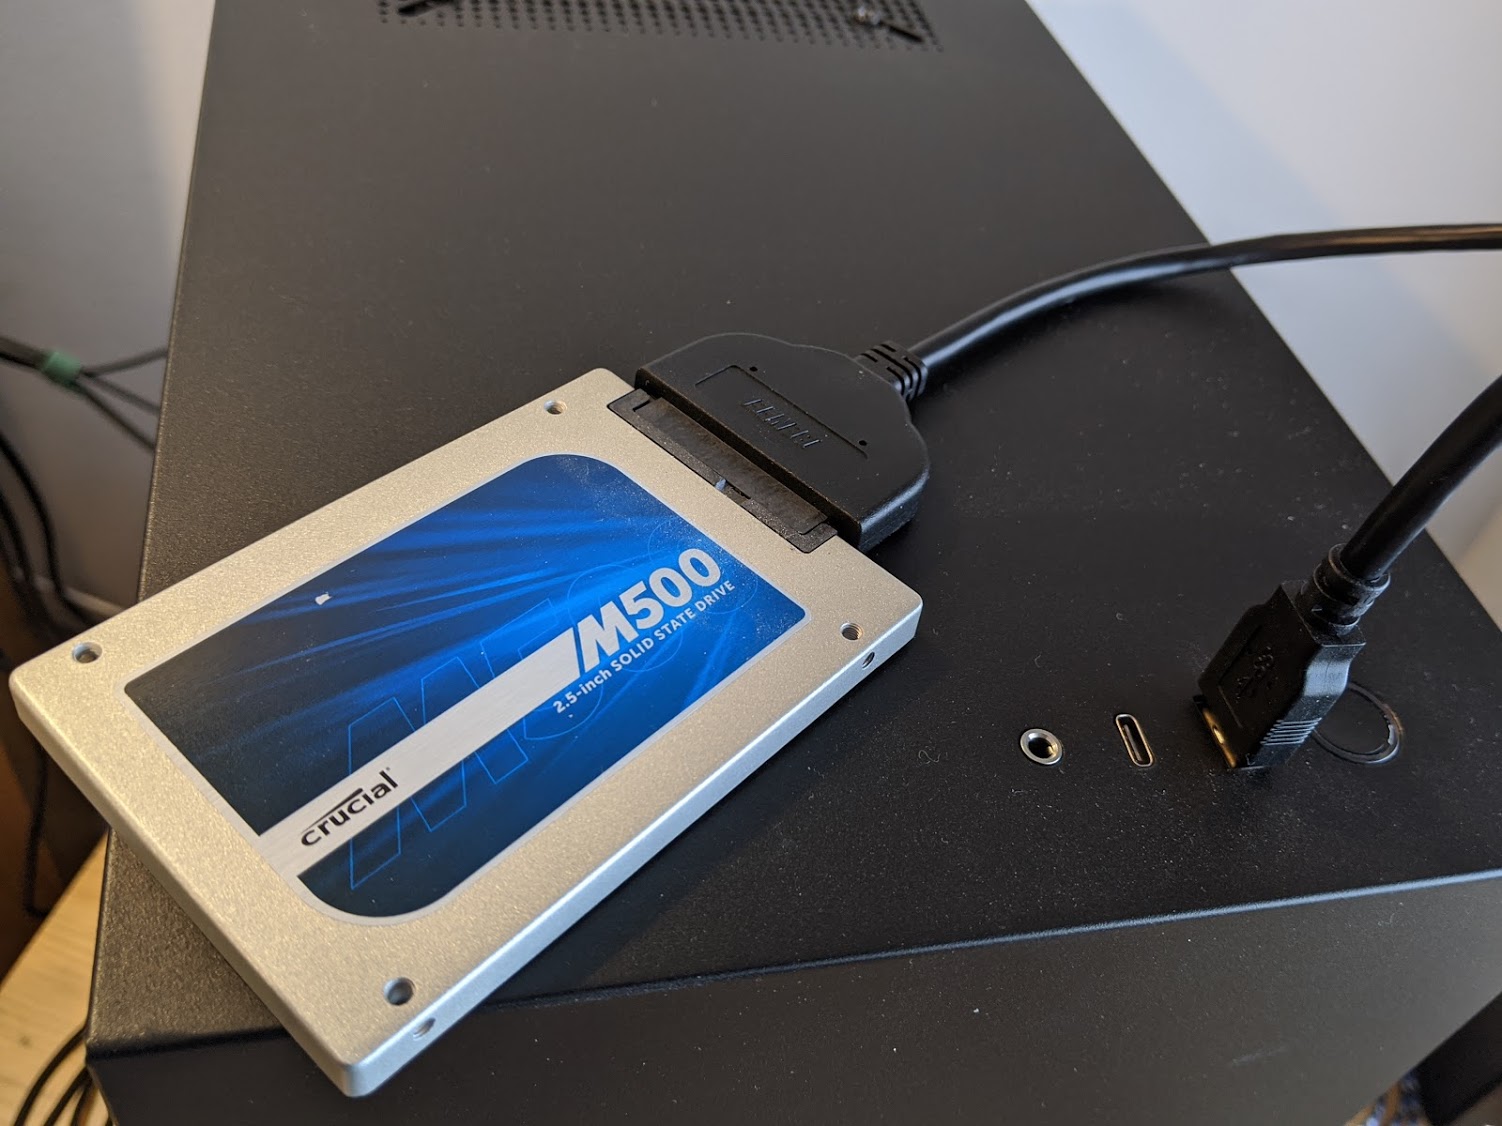
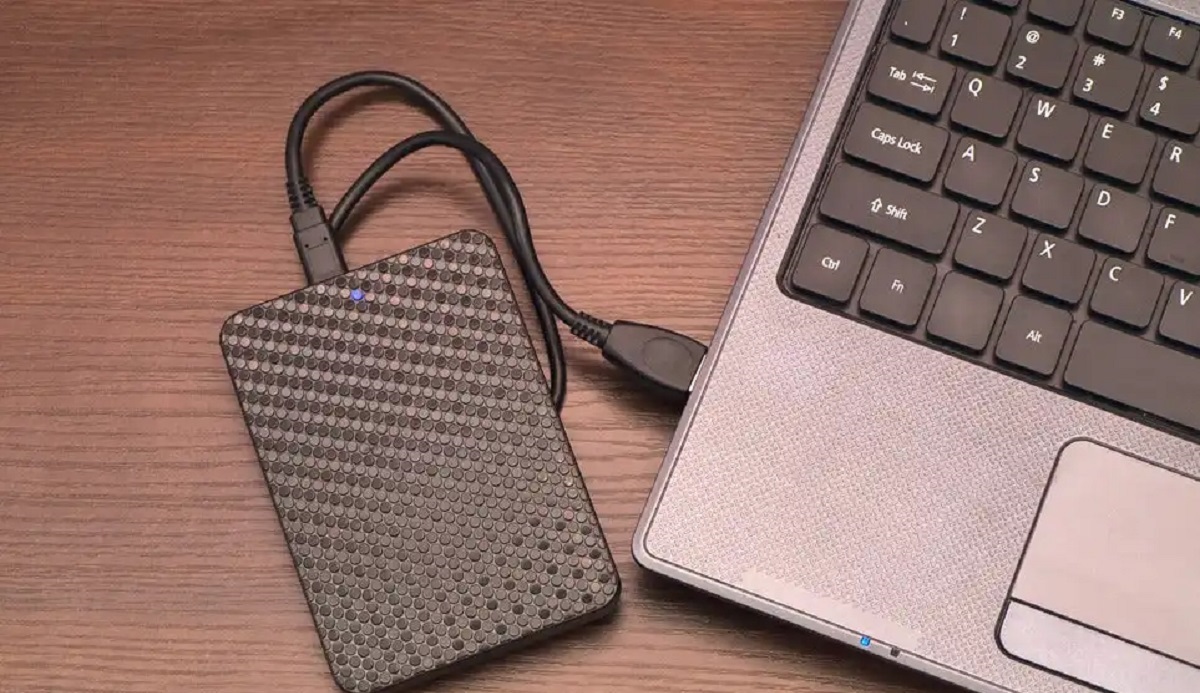
Step 1: Connect Your Portable SSD to Your Computer
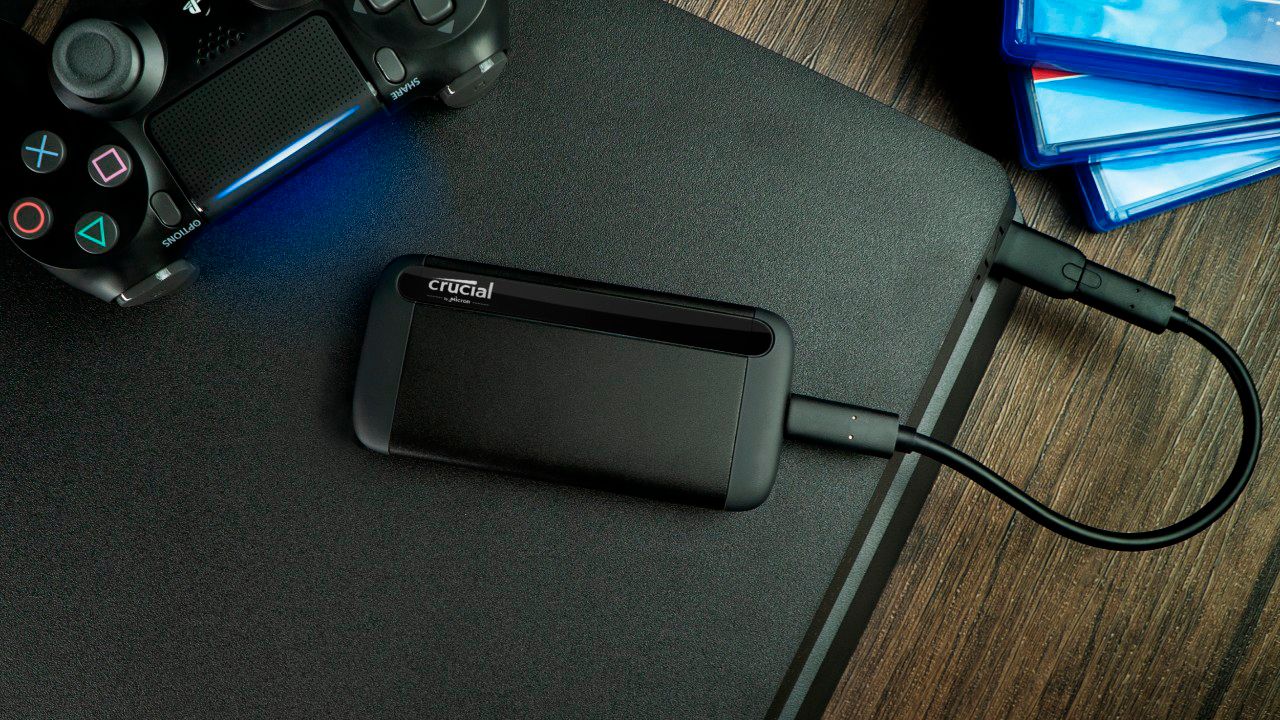
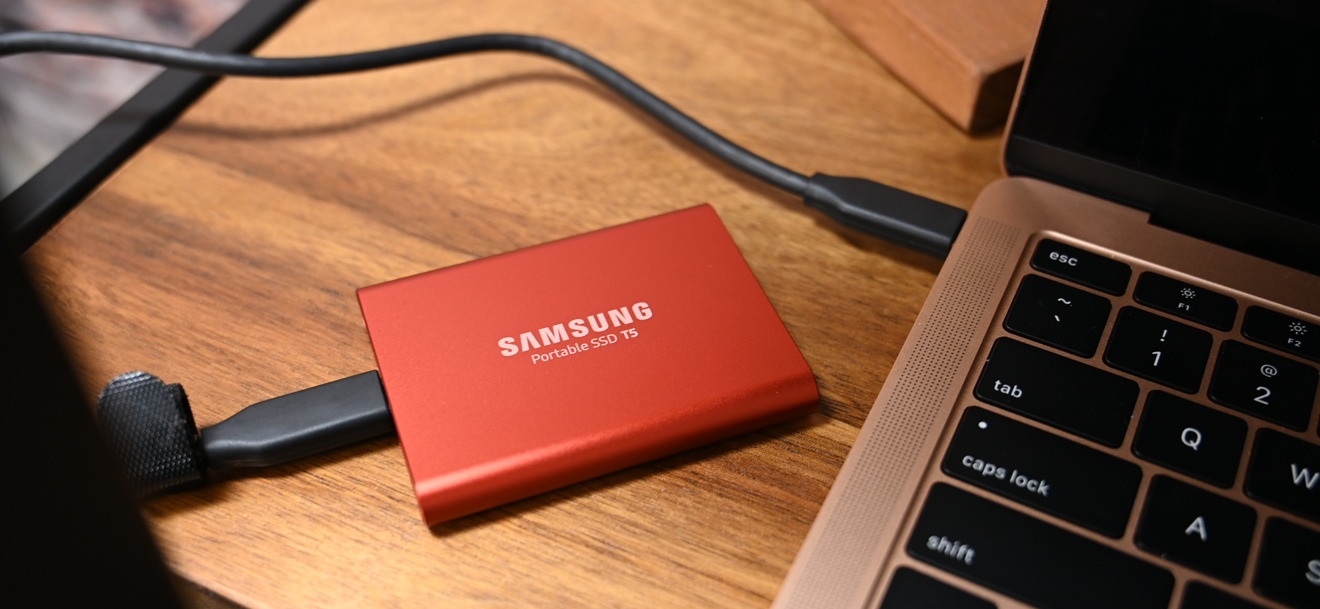
Start by connecting your portable SSD to your computer using a compatible USB cable or Thunderbolt connection. Ensure that the SSD is properly connected and recognized by your operating system.
Step 2: Backup Your Data
Before proceeding with the formatting process, it’s essential to back up any important data on your portable SSD. This will prevent data loss in case of any unforeseen issues during the formatting process.
Step 3: Choose the File System for Your Portable SSD
Determine the appropriate file system for your portable SSD, considering compatibility and performance requirements. For Windows, NTFS is a commonly used file system, while macOS supports HFS+ or the newer APFS. Linux often uses the ext4 file system. Research the advantages and limitations of each file system to make an informed decision.
Step 4: Formatting the Portable SSD on Windows
To format your portable SSD on Windows, navigate to “This PC” or “My Computer” and locate your SSD. Right-click on it and select “Format.” Choose the desired file system, provide a name for the drive, and select the allocation unit size. Click “Start” to begin the formatting process.
Step 5: Formatting the Portable SSD on macOS
On macOS, open “Disk Utility” by searching for it in Spotlight or locating it in the “Utilities” folder. Select your portable SSD from the left sidebar, click on the “Erase” tab, choose the desired file system, and provide a name for the drive. Click “Erase” to begin the formatting process.
Step 6: Formatting the Portable SSD on Linux
In Linux, you can format your portable SSD using the terminal or a disk utility tool like GParted. Open the terminal and use the appropriate command, such as “mkfs.ext4” for ext4 file system formatting. Consult the documentation or resources specific to your Linux distribution for detailed instructions.
Step 7: Verify the Formatting
After formatting, verify that the process was successful by accessing your portable SSD and confirming that it is using the desired file system. Ensure you can store, read, and write data to the drive without any issues.
By following these steps, you can format your portable SSD for programming on various operating systems. Remember to double-check your formatting choices and verify that the drive is functioning correctly before storing crucial programming files or projects on it.
Step 1: Connect Your Portable SSD to Your Computer
To begin formatting your portable SSD for programming, the first step is to connect it to your computer. Follow these instructions to ensure a successful connection:
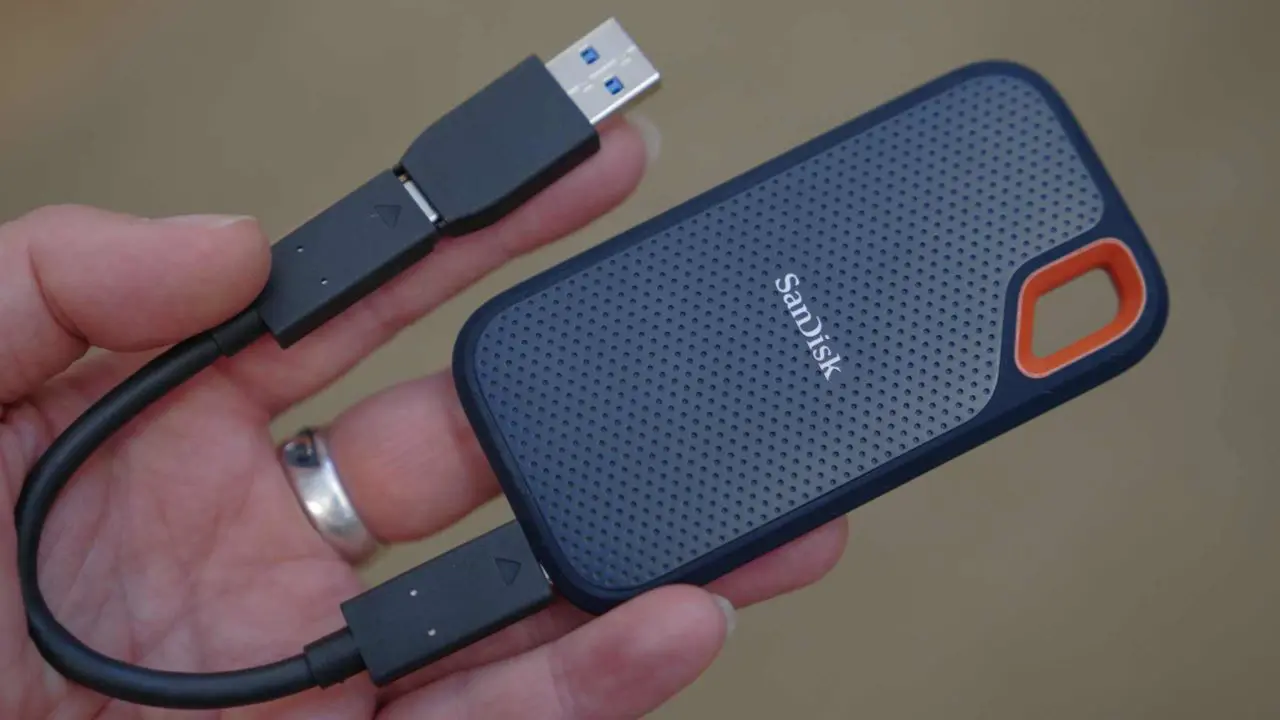
- Check the Connection Type: Determine the type of connection supported by your portable SSD. It could be a USB cable (USB Type-A, Type-C) or a Thunderbolt connector. Ensure that you have the appropriate cable for your SSD and computer.
- Locate the USB Port: Identify an available USB port on your computer where you can connect the portable SSD. It is recommended to use a USB 3.0 or higher port for faster data transfer speeds, if available.
- Connect the Cable to Your SSD: Plug one end of the cable into the appropriate port on your portable SSD. Make sure the connection is secure and snug to ensure proper data transfer during the formatting process.
- Connect the Cable to Your Computer: Take the other end of the cable and insert it into the USB port on your computer. Again, ensure that the cable is firmly connected, avoiding any loose connections that may interrupt the formatting process.
- Ensure SSD Recognition: Once connected, your operating system should recognize the portable SSD and display it as a connected device. Depending on your computer’s settings, you may need to wait for a few moments for the system to detect the SSD.
- Confirm SSD Availability: Open your computer’s file explorer or equivalent to check if the portable SSD is visible. It should appear as a new drive or device in the list of available storage options. Note the drive name or designation, as you will need it during the formatting process.
By successfully connecting your portable SSD to your computer, you have completed the first step towards formatting it for programming. Making sure the connection is secure and that your computer recognizes the SSD sets the foundation for a smooth formatting process.
Step 2: Backup Your Data
Before proceeding with the formatting process for your portable SSD, it is crucial to create backups of any important data stored on the drive. Here’s why backing up your data is essential and how you can do it:
Why Backup Your Data?
Formatting your portable SSD will erase all data stored on it. It’s important to create backups to prevent the loss of valuable programming work, important documents, or personal files. Backup copies of your data serve as a safety net, providing you with peace of mind knowing that your files are protected.
How to Backup Your Data
There are several methods to back up your data before formatting your portable SSD:
- External Storage Device: Connect an external hard drive, another portable SSD, or a USB flash drive to your computer. Copy and paste the files and folders you want to back up onto the external storage device. Ensure that you have sufficient space on the external device for all your data.
- Cloud Storage: Use a cloud storage service like Dropbox, Google Drive, or Microsoft OneDrive to upload your important files and folders. These services offer free storage up to a certain limit, and you can upgrade for more space if needed. Ensure that all your important files are synchronized and available in the cloud.
- Network Attached Storage (NAS): If you have a NAS device on your local network, you can create a backup of your data to the NAS. Configure the NAS with appropriate storage space and backup software to ensure regular and automated backups.
- Compression and Archiving: If you have a large amount of data to back up, consider compressing and archiving the files into a single archive file (e.g., ZIP or RAR). This can save storage space and make it easier to transfer or store the backup.
Whichever backup method you choose, make sure to verify the integrity of your backup by checking that all important files and folders were successfully copied. It is also a good practice to keep multiple copies of your backups in different locations to provide better protection against data loss.
Remember, the purpose of backing up your data is to ensure that you can easily restore it in case of accidental deletions, drive failures, or during the formatting process. Take the time to back up your data properly before proceeding to the next steps of formatting your portable SSD.
Step 3: Choose the File System for Your Portable SSD
When formatting your portable SSD for programming, selecting the appropriate file system is crucial. The file system governs how data is stored, organized, and accessed on the drive. Here are some key considerations to help you choose the right file system:
Compatibility:
When selecting a file system, it’s important to consider compatibility with the operating systems you commonly use. Different operating systems have different default file systems they support. For example, Windows typically uses NTFS, macOS relies on either HFS+ or the newer APFS, and Linux often utilizes ext4. Ensure that the file system you choose is compatible with the operating systems you plan to use your portable SSD with.
Performance:
Consider the performance implications of the file system you choose. Certain file systems might offer faster read and write speeds, better handling of larger files, or more efficient storage allocation. Depending on your programming needs, you may prioritize a file system with excellent performance characteristics that align with your specific requirements.
Features and Limitations:
Each file system has its unique set of features and limitations. For example, some file systems support file compression, encryption, or journaling, while others may have limitations on file size or file name length. Research the features and limitations of each file system to determine whether they align with your programming needs.
Consider Your Programming Tools and Frameworks:
Some programming tools or frameworks may have specific requirements or recommendations for the file system used for development. Consider any guidelines provided by the tools you use and ensure that the chosen file system meets those requirements.
Format Options:
During the formatting process, you may have additional options related to partitioning and allocation unit size. Partitioning involves dividing the SSD into smaller logical sections, while the allocation unit size influences how storage space is utilized. Depending on your needs, you may choose to have a single partition or multiple partitions, and select an appropriate allocation unit size to optimize performance.
By carefully considering compatibility, performance, features, and the requirements of your programming tools, you can make an informed decision when choosing the file system for your portable SSD. This will ensure that the file system supports your programming needs and provides optimal performance and compatibility with the operating systems you work with.
Step 4: Formatting the Portable SSD on Windows
Formatting your portable SSD on Windows is a straightforward process. Follow these step-by-step instructions to format your SSD:
- Navigate to “This PC” or “My Computer”:
- Locate Your Portable SSD:
- Right-Click on the SSD:
- Choose the File System:
- Provide a Name for the Drive:
- Select the Allocation Unit Size:
- Start the Formatting Process:
- Wait for the Formatting to Complete:
Open File Explorer and locate “This PC” or “My Computer” on the left-hand side of the window.
Scroll down the list of available drives until you find your portable SSD. It should be listed under “Devices and drives.” Note the drive letter assigned to your SSD (e.g., E:, F:, etc.).
Right-click on the drive letter corresponding to your portable SSD and select “Format” from the context menu. A new window titled “Format” will appear.
In the Format window, you can choose the file system for your portable SSD. The default file system is usually “NTFS,” which is suitable for most programming needs. You can also choose “FAT32” or “exFAT” if needed. Consider compatibility and the specific requirements of your programming tools before making a selection.
Enter a name for your portable SSD in the “Volume label” field. You can choose any name you prefer, or leave it blank if you don’t want to assign a specific label.
The allocation unit size determines how the storage space on your SSD is allocated. In most cases, the default allocation unit size provided by Windows is optimal. However, if you work extensively with large file sizes, you may want to choose a larger allocation unit size to improve performance.
Once you have chosen the file system, provided a name for the drive, and selected the allocation unit size, you can start the formatting process by clicking the “Start” button. A confirmation prompt will appear, informing you that formatting will erase all data on the drive. Ensure you have made the necessary backups before proceeding.
Windows will begin formatting your portable SSD. The time it takes to complete the process will vary based on the size and speed of your drive. Once the formatting is finished, you will see a notification indicating that the process was successful.
After formatting, your portable SSD will be ready to use for programming on Windows. Ensure that you can store, read, and write data to the drive without any issues, and verify that the chosen file system supports your programming needs.
Step 5: Formatting the Portable SSD on macOS
Formatting your portable SSD on macOS is a straightforward process. Follow these step-by-step instructions to format your SSD:
- Open Disk Utility:
- Select Your Portable SSD:
- Choose the “Erase” Tab:
- Choose the File System and Name:
- Select the Scheme:
- Start the Formatting Process:
- Wait for the Formatting to Complete:
Launch “Disk Utility” by searching for it in Spotlight or locating it in the “Utilities” folder within the “Applications” folder.
In the Disk Utility window, you will see a list of available drives and volumes. Locate your portable SSD in the left sidebar and click on it to select it.
In the toolbar at the top of the Disk Utility window, click on the “Erase” tab. This will open the options for formatting your portable SSD.
In the “Format” dropdown menu, choose the desired file system for your portable SSD. macOS supports HFS+ and the newer APFS. Consider compatibility and the requirements of your programming tools before making a selection. Provide a name for the drive in the “Name” field.
Depending on your SSD and your needs, you may have the option to choose a partition scheme. The default scheme is usually “GUID Partition Map” for modern Intel-based Macs. Choose the appropriate scheme based on your Mac’s compatibility and your preferences.
Once you have chosen the file system, provided a name for the drive, and selected the scheme, click on the “Erase” button to begin the formatting process. Disk Utility will display a confirmation prompt, informing you that formatting will erase all data on the drive. Make sure you have backed up your data before proceeding.
macOS will start formatting your portable SSD. The duration of the process depends on the size and speed of the drive. Once the formatting is finished, Disk Utility will notify you that the process was successful.
After formatting, your portable SSD will be ready for programming on macOS. Verify that the chosen file system supports your programming needs and that you can store, read, and write data to the drive without any issues. Remember to make the necessary backups and ensure that your programming tools and frameworks are compatible with the newly formatted portable SSD.
Step 6: Formatting the Portable SSD on Linux
Formatting your portable SSD on Linux can be done through the terminal or using disk utility tools like GParted. Here are the steps to format your SSD on Linux:
- Open the Terminal:
- Identify the Drive:
- Unmount the Drive:
- Format the Drive:
- Confirm the Formatting:
Launch the terminal or command line interface on your Linux distribution. This can usually be done by searching for “Terminal” in the applications menu, or by using the keyboard shortcut.
Use the command `lsblk` to list all available drives and partitions. Identify your portable SSD based on its size or name. Note the device name, such as “/dev/sdX” (where “X” is a placeholder for the drive letter).
Before formatting, unmount the drive using the command `sudo umount /dev/sdX`, replacing “X” with the appropriate drive letter. This ensures that the SSD is not in use and can be formatted.
Use the appropriate command for formatting your portable SSD based on the desired file system. For instance, you can use `sudo mkfs.ext4 /dev/sdX` to format the SSD as ext4. Refer to the documentation or resources specific to your Linux distribution for the correct command.
After executing the formatting command, the terminal will display the progress and information about the formatted drive. Confirm that the process completes successfully without any errors.
If you are not comfortable using the terminal, you can also format your portable SSD using disk utility tools like GParted, which provides a graphical interface. GParted allows you to manage partitions and format drives with ease. Simply install GParted from your distribution’s package manager, launch it, select your SSD, choose the desired file system, and start the formatting process.
After formatting your portable SSD on Linux, ensure that the chosen file system is suitable for your programming needs. Verify that you can store, read, and write data to the drive without any issues. Double-check the compatibility of your programming tools and frameworks with the newly formatted portable SSD. Remember to make appropriate backups of your data and follow industry best practices for data preservation.
Step 7: Verify the Formatting
After formatting your portable SSD for programming, it’s essential to verify that the process was successful and that the drive is ready for use. Here are some steps to help you verify the formatting:
- Access the Portable SSD:
- Store Data:
- Read Data:
- Write Data:
- Transfer Files:
- Test with Programming Tools:
Using your computer’s file explorer or equivalent, navigate to the portable SSD to ensure that it is accessible. Look for the drive letter or name you assigned during the formatting process.
Copy some files or create new ones on the portable SSD to test the read and write capabilities. Ensure that you can store data onto the drive without any issues.
Access the data stored on the portable SSD to verify that you can read files and open them without errors. Check the contents of the files to ensure their integrity.
Modify or create new files directly on the portable SSD to ensure that you can write data without any errors. Check that the changes are saved properly.
If you backed up your data before formatting, transfer some files from your backup to the portable SSD to confirm that the drive accepts data from external sources without any problems.
If applicable, open your programming tools and frameworks and verify that they can access and utilize the portable SSD as expected. Test compiling, running, and saving code, ensuring that the performance is satisfactory.
By going through these verification steps, you can ensure that the formatting process was successful, and your portable SSD is ready for programming. If you encounter any issues during verification, double-check the formatting steps and consider seeking assistance from online resources or technical support.
Remember to regularly back up your programming work and important files on the portable SSD to prevent any data loss. Regularly verify the integrity and accessibility of your data on the drive to maintain a reliable and secure programming environment.
Conclusion
Formatting your portable SSD for programming is a crucial step to optimize its performance and ensure compatibility with your operating system and programming tools. By following the step-by-step instructions provided in this guide, you can successfully format your portable SSD on Windows, macOS, and Linux.
Using a portable SSD for programming offers numerous advantages, such as faster read and write speeds, portability, durability, compatibility, and enhanced security. These benefits can greatly improve your coding experience, allowing for seamless access to your development environment and increased productivity.
However, before formatting your portable SSD, it is essential to back up any important data stored on it. This ensures that you have a safety net in case of accidental data loss during the formatting process. Selecting the right file system for your needs and considering compatibility, performance, and the requirements of your programming tools are important factors to keep in mind.
Once you have completed the formatting process and verified its success, you can start storing your programming projects, code libraries, and development tools on your portable SSD. Remember to regularly back up your data and maintain a reliable backup strategy to avoid any potential loss of your valuable work.
By following these guidelines and making the most of your portable SSD, you can create a portable and efficient programming environment. This will enable you to work on your projects seamlessly, collaborate easily, and have access to your code wherever you go.
Now that you have learned how to format your portable SSD for programming, take advantage of its benefits and enjoy the enhanced performance and flexibility it brings to your coding journey.