Introduction
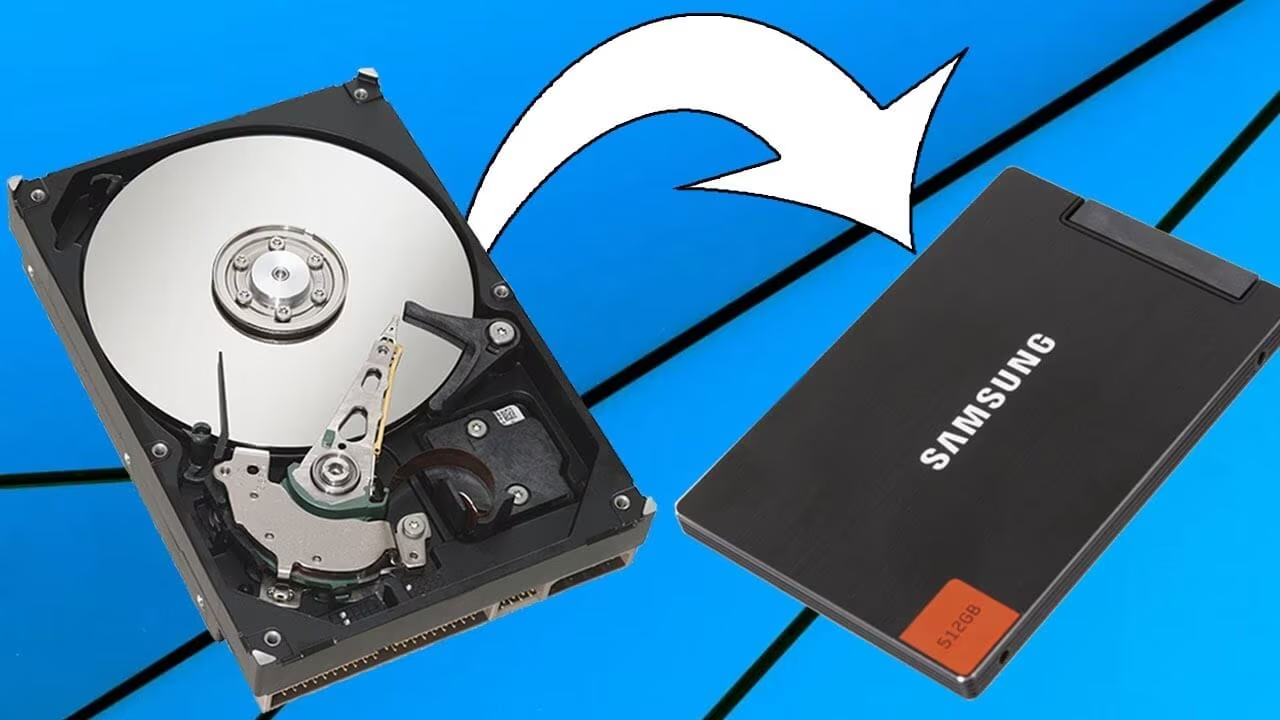
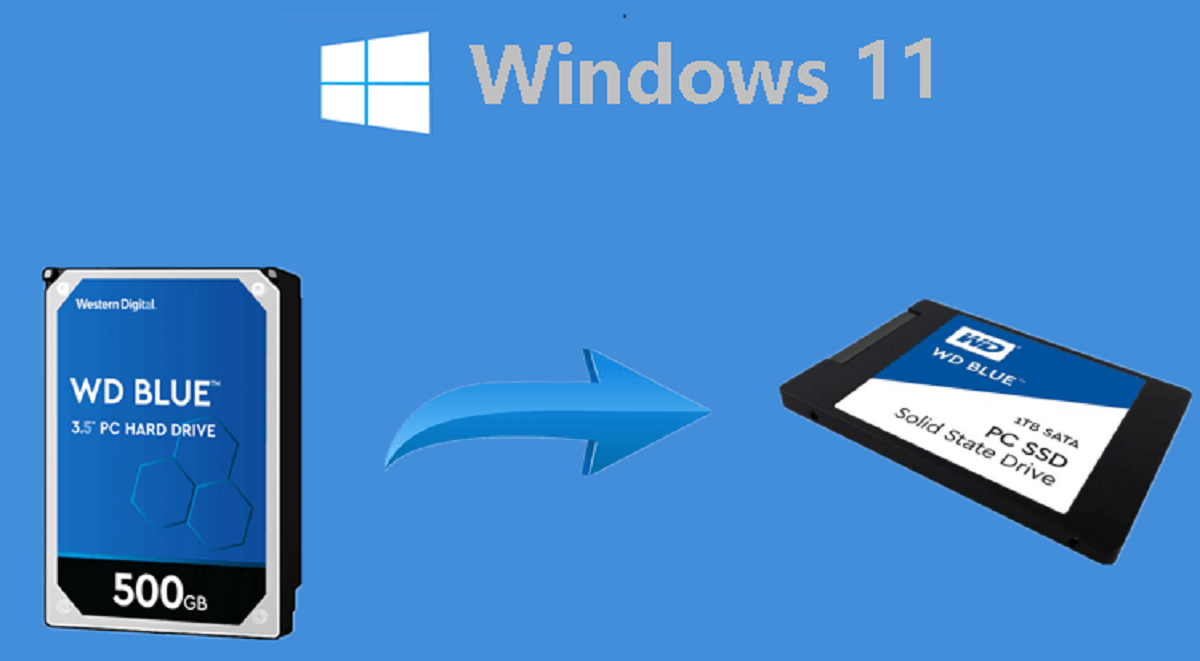
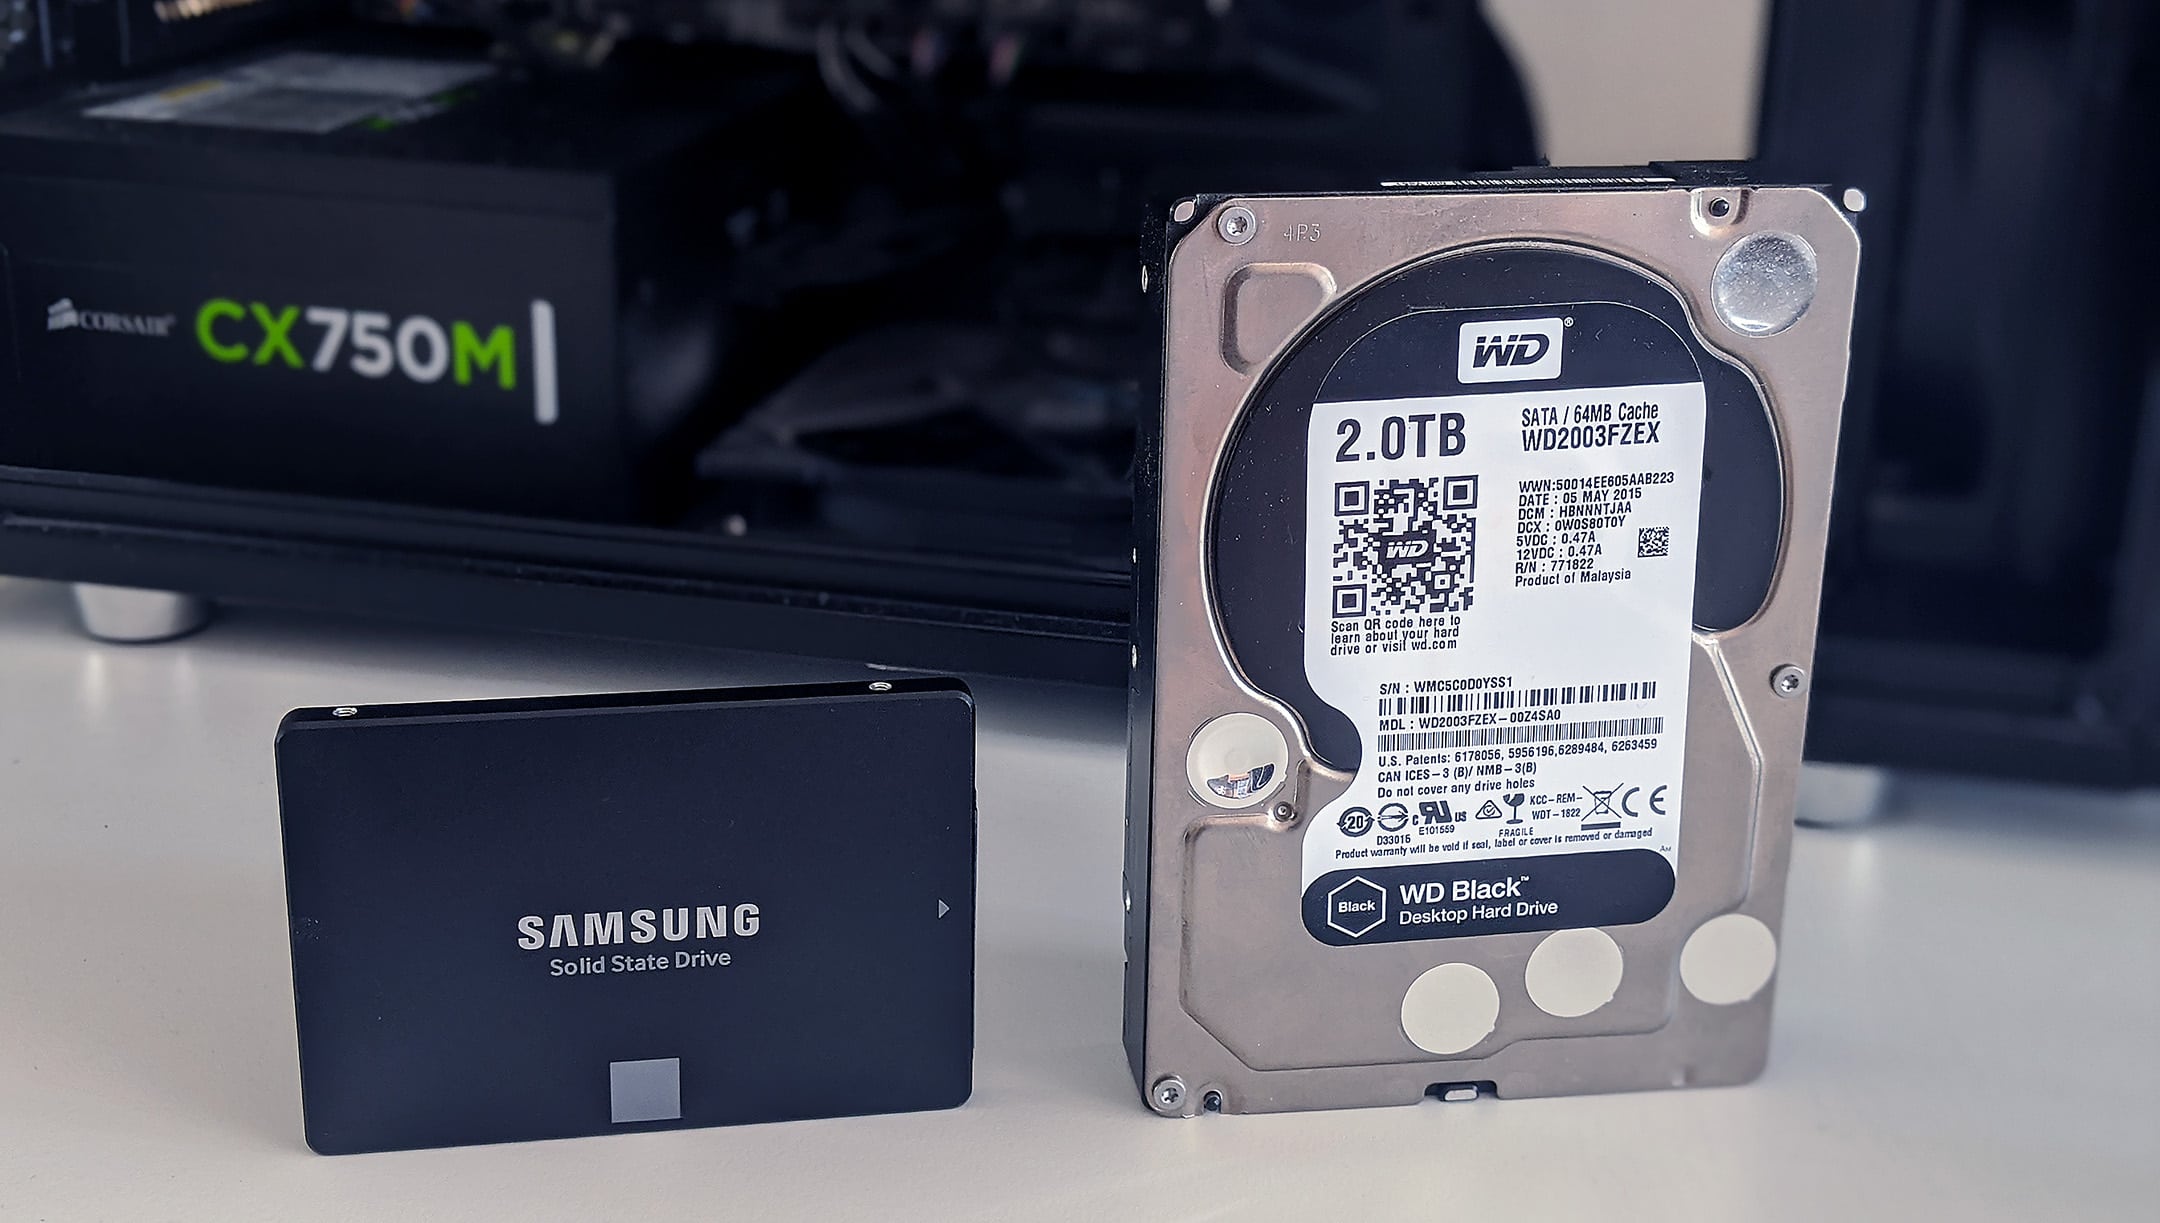
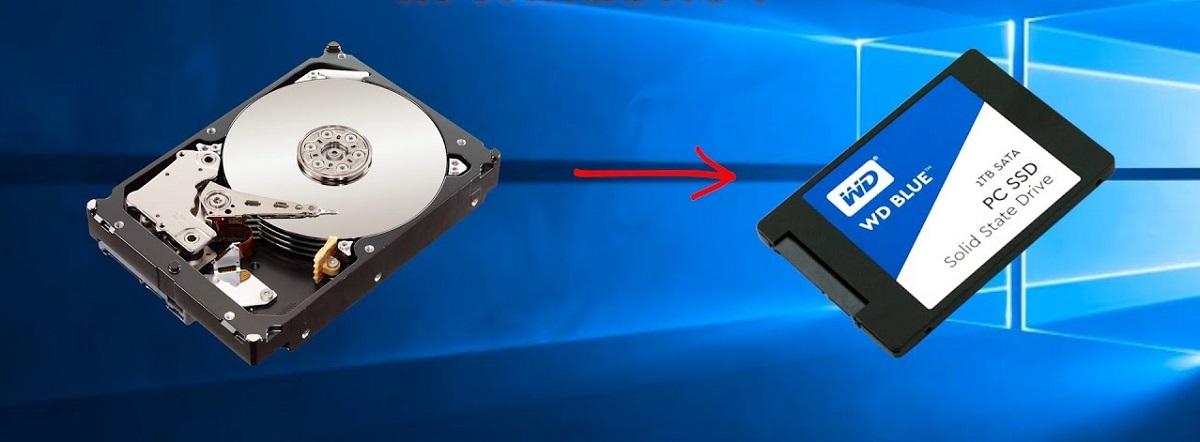
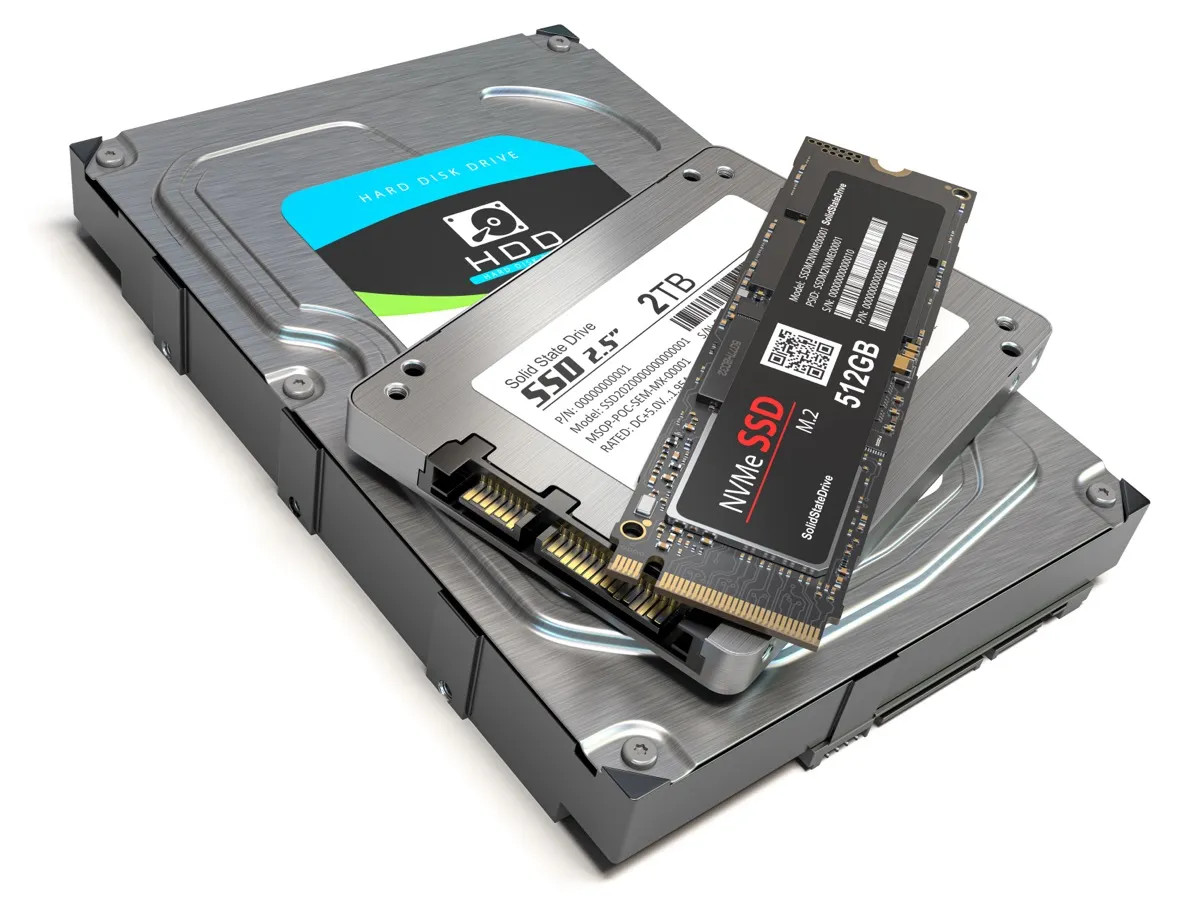
Upgrading from a traditional hard disk drive (HDD) to a solid-state drive (SSD) can greatly improve the performance and speed of your computer. SSDs offer faster read and write speeds, lower power consumption, and greater reliability compared to HDDs. If you want to take full advantage of these benefits, transferring your data and operating system from your old HDD to the new SSD is essential. Macrium Reflect is a powerful and user-friendly solution that allows you to easily clone your HDD to an SSD.
Cloning your HDD to an SSD with Macrium Reflect ensures that you have an exact copy of your current system, including the operating system, installed applications, and personal files. This eliminates the need to reinstall your software and meticulously transfer your files manually, saving you time and effort. Plus, Macrium Reflect offers advanced features such as disk imaging, data backup, and disk recovery, making it a comprehensive solution for all your disk management needs.
In this guide, we will walk you through the step-by-step process of using Macrium Reflect to clone your HDD to an SSD. This method is applicable for both Windows and Mac computers, allowing you to seamlessly migrate your system regardless of your operating system. By following these instructions, you will be able to upgrade to an SSD without losing any data or experiencing any downtime.
Before we dive into the process, it is important to note that cloning your HDD to an SSD will overwrite all the data on the destination drive. Therefore, it is crucial to back up your important files and ensure that you have enough space on your SSD to accommodate all the data from your HDD. Additionally, make sure to disconnect any external peripherals and disable any security software during the cloning process to avoid any potential conflicts.
Step 1: Download and install Macrium Reflect
The first step in cloning your HDD to an SSD is to download and install Macrium Reflect. This software is available for both Windows and Mac operating systems, ensuring compatibility with a wide range of computers. Macrium Reflect offers a free edition with basic cloning capabilities, as well as paid versions with additional features for advanced users.
To download Macrium Reflect, visit the official website at https://www.macrium.com/. Navigate to the Downloads section and look for the version that matches your operating system. Click on the download link and save the installer file to your computer’s local storage.
Once the download is complete, locate the installer file and double-click on it to begin the installation process. Follow the prompts provided by the installer to complete the installation. It is recommended to leave the default installation settings unchanged unless you have specific preferences.
After the installation is complete, launch Macrium Reflect from the desktop icon or the Start menu. You may need to grant administrative privileges to run the program. Upon launching the software, you will be greeted with the main interface that showcases the various features and tasks that Macrium Reflect offers.
It is important to ensure that you have a stable internet connection during the installation and registration process. Macrium Reflect may require an internet connection to validate your license and access certain features. If you encounter any issues during the installation, refer to the official Macrium Reflect documentation or contact the support team for assistance.
Step 2: Connect the SSD to your computer
Now that you have installed Macrium Reflect, it is time to connect the SSD to your computer. Before proceeding, make sure your computer is turned off and disconnected from any power source. Locate an available SATA port on your motherboard. Most computers have multiple SATA ports, so ensure you choose an open one. If you are unsure which port to use, consult your computer’s manual or the manufacturer’s website for guidance.
Once you have identified the SATA port, take your SSD and carefully connect it to the port. Insert the SATA cable into the corresponding port on the SSD, ensuring a secure connection. Next, locate an available power connector from your power supply unit (PSU) and connect it to the SSD. Again, ensure the connection is secure to avoid any issues during the cloning process.
If you are using a laptop or an external SSD enclosure, the process may vary slightly. For laptops, check the user manual or manufacturer’s website for instructions on how to properly connect an SSD. If you are using an external SSD enclosure, connect the SSD to the enclosure using the provided cables or connectors. Then, connect the enclosure to your computer via USB or Thunderbolt, depending on the available ports on your computer.
Once the SSD is properly connected to your computer, double-check all the connections to ensure they are secure. Make sure there are no loose cables or connectors that may cause intermittent connectivity issues during the cloning process. After confirming the connections, you can proceed to the next step of the cloning process.
It is worth noting that if you are replacing your current system drive with the SSD, it is recommended to disconnect the HDD temporarily during the cloning process. This will prevent any potential conflicts and ensure that Macrium Reflect correctly identifies the source and destination drives. To disconnect the HDD, simply unplug the SATA and power cables from the HDD, ensuring that it is no longer connected to the computer.
Step 3: Open Macrium Reflect
With the SSD connected to your computer, it’s time to open Macrium Reflect and prepare for the cloning process. Locate the Macrium Reflect icon on your desktop or in the Start menu and double-click to launch the application. If prompted, grant administrative privileges to run the program.
Once Macrium Reflect opens, you will be greeted with the main interface. The interface may vary slightly depending on the version of Macrium Reflect you are using, but the basic layout and functionality remain the same. At the top of the window, you will find a menu bar with various options for disk management, backup, and recovery.
In the main window, you will see a list of available drives and partitions on your computer. These include your HDD, SSD, and any other connected storage devices. Take a moment to double-check that the drives are correctly displayed and identified by Macrium Reflect. This ensures that you select the correct source and destination drives for the cloning process.
If your drives are not appearing in the list, or if you encounter any issues with the drive recognition, click on the “Refresh” button or go to the “Other Tasks” menu and select “Rescan Disks”. This will trigger a manual refresh of the drive list and may resolve any potential detection problems.
Before proceeding to the next step, it is recommended to close any unnecessary applications and processes running in the background. This helps to free up system resources and minimizes the chances of any conflicts during the cloning process. You can also temporarily disable any security software, such as antivirus or firewall applications, to ensure a smooth and uninterrupted cloning process.
At this stage, you are ready to move on to the actual cloning process. Ensure that you have selected the correct source (HDD) and destination (SSD) drives before proceeding to the next steps. Macrium Reflect provides a clear and intuitive interface to guide you through the cloning process, making it straightforward even for users with little technical experience.
Step 4: Choose the source disk (HDD)
In this step, you will need to select the source disk, which is the HDD you want to clone. Macrium Reflect will create an exact copy of the contents of this disk and transfer it to the SSD. To choose the source disk, follow these instructions:
- Open Macrium Reflect if it is not already running.
- In the main interface, you will see a list of available drives and partitions on your computer.
- Locate and click on the HDD that you want to clone. The disk will be highlighted or selected.
- Double-check that you have chosen the correct source disk. It is important to ensure that you do not accidentally select the SSD as the source.
- Confirm your selection by clicking on the “Clone this disk” option, typically located in the toolbar or in the right-click context menu.
Macrium Reflect will now recognize the selected HDD as the source disk for cloning.
Choosing the correct source disk is crucial to ensure that all your data and operating system will be correctly transferred to the SSD. Be cautious and double-check your selection before proceeding to the next step.
It’s worth mentioning that Macrium Reflect gives you the flexibility to clone individual partitions instead of the entire disk. This can be helpful if you only want to clone specific partitions or if your HDD contains multiple partitions that serve different purposes, such as system partitions, data partitions, or recovery partitions. In such cases, you can choose the desired partitions as the source instead of the entire disk.
Once you have successfully chosen the source disk, you are ready to move on to the next step and select the destination disk (SSD) where the cloning process will occur. Macrium Reflect makes this process simple and intuitive, allowing you to effortlessly clone your HDD to the SSD and benefit from the improved performance and reliability of an SSD.
Step 5: Select the destination disk (SSD)
After choosing the source disk (HDD) in the previous step, it’s time to select the destination disk (SSD) where the cloned data will be transferred to. Macrium Reflect will create an exact replica of the source disk on the destination disk. Follow these steps to select the destination disk:
- In the Macrium Reflect interface, locate the list of available drives and partitions.
- Identify the SSD that you want to use as the destination disk for the cloning process.
- Click on the SSD to select it as the destination disk. The disk will be highlighted or selected.
- Double-check that you have chosen the correct destination disk. Ensure that the SSD has enough capacity to accommodate the data from the source disk.
- Confirm your selection by proceeding to the next step of the cloning process.
Choosing the appropriate SSD as the destination ensures that the cloned data will be accurately transferred, preserving your operating system, applications, and files. It is crucial to double-check your selection to prevent any accidental data loss or incorrect cloning.
Before selecting the destination disk, ensure that it is properly connected to your computer and recognized by Macrium Reflect. If you encounter any issues with the detection or visibility of the SSD, try restarting the computer or reconnecting the SSD to resolve any potential connectivity problems.
Macrium Reflect allows you to clone the source disk to any available SSD or external storage device. This gives you the flexibility to choose the SSD that best suits your needs in terms of capacity, performance, and cost. It is recommended to use an SSD that is equal to or larger in capacity than the source HDD to ensure that all data can be successfully cloned.
Once you have successfully chosen the destination disk, you are ready to proceed to the next step and configure the cloning options to customize the cloning process according to your preferences. Macrium Reflect offers various options to optimize the cloning process and accommodate specific requirements, providing you with a seamless and efficient cloning experience.
Step 6: Configure the cloning options
In this step, you will configure the cloning options in Macrium Reflect to customize the cloning process according to your preferences. These options allow you to optimize the cloning process, ensure compatibility, and eliminate unnecessary data during the cloning process. Follow these steps to configure the cloning options:
- In the Macrium Reflect interface, ensure that the source disk (HDD) and the destination disk (SSD) are correctly selected.
- Look for the “Clone options” or “Advanced options” button/section, typically located in the toolbar or an adjacent panel.
- Click on the “Clone options” or “Advanced options” button to access the cloning options menu.
- Review the available options in the menu and adjust them according to your needs. Some common options may include:
- Cloning method: Macrium Reflect provides different cloning methods, such as Intelligent Sector Copy or Intelligent Copy Exclude Paging Files. Choose the method that suits your requirements.
- Partition resizing: If the destination SSD has a different size than the source HDD, you can choose to resize the partitions during the cloning process to maximize the available space on the SSD.
- Alignment: SSDs have different alignment requirements than HDDs. Macrium Reflect automatically aligns the partitions during the cloning process, but you may have the option to verify or adjust the alignment if necessary.
- Exclude unnecessary files: If you want to exclude certain files or folders from the cloning process, you can specify them in the cloning options menu to save time and storage space.
- Once you have configured the desired options, proceed to the next step to start the cloning process.
Configuring the cloning options allows you to tailor the process to your specific needs and optimize the performance and compatibility of the cloned system. Review the available options carefully and select the ones that align with your requirements.
It’s important to note that the default options in Macrium Reflect usually work well for most cloning scenarios. However, advanced users or those with specific preferences may find it beneficial to explore and adjust the cloning options accordingly.
Before proceeding to the next step, double-check the configured options to ensure they are aligned with your expectations. Once everything is set, you are ready to initiate the cloning process and transfer your HDD data to the SSD, unlocking the benefits of improved performance and reliability.
Step 7: Start the cloning process
Now that you have configured the cloning options in Macrium Reflect, it’s time to initiate the cloning process. This step will begin the transfer of data from the source disk (HDD) to the destination disk (SSD) based on your selected options. Follow these steps to start the cloning process:
- Ensure that the source disk (HDD) and the destination disk (SSD) are correctly selected and that the cloning options are configured according to your preferences.
- Double-check that you have sufficient space on the destination SSD to accommodate the data from the source HDD.
- When you are ready to proceed, locate the “Clone” or “Start” button, typically located in the toolbar or in the bottom-right corner of the Macrium Reflect window.
- Click on the “Clone” or “Start” button to initiate the cloning process.
Macrium Reflect will now start cloning the data from the source disk to the destination disk. The cloning process may take some time, depending on the size of the HDD, the amount of data being transferred, and the speed of your computer and drives. During this process, it is advisable to avoid interfering with the computer and refrain from using resource-intensive applications to ensure a smooth and uninterrupted cloning process.
Macrium Reflect provides a progress bar or status indicator to show the current status of the cloning process. You can monitor the progress and estimated time remaining to completion. It is important to be patient and let the process complete without interruption. Interrupting the cloning process may result in incomplete data transfer or system instability.
Once the cloning process is complete, Macrium Reflect will notify you of its status. Ensure that the cloning process finished successfully without any errors or warnings. If any issues arise, refer to the Macrium Reflect documentation or seek assistance from their support team.
Congratulations! You have successfully initiated the cloning process using Macrium Reflect. The data from your HDD is now being transferred to the SSD, setting the stage for improved performance and reliability. In the next step, you will need to wait for the cloning process to finish before proceeding to the final steps of disconnecting the HDD and booting from the SSD.
Step 8: Wait for the cloning process to complete
After initiating the cloning process in Macrium Reflect, it is important to wait patiently for the process to complete. The time required for the cloning process to finish depends on various factors, such as the size of the source disk (HDD), the amount of data being transferred, and the speed of your computer and drives. During this time, it is crucial to avoid interrupting or interfering with the process to ensure a successful cloning outcome.
Macrium Reflect provides a progress indicator or status bar that allows you to monitor the progress of the cloning process. You can see how much data has been transferred and the estimated time remaining for completion. It is essential to be patient and let the process run its course without interruption.
While waiting, it is advisable to refrain from using resource-intensive applications or performing tasks that could potentially impact the cloning process. Using the computer for other tasks may slow down the cloning process and could lead to system instability or incomplete data transfer. It is recommended to leave the computer undisturbed during this time to ensure a smooth and successful cloning process.
It is also worth noting that the cloning process may cause the computer to generate some noise or heat, especially if it involves a large amount of data. This is normal and should not be a cause for concern. However, if you notice any unusual sounds or excessive heat, it is recommended to monitor the situation closely and take appropriate action if necessary, such as ensuring adequate ventilation or contacting technical support.
Once the cloning process is complete, Macrium Reflect will notify you of its status. Take a moment to review the final report or message to ensure that the cloning process finished successfully without any errors or warnings. If you encounter any issues or receive error messages, refer to the Macrium Reflect documentation, online forums, or contact their support team for assistance.
Now that you have completed the cloning process, you can proceed to the final steps, which involve disconnecting the HDD and booting from the SSD. These steps will enable you to fully transition to the SSD, enjoying the improved performance and reliability it offers.
Step 9: Disconnect the HDD and boot from the SSD
After the cloning process is complete and you have confirmed the success of the transfer, it’s time to disconnect the HDD and set the SSD as the primary boot drive. Follow these steps to complete the transition from the HDD to the SSD:
- Ensure that the cloning process has finished successfully without any errors or warnings. Review the final report or message provided by Macrium Reflect to confirm.
- Shut down your computer properly. Save any unsaved work and close all applications before proceeding.
- Locate the power supply and unplug the power cables connected to the HDD. This will effectively disconnect it from the computer.
- Remove the SATA and power cables connected to the HDD from your computer’s motherboard and power supply unit, respectively. Ensure that these connections are securely detached.
- Next, carefully connect the SSD to the SATA port and power supply connectors that were previously occupied by the HDD. Ensure a secure and snug connection to avoid any connectivity issues.
- Double-check that all connections are properly made and that the SSD is firmly in place.
- With the new SSD installed, it’s time to boot up your computer. Press the power button to turn on your computer.
- During the boot process, access your computer’s BIOS or UEFI settings. This is typically done by pressing a specific key during startup, such as F2 or Delete. Consult your computer’s manual or the manufacturer’s website for instructions on accessing the BIOS or UEFI settings.
- In the BIOS or UEFI settings, navigate to the boot order or boot priority options. Set the SSD as the primary boot device, ensuring it is placed at the top of the boot sequence.
- Save the changes made to the BIOS or UEFI settings and exit. The computer will restart with the SSD as the primary boot device.
Congratulations! You have now successfully disconnected the HDD and set the SSD as the primary boot drive. The computer will now boot from the SSD, allowing you to experience the enhanced performance and speed it offers. You can now enjoy the benefits of faster boot times, quicker application launches, and improved overall system responsiveness.
It is recommended to keep the HDD stored in a safe place as a backup or for additional storage if needed. Ensure that you have properly stored the HDD to prevent any physical damage or data loss.
Conclusion
Upgrading from a traditional HDD to an SSD can significantly enhance the performance and speed of your computer. With the help of Macrium Reflect, the process of cloning your HDD to an SSD becomes streamlined and accessible, allowing you to seamlessly transfer your data and operating system without the need for manual reinstallation.
Throughout this guide, we have walked you through each step of the cloning process using Macrium Reflect. From downloading and installing the software to disconnecting the HDD and booting from the SSD, you have learned how to successfully upgrade your storage drive.
Remember to carefully select the source and destination disks, configure the cloning options to suit your preferences, and be patient during the cloning process. Following these steps will ensure a smooth and successful transition to your new SSD.
By migrating to an SSD, you will experience faster boot times, improved system responsiveness, and quicker application launches. Your computer will benefit from the enhanced performance and reliability that SSDs offer, allowing you to work more efficiently and enjoy a more seamless computing experience.
Although the cloning process is relatively straightforward, it is always important to have a backup of your data and perform regular backups to protect your valuable information. It is also recommended to keep your operating system and software up to date to ensure compatibility and security.
If you encounter any issues during the cloning process or have questions, don’t hesitate to refer to the Macrium Reflect documentation or reach out to their support team for assistance. They are dedicated to helping users like you make a smooth transition to a new storage drive.
We hope that this guide has provided you with the necessary knowledge and confidence to successfully clone your HDD to an SSD using Macrium Reflect. Embrace the benefits of improved performance and enjoy the seamless computing experience that an SSD offers. Happy upgrading!